It’s been over a week since my last post (blame illness!) and quite some time since a dedicated Gundam post. Mostly the latter is due to my recent builds being quick-and-easy kits probably not worth their own posting, but this guy is a bit different:
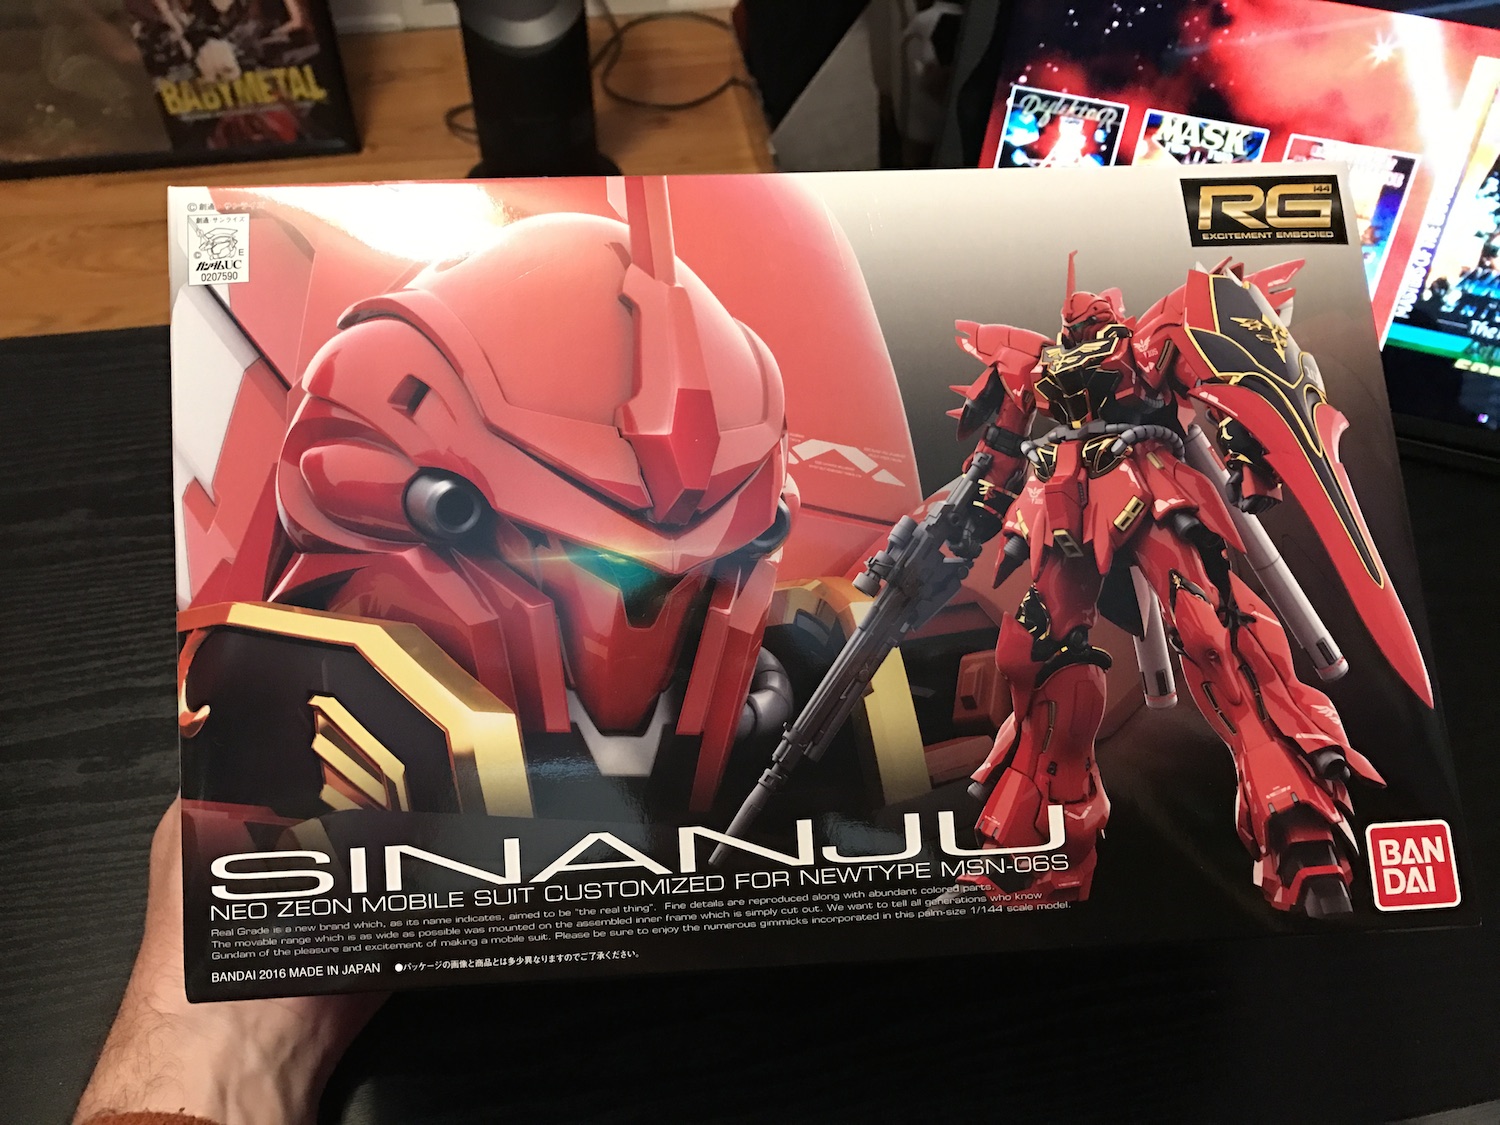
This is Sinanju, a robot I know nothing at all about (since I neither watch the series or read the comics). However this is the first ‘Real Grade’ (RG) Gundam kit I ever bought and I’ve been very much looking forward to making it. While RG kits have been around for a few years, the only one that I had previously fallen in love with I actually bought and gave to SFL, so making that myself would have been ‘copying’ (to steal a term from AW) and only the worst sort of person would do that!
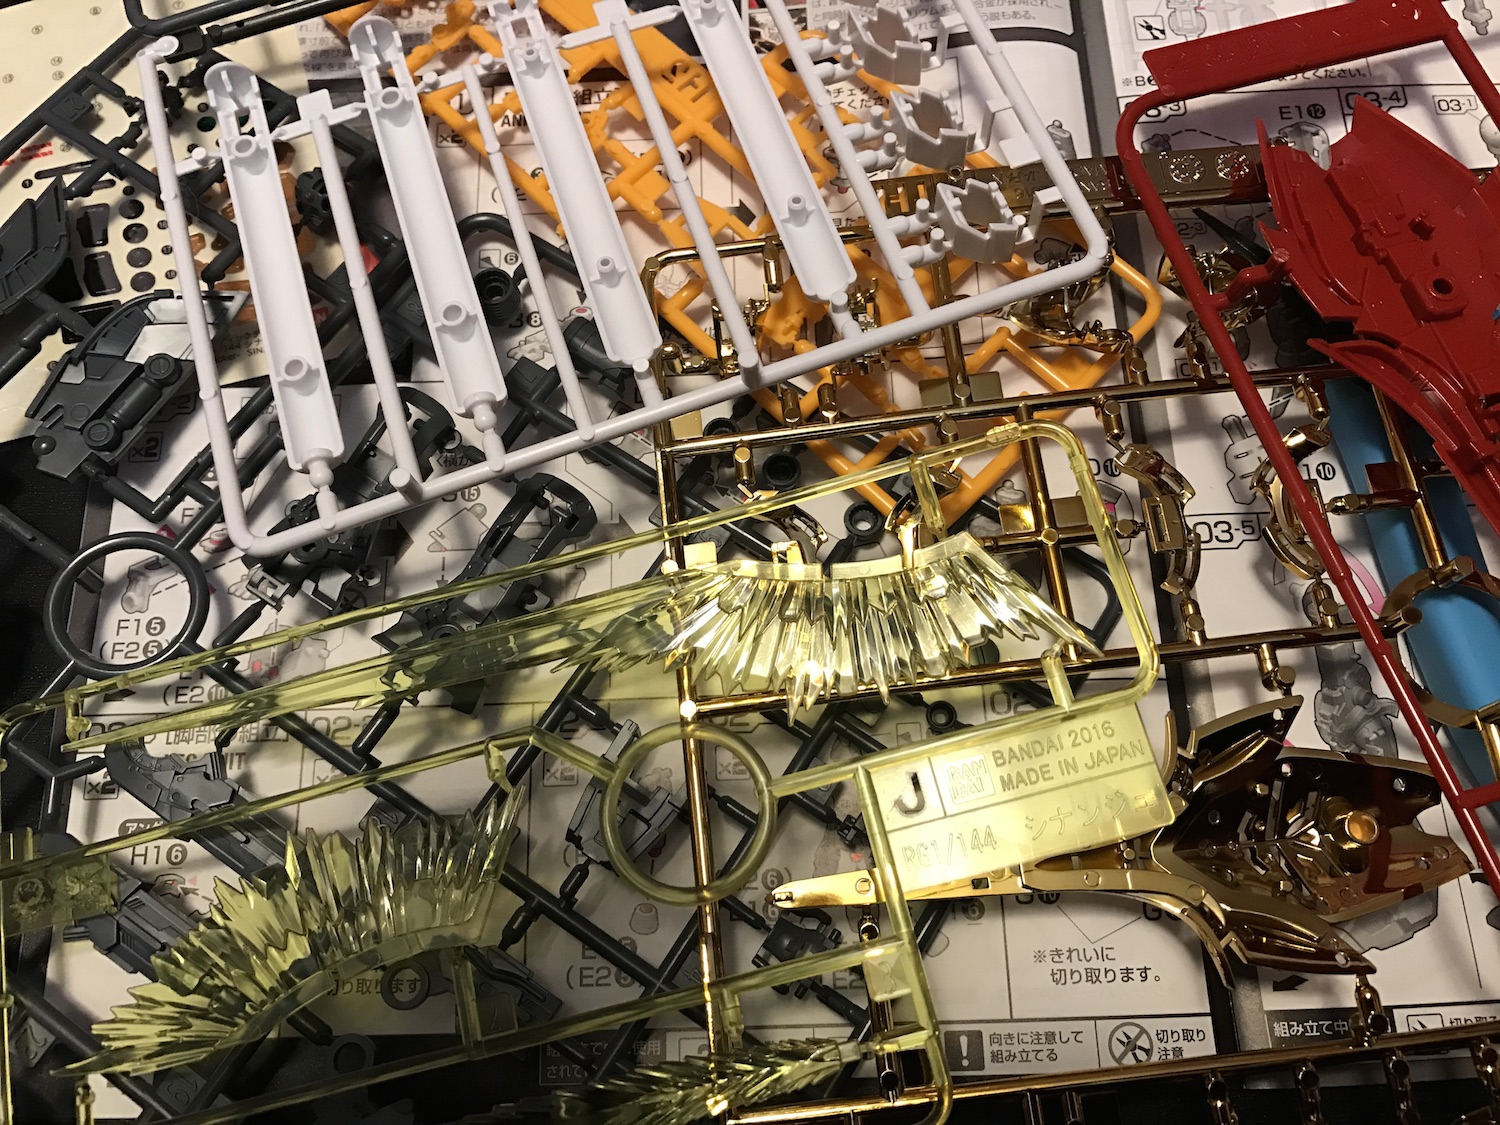
So when Sinanju came along with his gold trim and glossy red luster I had to have him! Here’s what was inside the box:
There are hundreds of Gundams in many different styles and levels of detail but very broadly they can be catalogued into four types:
1) High Grade (HG): Smaller (1/144 scale), easy-to-make and inexpensive (<$20)
2) Real Grade (RG): Smaller (1/144), more detailed than HG, more complex to build and more expensive ($35+)
3) Master Grade (MG): Larger (1/100), highly detailed with many more parts and higher complexity. Can get pricey ($50++)
4) Perfect Grade (PG): Super detailed, with insane detail and features such as LED lights. For true maniacs. ($hundreds)
I’ve made many HG kits, two MG’s (with another on my shelf waiting) and as I said this was my first RG. So how was it?
Well in short, complicated! As with most Gundam kits you start with the feet, and it was very quickly apparent that despite the lower price point and smaller size this was no less complex than the two MG kits I have already made. Here’s a shot showing one of the legs in the early stages of assemlby:
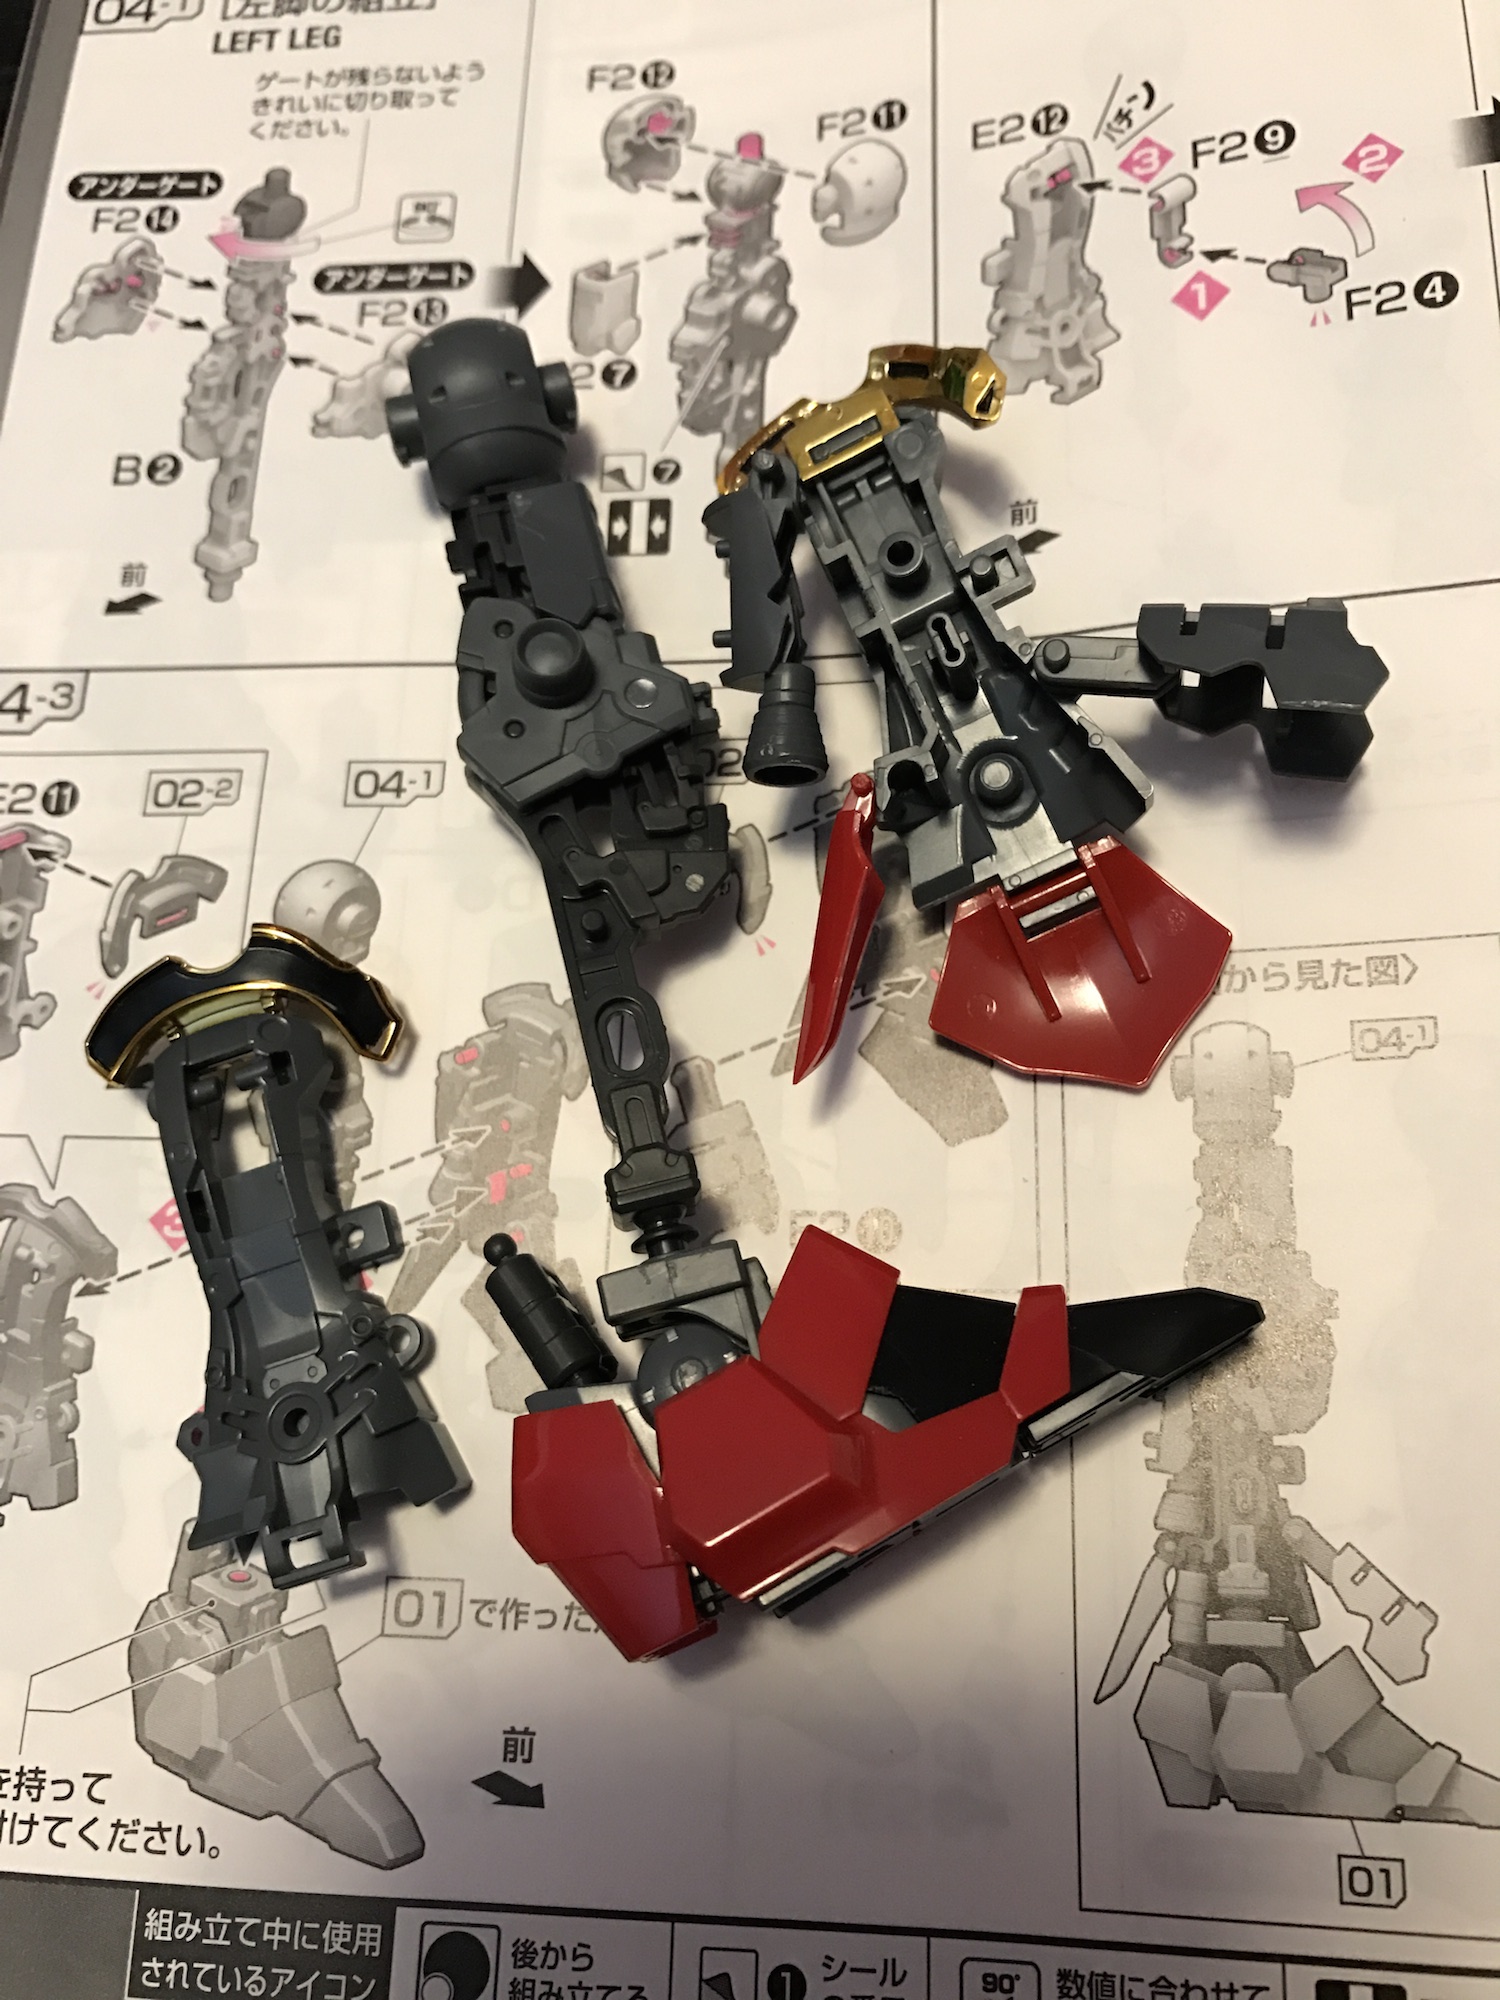
You can see the internal ‘skeleton’ onto which the superstructure connects, and then the outer armour (in red) on top of that. The three pieces shown include dozens of individual parts, and at times it very much seemed like the designers had broken an obvious single piece into two or more pieces just to drive up the part count of the kit. That said I was impressed with how well it all goes together, not to mention the (mind-boggling) level of articulation the finished piece has. Here’s two legs next to each other:
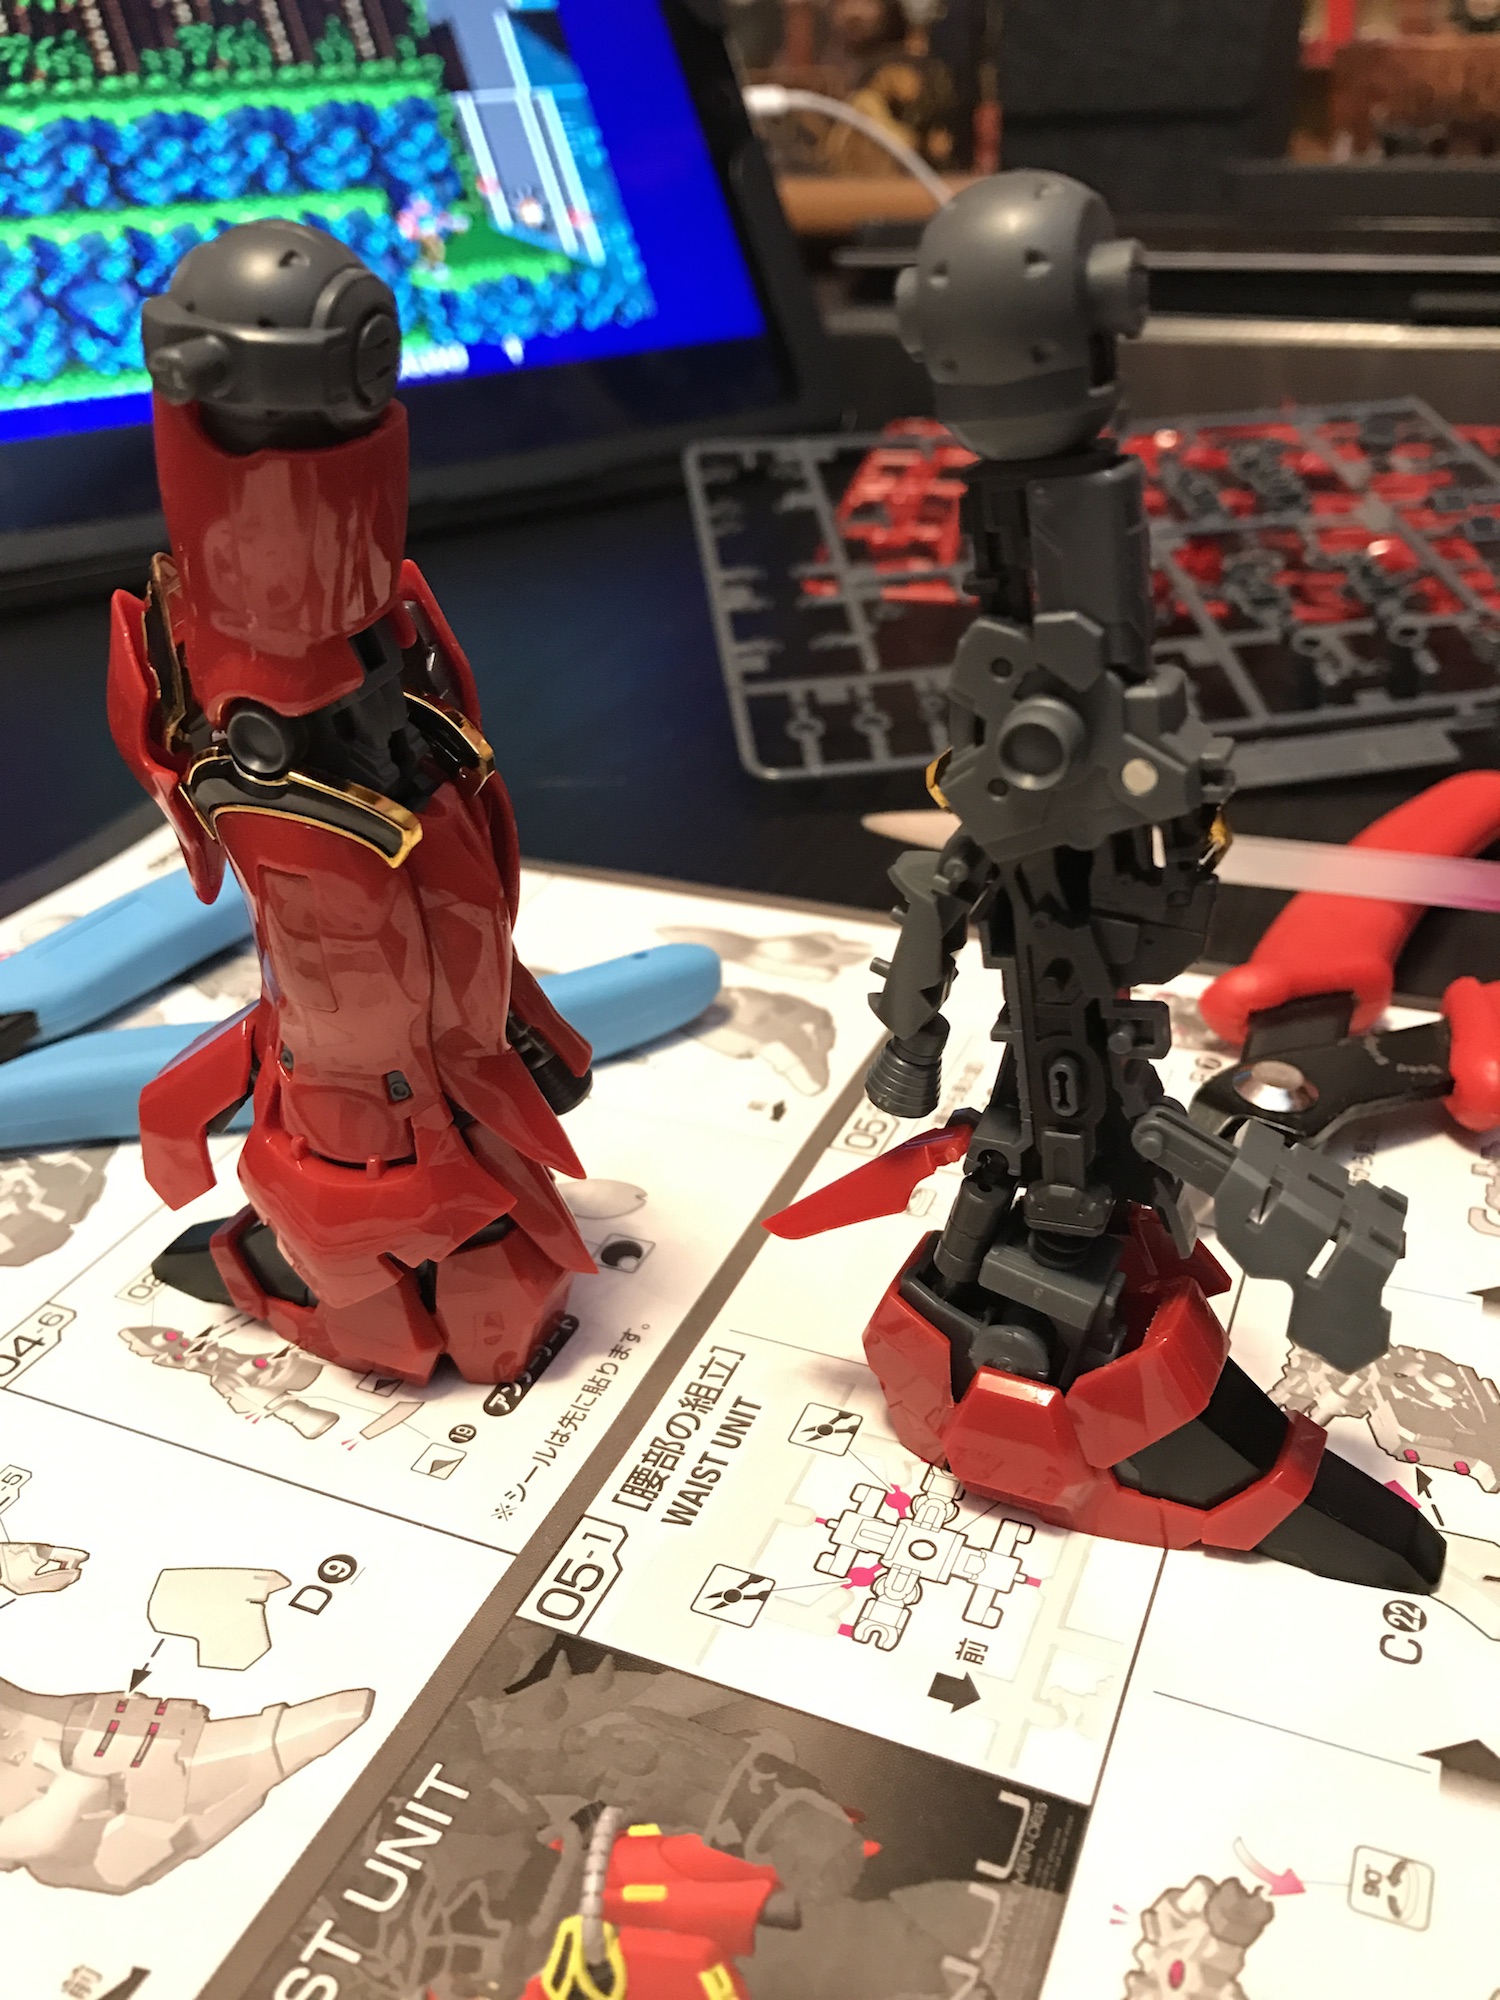
The difference here is only the the left leg (on the right of the picture) doesn’t yet have it’s armour. When finished, here they both are:
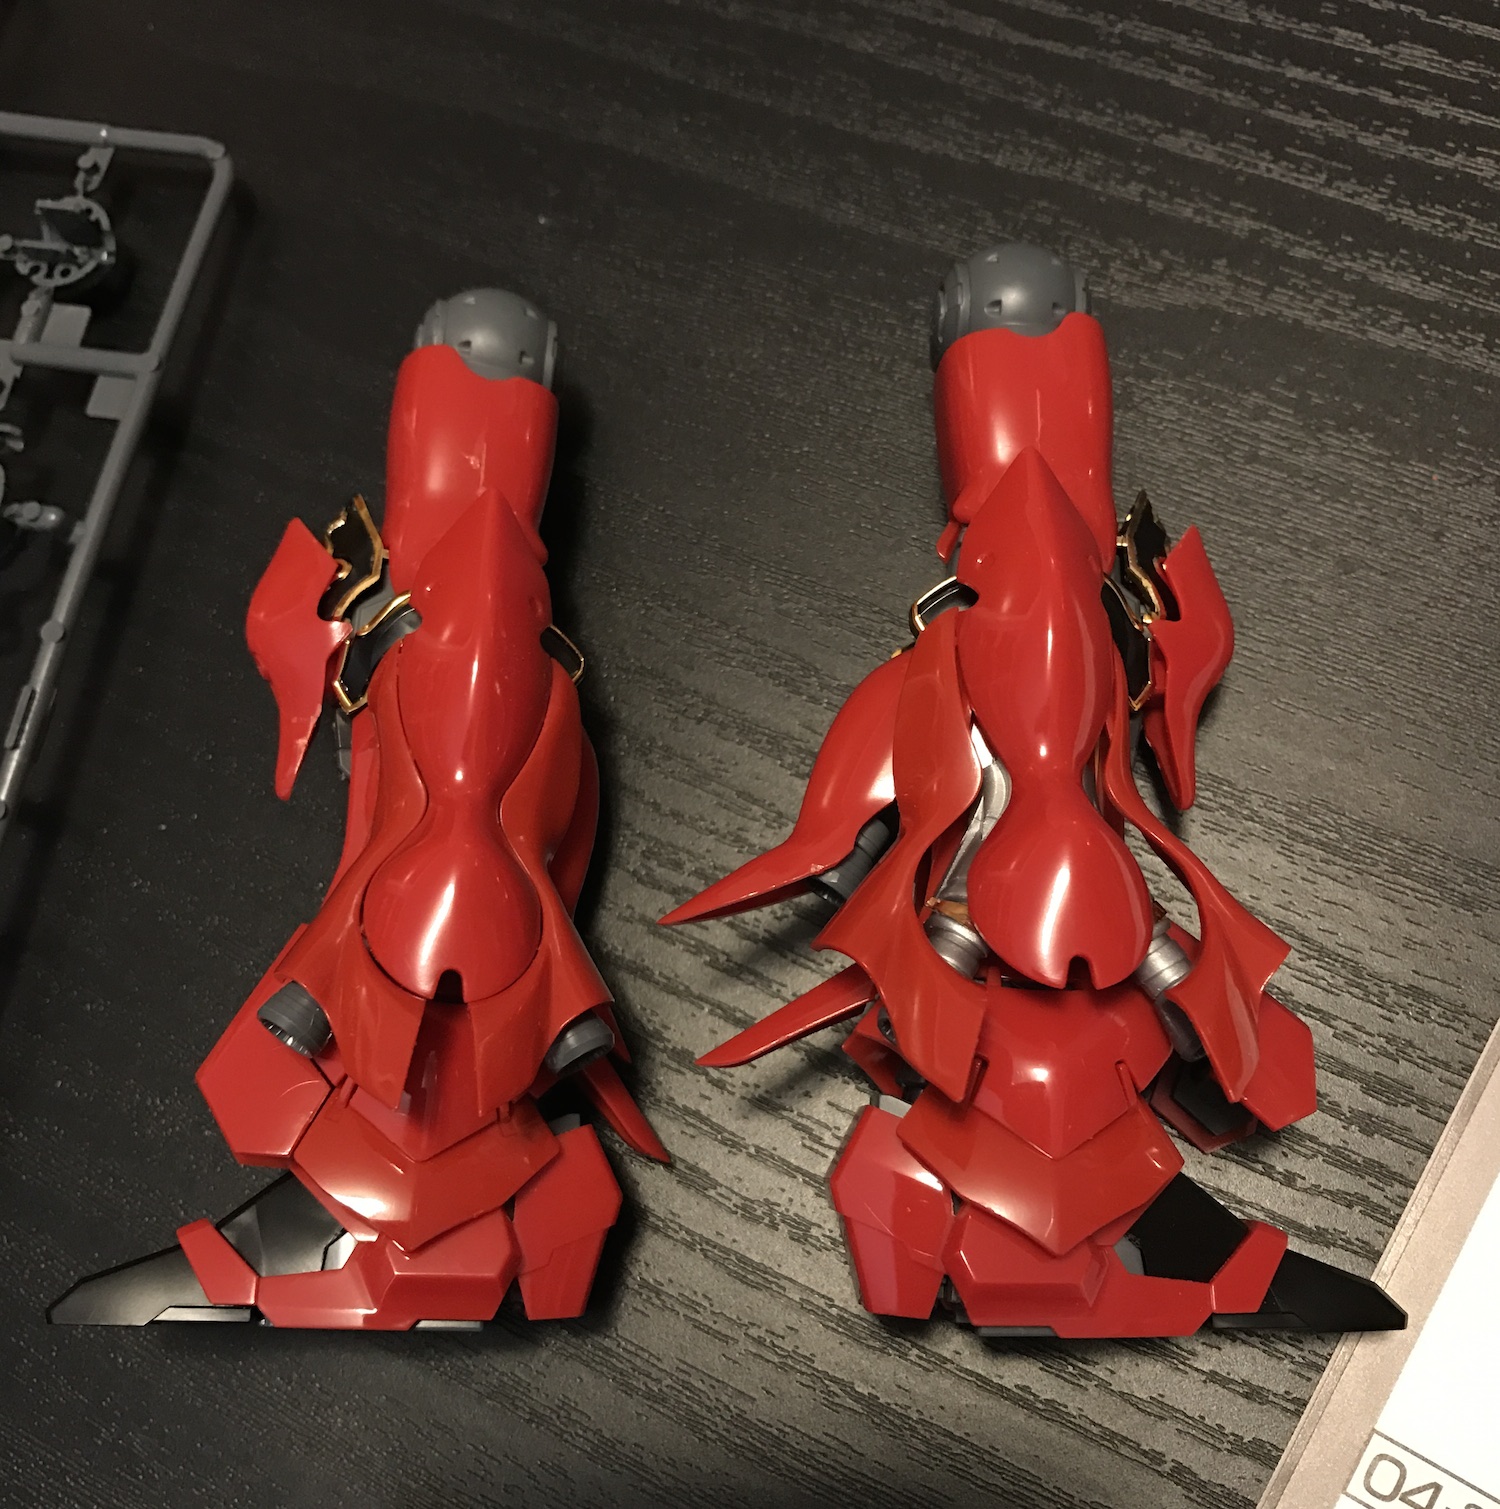
I posed these so you can see how much the piece can be manipulated to show the retro rockets when in flight mode. Otherwise these two are identical mirrors of each other, and all the rockets hide away nicely when the armour is closed up. Despite being an entirely plastic kit there are all sorts of moving pistons and joints underneath this armour and even the foot has about four joints which comes in very handy when trying to stand the finished model!
Here’s the legs attached to the waist with the skit armour attached:

This photo would have been taken after many hours of assembly. There is no paint or glue used at all, and you can appreciate how finely engineered the kit is by how well the gold-and-black pieces go together and how shiny the gold looks. There are also some flexible plastic pieces (such as the tubing in this photo) which are uncommon in HG level kits.
Now I took a few more in-progress shots but apparently deleted them so let’s jump now to the completed kit, which probably took at least ten hours over a few weeks:
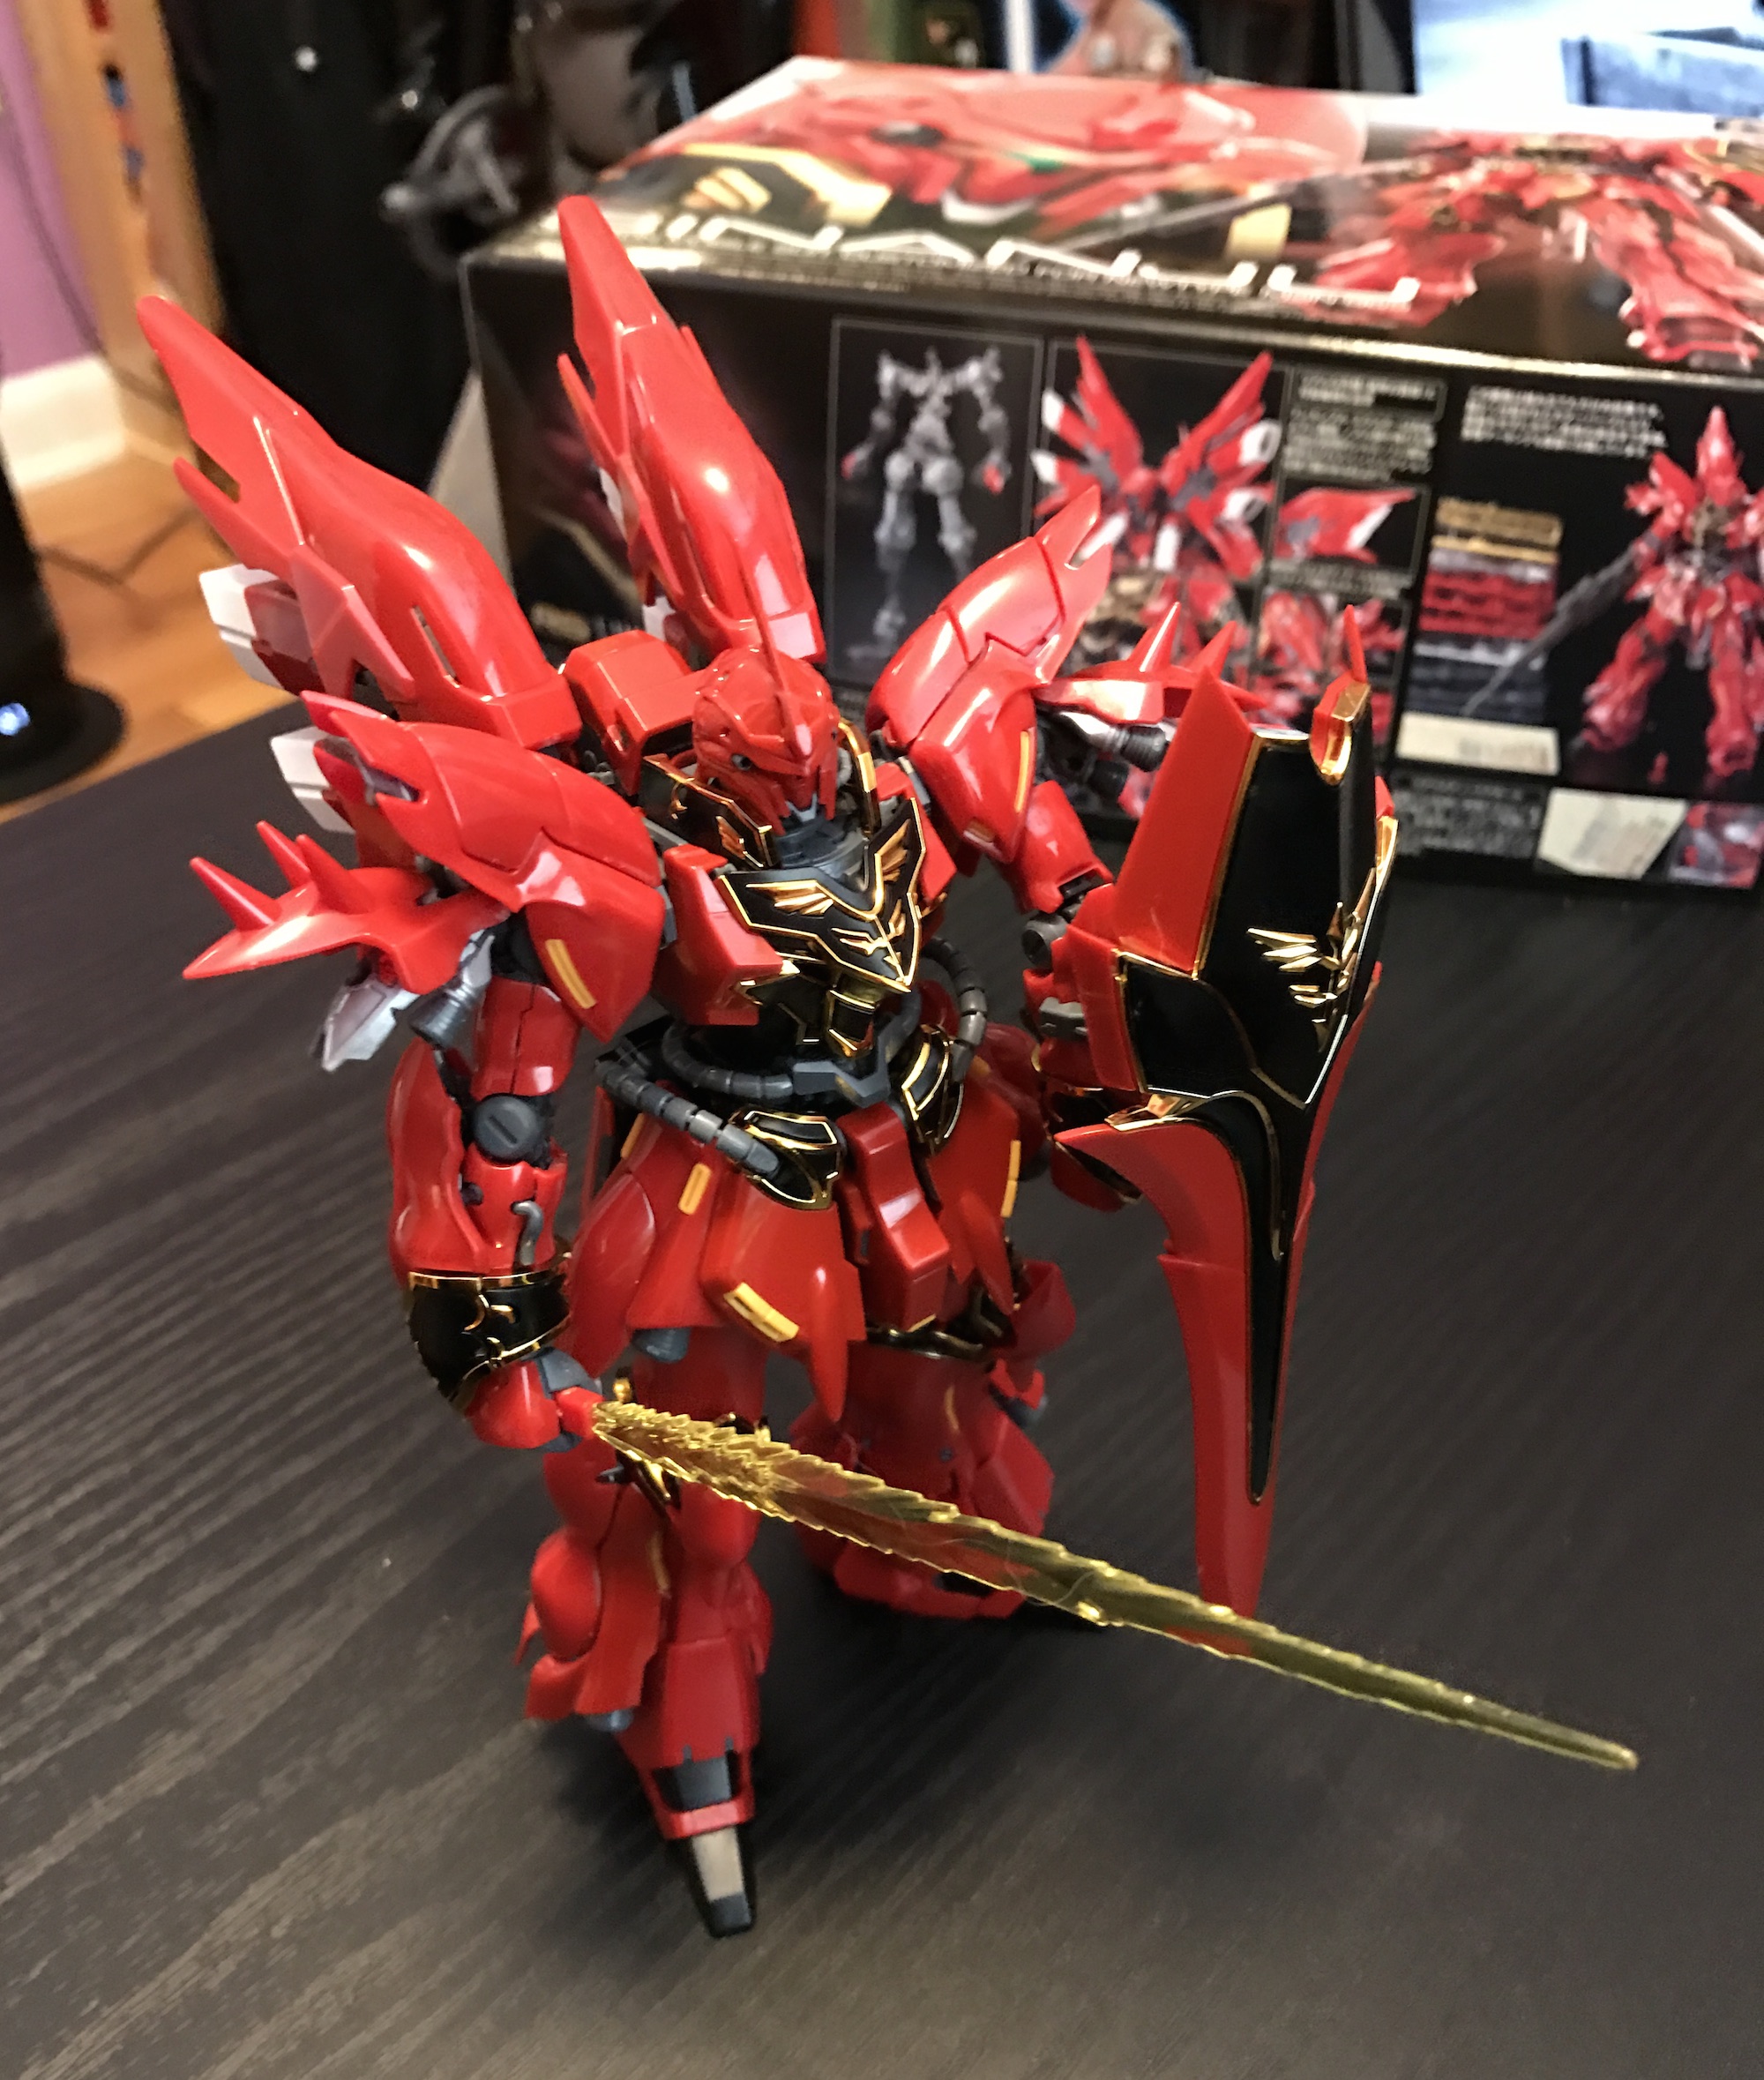
It’s large and bulky and extravagant but stands easily with no support! As with most Gundam kits, it comes with a wealth of weapon options but I only opted for the sword and shield. If you like you can make guns, cannons and a polearm type weapon. It’s very poseable as well, so if you buy a stand you can put it in any sort of flying or attacking pose you wish. Here’s a side-view shot:
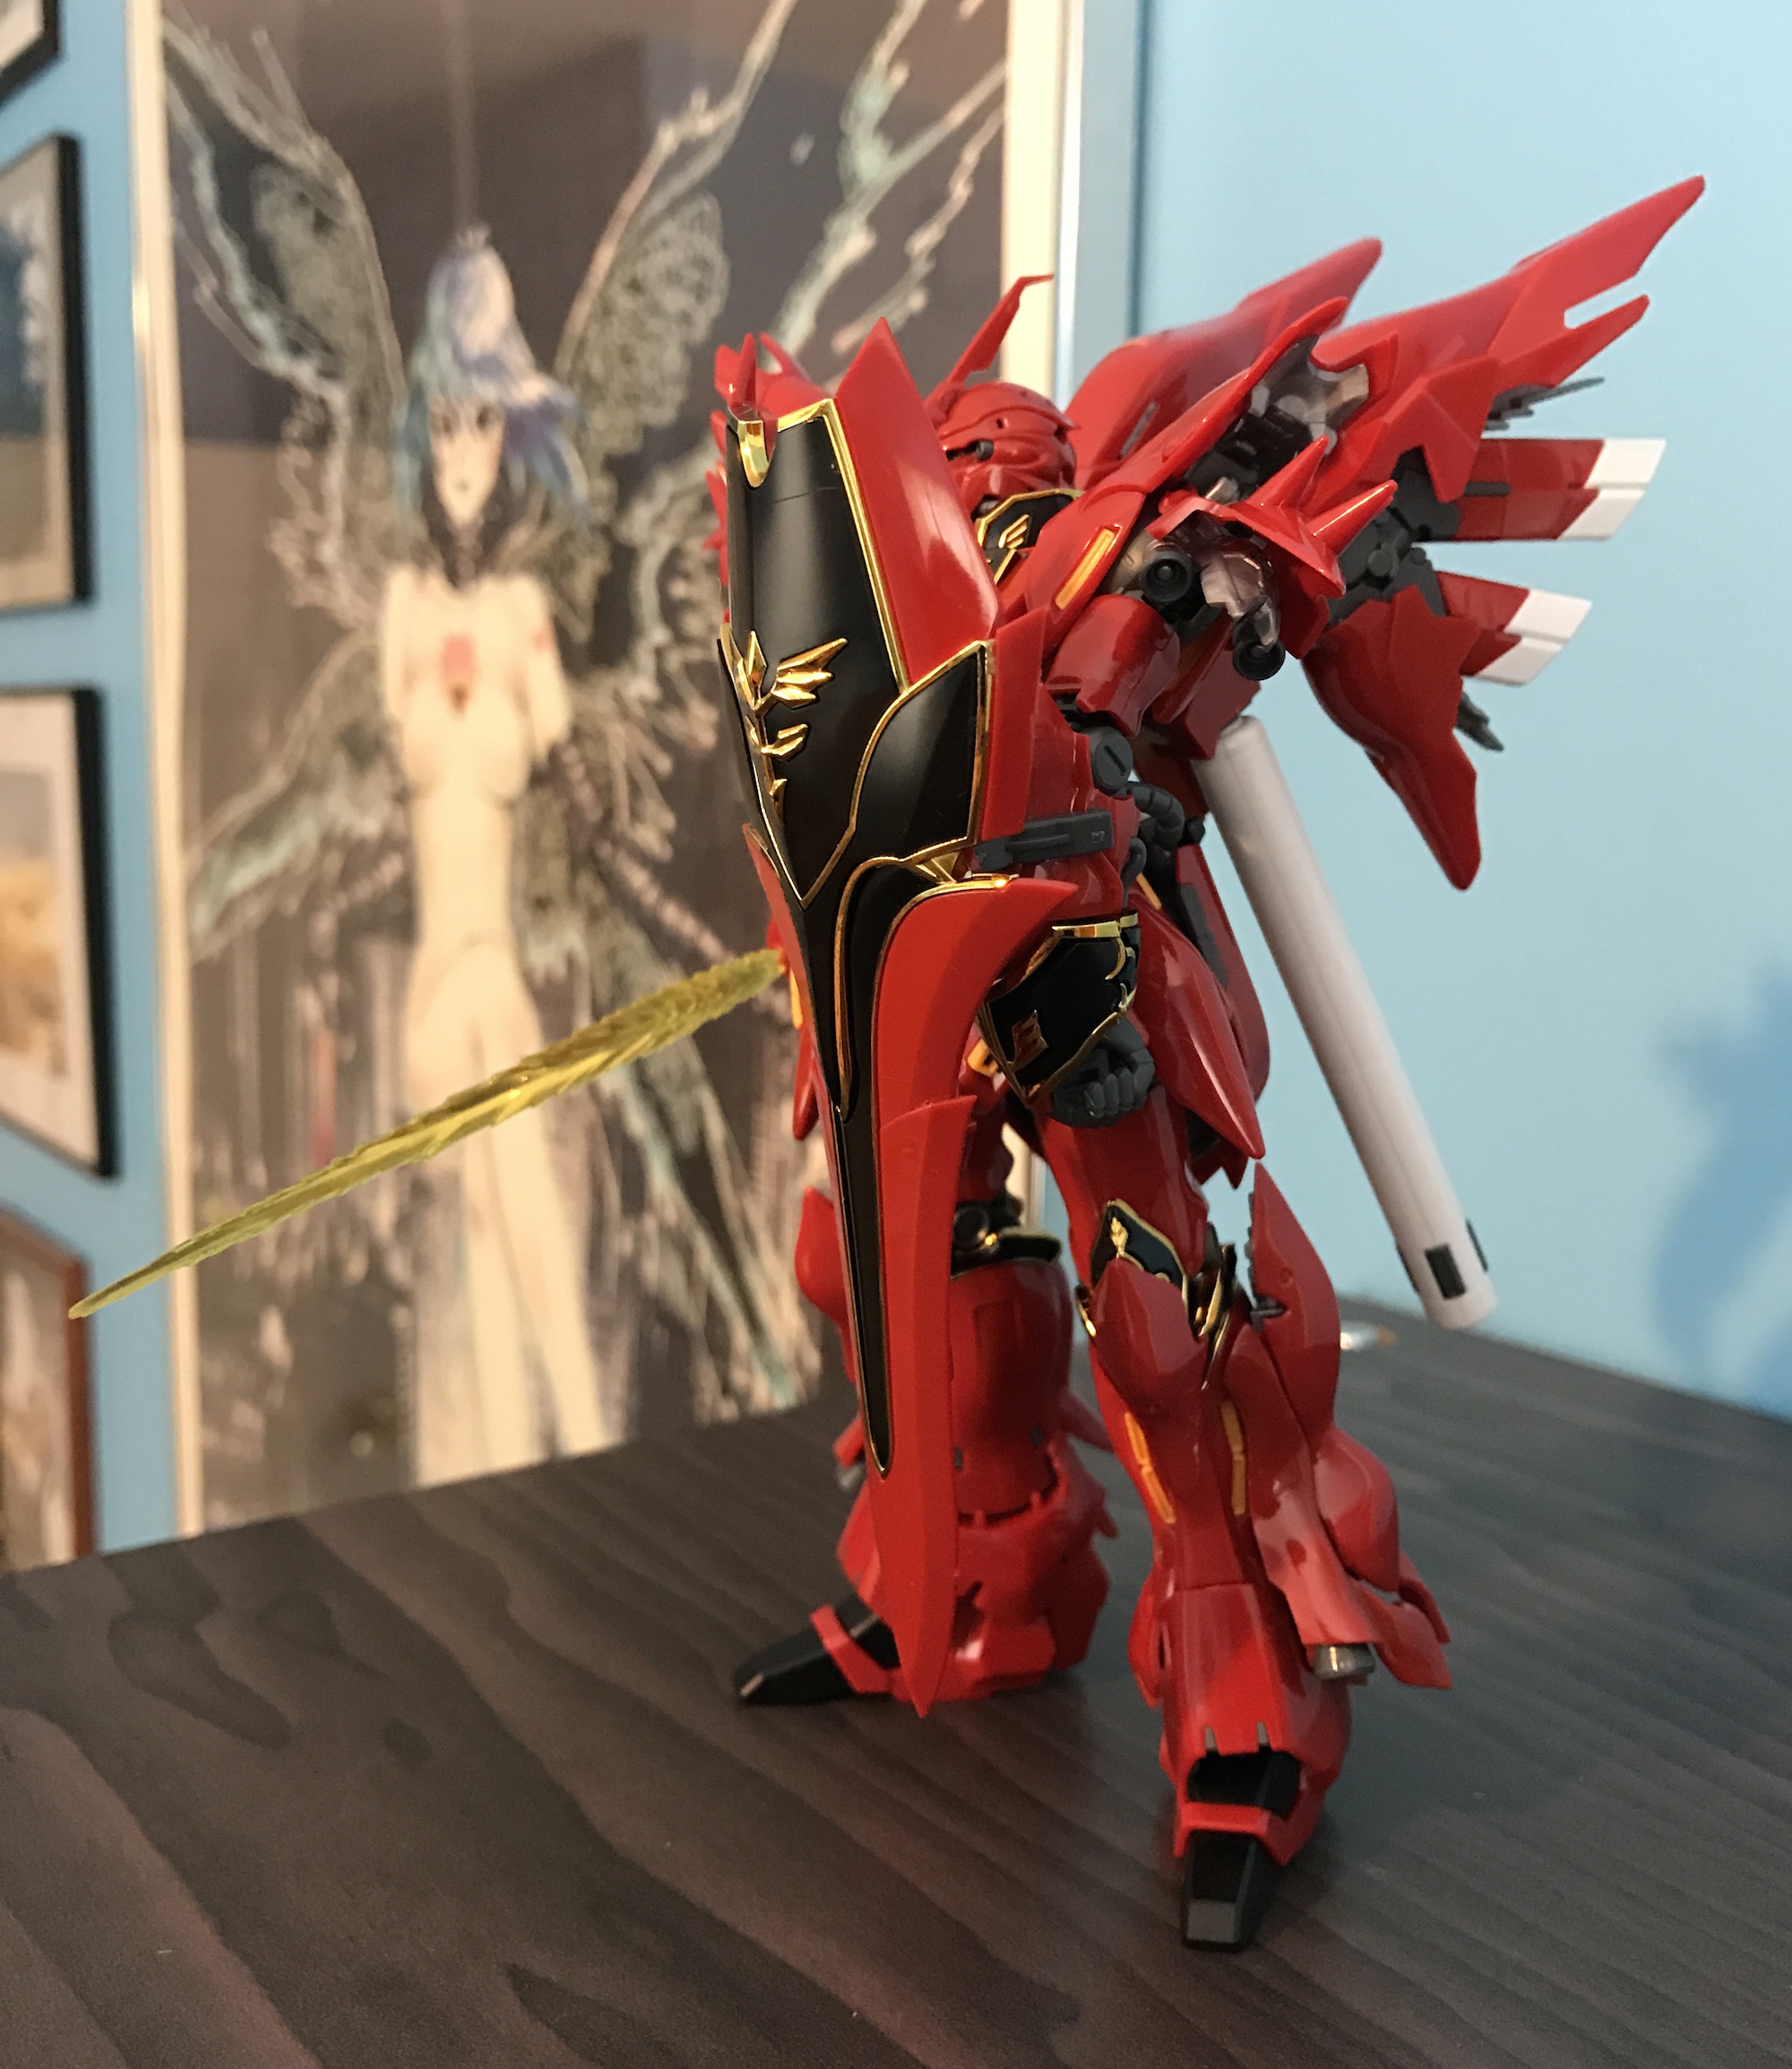
I’m very impressed with how he turned out, and he’s going in my curio alongside the two MG kits. While he’s not quite at their level of detail, he’s also quite a bit less expensive! As my first RG kit, this was a fun – albeit complex – build that ended up looking just as good as I’d hoped, and I’m sure there will be more RG kits in my future. If you’re new to Gundams though I’d recommend you start off with a HG kit or two before diving into RG. (Florence, this means Bearguy first!)
One last comment about Sinanju: there’s actually a pricey (~$120) MG version of him with more detail and ‘titanium gloss’ plastic. It looks incredible. I wonder if I can find it cheaper in Japan in a couple of months…?
Well done on not copying 🙂
The gold skirty bits in the second photo caught my eye, but I can’t spot them on the finished model. Are they part of an under layer? If so, that seems a tad pointless. Still, it’s a very handsome robot.
They’re there; look closer to where the tubes go in (in the second last photo).
Not that Bandai is scared of putting elaborate detail in places that can almost never be seen, such as detailed eye or ‘face’ pieces placed underneath helmets!
Kits are amazing these days without any paint aren’t they? Makes lazy builders like me happy 🙂