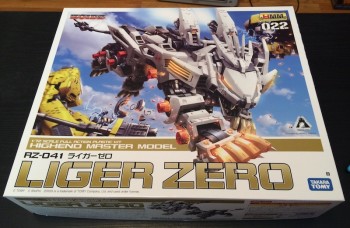
Over a month ago, I started building this:
It’s my first ‘ZOIDS’ model kit, and was easily the most expensive kit I have ever bought. I knew getting into it that this was no toy, and that assembly may prove challenging, but then I’ve made challenging kits before and looked forward to it.
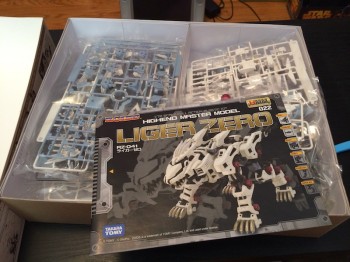
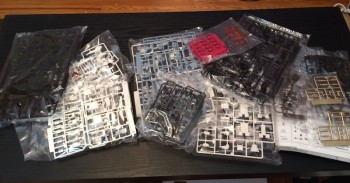
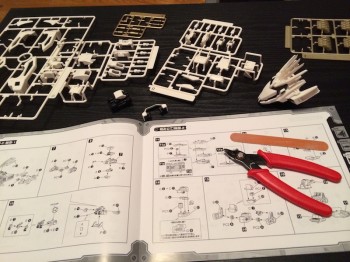
Here’s what the contents looked like before I started putting it together:
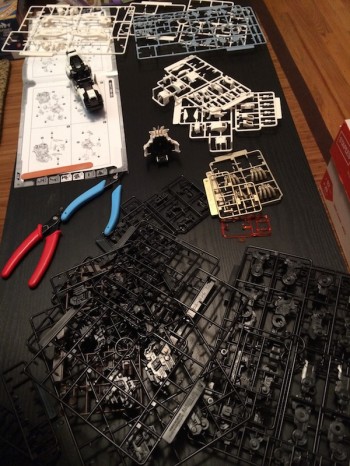
That’s a lot of pieces! In total there were 28 sprues in 6 colours. Much like the advanced Gundam kits, some of the plastic was flexible (mostly used for joints) and the kit is designed to be assembled without glue. There are 13 pages of instructions with 77 unique steps, and the kit is assembled in 4 distinct sections (head, body, legs, tail).
I started with the head and immediately noted a problem: the instructions are printed quite small. My eyesight is changing, and I’m finding I don’t need my glasses anymore for near vision. However I’m stubborn and don’t want to take them off so I struggled with working on this since I found it quickly hurt my eyes. (Many of you now I know are saying “Why didn’t he just remove his glasses???“)
So construction was completed in many steps of perhaps 2 hours each, spread over an entire month. It was challenging, but a lot of fun.
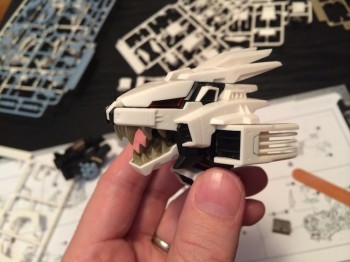
First to be completed was the head:
The complexity of this kit is staggering. The head alone has 38 pieces in it, and 5 points of articulation. The mouth and cockpit open, and the jets on the side and frill on the top can be positioned. By the time I had finished this piece it was clear I was building a kit with an incredible level of detail.
The two tools you see above were indispensable. The cutters to remove pieces from the plastic, and the file to smooth them down. Such is the precision in this kit that even submillimeter bumps are significant. If you make a Zoid, be sure to have the right tools.
For a month or so my work table looked like this:
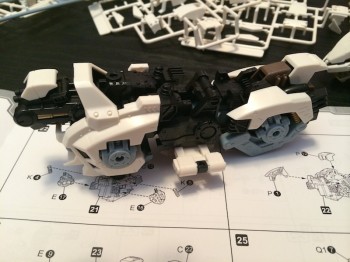
You can see by the above point I had also finished the body:
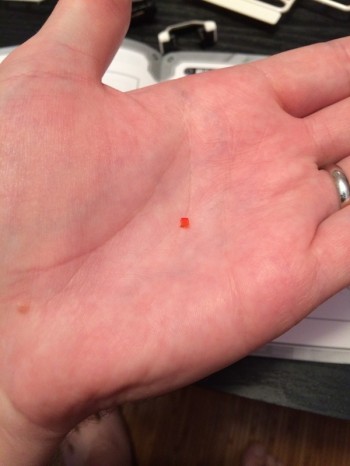
That’s not a rigid piece. It can bend and elongate, and all the joints are articulated as well. Many dozens of pieces went into it, including the smallest one in the entire kit:
That’s just absurd!
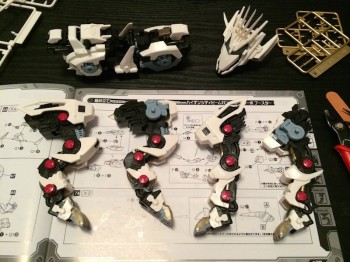
The legs took the most time of all the sections:
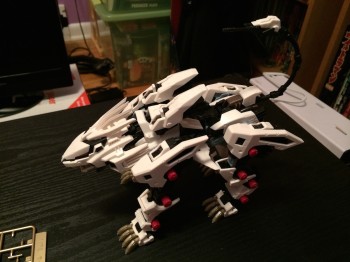
Each leg contains a whopping 78 pieces! They are even more articulated than the rest of the kit and there are significant differences between the front and rear legs. Compared to all this the tail was simple, and then it was time to put it all together:
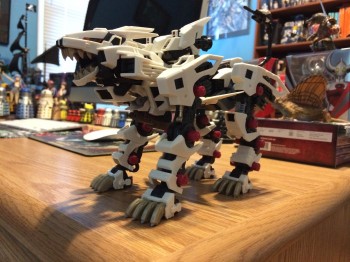
Or, in a rather more dramatic pose:
Looks great doesn’t he? The finished kit is about 20 cm long and stands 12 cm at the shoulder. According to the instructions, the actual Liger Zero is a mighty 84 meters in length and weighs 85 tonnes!
Such is the engineering of this model that painting is hardly required, and in fact the instructions seem to mention it only as an afterthought (they give the paint codes for the plastic used, rather than show a repainted version). However the armor is detachable and Kotobukiya actually sells (not inexpensive!) armor upgrade kits if you want to convert your Liger Zero into Liger Zero Panzer (green, with a back-mounted cannon) or other variants. Fascinating.
My next kit will be another Musha Gundam that I purchased in Japan last year. It will be another time consuming and precise build that may wait until next Summer. After that, who knows?
After that I expect to see a stop motion video of the Liger fighting the Gundam of course. With all that articulation how could you not?
What a stupid name. But well…… Articulated, one could say???!!!