There are Perler Beads:
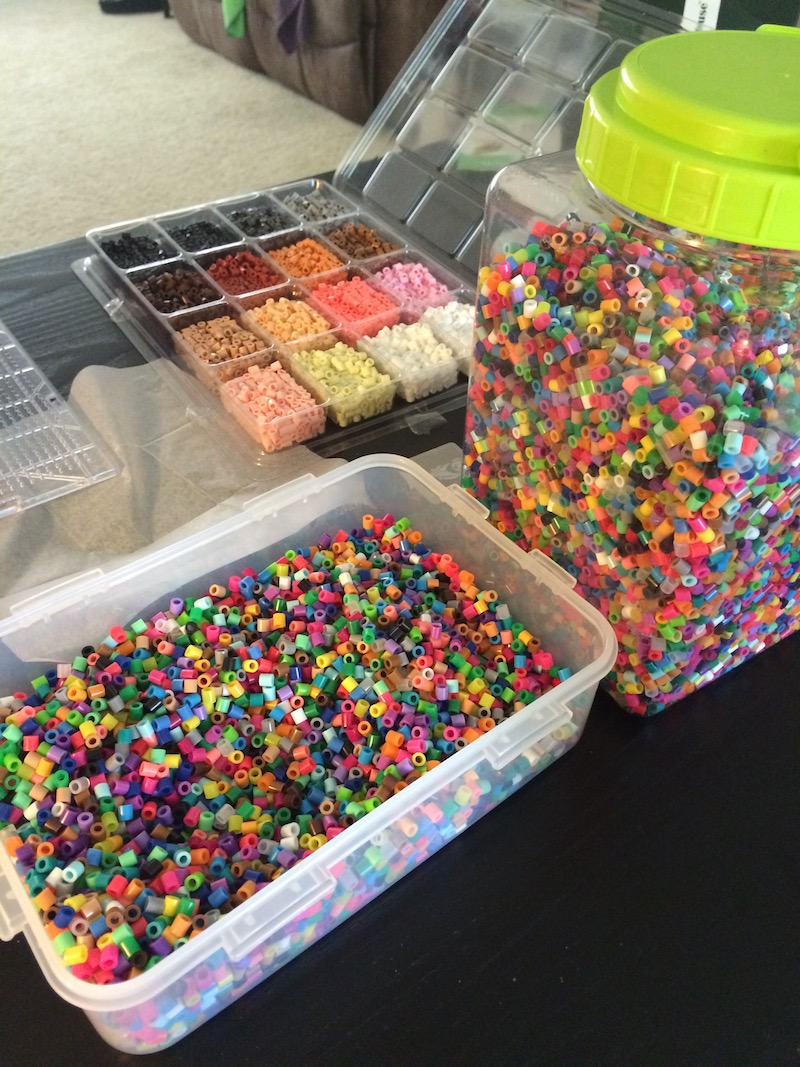
They are tiny little plastic cylindrical beads used for crafting. You create pictures using them, and then iron the beads, which melts them together to make the picture permanent. I learned of these through the internet, and decided to buy a sizeable portion of them for a very specific project. This past Saturday I dedicated the entire day to this undertaking.
But first I started with something small, to get used to using the beads:
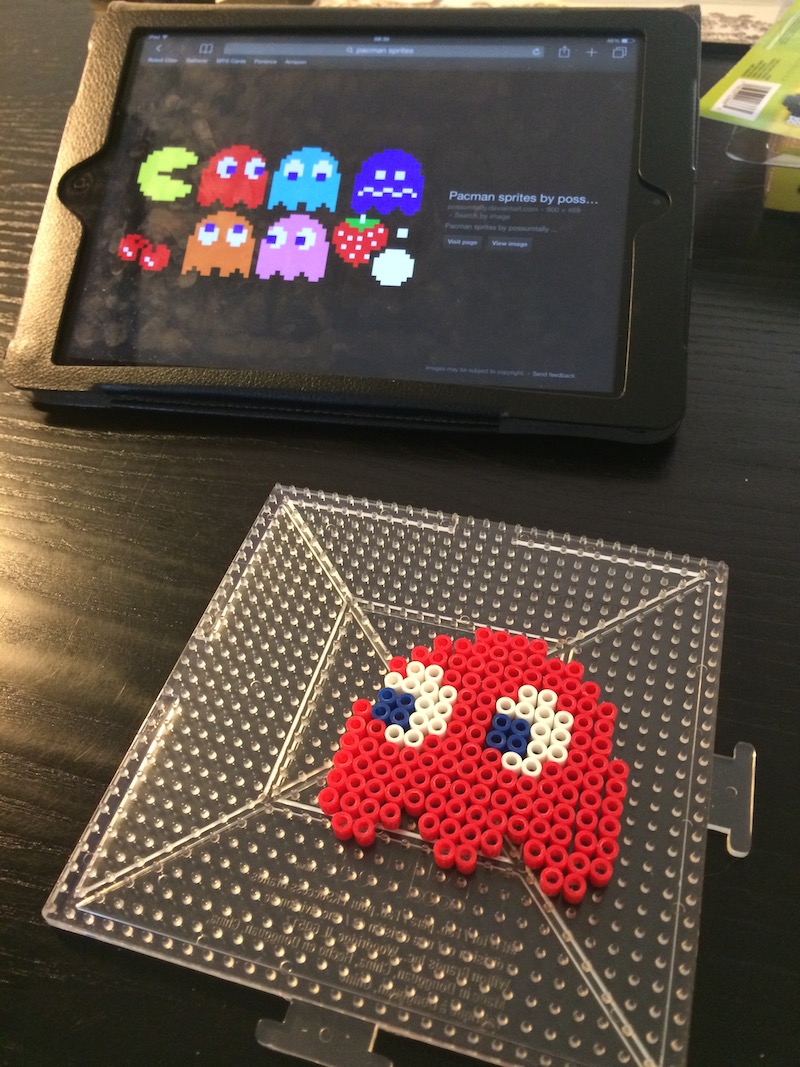
Yes sir, pixel art! Specifically a Pac Man ghost (very specifically ‘Blinky’). Of course I had to make his frenemy as well. Here they both are after the all important ironing to fuse the beads:
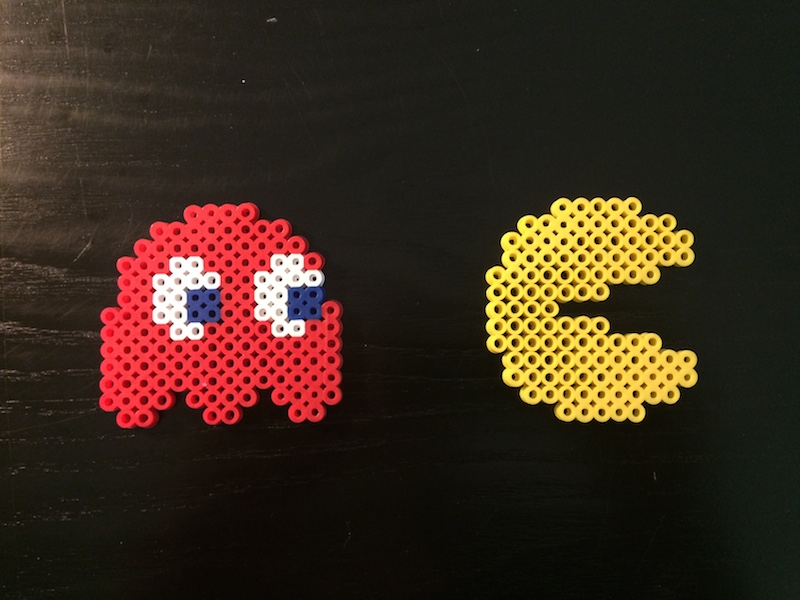
Not bad eh? All told, the above took maybe half an hour tops.
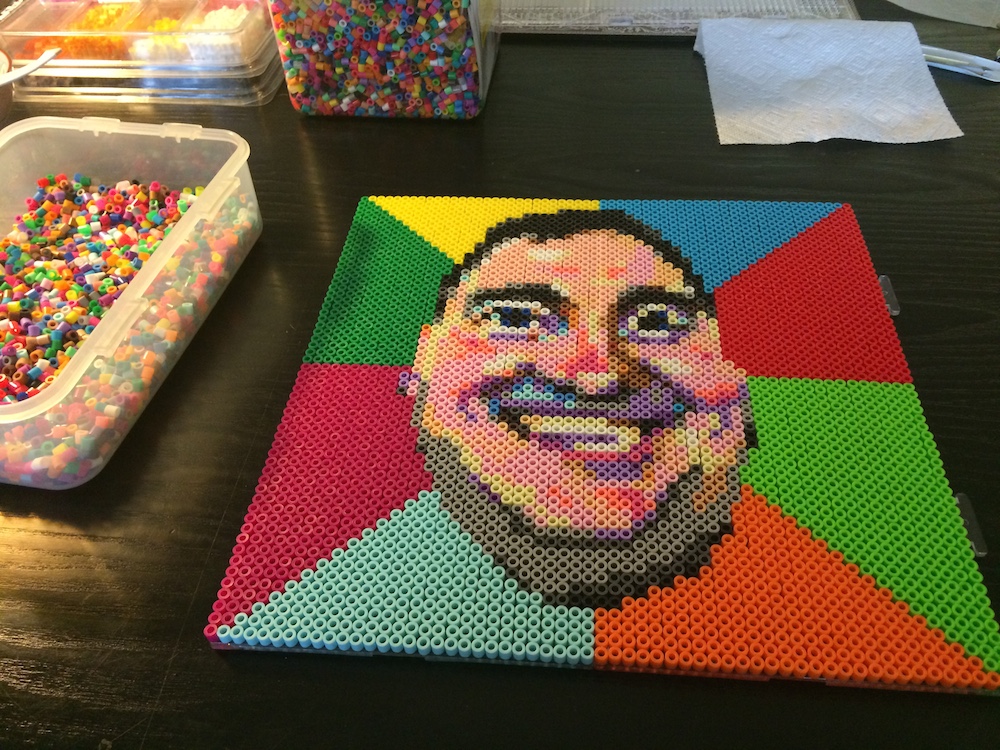
I was now a Perler Bead master, and it was time to move on to my intended project. I won’t spoil it just yet, but let’s see how quickly you can work out what I decided to make as you look through these ‘making of’ images:
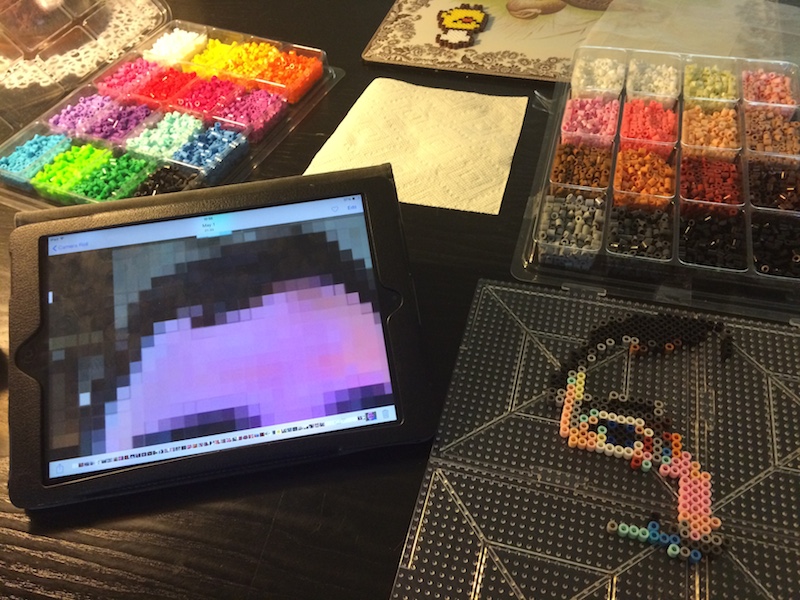
Hrm… interesting. I wonder what this is?
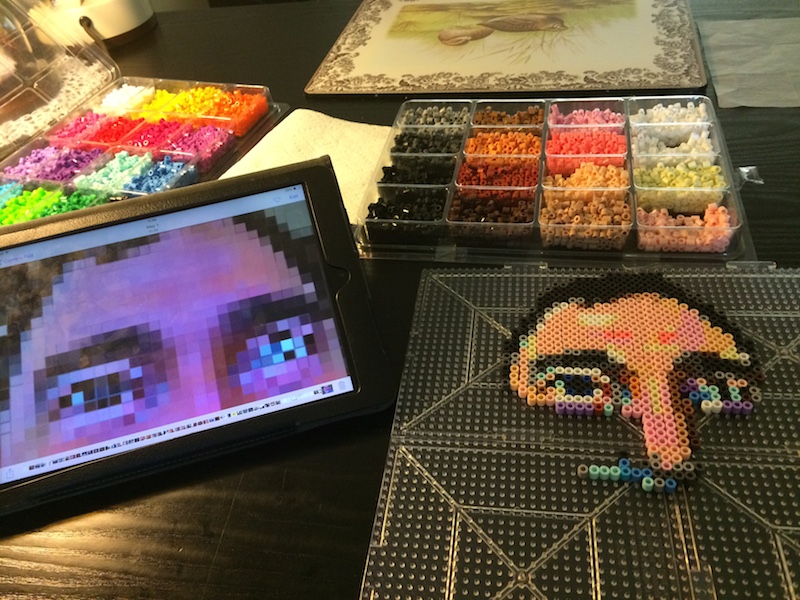
Looks like a piece of classical art no?
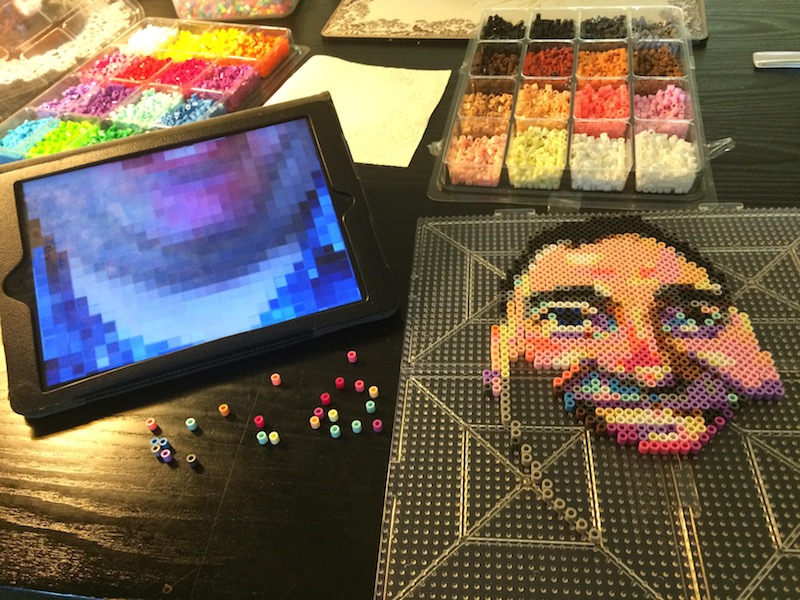
Oh my god! Could it be….?
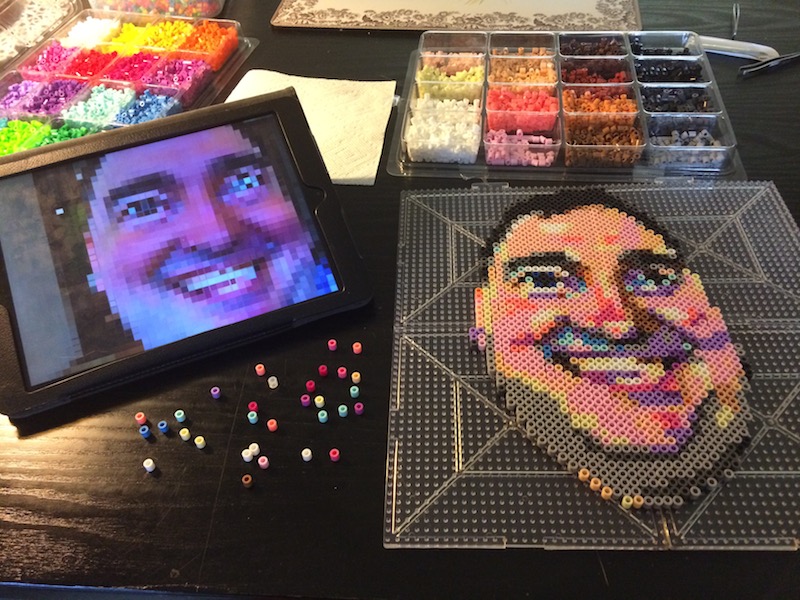
Oh my god! It’s Bernard! I’ve turned his likeness into pixel art!
But I wasn’t finished yet. Even though I’d been placing beads for about 4 hours by this point, there was still a lot of unused space around his head. This had to be remedied. Here’s the master at work:
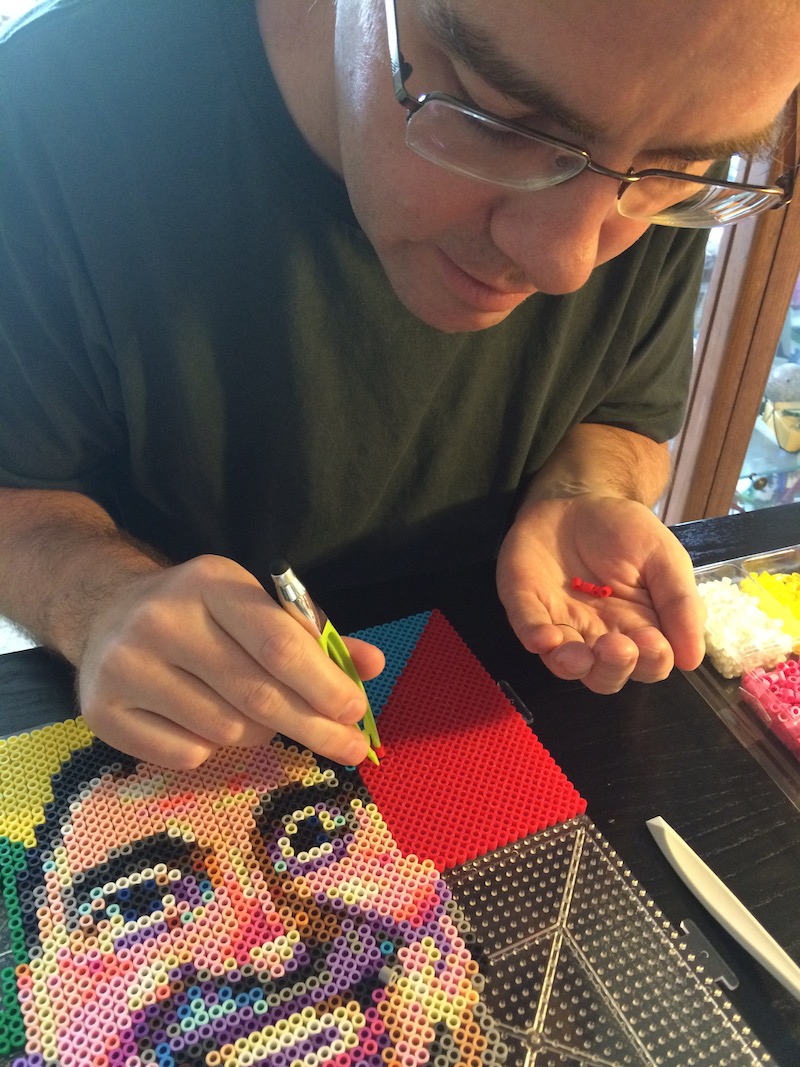
Look at that concentration! For over five and a half hours on Saturday I individually placed – using tweezers – a grand total of 3364 beads in over 23 colours to create my masterpiece. And here it is:
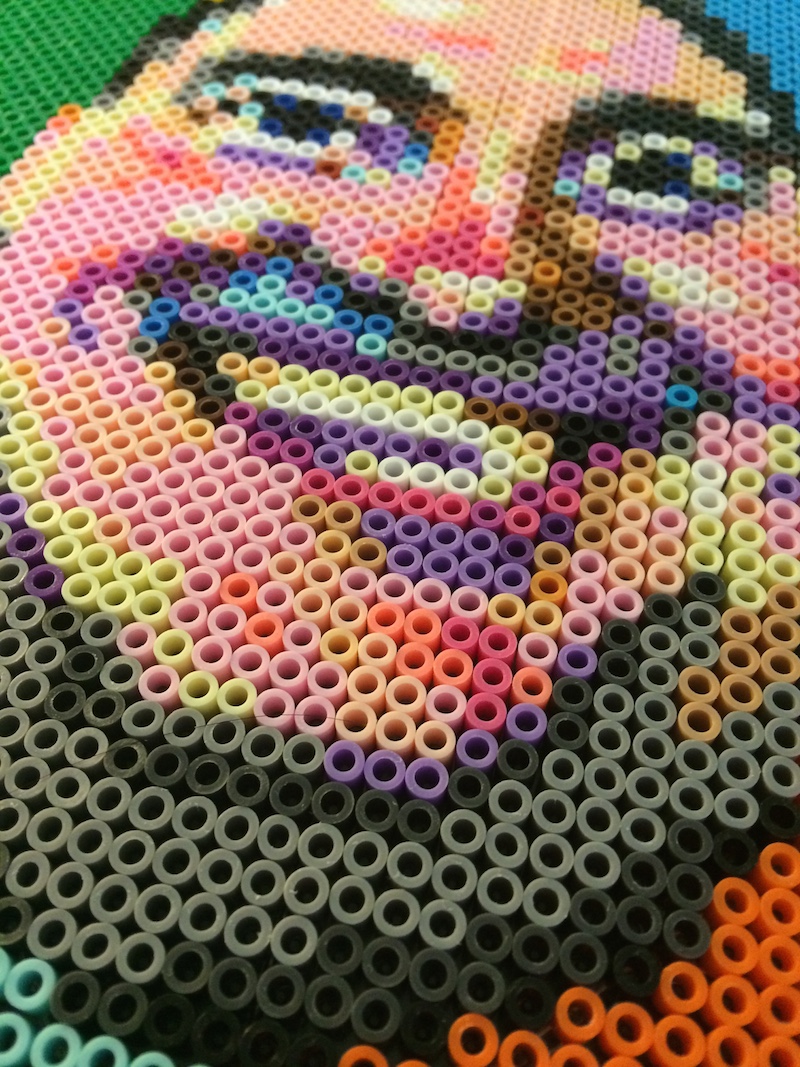
A detail clearly showing the beads:
This was no small endeavour! In fact it ended up being much, much harder than I thought it was. For starters I did absolutely no pre-planning, and I certainly didn’t really consider the palette of the available beads. Instead I used a ghetto technique to resize the original photo down to 60×60 and then just used it as a guideline for bead placement. There was considerable deviating from the pixelated picture on my ipad, especially when it came down to establishing the all-important detail (such as the cheeks or nose shading).
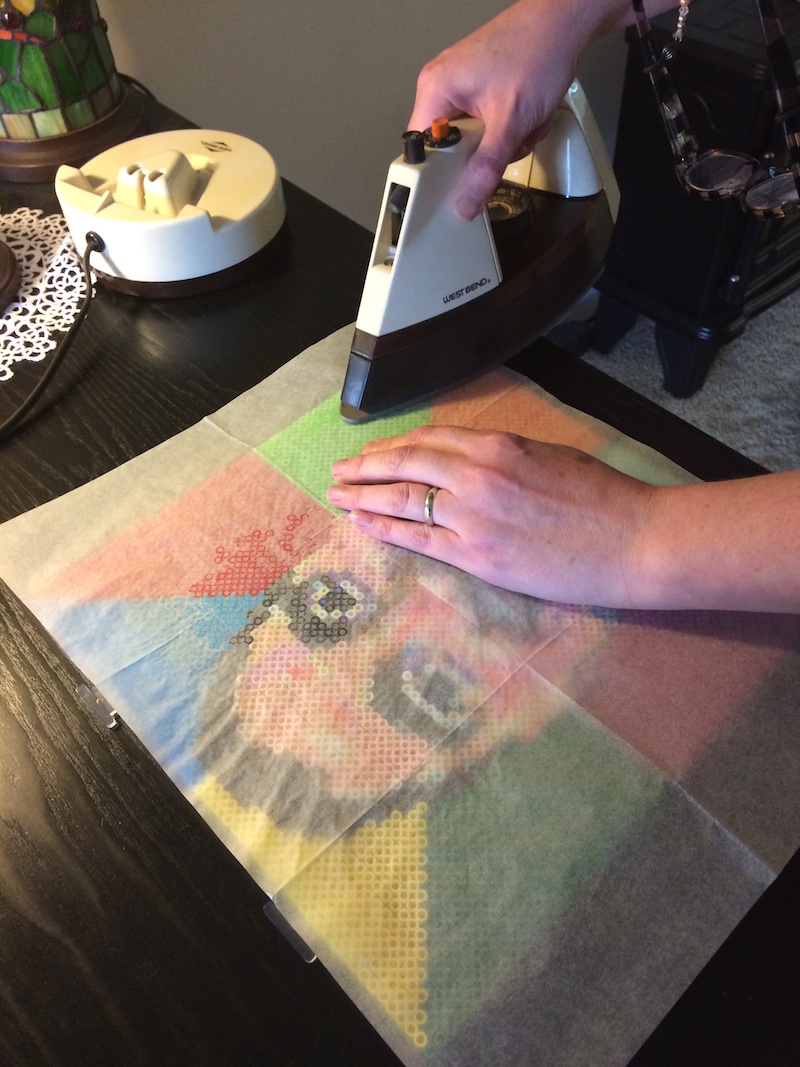
But then it transpired that placing the beads although time consuming wasn’t even the hardest part. Ironing them turned out to be much more challenging and took over 90 minutes in total (and more than a few stressful moments when it seemed like the whole thing would be ruined). The beads aren’t snapped onto the board in any way, they just sit there and can easily be dislodged with a bump:
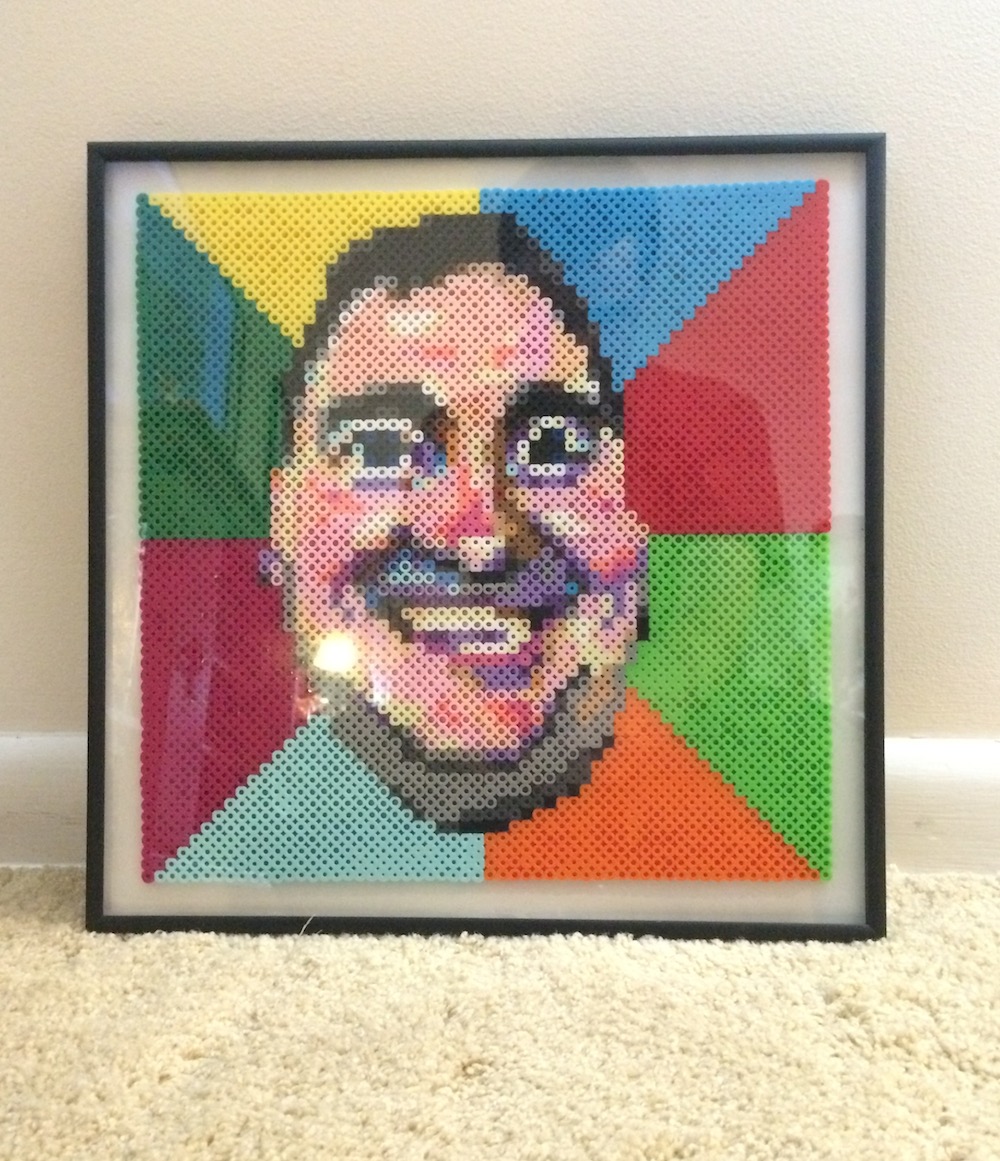
So, more than seven hours after I started, and in one sitting, I finished what can only be described as the greatest masterpiece I have ever created. And here it is:
Here’s the original – and famous – photograph that inspired it:

I think you’ll agree I did it justice?
Now and forever this will be displayed proudly in our house. It’s hanging in the hall next to Freddy Mercury, and defies any passer-by to not stop and appreciated it:
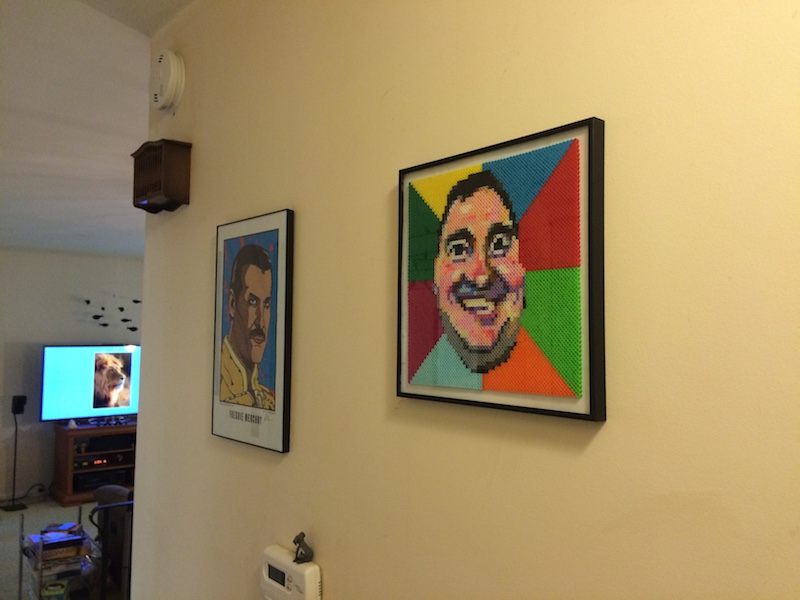
It has instantly become one of my prized possessions 🙂
OMG!
Even I can barely believe I actually managed to make it!
I can’t believe what I am reading and seeing. It is so well done, so professional. In your case you could give up your day job and go into the pixel making business. I am sure it would fetch more than Picasso artwork sold in London yesterday. Bernard will be proud. Congratulations.
It’s priceless! Not for sale I suppose even though at seven hours tedious labour one could easily ask for a thousand dollars.
As a postscript, I really did buy the beads solely for the purpose of making this mosaic, and there wasn’t any exaggeration here (it really took >7 hours)!
I’m not in any hurry to tackle such a large project again though 🙂