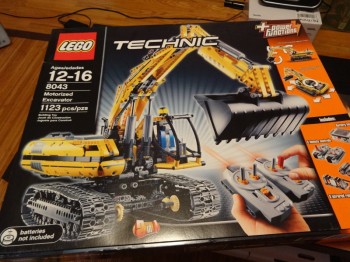
It was time once again to remove from my shelf a new Lego Technic set. As with all the others I have build in recent years, I’m going to call this set – officially known as a ‘Motorized Excavator’ – another crane:
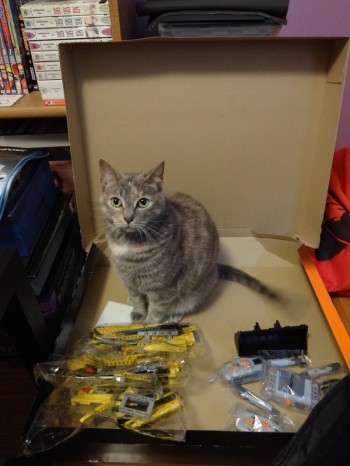
I bought this oodles ago and I’m going to pretend to forget how shockingly expensive it was. Last birthday I got (yet!) another ‘crane’ set so there were two on my shelf for a while. I knew this guy would take time and attention to build, so earlier this summer I cracked him open. Here’s what was in the box:
Er, that’s not actually everything. That’s what was left after I’d removed 75% of the pieces and the three lengthy instruction manuals 🙂
This kit was a challenging build. In fact it was probably the most complex Technic kit I have ever made, close to the Death Star in terms of frustration. I built it in many phases across several weeks, and one step in particular required two people. KLS helped me then, although not without cursing and teeth-gnashing, and I can’t imagine how it would have been possible to attach the arm to the chassis without at least three hands.
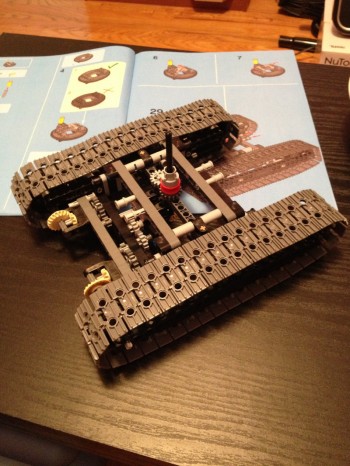
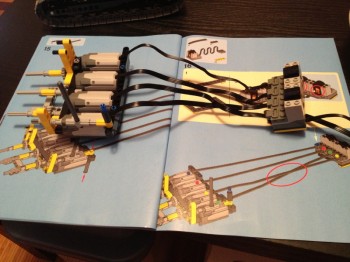
Some under construction shots:
They are the four separate electric motors that power the excavator. Note the required crossing of the wire order. Eventually the above would be connected to the battery pack, which contained IR sensors so the device can be controlled wirelessly.
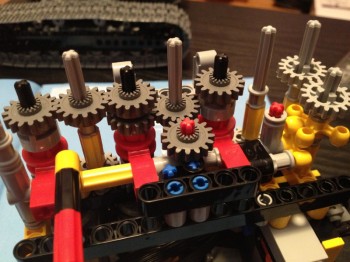
A very small portion of the incredibly complex gearing that the excavator uses. Four motors each have a separate degree of freedom (as you’ll see in the video) but – amazingly – some of these share gearing. As I was building this many times I wondered how anyone devised this mechanism in the first place, much less in a way it could be built via Lego.
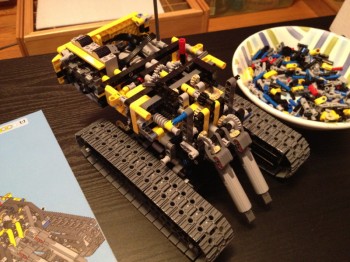
At the time of the above photo, I had spent maybe a half-dozen hours on the kit over a few weeks. I’d say this was about half done at this point.
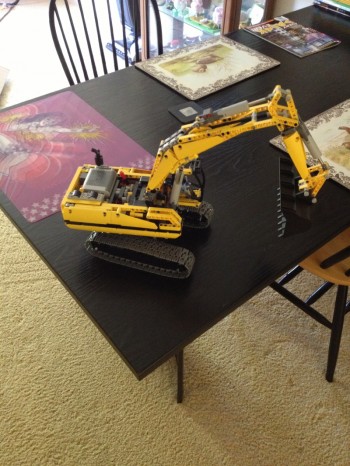
The finished kit. It is very large (about 60 cm long and 50 cm high in the position shown above) and quite heavy. You can see the battery pack in the back of the cab. Not shown are the two separate remotes. All told the device requires 10 batteries (6 AA and 4 AAA) to work, and unlike some other kits I have there is no manual override to allow for non-powered use.
Here is a video demonstrating the various functions controlled by the motors:
As you may have noticed I made an error switching between remotes manually. I didn’t realize how complete the remote control is!
This was a challenging but very entertaining kit to build, and I was surprised it all worked first go since some of the gearing seemed extremely tight when I was building it. Given the size and complexity, it’s hard to believe Lego will ever top the scale of this kit 🙂
Yossie does such good work!