For my next electronics kit challenge, I made this:
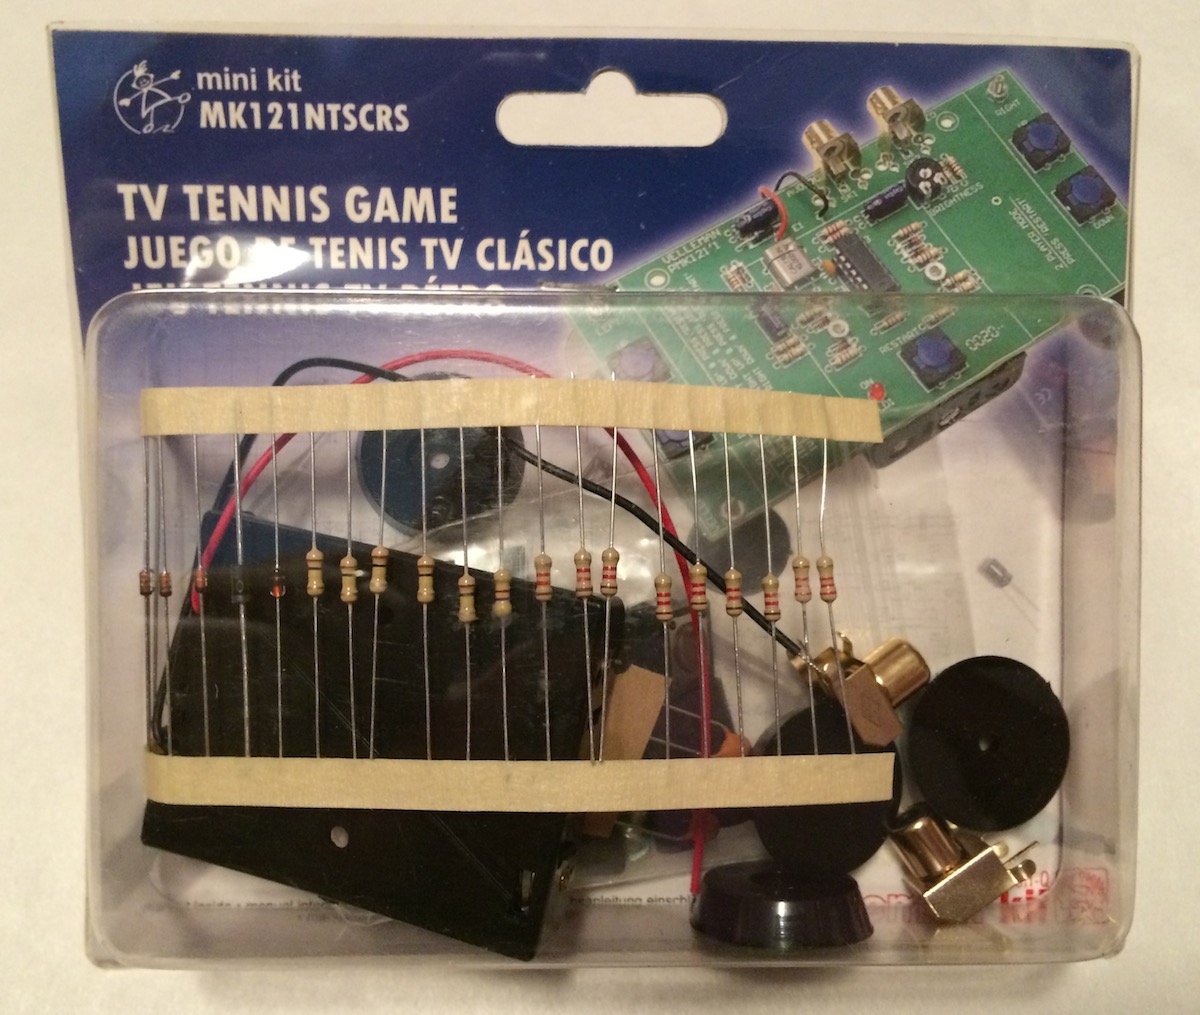
Yes, a TV Pong kit, in component form. It was cheap (about ~$10) and looked easy to assemble. Could it be any good?
Here it is ready to be put together:
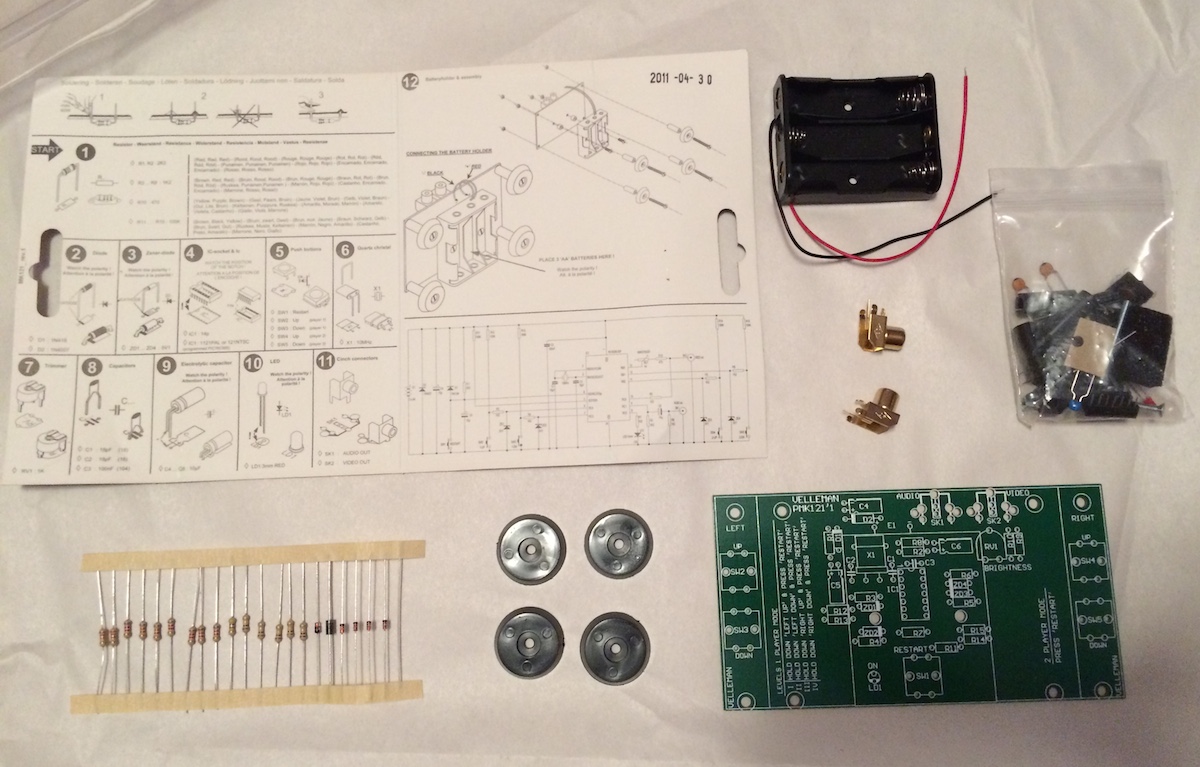
Not a bad amount of pieces. The PCB is very clean and easy to solder onto, and compared to some other kits I have made this one was extremely easy to assemble. All told, it only took about an hour. Here’s the finished product:
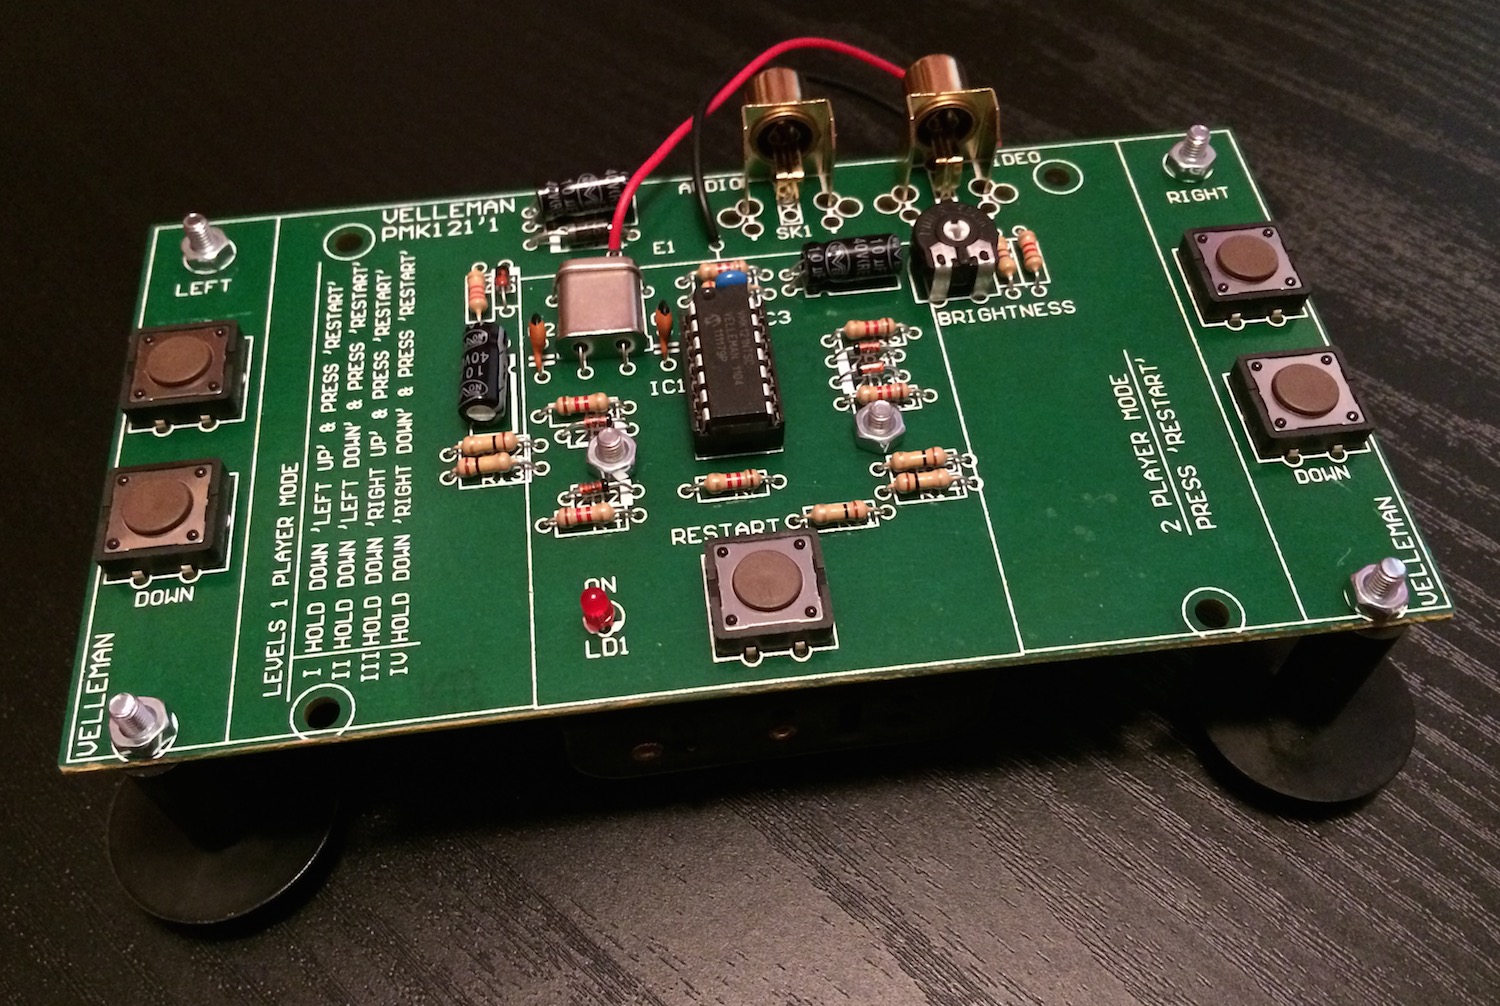
What you can’t see: my impressive soldering 🙂
But the true test was to come. Skeptically, I connected it to my ‘TV that exists just for old game consoles” and turned it on…
The ball moves so quickly it’s almost impossible to hit it, even in the 1P mode. But whether it is playable is immaterial: it worked first go!
Even if you’re not impressed by that, I was 🙂
It is very impressive since if it didn’t work first go, how would you have figured out what was wrong? It might have even been damaged as soon as you applied power and never work again.
I’m going to use your soldering skills to make a computer. I’ll design it and send you the components for you to solder.
In the event of it not working a missed connection would have been most likely. I would have started by checking all my soldering, then checking that the directional components (transistors, diodes) were in the right way.
If that was all ok it may have been a bad component. The resistors and LED are easy to test (I could have done so here at home). The diodes are a bit tougher, but I could have grabbed some equipment from work to do it.
The other components: transistors, crystal, IC, video/sound out components would have been problematic! By a process of elimination I could have maybe deduced which one wasn’t functioning. Replacing them may have been a challenge though.
Interestingly the kit came with two different IC’s; one for PAL and one for NTSC. All this for about a tenner!