Over two years ago, on our last trip to Japan, I went menerk and purchased on our penultimate day a suitcase full of Gundam kits. You can glimpse some of them in the photo of loot from that trip shown in this entry. Some of those kits have since been assembled, some have been gifted and others sit on the shelf waiting for their day.
And for one particular kit – the biggest, best and most daunting, that day had arrived.
It’s the Master Grade 1/100 Shin Musha Gundam kit. This is an imagining of Gundam as if they were designed in medieval Japan. I fell in love with it when I saw it in a store, and despite the large box had to get it. I recall even now the effort getting that suitcase packed (I didn’t joke above; one suitcase was literally packed with just Gundam kits) but I’m glad I did.
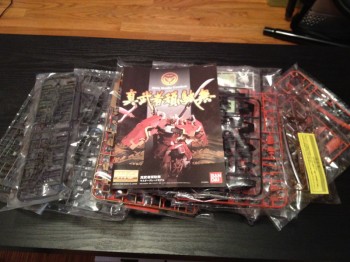
Years of just admiring the box however had to eventually end, and two weeks ago when I decided to finally assemble it here’s what I found inside:
Lots of plastic! Lots and lots of pieces! Dozens of pages of instructions! A lot of time ahead of me…
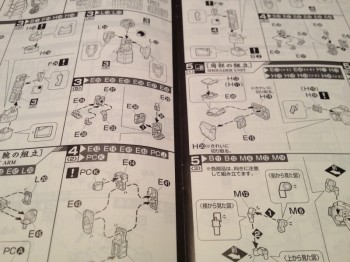
The instructions are (obviously) all in Japanese. But the crafting of the kit is of the highest order, with every piece immaculately molded and labeled. Furthermore this is a snap-together kit (as are all Gundams) with multicoloured plastic, so paint and glue is unnecessary.
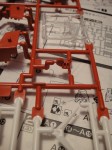
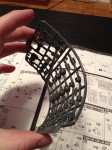
The first shot shows the different coloured plastic even on the same sprue, and the second shows the rubberized plastic used for joint pieces. Model kits have come a long way…
Assembly, while not difficult, was time consuming to say the least. The only tools I were using was a small pair of scissors (to remove the pieces) and an emery board (to file down edges), but after several hours work I ditched the scissors and purchased a pair of pliers to make the job easier. The kit contains many, many small pieces with pointy edges, so I found myself working in small batches (< 2 hours) because of sore hands and sore eyes.
In total, I estimate somewhere in the vicinity of 12-15 hours total assembly time.
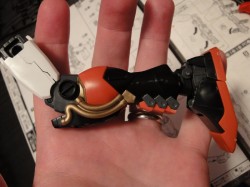
The kit is assembled in stages. Head, arms, legs etc., and then everything is put together at the end. I’ve made a few Gundams over the years, but never a Master Grade kit, and I was constantly amazed (and showing a mostly disinterested KLS) by the detail. For instance, the almost-complete right leg shown above contains forty individual pieces, a large portion of which are so that when the joints bend moving pistons are visible. Given that 99.999% of these assembled kits will be sitting motionless on a shelf and these inner parts are therefore mostly invisible one can’t help but be bemused by the level of detail 🙂
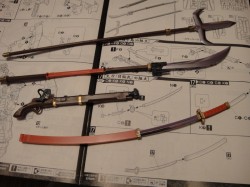
The above shot shows the weapons, which are the last pieces assembled. Yes the sword has a working scabbard! Happily, the kit has articulated fingers (!) so he can hold any of these weapons as he sees fit. But I’m content to leave them stored for possible future use.
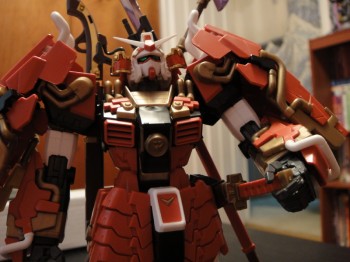
Here’s a close up of my kit after I had finished:
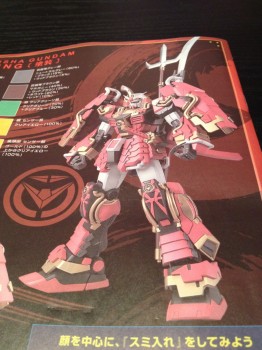
Not the best photo I know, but the best one I took that shows how his hand is resting on his sword hilt. I’m quite proud overall of how he turned out, especially given I won’t be painting (or ‘Gundam-markering’) him. Even so, a photo in the instructions show’s the potential of a professionally assembled version of this kit:
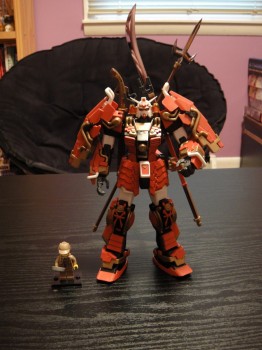
Here’s a last shot of mine, showing scale versus Lego Sherlock Holmes.
He looks quite impressive, don’t you agree?
The kit cost me Y3600, which was about $40 when I bought it. These days it seems to retail for US$60-100 (depending on the seller), and even for that price I’d say it’s worth it as (by far) the best and most fun Gundam I have ever assembled. I can virtually guarantee that making this guy has shorted the remaining time my other kits will remain unassembled on the shelf!
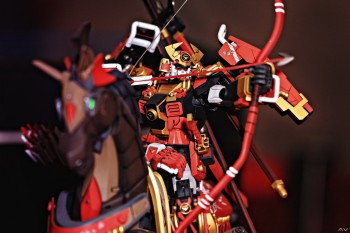
One last bonus shot! I found a photograph of a custom assembly made by a Gunpla Übermensch. I can barely believe this is the same kit:

Very cool! Make sure I see him next time I visit.