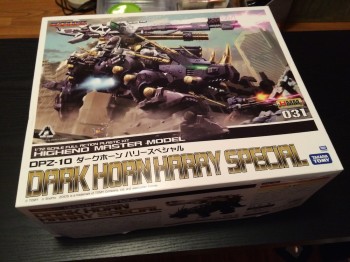
It was time once again to reach to my giant pile of unmade plastic model kits and remove another for assembly. The lucky kit this time was:
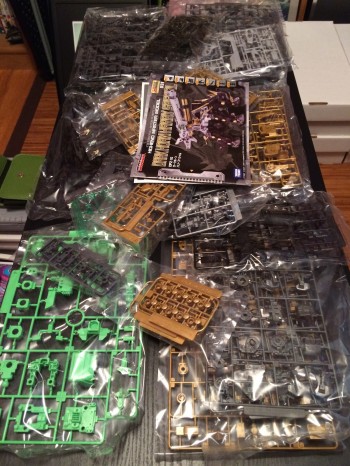
Another ZOID! I’d bought this kit about a year ago after falling in love with the design, but I was a bit daunted due to it’s size (easily the biggest model kit box I’d ever seen). But I’m no amateur! Here’s what I found inside:
That so many pieces right there, somewhere over 700 divided amongst an astonishing 47 different runners in at least 9 different colours! This would be a fun build…
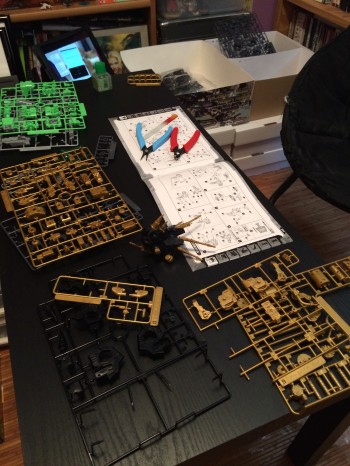
There’s an in-progress shot. I used the same old tools I always have, only this time kept a bottle of glue handy just in case. In theory I wouldn’t need it since this was a snap-together kit. The ipad you can see played mostly Amiga or ZX Spectrum longplays off Youtube while I assembled, which was done in approximately 2-3 hour sections over a period of about 6 weeks. As with most kits of this type assembly is done in sections: head, breast, torso, legs and lastly weapons.
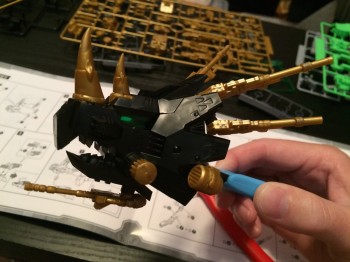
Here’s the completed head:
Menacing isn’t it! The mouth opens and closes, the spines on the crest and lower gun are posable and the entire upper half of the head opens to reveal the cockpit (the driver looks out through the green glass eyes). Very quickly I learned that this was no beginners kit and I needed to take things slowly, and a few steps during the head construction were technically difficult. The whole thing took maybe 90 minutes and contained an amazing 71 individual pieces!
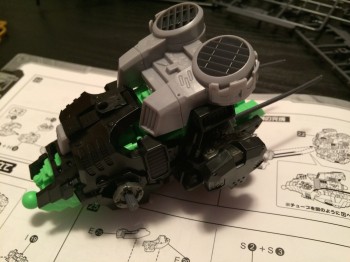
The breast and torso were next, and a real pain at times. The kit is designed to a very high level of precision, and there is little ‘wiggle room’ for the sections when they all come together. Joints are quite tight, and some even lock together when you put the pieces in. This means you need to pay very close attention during assembly since it can be challenging to take pieces apart if you make a mistake.
I managed to avoid any major problems during assembly, but if you look closely at the completed breast section above, you’ll see two flexible pipes protruding out the back. These would eventually connect to the torso section once they are combined, but (since the instructions are all worded in Japanese) I did not notice they had to be trimmed from their original length to precisely 87 mm and had to do a bit of disassembly to fix this after the fact 🙂
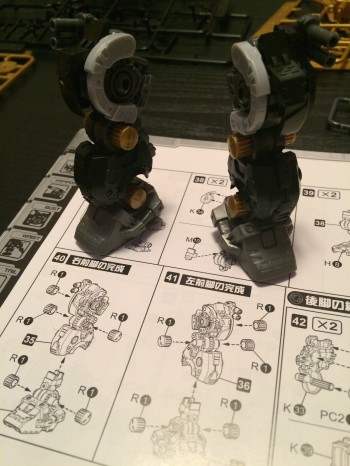
The front and rear legs are both made in pairs (left and right being reflections of each other) and were the most fun parts of the kit to assemble. Each are highly articulated and at the same time look very stocky. Each of the two legs shown in the above picture have 45 pieces in them.
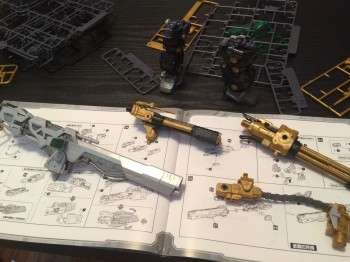
This particular ZOID is (apparently) a heavy weapons platform (almost literally) and the weapons are the last part of the assembly. From the left you see some sort of beam weapon (let’s call it a ‘linear wave motion cannon’), some sort of mass driver projectile weapon and a conventional chain gun. The mount on the lower right connects the weapons platform electronically to the cockpit. Often in kits like this the weapons are a bit of an afterthought, each consisting of a few pieces and mostly secondary to (and in some cases not even attached to) the main figure.
Not so here! Weapon assembly is a full quarter of the instructions, and they are just as complex and have just as many parts as the main kit sections. The wave motion cannon for instance (big grey thing, lower left) is articulated in three places, and contains an amazing 37 pieces.
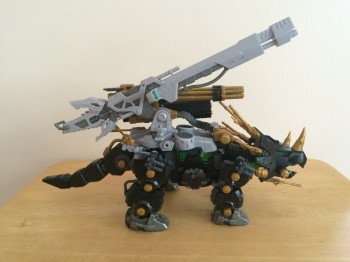
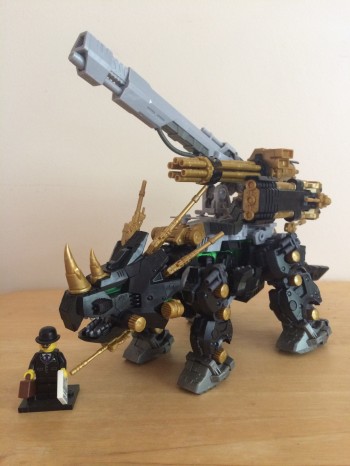
Here is ‘Dark Horn Harry Special’ once he is all finished and assembled:
Another shot showing scale:
All told I’d say it took me about 10-12 hours to assemble, and was one of the most finicky and difficult kits of its type I have ever made. 99.9% of the joints were snapped-together; I only ever used one single tiny drop of glue. Perhaps due to the challenge – and certainly the design – I immensely enjoyed making this kit, and think he looks great on my bookshelf where he will now live.
Next though I think I’ll move onto something a bit easier. Didn’t I have a HG Gundam somewhere in that big pile of unmade models…
