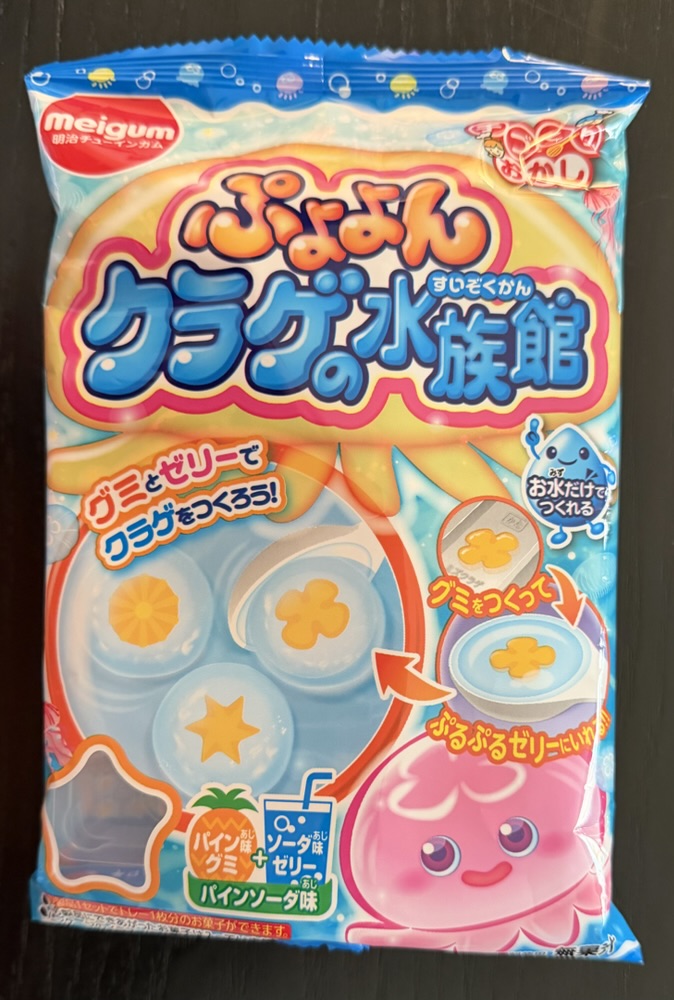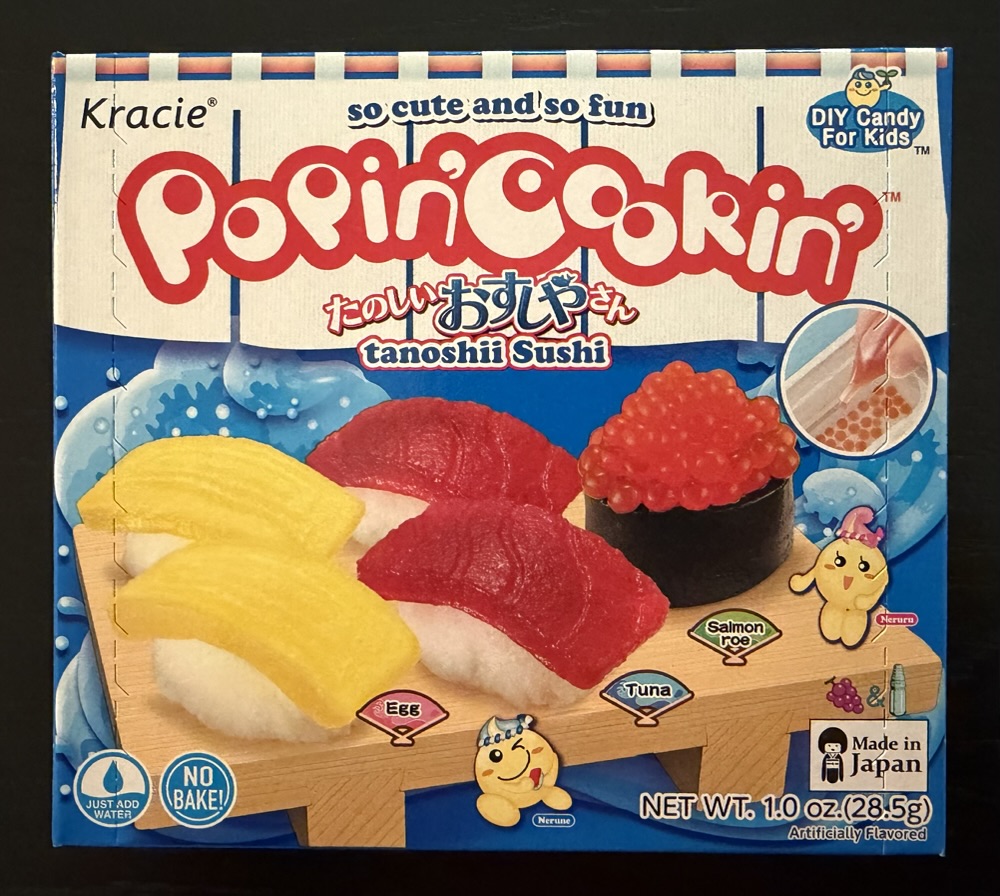
The seventh and final installment in this candy making series is another kit by Kracie: this sushi kit. Egg, tuna and salmon row sushi, all made of candy. Let’s go!
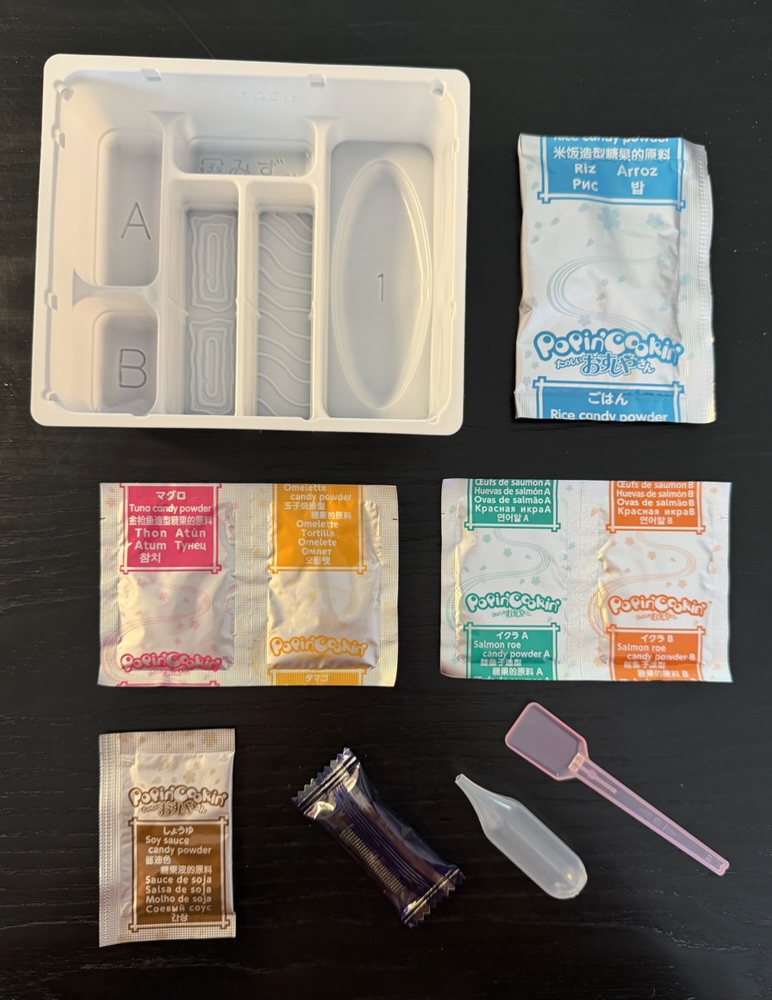
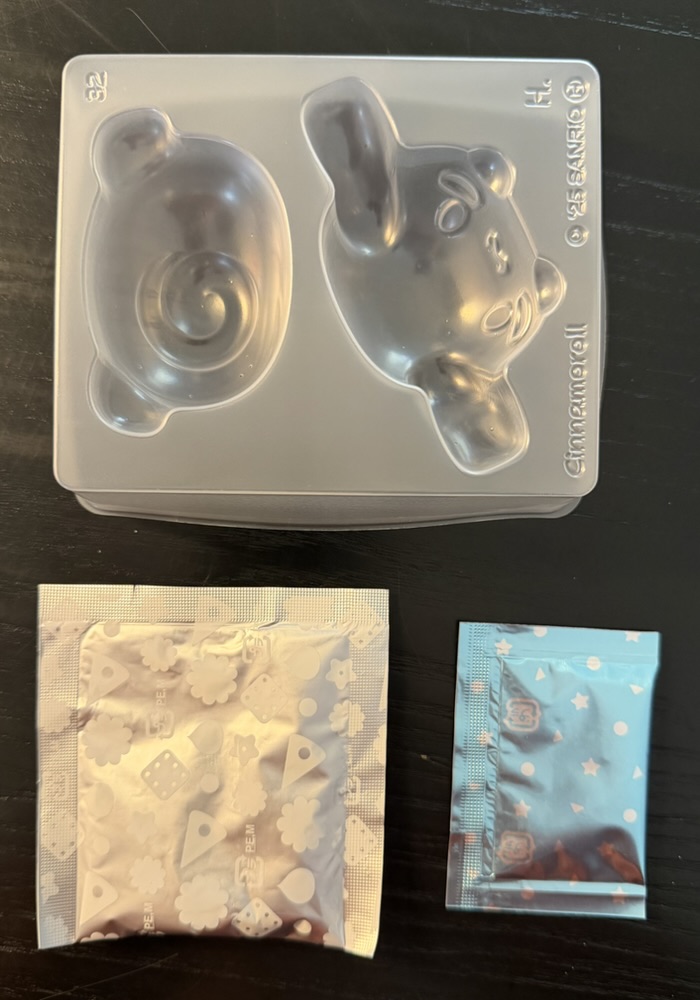
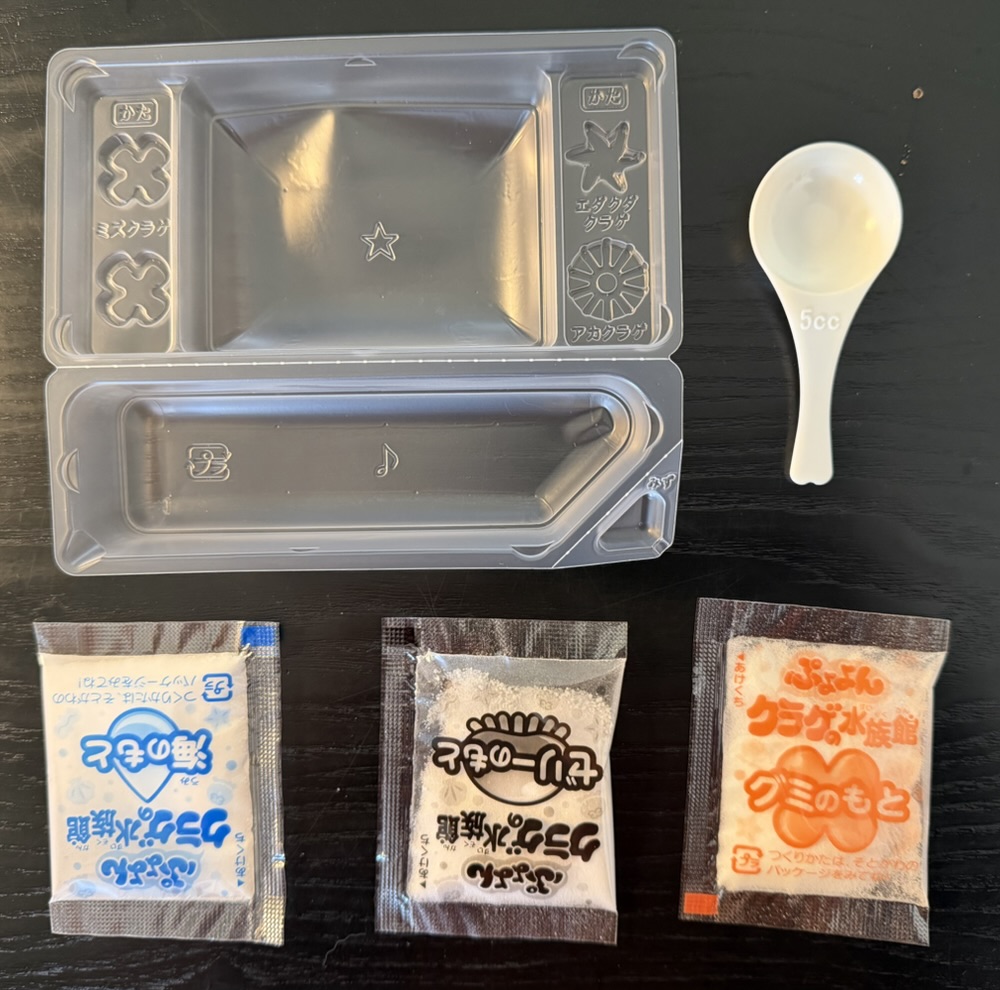
No surprises with the kit contents, although the dropper is unusual. The black packet on the bottom contains the ‘seaweed’.
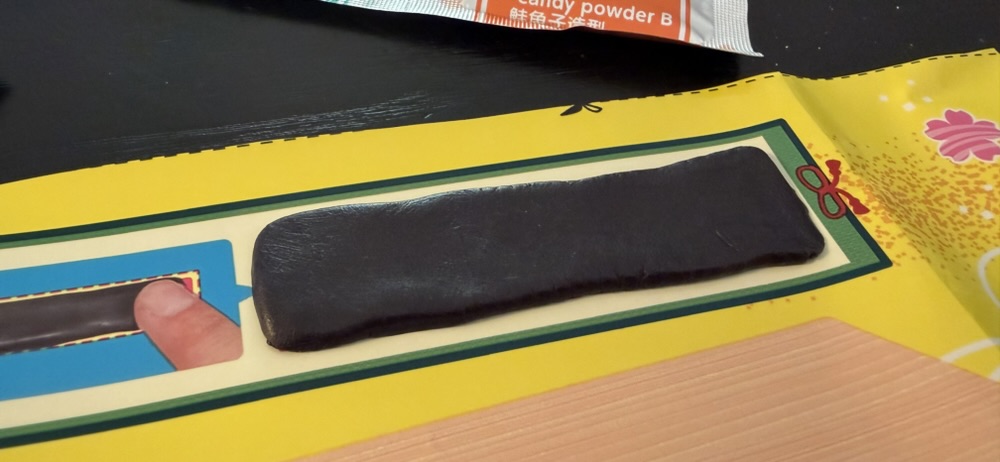
This was a pliable solid that was flattened and would become the seaweed wrap for the salmon roe. I nibbled a tiny bit and it had a fruity taste.
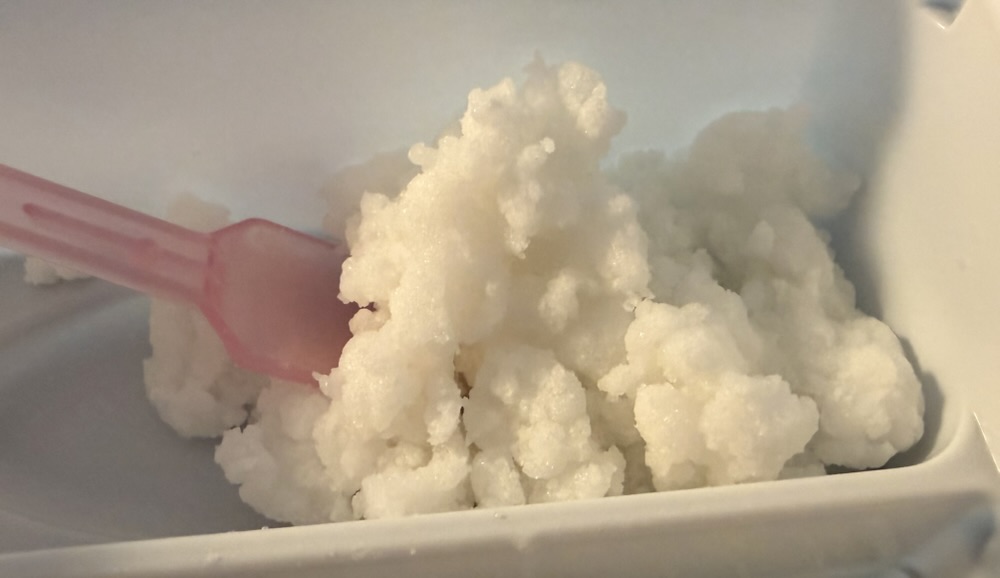
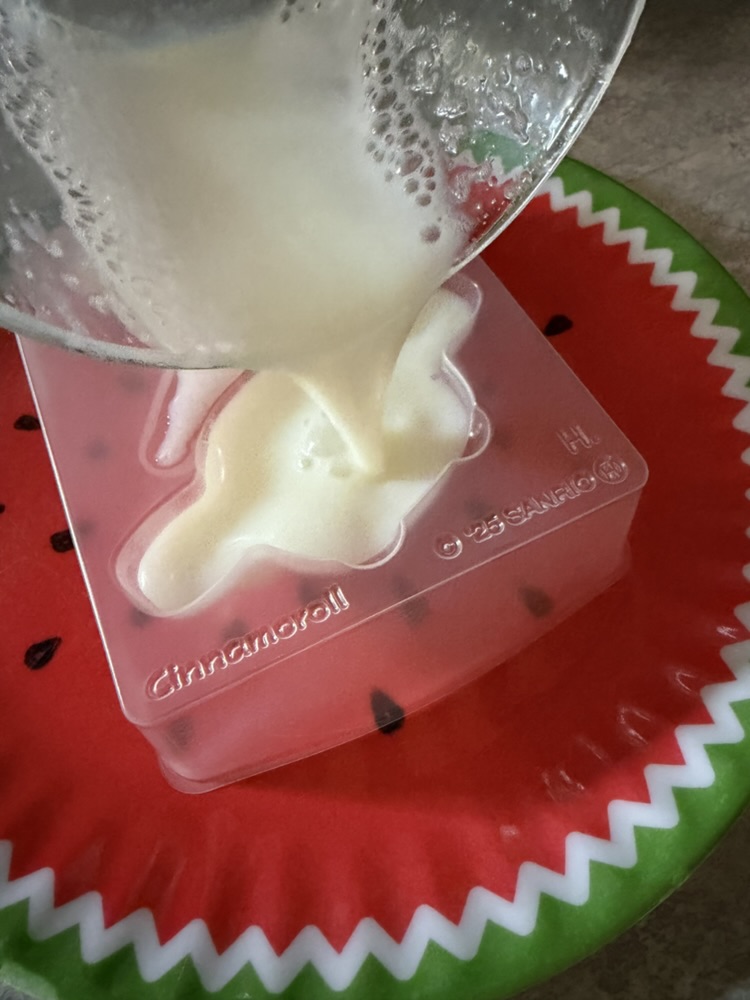
The rice was interesting. Once again it was simply powder mixed with water but this time it formed a sticky and somewhat grainy clump that at first glance easily passed as rice.
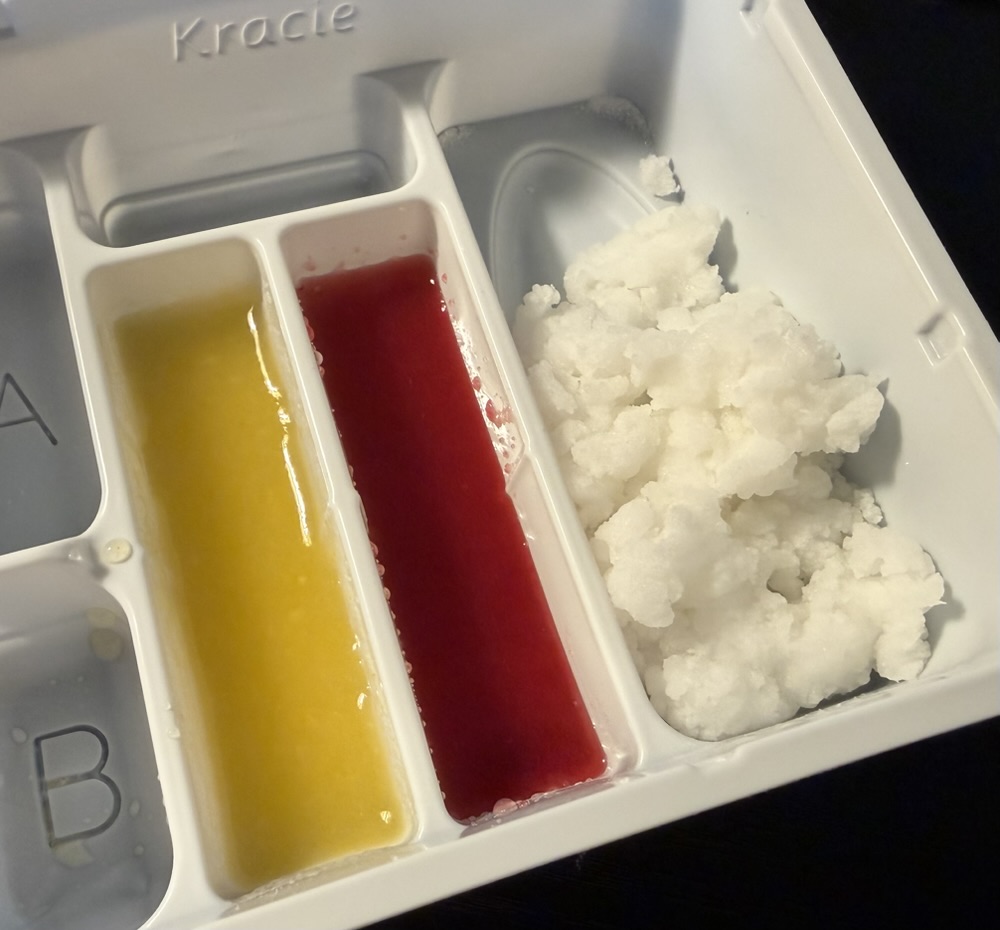
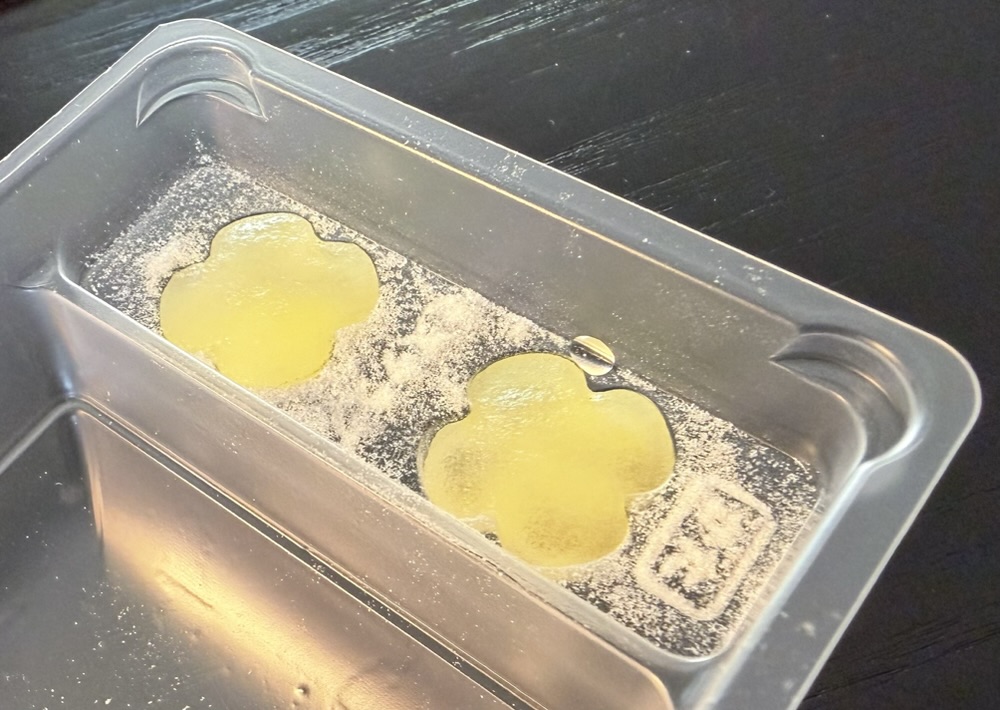
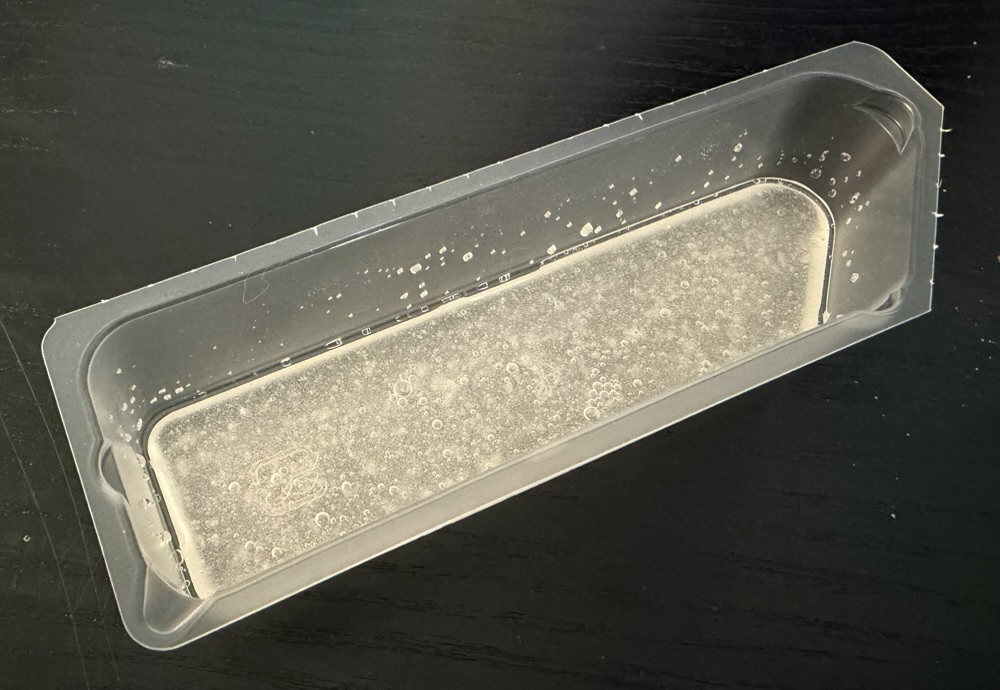
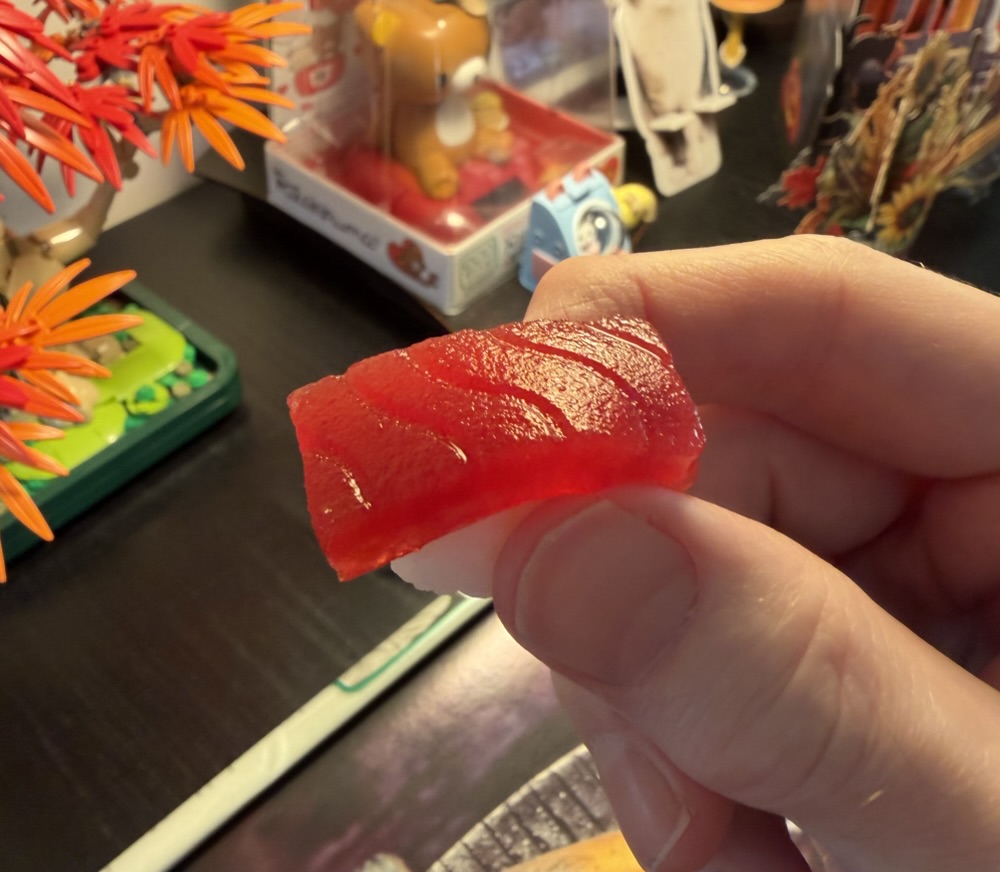
The egg and tuna were jellies formed in these two trays. The bottoms of the trays were textured, as you’ll see on the photos of the finished product below. They nailed the colours of both of these and they convincingly look like egg and tuna.
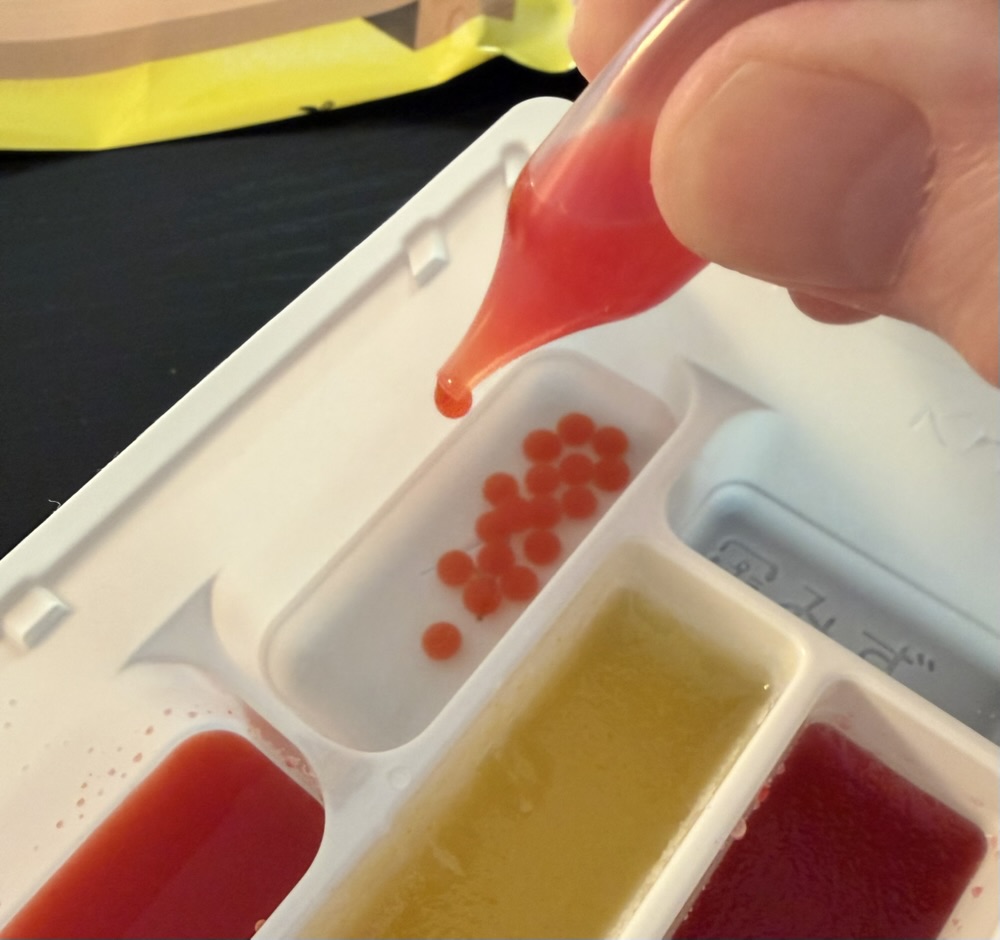
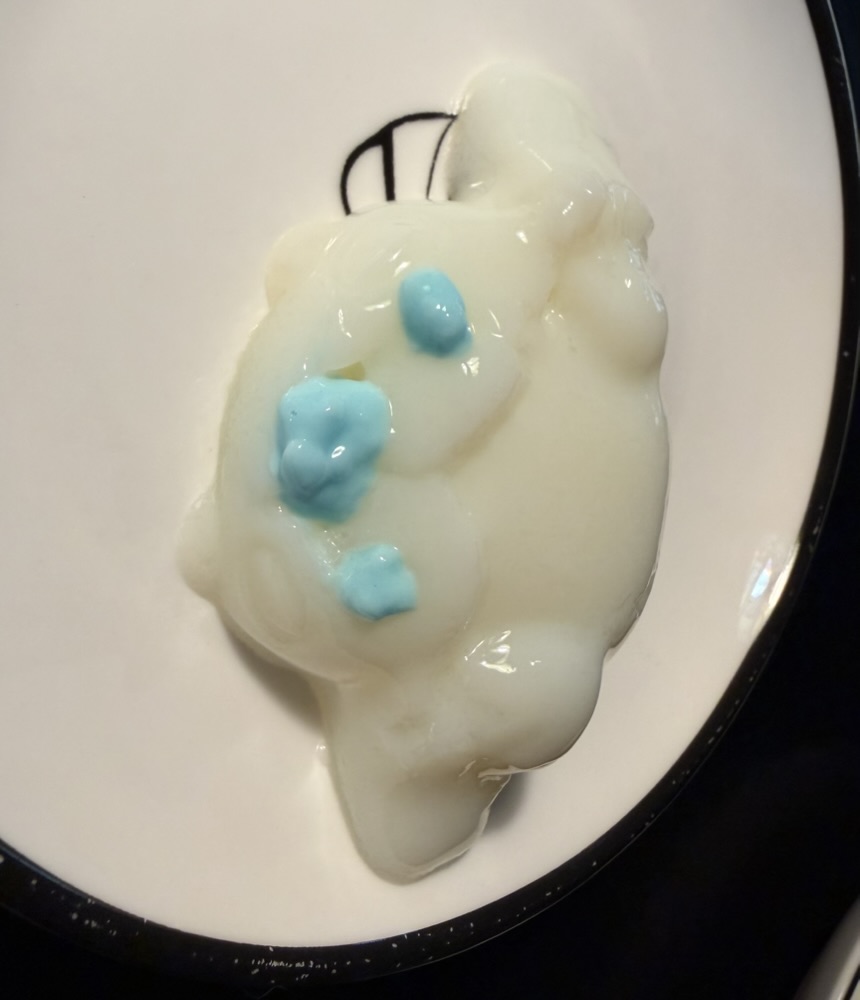
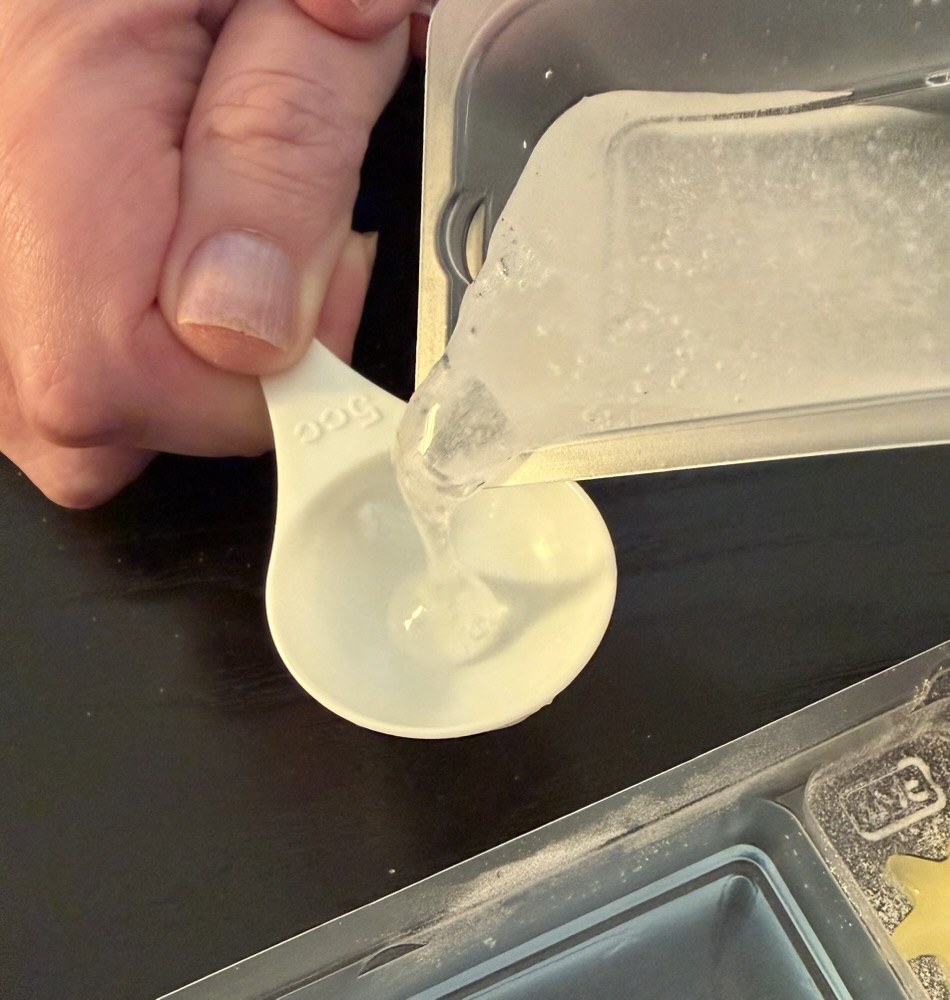
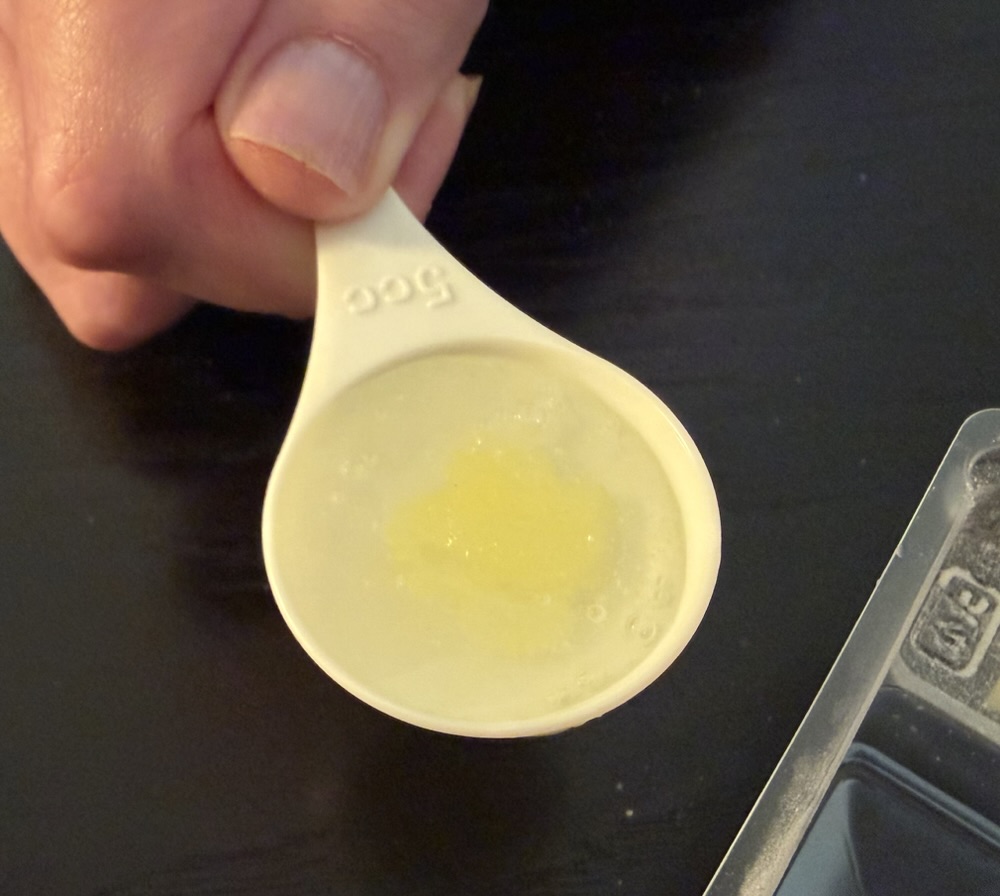
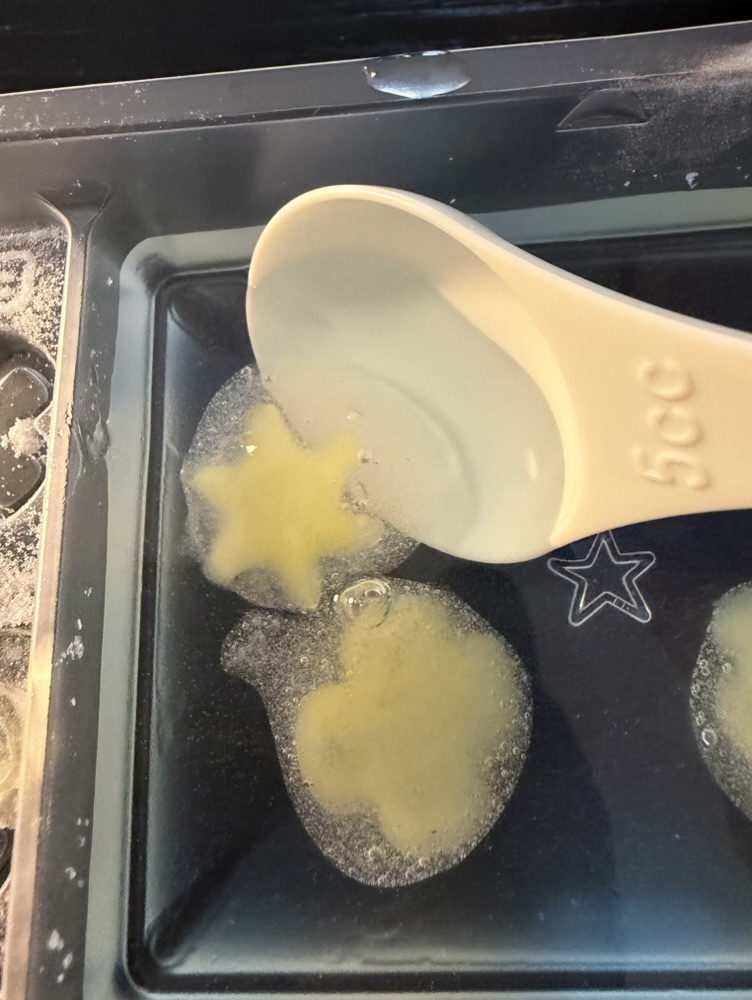
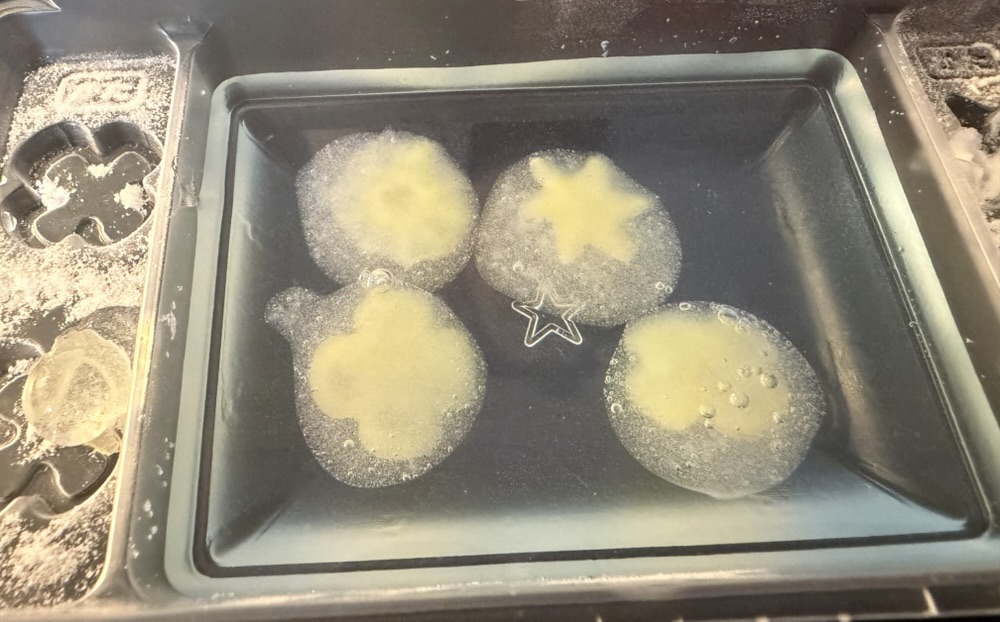
The amazing moment from this kit was the creation of the salmon roe. A powder was dissolved to form a red liquid which was then dropped into a tray containing another dissolved powder in which it solidified! The individual eggs could then be removed and used as the roe.

The final step was to create beds of rice on which to play the egg/tuna/roe. This was easy and the final products look great.
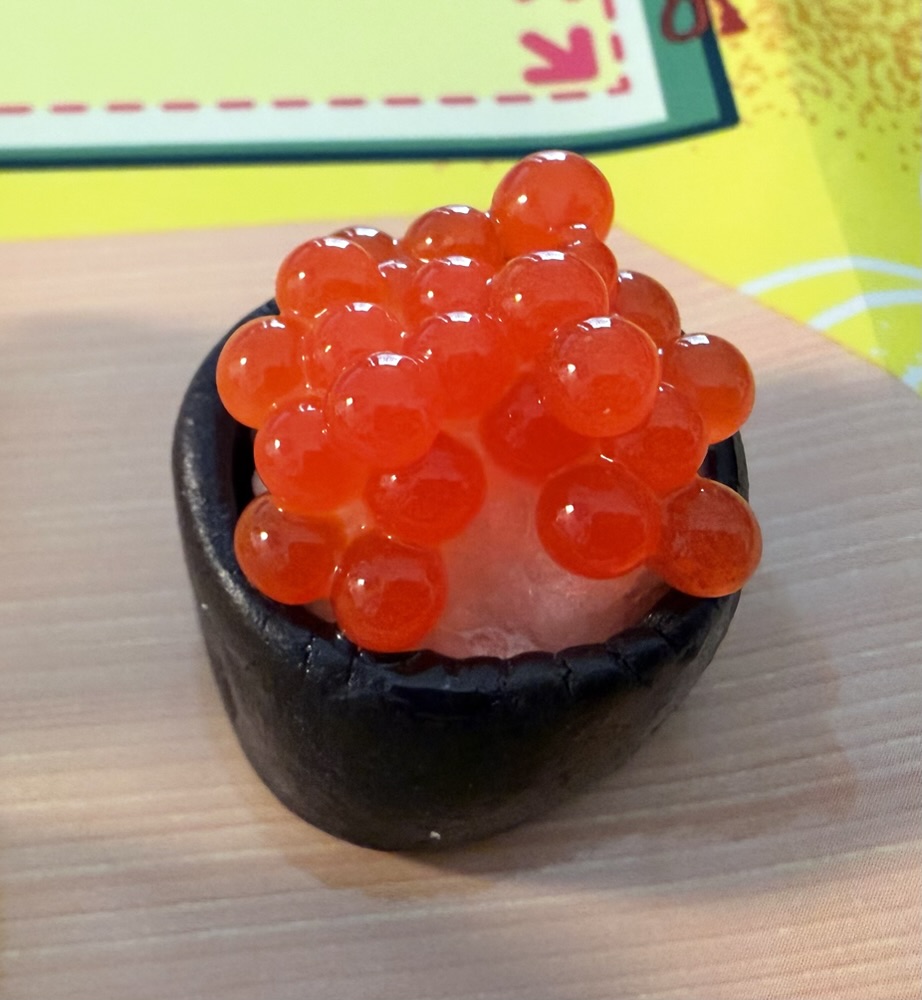
The salmon roe sushi in particular is a work of art! That’s all candy, and 100% edible! And I made it myself 🙂
This stuff was all delicious. The texture was perfect (mostly gummy but the rice was chewy) and the tastes were all fruity. We didn’t plan this, but this final kit was the best of the seven both in terms of fun to make and how yummy they were to eat. All the thumbs up for this one!
And that’s it for a week of candy making. I hope you enjoyed this, since we did. And you can bet if we find any more unusual (probably Japanese) candy making kits in the future we’ll be buying them as well!