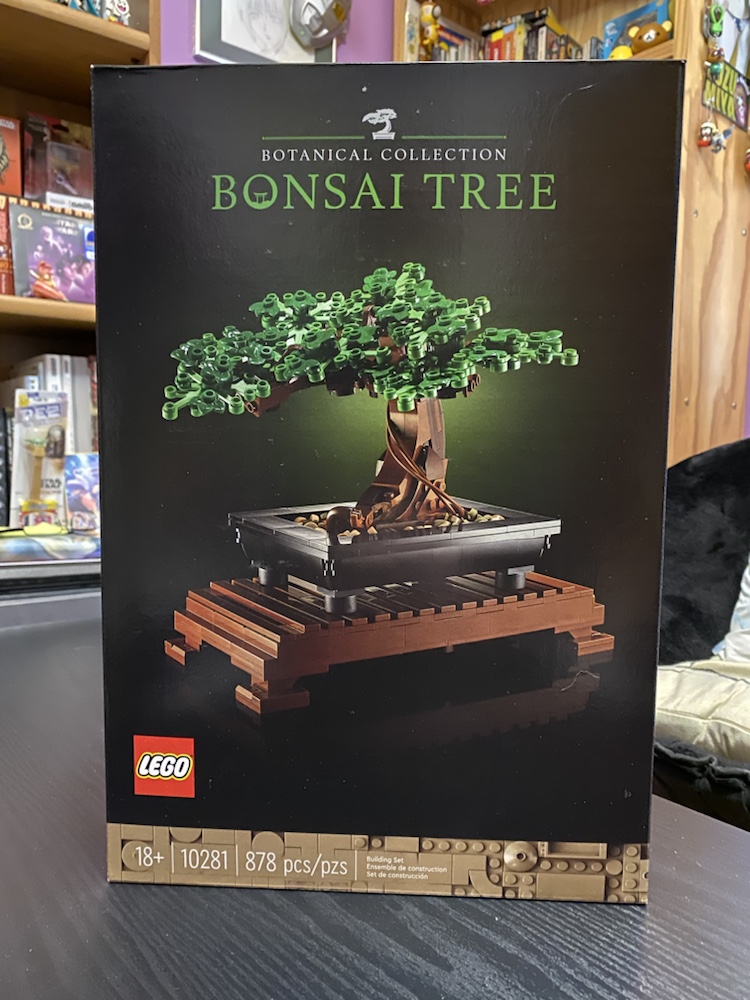

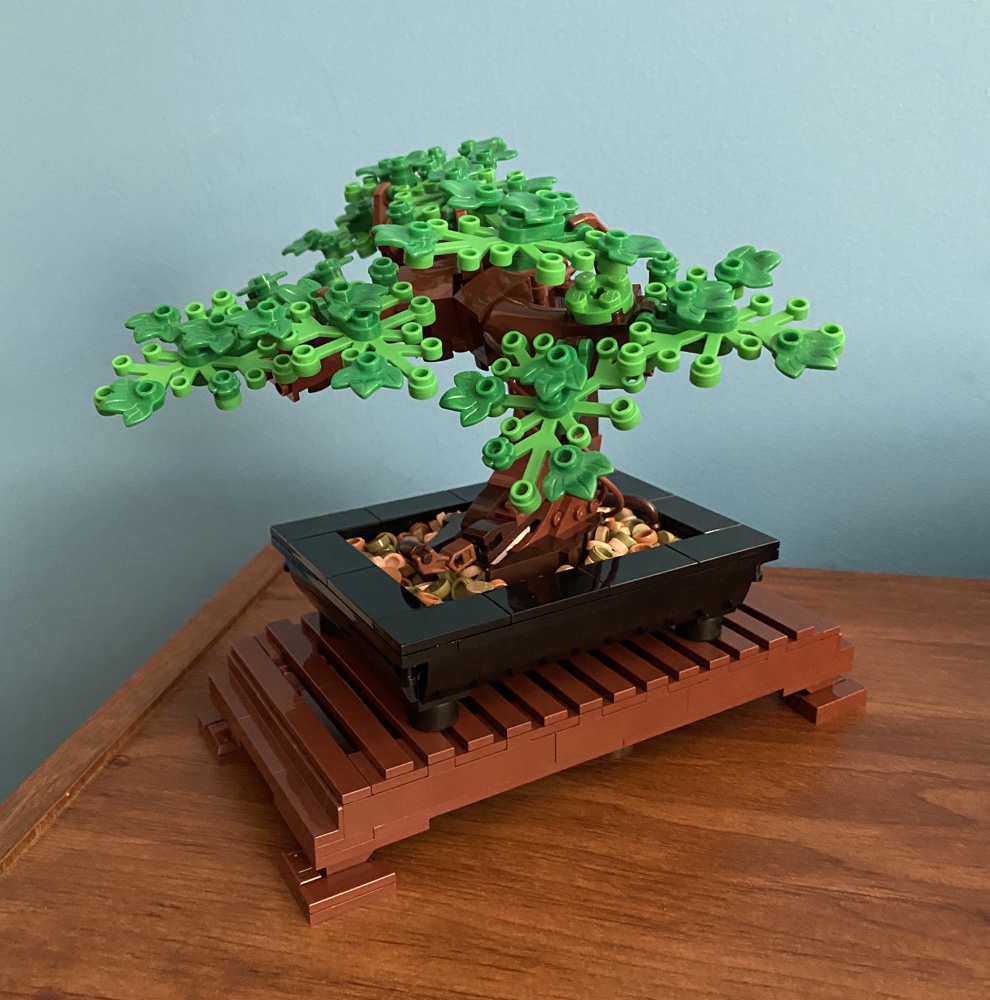
It also has a cherry blossom mode, with pink flowers, that I’ll probably make in the spring.
“Life In The So-Called Space Age”
It also has a cherry blossom mode, with pink flowers, that I’ll probably make in the spring.
I love jigsaws made by a company named Pintoo. The pieces are plastic and fit together with barely an atom between them. The finished puzzles look great and you could easily frame and display them.
I’ve bought a lot by this company and given several as gifts. I think 500 to 800 pieces is an ideal puzzle size, but recently I got a 2000 piece puzzle:

This is a lot of pieces, and all spread out barely fit on our table:
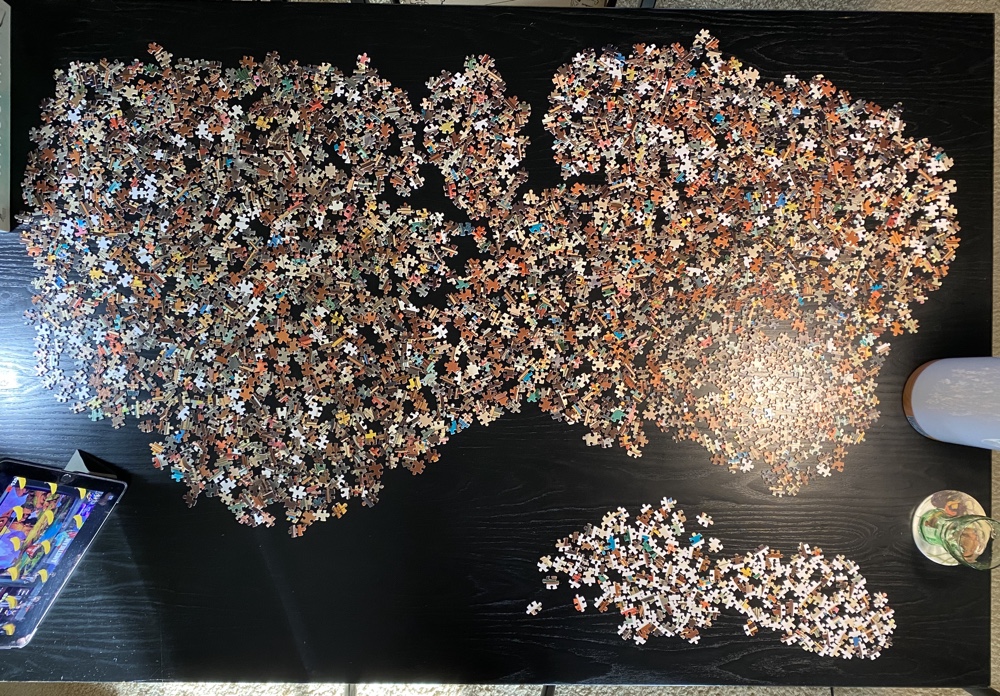
Pintoo puzzles lack flat edge pieces so making the border is much more difficult than in other puzzles. In this case, sorting the pieces and making the border took me over 4 hours!
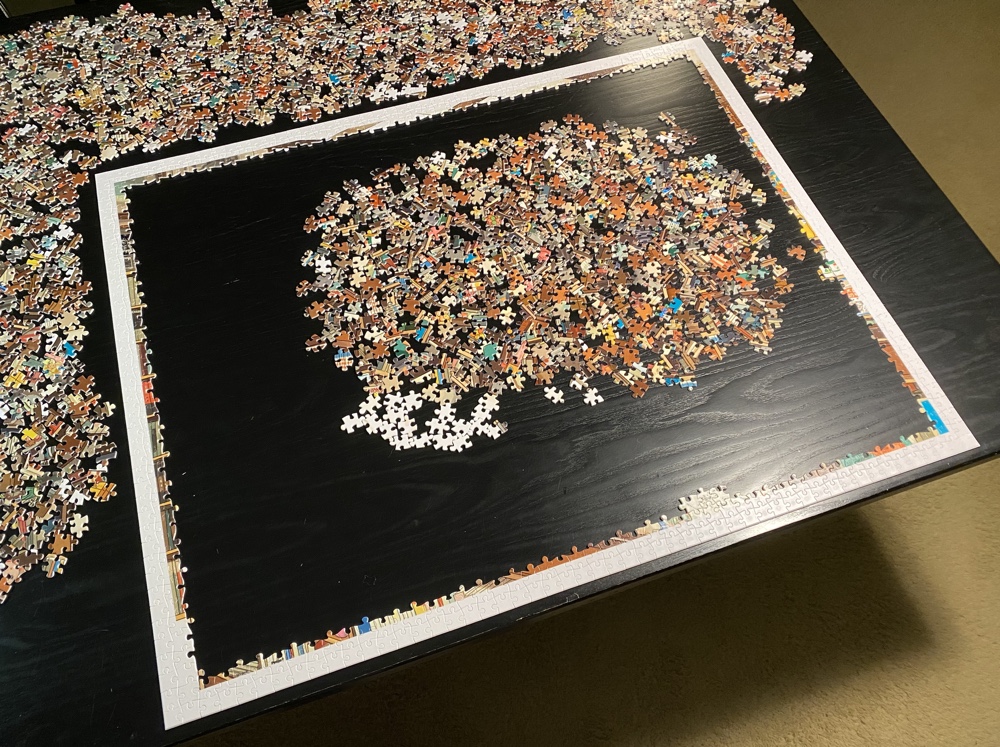
Finishing the entire puzzle took me 24.5 hours over ten days!! Here’s an animation of the puzzle after each work session:
Its a lovely puzzle and was a lot of fun to assemble. But I think it’ll be a while before I tackle one of this size again!
I bought a multi pack of crystal tree growing kits recently and gave some of you one for Christmas. Who got one? I don’t remember! If it was you, here’s what you have to look forward to…
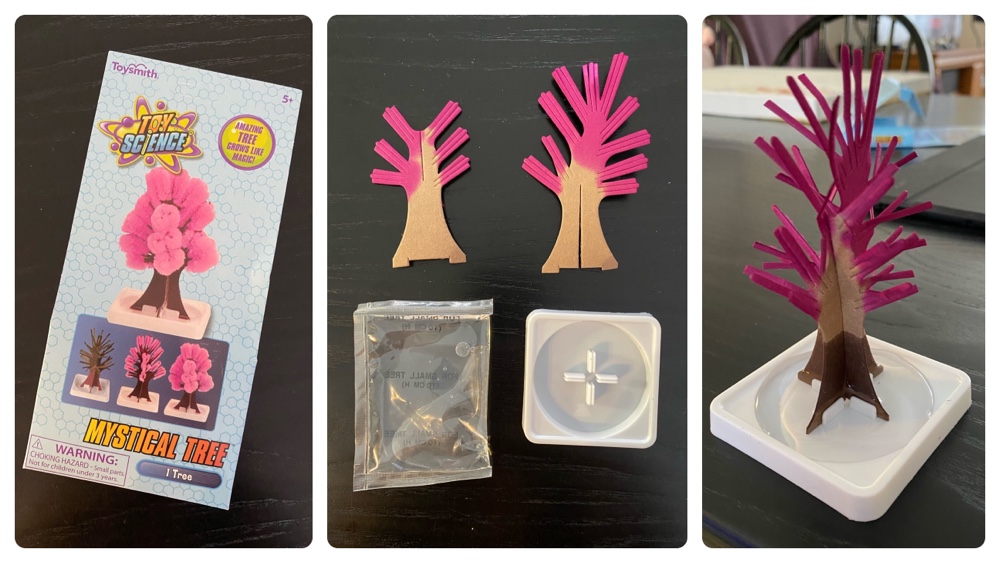
I believe all four kits were different colours, and we ended up with pink. It takes only moments to assemble it, and when you’re done be sure to put it somewhere it won’t be disturbed.
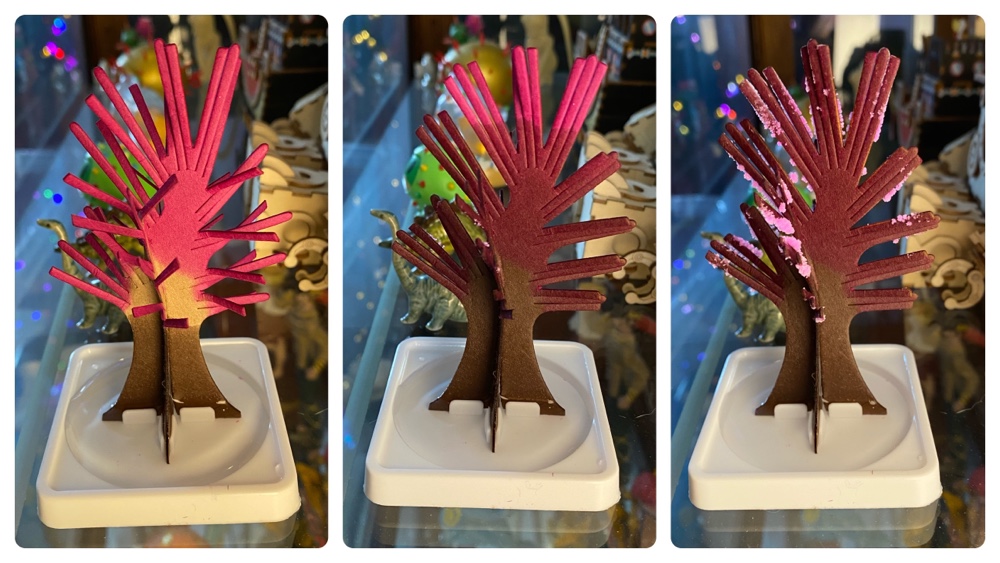
The above three shots are right after making it, then 1 and 2 hours later. You can see the tree saturates quickly, but the growth takes a while to begin.
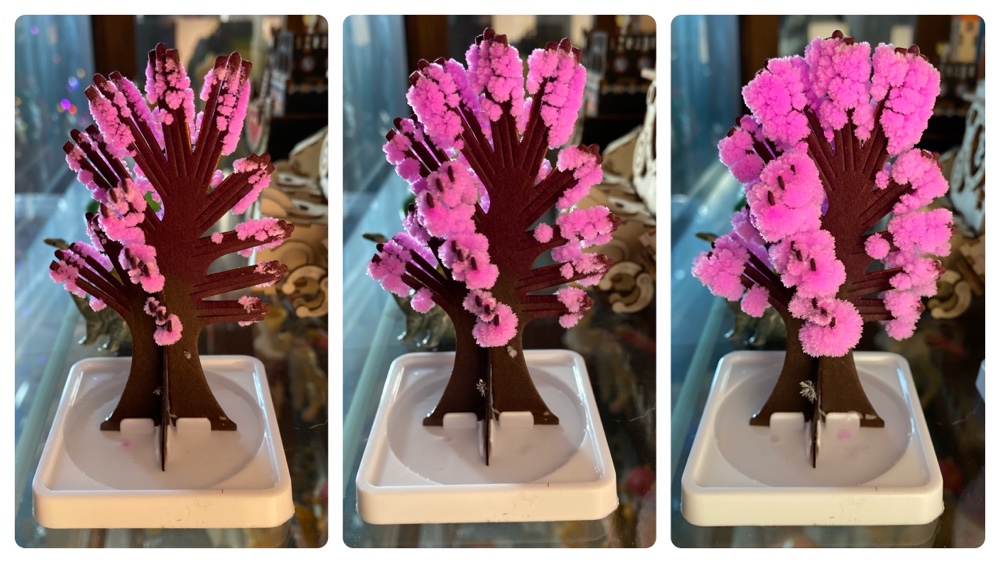
Here we have 3, 4 and 5 hours after assembly. As you can see this is a high quality kit! I’ve blogged about these before and if you’re interested how they work go have a read.
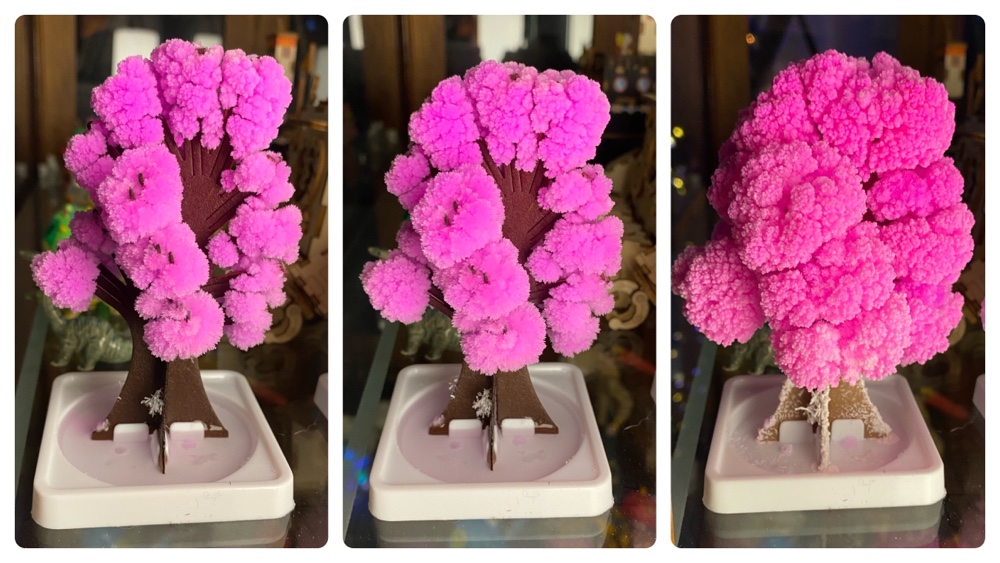
And lastly we have 6 and 7 hours and then the final image is the next day (about 18 hours after assembly). What a lovely tree!
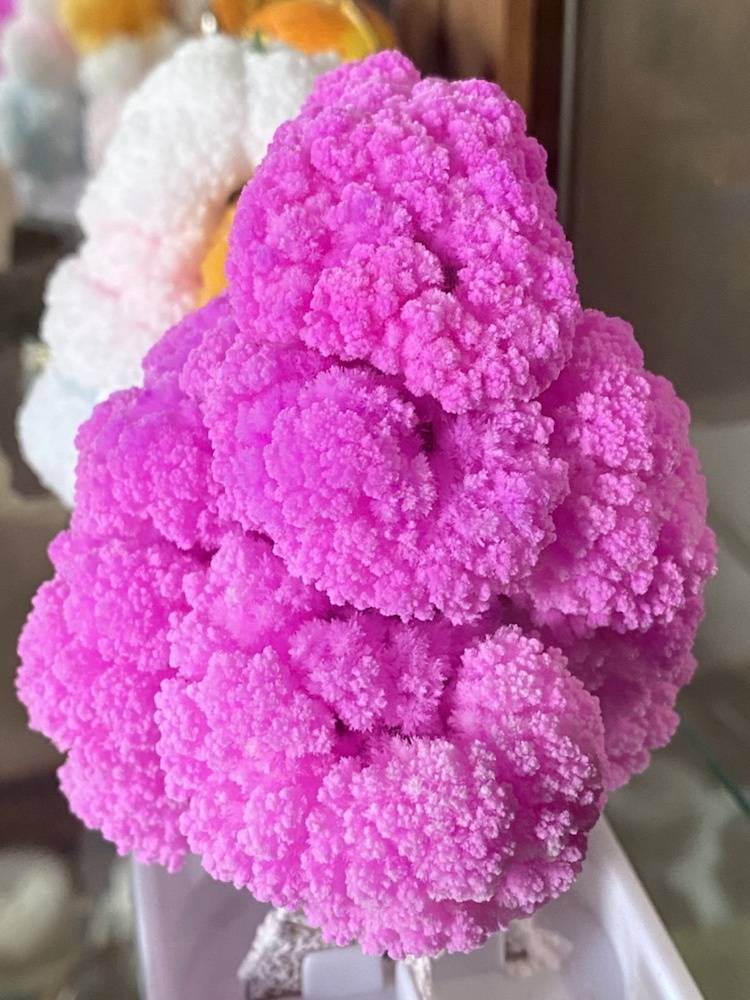
That’s a detailed shot of the crystals themselves. They’re very fragile so we keep it in a curio. In time they get stronger, but they will also fade as the food coloring evaporates. The white thing in the background of the photo is one we set up years ago.
If you get one from me for Christmas please set it up and send me a photo when it’s done. I’d like to see the colours 🙂