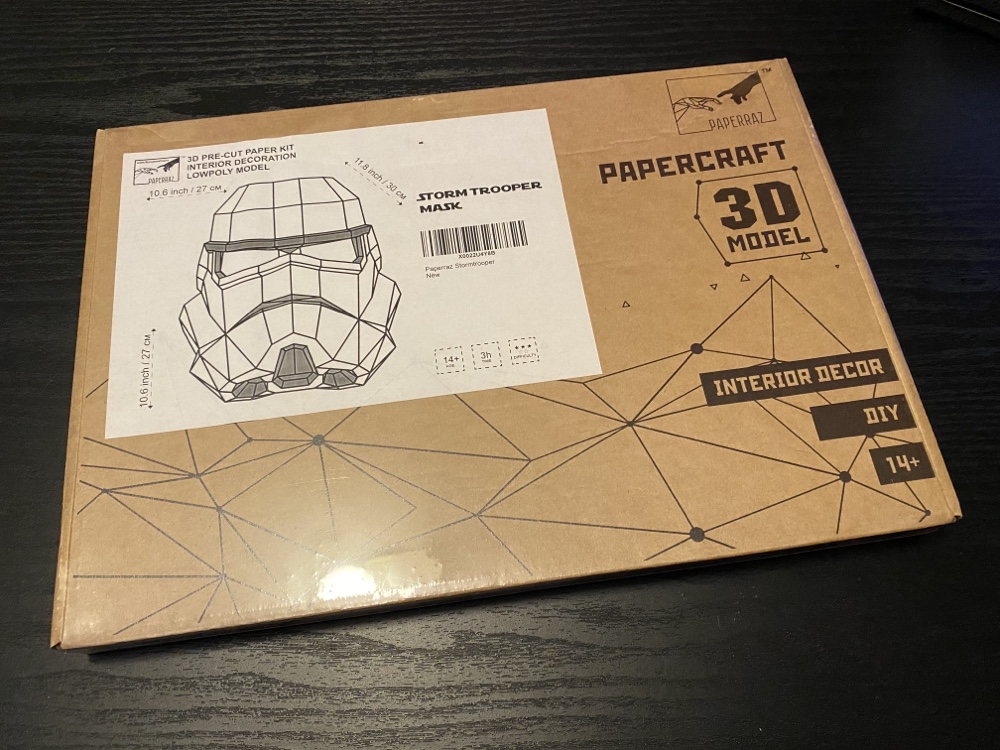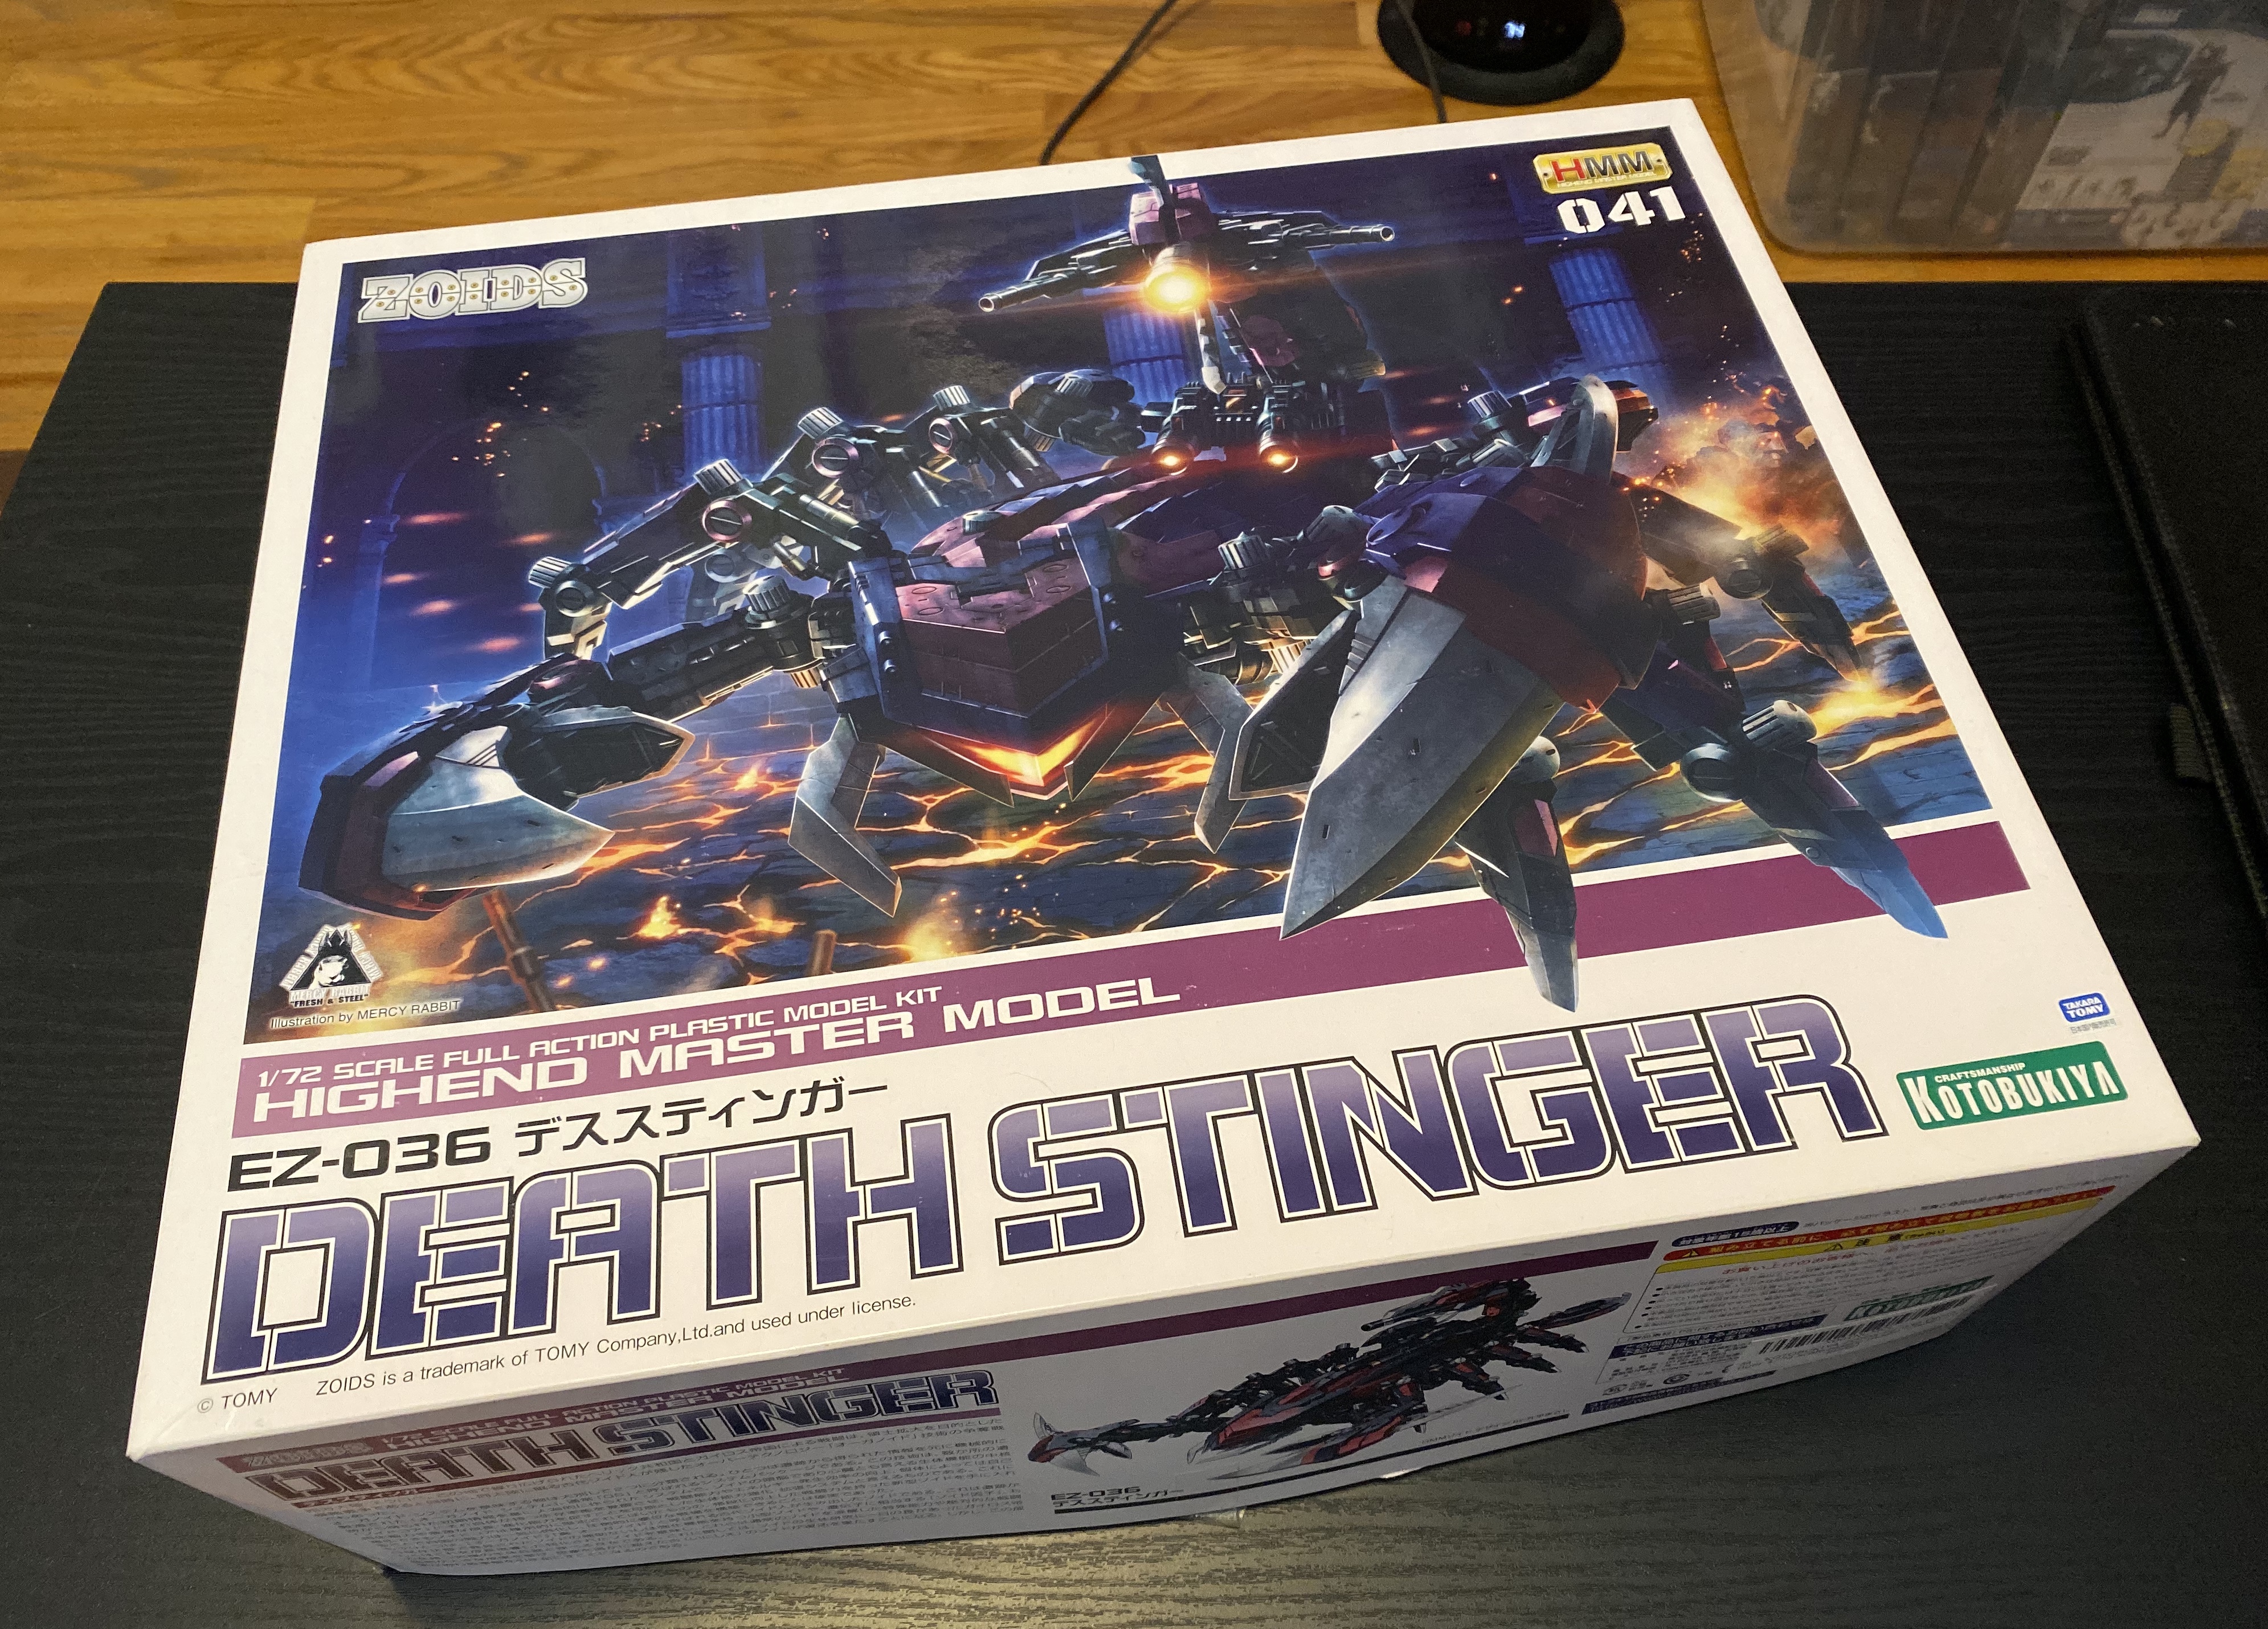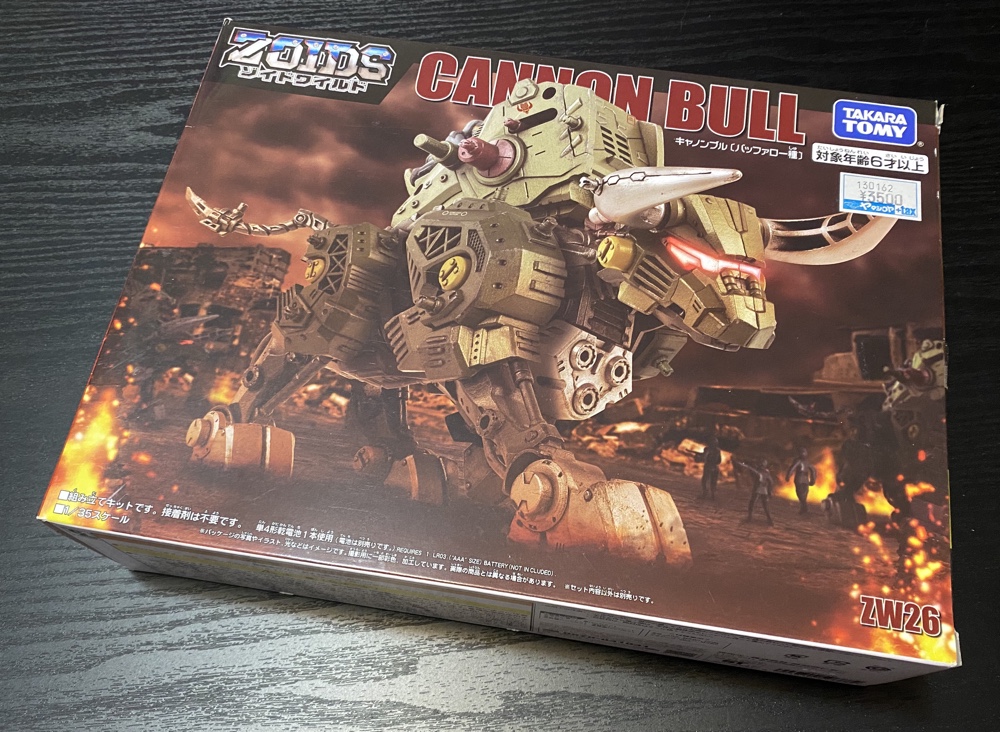
I bought the above in Japan in January. I vacillated on the purchase since luggage space was tight but I decided in the end to make it fit.
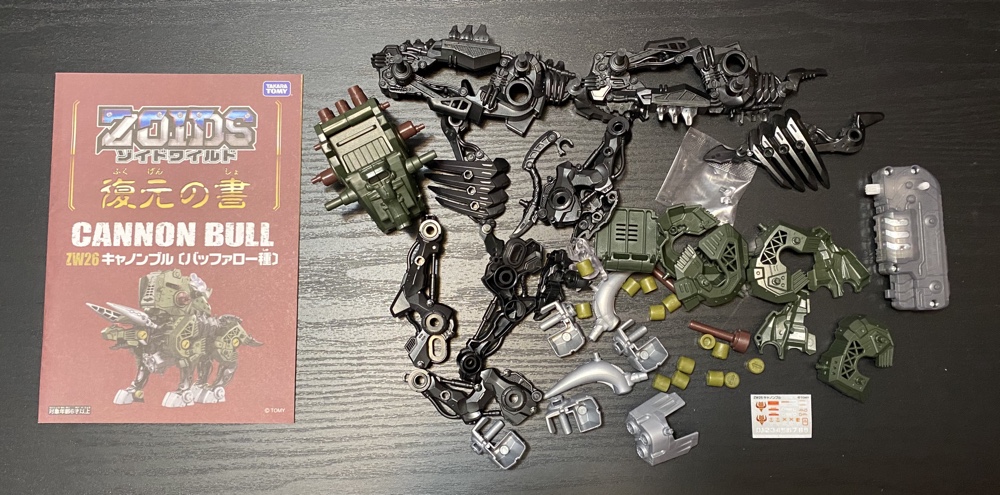
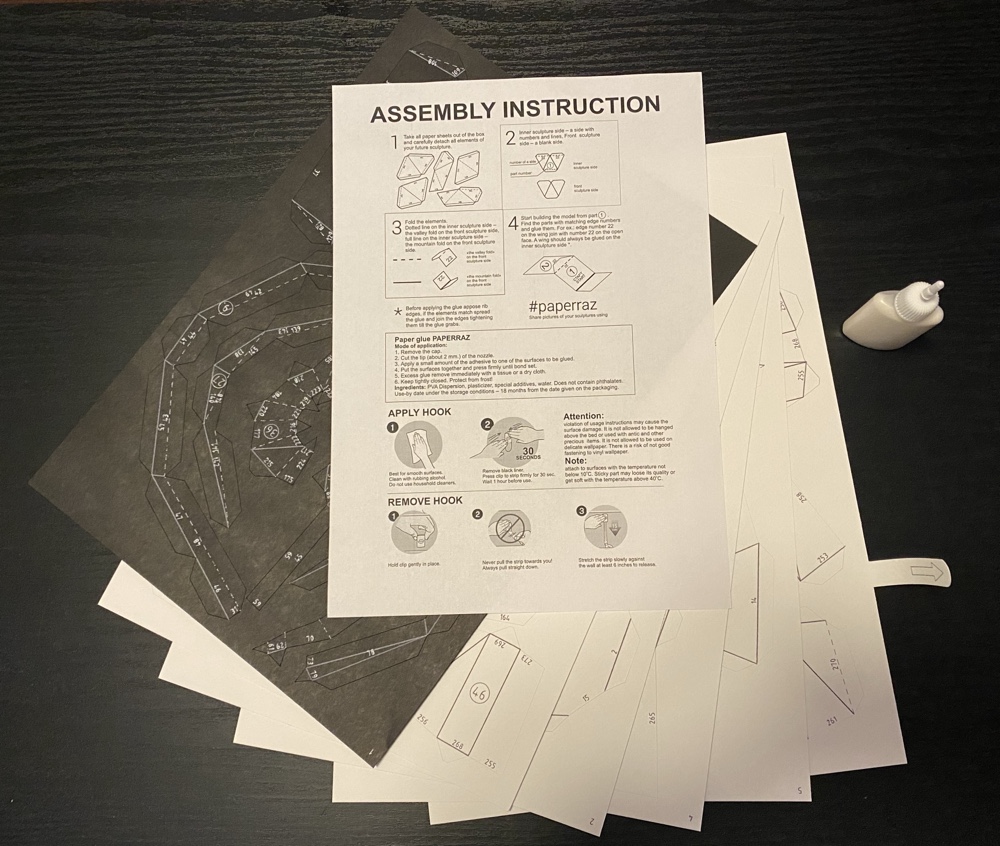
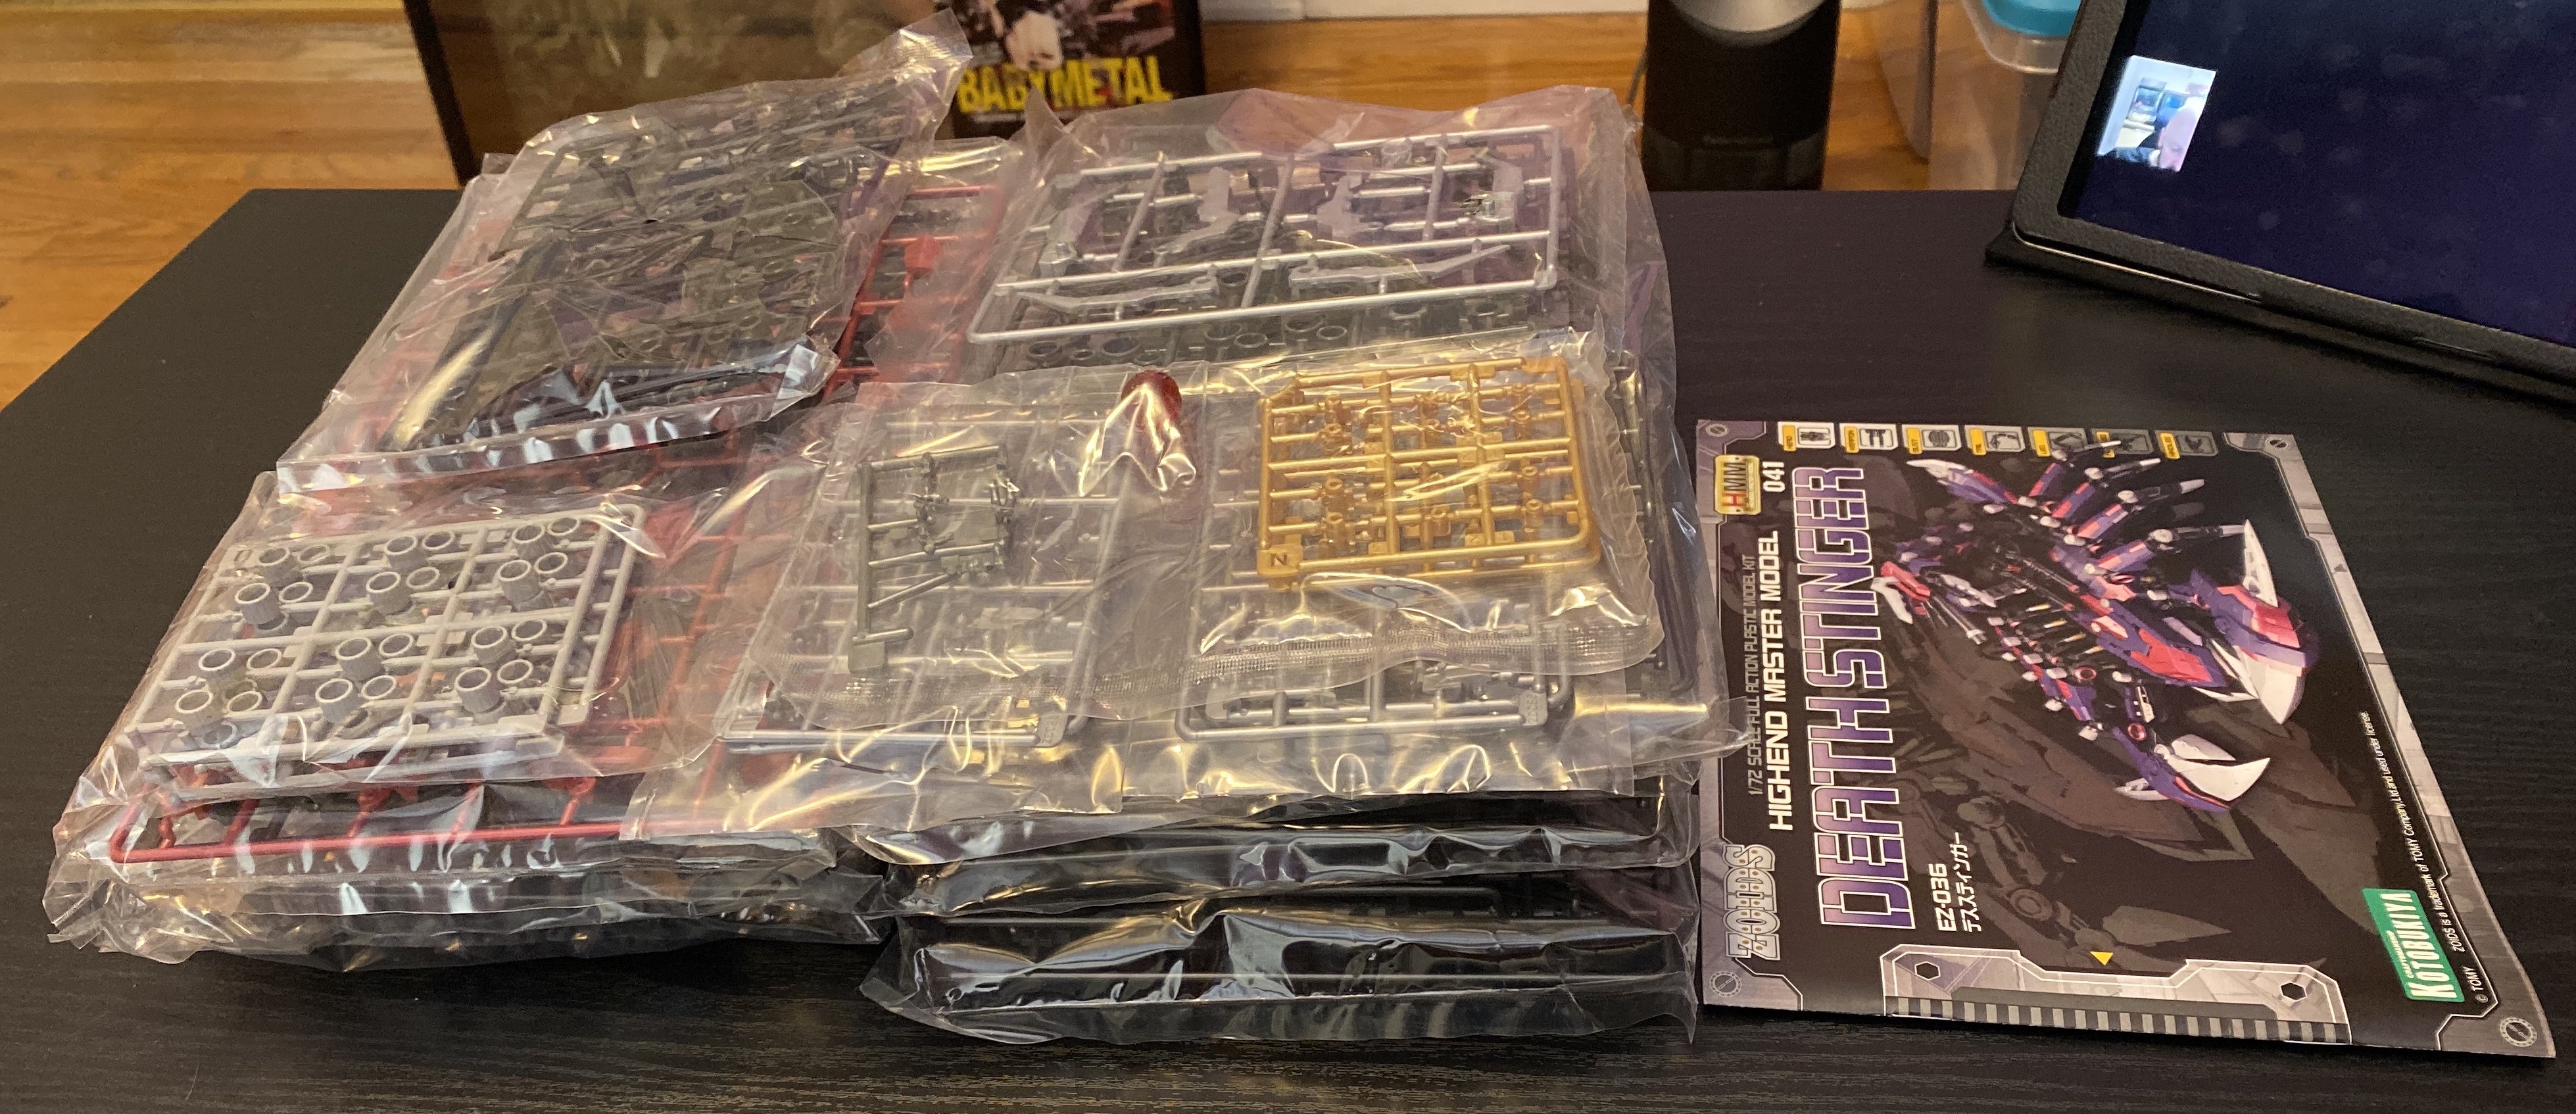
It’s a ZOID! But not a plastic model version; this is a toy version. You still assemble it, but it’s much easier and the pieces aren’t on runners. I’ve done one like this before, but they still make and sell new ones and this one seemed to be a new release.
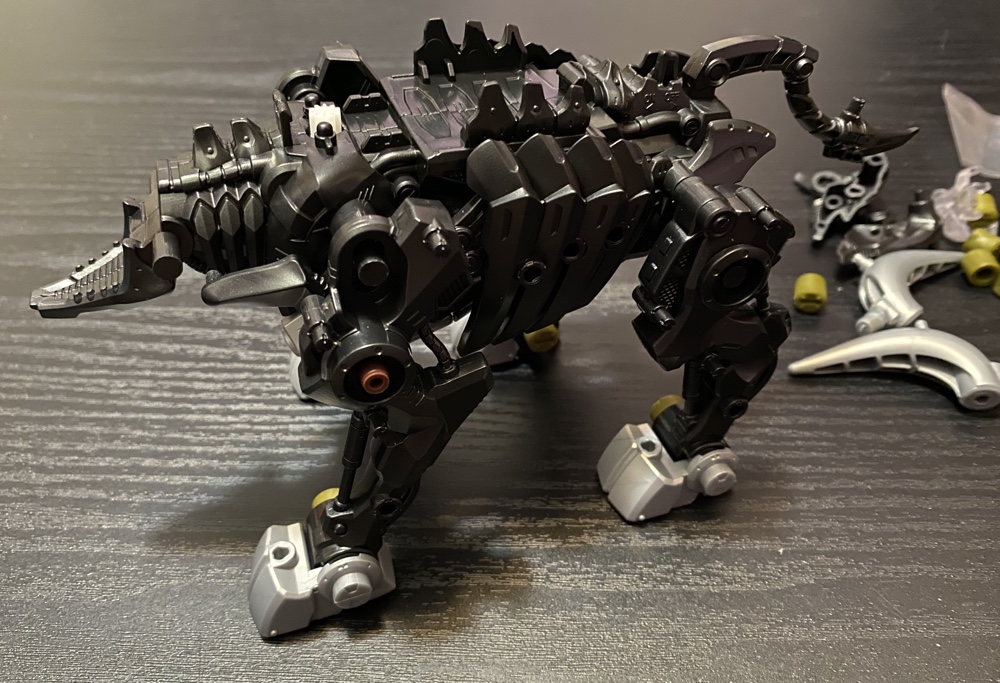
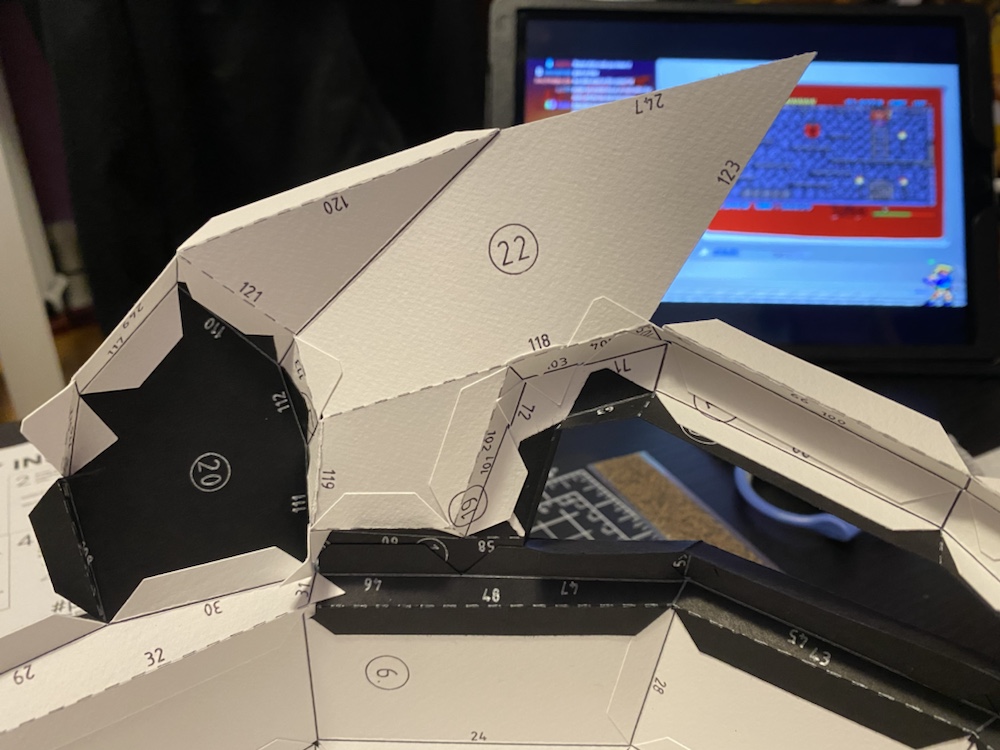
Assembly was trivial, but I was surprised to see (since I apparently didn’t bother looking closely at the packaging) that it has a battery powered motor in it! I selected this kit for its appearance though, and think it looks quite nifty.
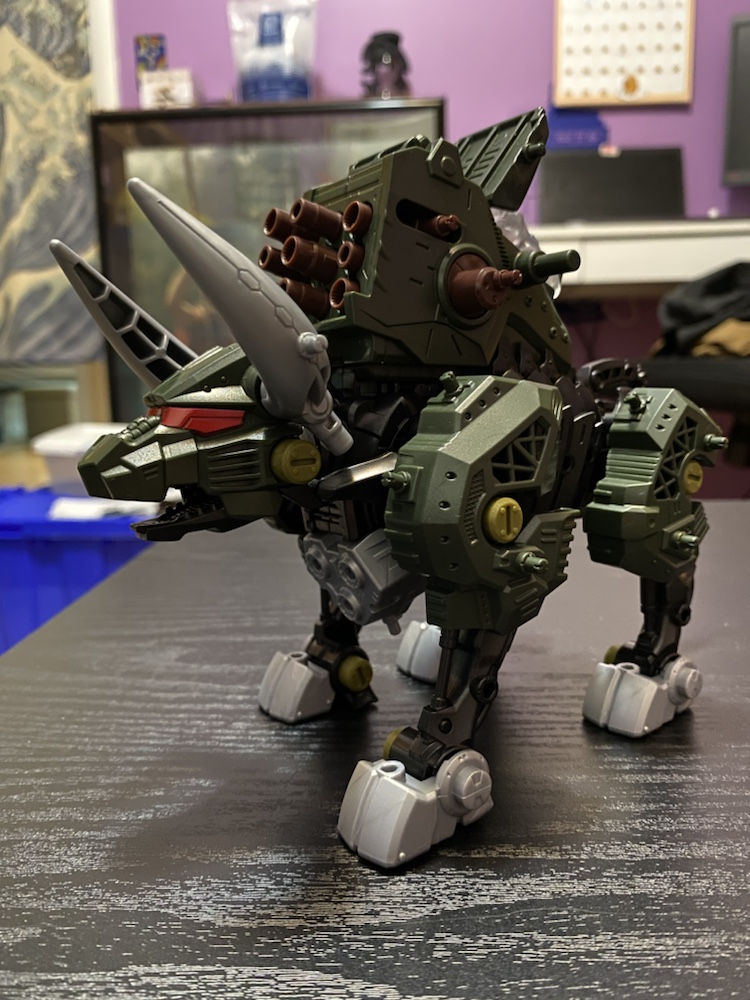
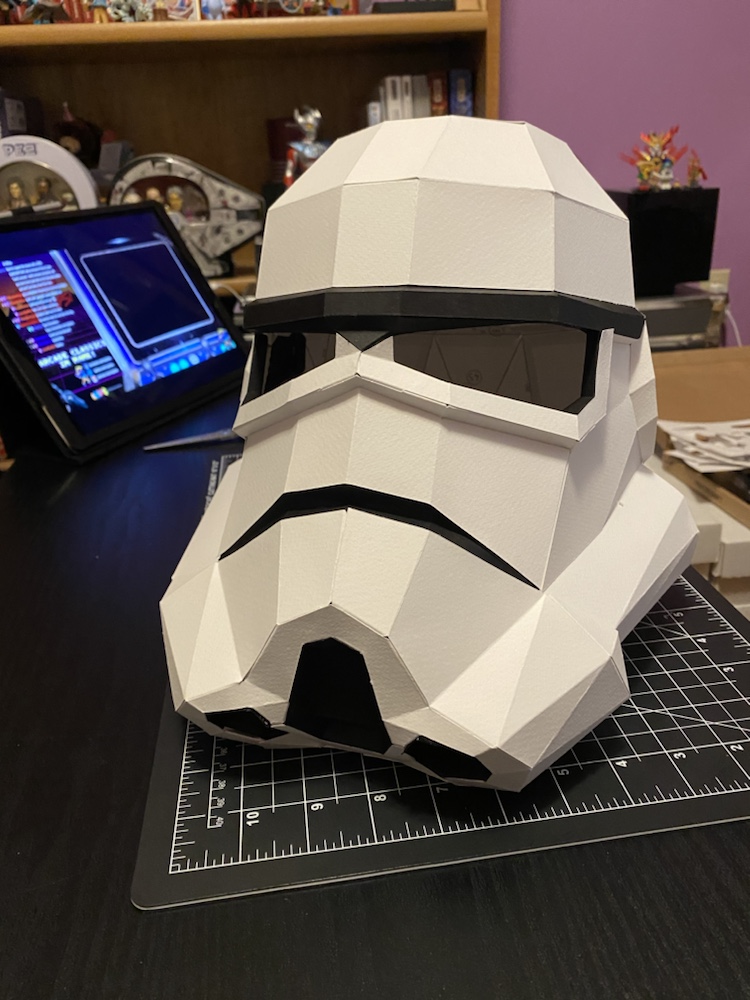
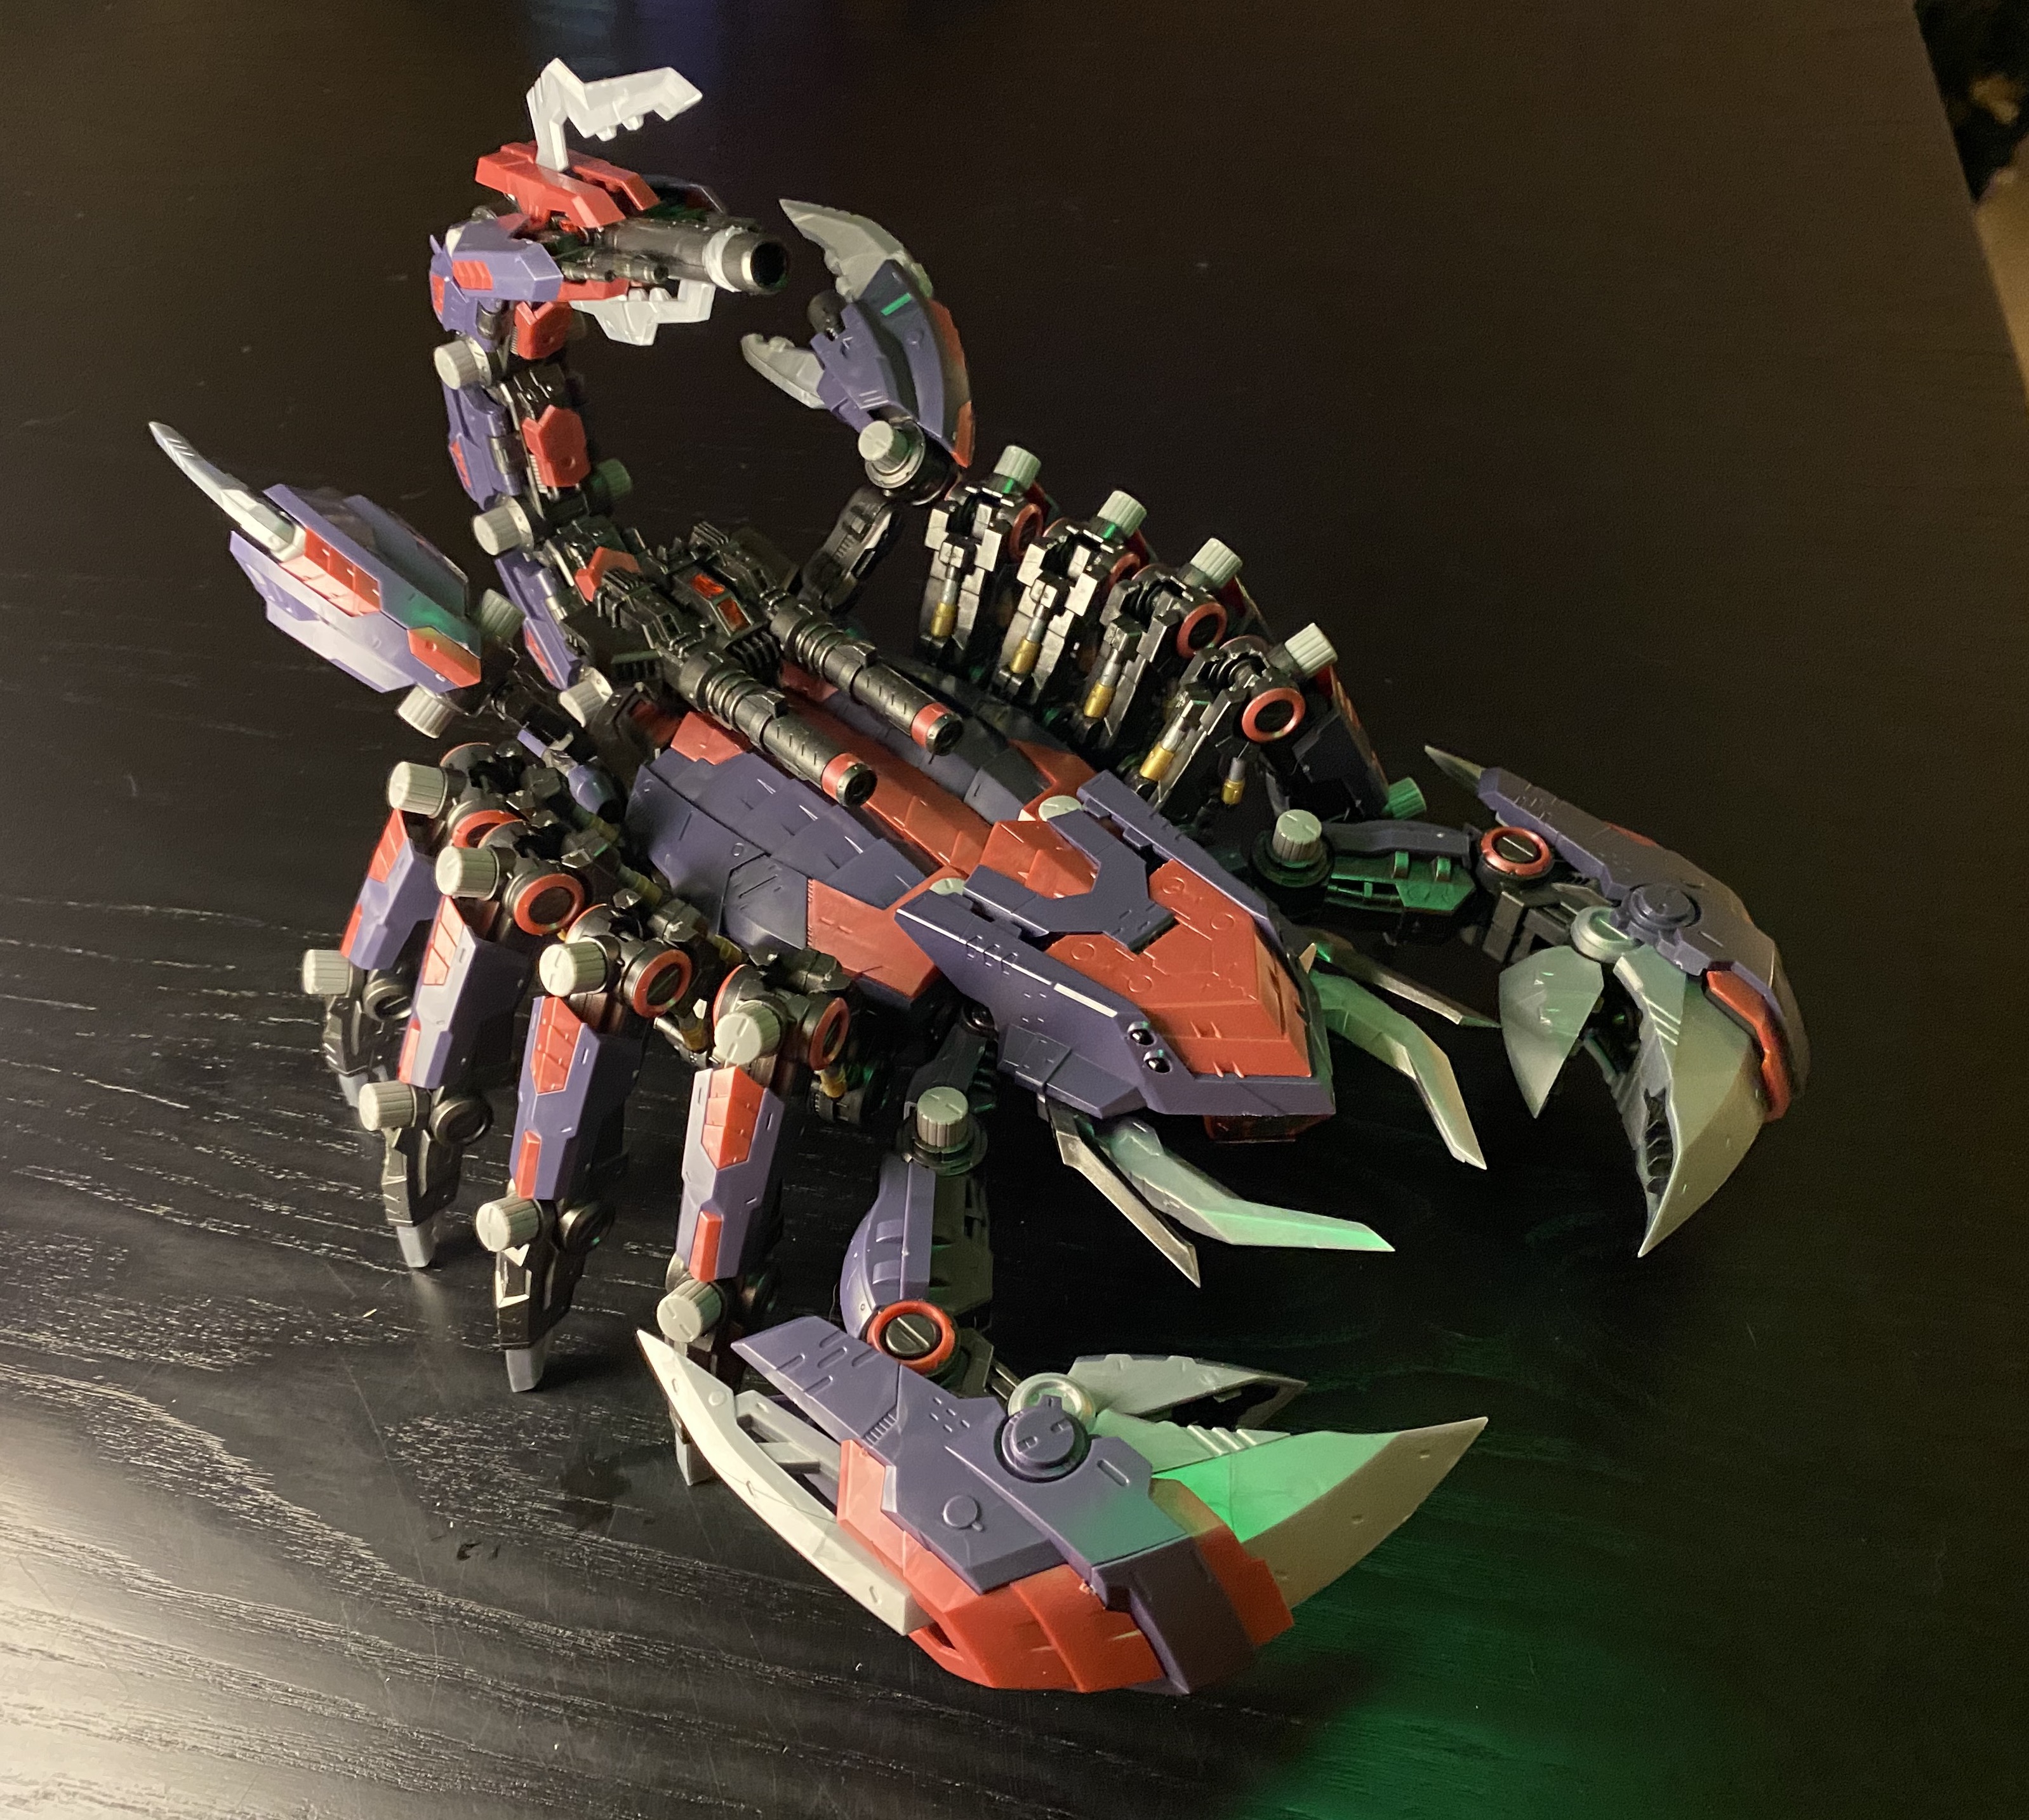
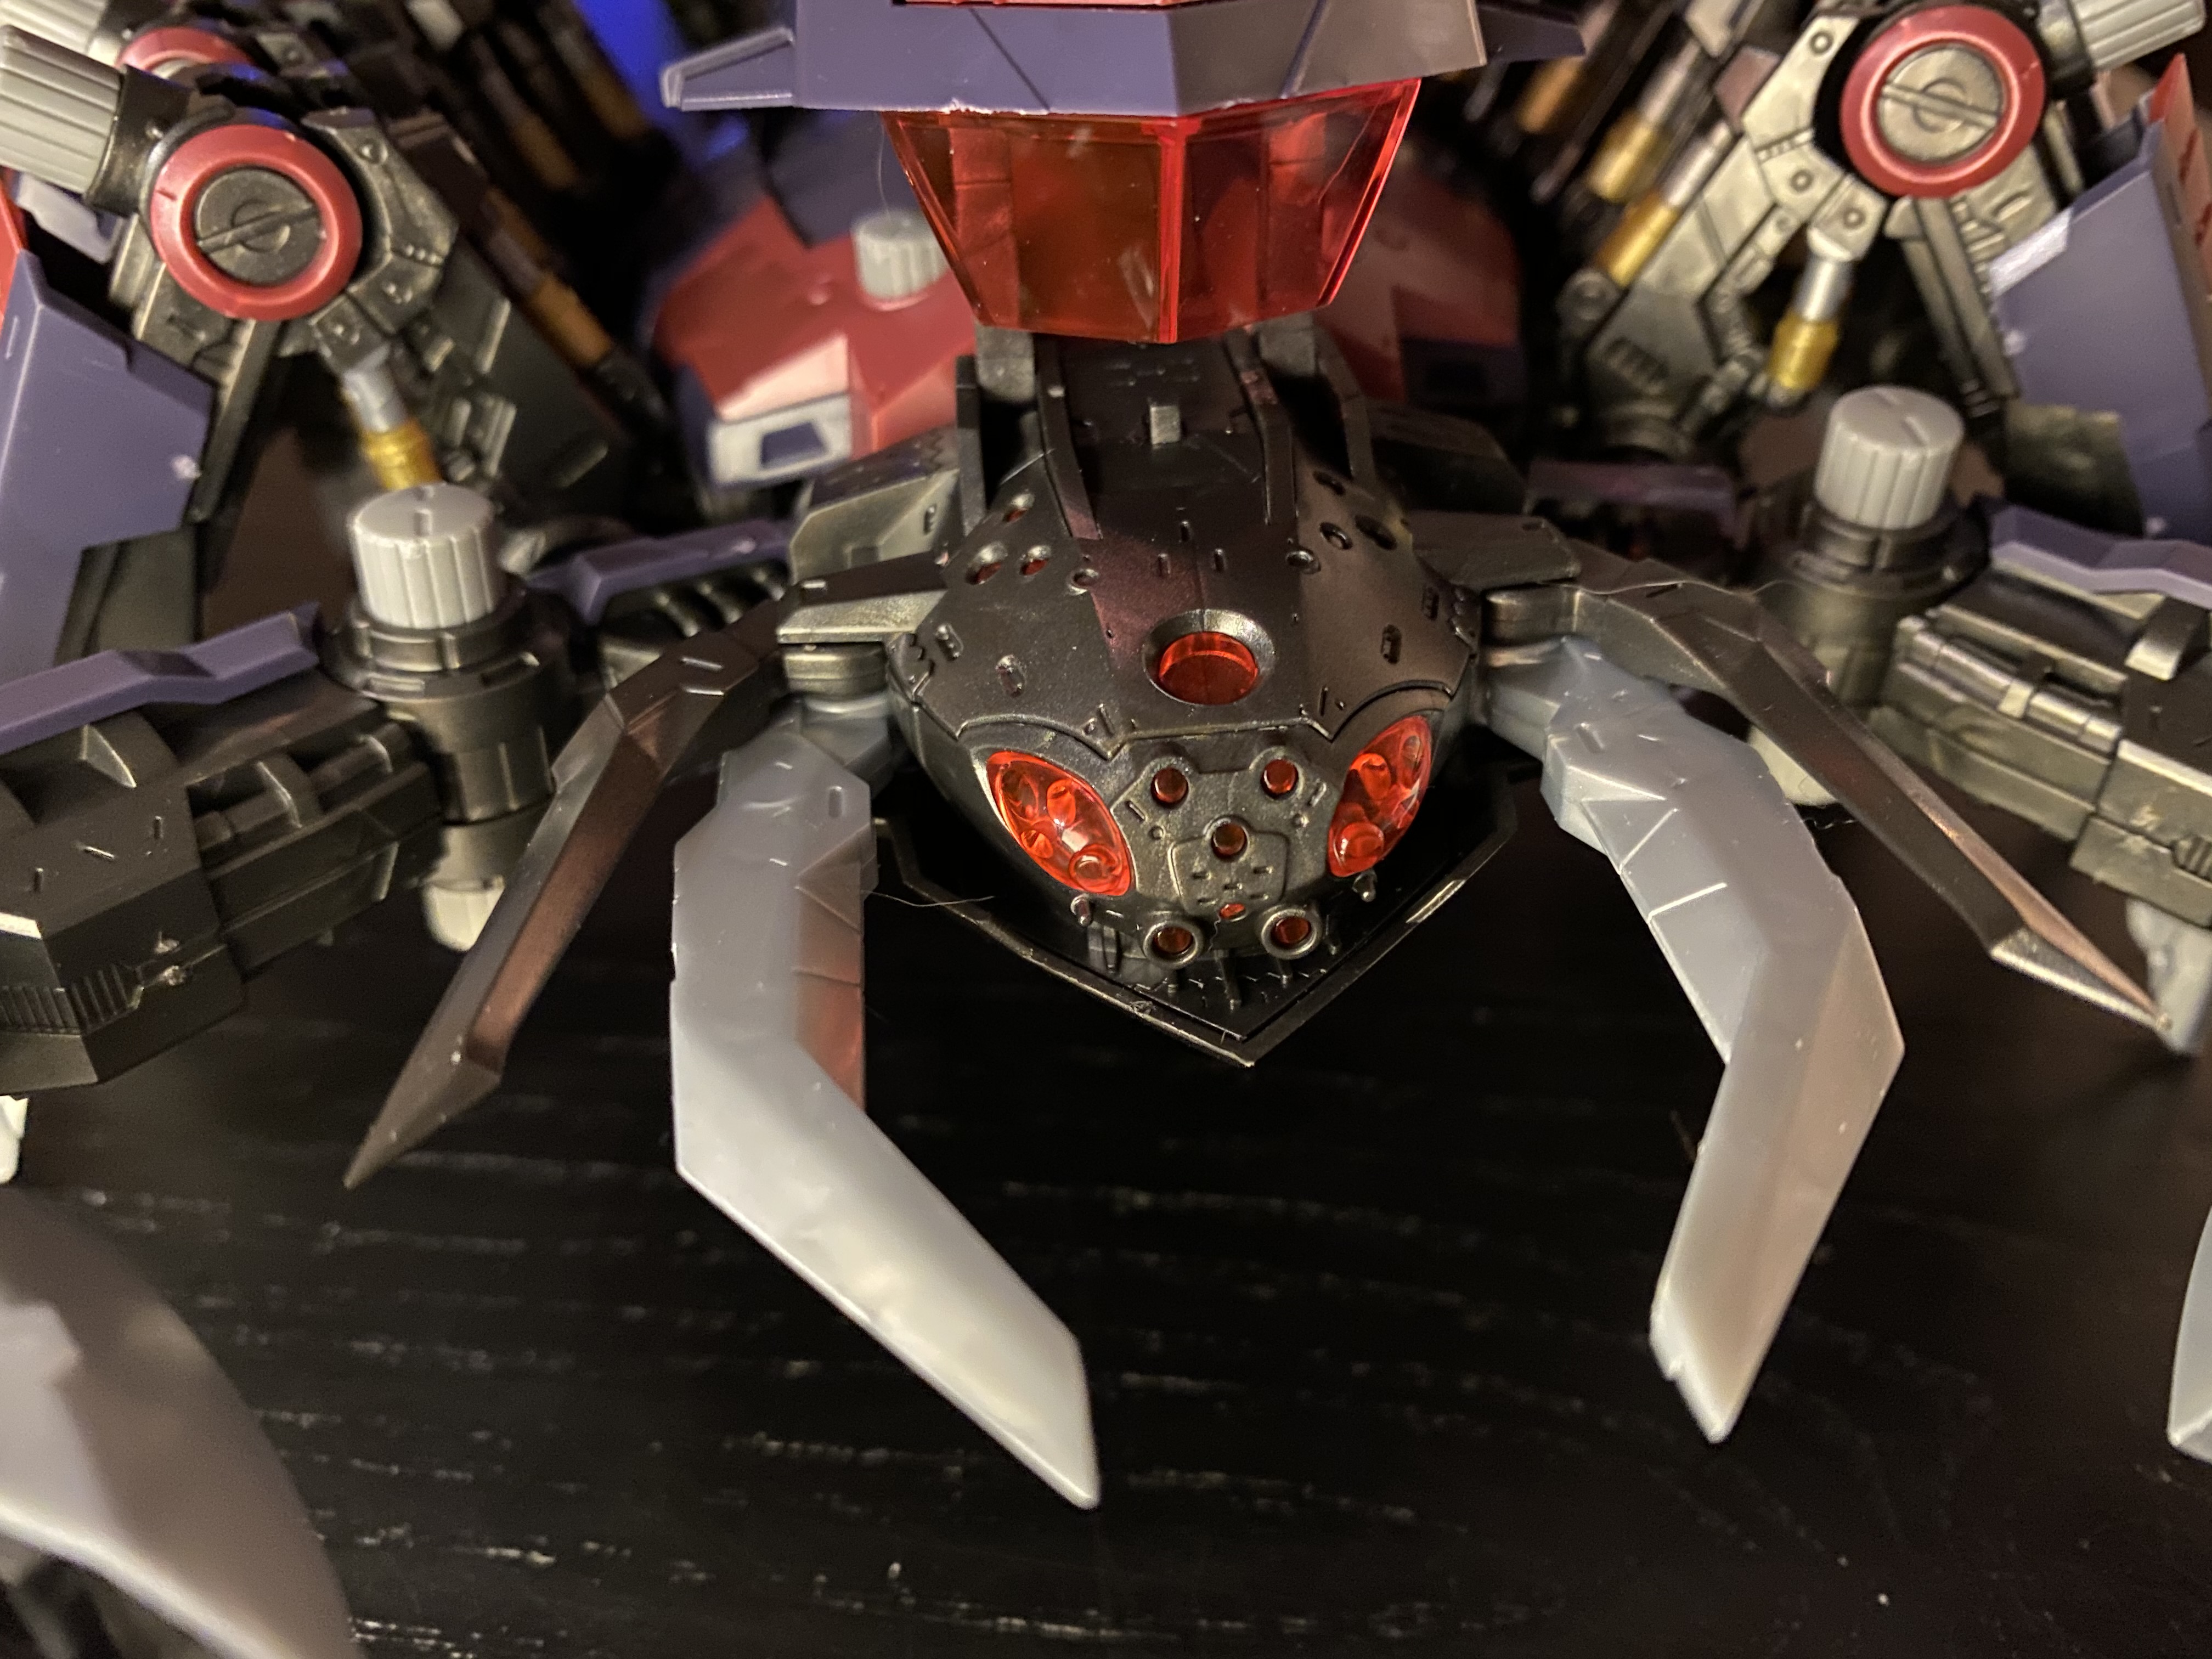
That’s the finished product. According to the ZOIDs wiki this is a medium sized ‘buffalo type’ weapons platform that has a mass of 50.4 tonnes and carries a 9-barreled missile pod for long range attacks!

And there he is attacking! He moves at a good clip and the barrels of his missile launchers click as they ‘fire’.
A fun little toy. Next time I’m in Japan I’ll be picking myself up another one of these I reckon…