Category: Crafts

Two Ptimo Kits

While in Japan back in January I picked this up:

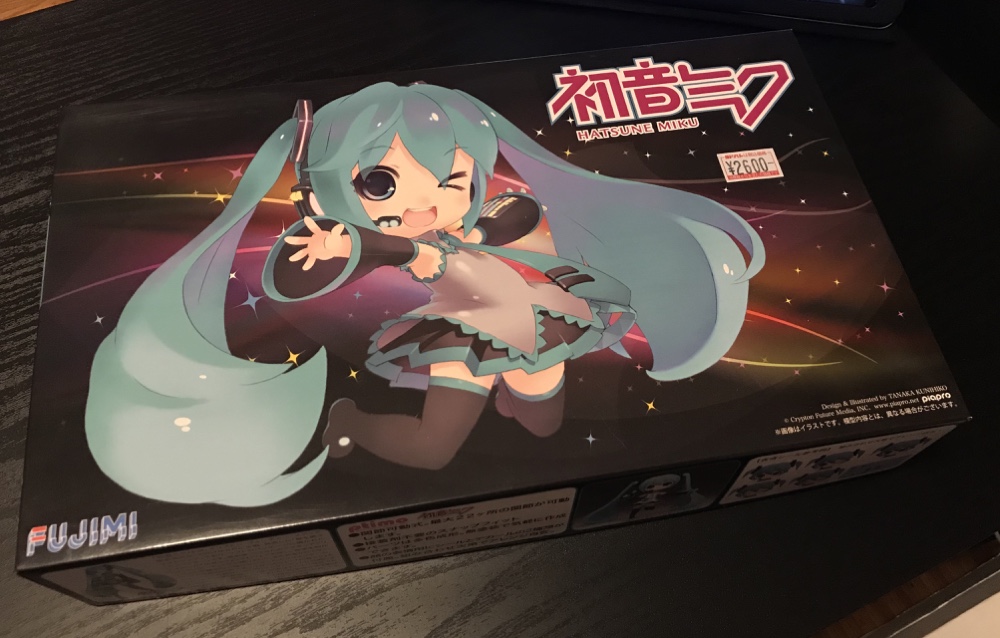
It’s a weird superdeformed Hatsune Miku model kit that I previously didn’t even know existed. Even better it was only about $20! Today I made it.

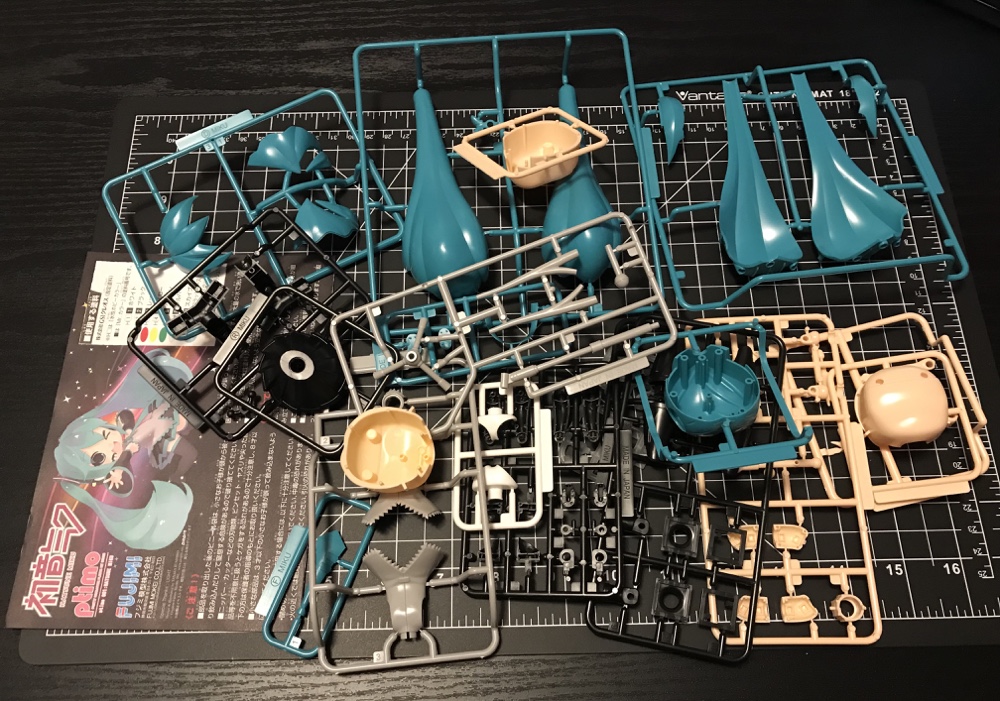
So far so good, lots of pieces in many colours. However I immediately noticed that the runners were all single colour, that the plastic was somewhat brittle and that there was a frankly unacceptable amount of flash on many pieces:

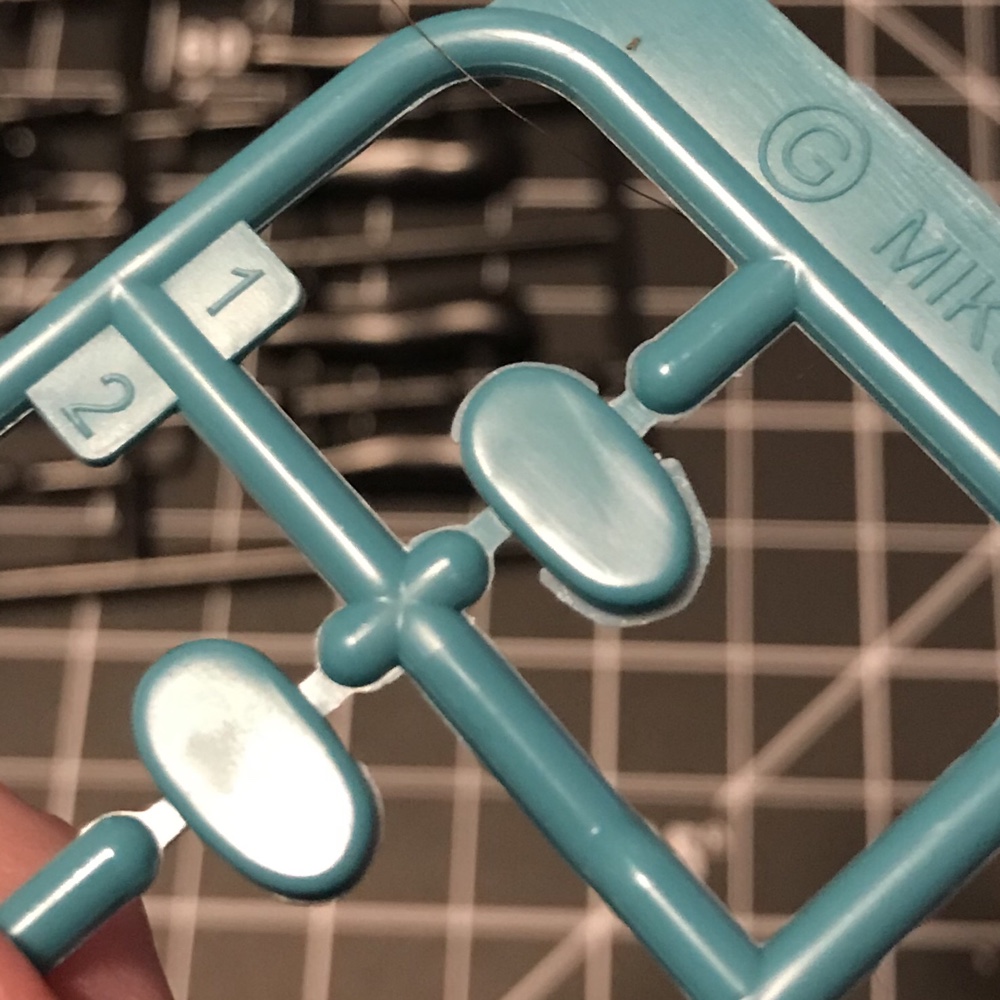
I usually make kits by Bandai (Gundam) or Kotobukiya (ZOIDS, Frame Arm Girls) and the QC on those kits is so high that I can’t recall ever seeing flash. Furthermore they have multicoloured runners, pieces made of all sorts of plastic (or even rubber or metal) and everything goes together perfectly.

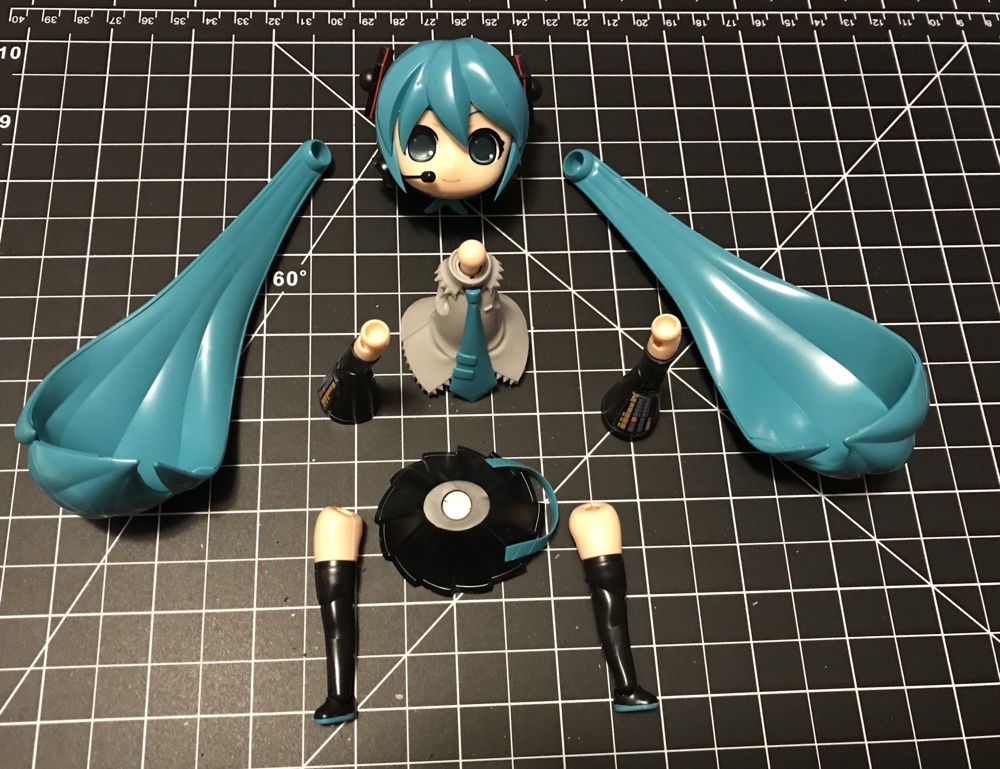
Here, not so much. Assembly was tricky and at times difficult, seams were often visible and due to the brittle plastic a few pins even broke off when I tried to attach pieces. But I soldiered on and in a couple of hours had mostly finished:

Look at those tiny legs! The kit didn’t come with a stand and while I initially assumed the hair would function as some sort of standing mechanism this wasn’t the case. In short, she can’t stand at all and even though she looks ok complete she’s definitely supported by the books in this photo:

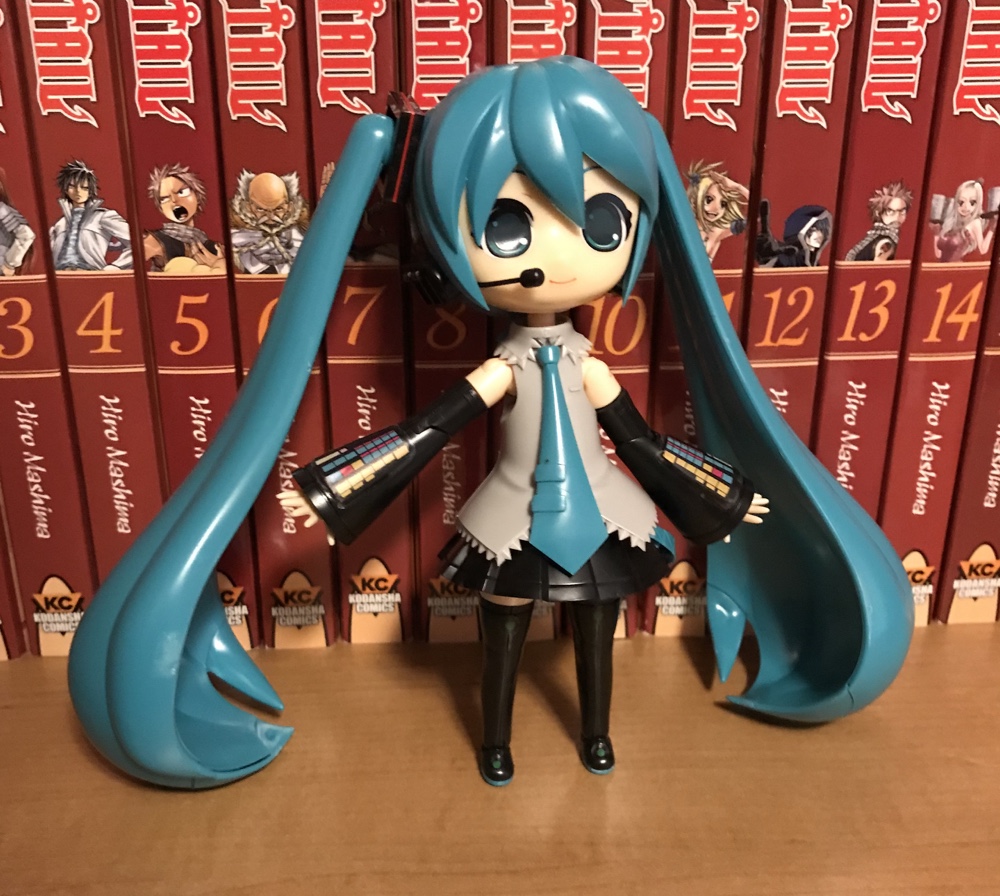
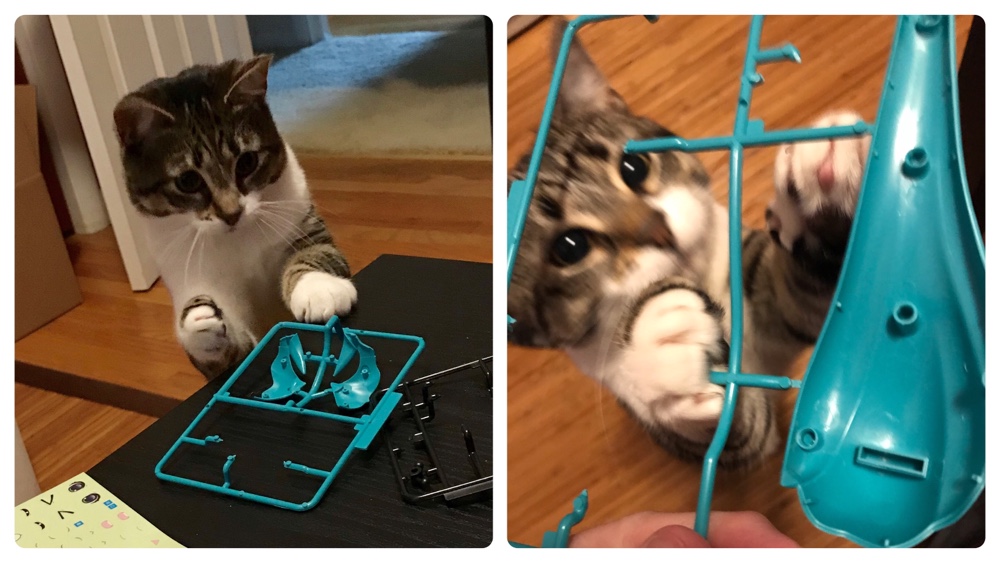
Yes she’s cute, even unpainted. But it was a frustrating build, and not half as good as the other Miku kit I made a while ago. But I have to say assembly was fun, if only because I had a helper…

So Ptimo was a bit second-rate compared to the (admittedly far more expensive) other kits I usually buy. Would I recommend them? No. Would I buy Ptimo again? Well… it turns out I already had:

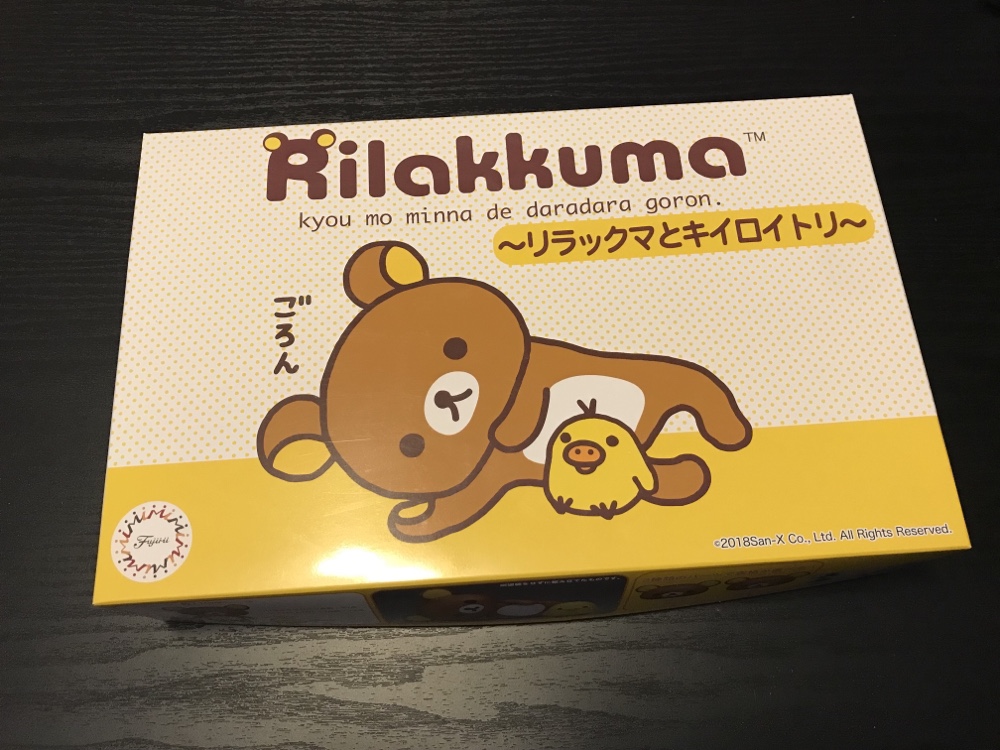
Yes this was another Japan pickup, and yes it is (incredibly) a Rilakkuma model kit! It was newer and more expensive than Miku. Here’s the parts:

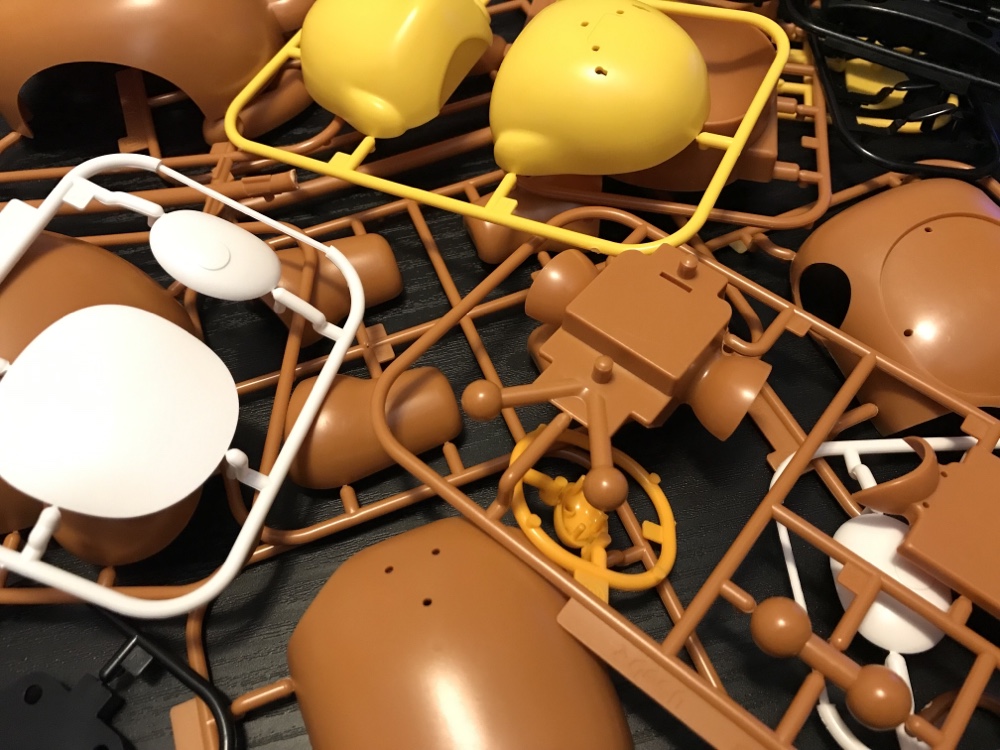
Unfortunately this kit had the same flaws as Miku, especially in ease of assembly. Kuma’s head in particular stubbornly resisted going together seamlessly and of course once completed he was incredibly difficult to stand unaided:

But they look great don’t they?!? Though it was a fiddly kit to make, with frustrating imperfections, I’ve got to say I’m happy with them both for the uniqueness. Overall the better of the two kits.

Lastly, speaking of Miku kits, I also in Japan bought the astonishing Frame Arm Miku kit (on the actual day of release no less). This will be my next build and assuming it doesnt disappoint you can look forward to seeing it here…

Shrinkydinking

I’ve been sorting through our attic, opening boxes that have been sealed for decades (yes literally) and unearthing all sorts of treasures. Some of it gets resealed and put back, some discarded, and a rare few things were so curious I brought them down for a closer look.

This past weekend I found ‘shrinkydink’ plastic! It wasn’t called that of course, but that’s what it was. I had to try it!

The idea is you draw directly onto the plastic then heat it in an oven so it shrinks. Sounds boring but it’s strangely amusing, and I couldn’t wait to see how old Grimace turned out! In the oven he went, and in an astonishingly short time he shrunk:

Here’s a before/after showing the scale:

Incredible! A quick glance will show the shrinking isn’t equal in both dimensions, so old mate Grimace here became squatter after he shrunk. For perfect shrinkydinks one would have to take this into consideration of course. I didn’t πŸ™‚

Of course I made more, taking advantage of the transparent plastic to trace:

And soon enough all the usual suspects had been immortalized in ‘dink’ form:

Here’s an action shot captured mid-shrink, showing how they curl up as they miniaturize:

At this point I could insert a nostalgic memory of as a youth shrinking chip bags in the oven (since they were briefly manufactured using this type of plastic) or even how the Australian mint almost released shrinkable currency when they transitioned into plastic… but I’ll leave such things to the commenters πŸ™‚

Anyway I’ve got loads more of this plastic. Want a shrinkydink of your own? Put in a request and I’ll make you one!

Eggstravaganza

JK visited today, and even though we all know she’s here mostly to see Zoffy I felt as a good host I needed to have an activity planned. And with tomorrow being Easter the obvious choice was this:

I don’t remember ever dyeing eggs at Easter, so I bought some of these inexpensive kits to try it. It’s very easy, toss a tablet into a mix of water and vinegar and dip a hard-boiled egg in. The kits come with crayons that you use to write on the eggs to keep portions undyed.

Naturally I went with the obvious design: Gudetama. My first attempt was a bit experimental:

But I got better with my second (see later). Other issues arose with the coloring for my Grimace egg:

And the fact that I dropped my K-Pop egg (that I had done for Bernard):

But overall it was fun and the eggs came out better than I expected!

We made a few each and here they all are. What do you think?

In case you’re wondering they won’t be wasted. KLS and I aren’t boiled egg fans, but JK will take them home and turn them into sandwiches πŸ™‚