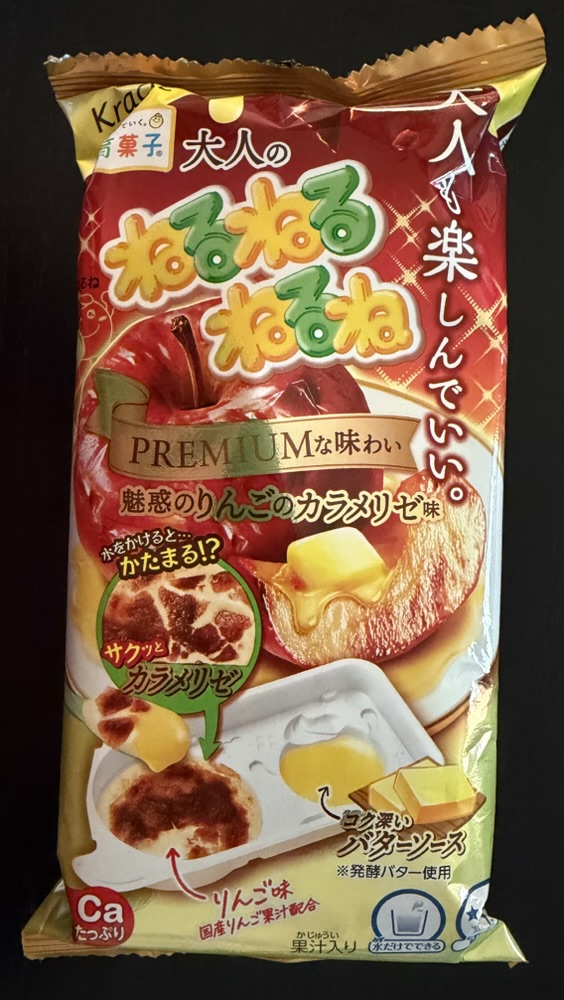
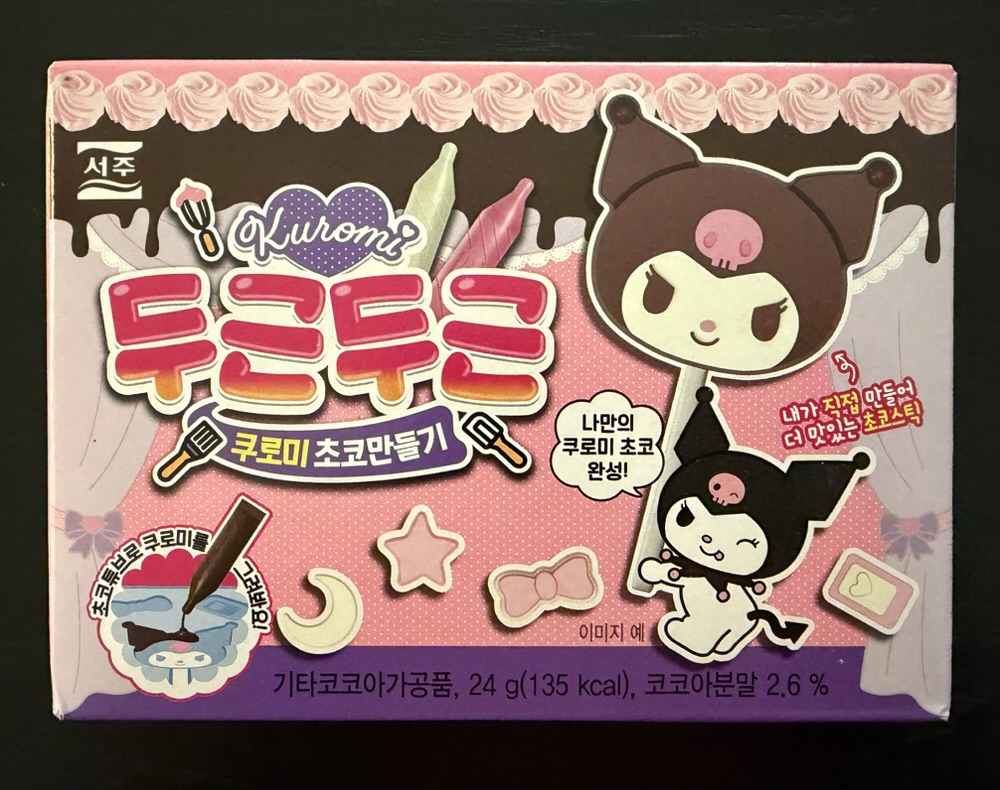
A slight change today: a drink!
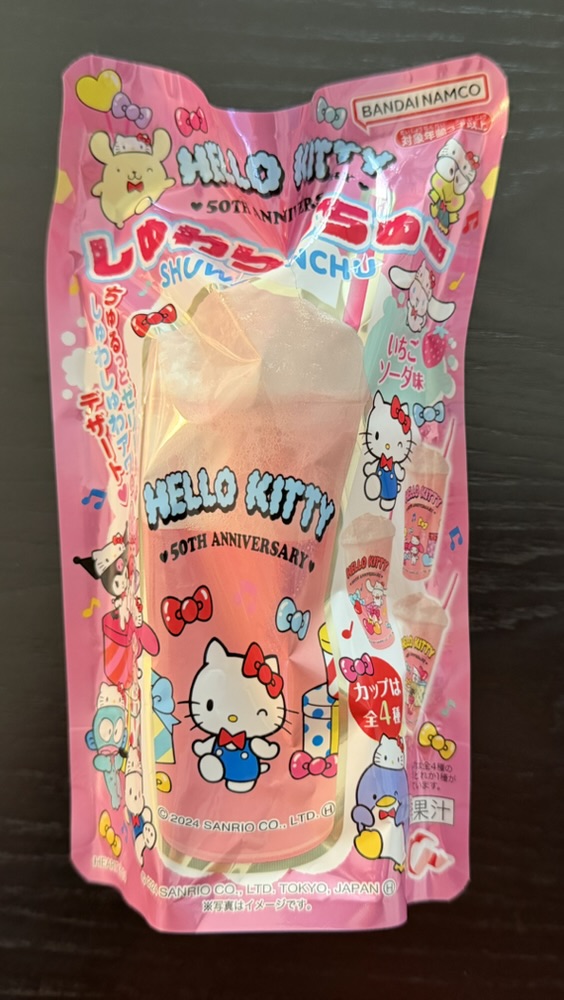
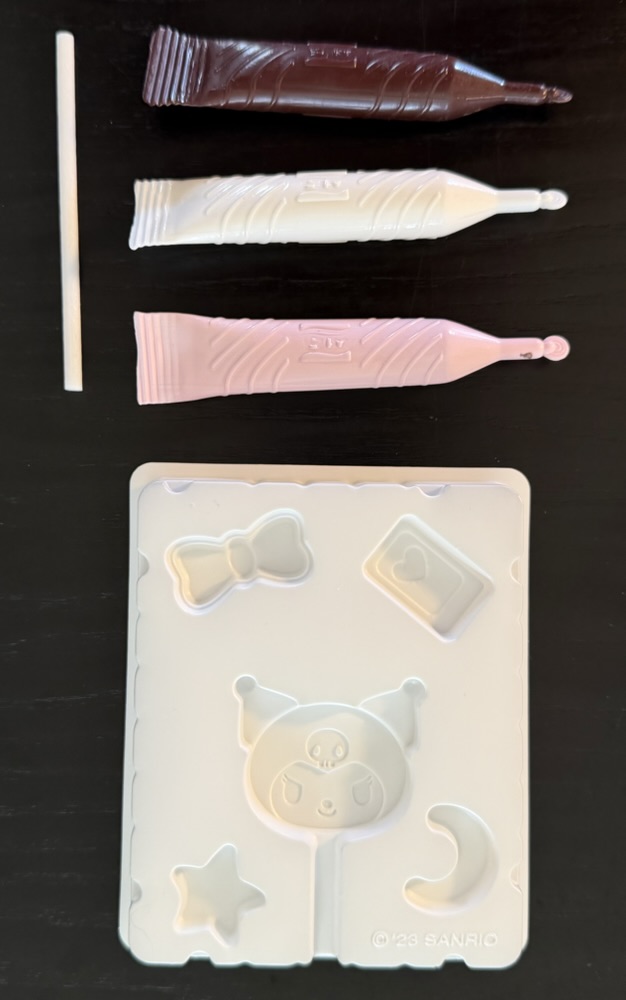
As with the others, this came with a few packets of powder but also had a straw and one of several Hello Kitty themed cups.
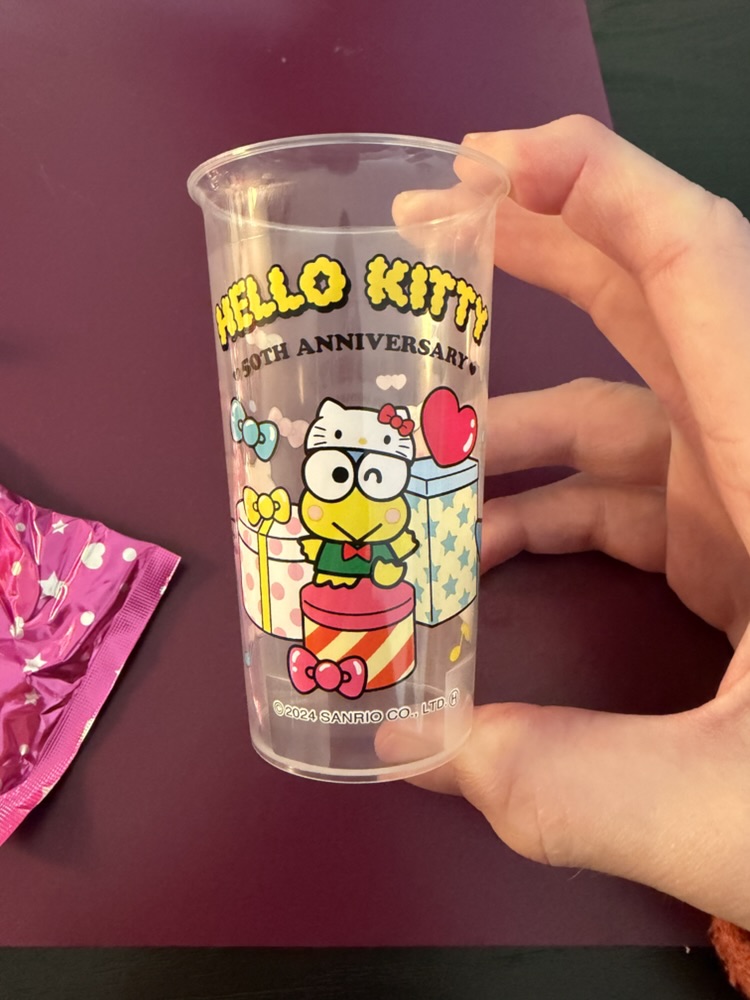
The cup is plastic but nicely printed, and if you’re a fan I imagine you’d want more than one of these inexpensive kits.
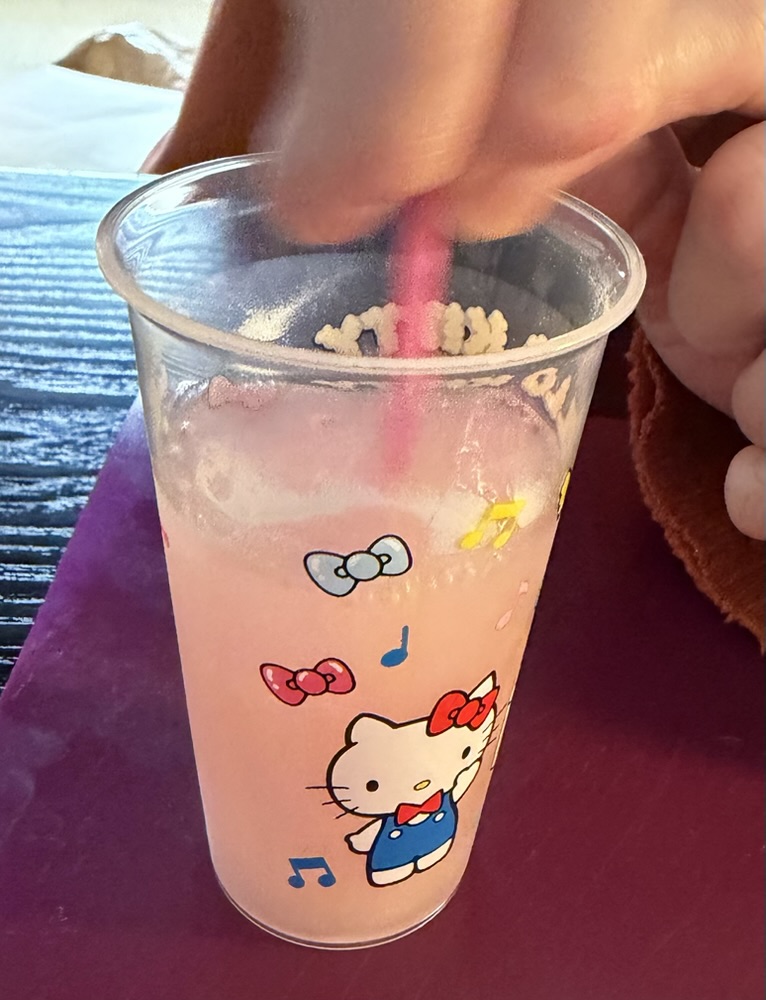
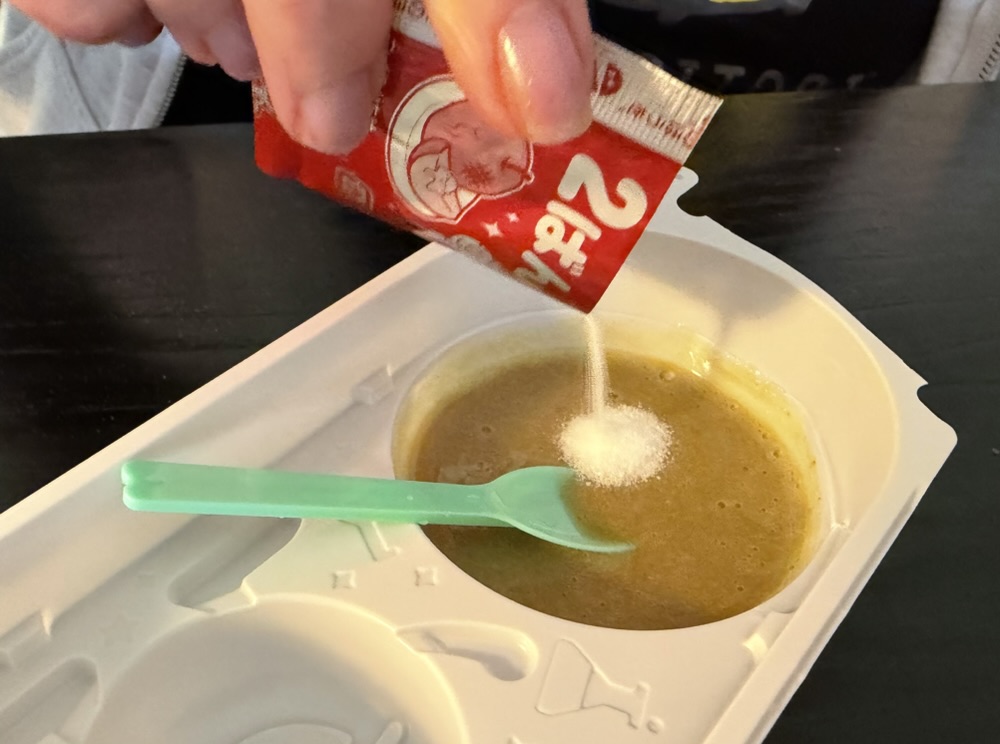
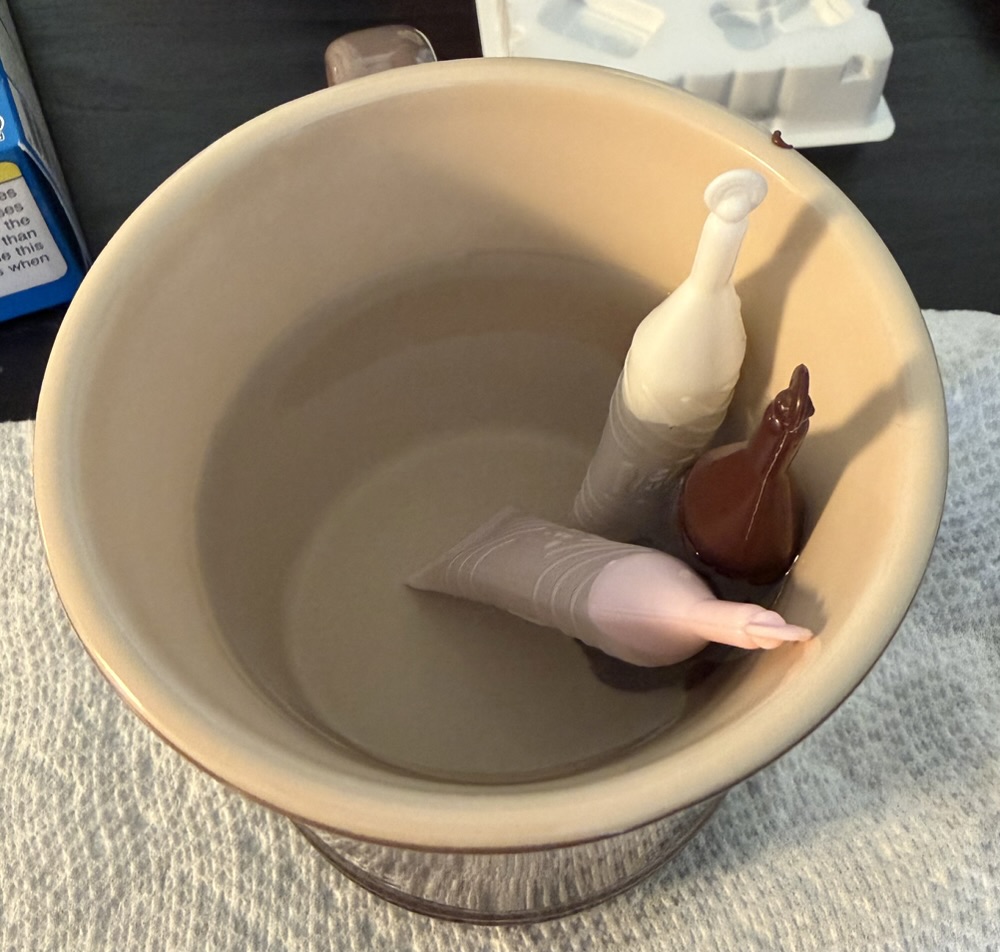
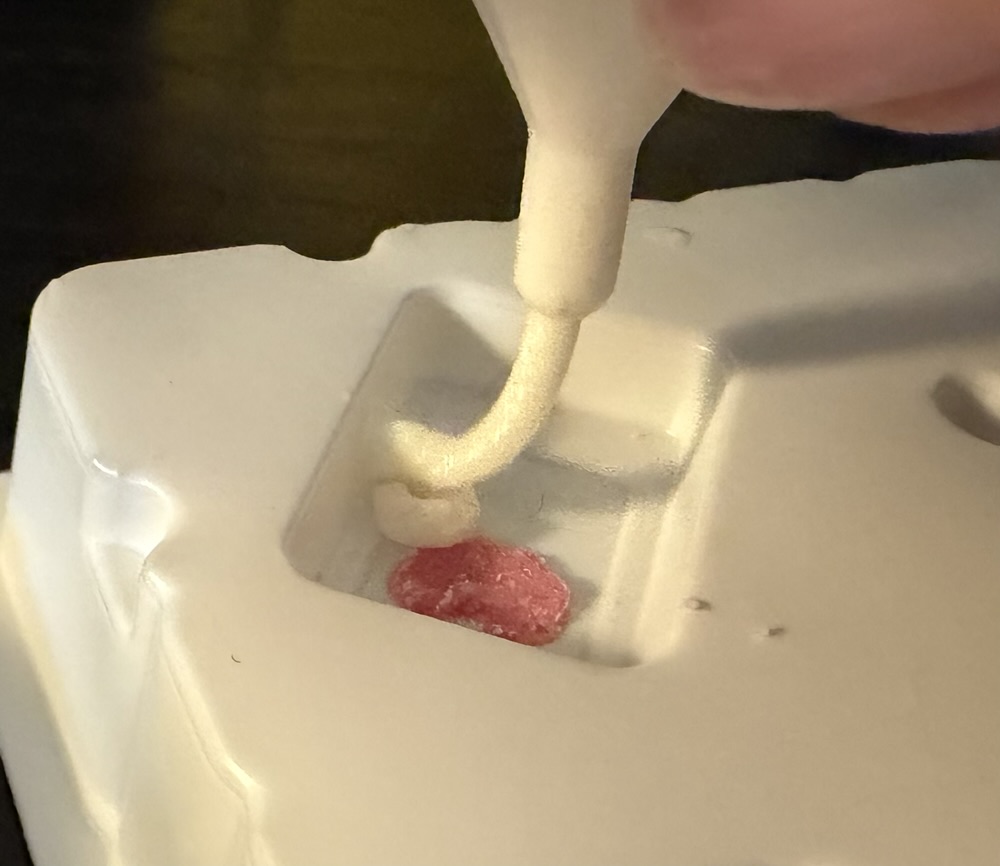
The first step was preparing the drink itself, which was nothing more than mixing one packet with cold water. It didn’t dissolve as well as some of the candy kits, but after some vigorous stirring was good enough.
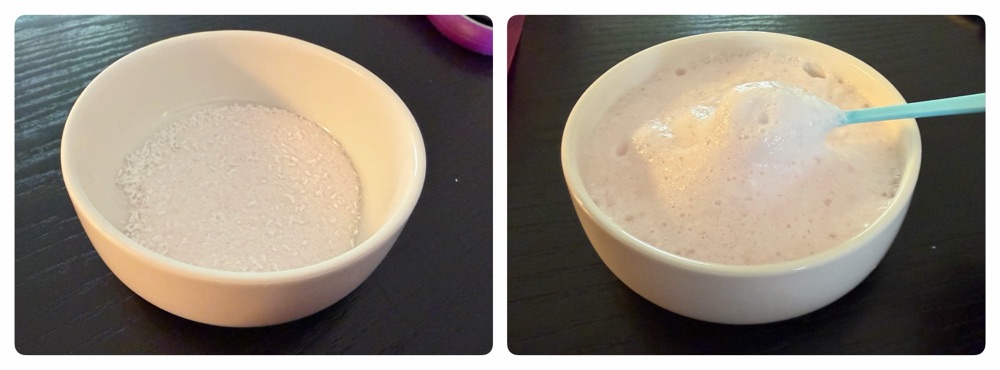
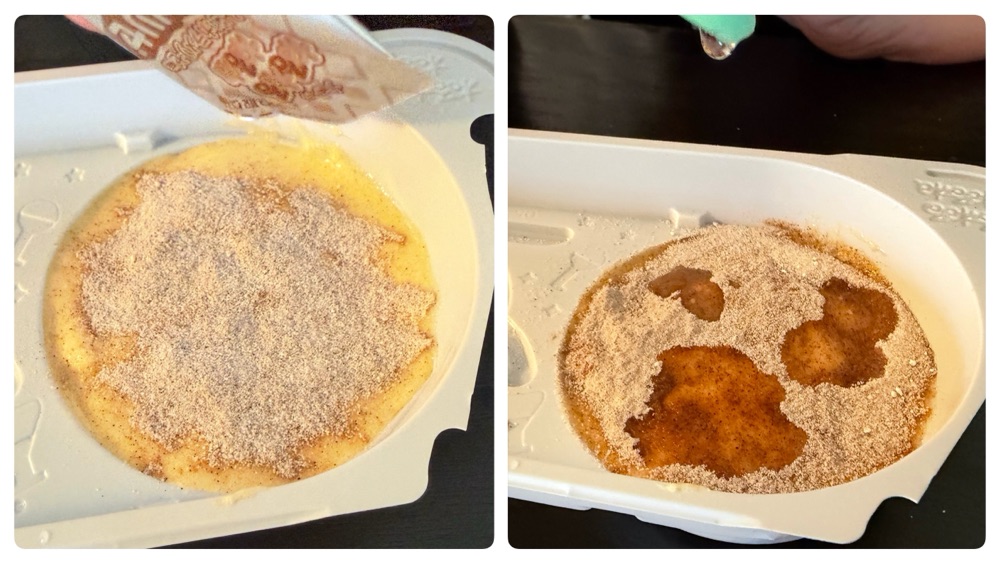
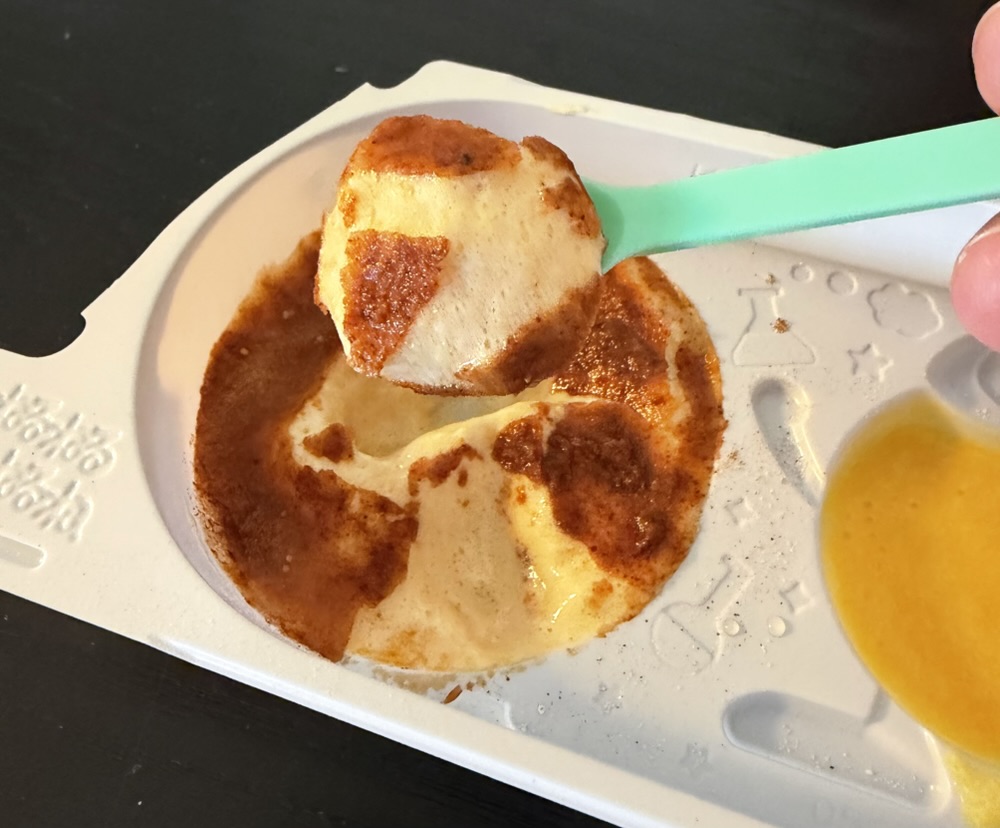
The next step was impressive: this white powder powder turned into foam when mixed with a small amount of water and stirred. It was easy and fast, and I wonder exactly what chemical reaction occurred. The foam was added to the drink to complete the beverage.
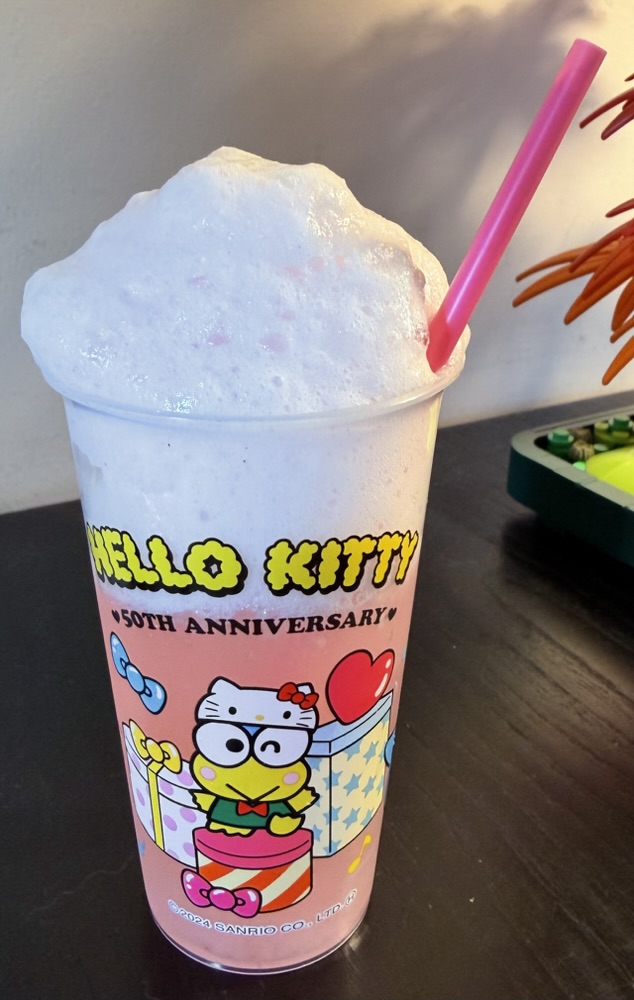
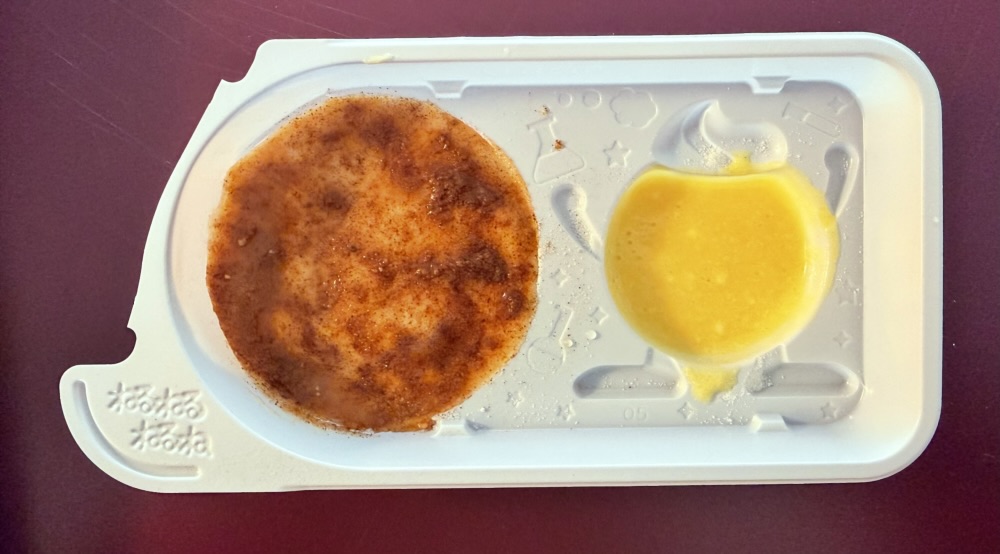
It looks good, but in truth this was vile! The foam was acidic and fizzy and physically difficult to actually eat. The drink wasn’t much better due to excessive sweetness, and I say this as someone who enjoys sweet things. After a single taste each most of this ended up going down the drain!
So full marks for appearance and ease of preparation, but two thumbs down for taste 🙂