Category: Crafts

Cardboard Tuatara

I got this for Xmas from someone who had recently been to NZ:

It’s a craft kit of a tuatara!

All cardboard, with minimal instructions and included glue:

It took me about 10 minutes to assemble:

I should have taken an in-progress shot. I’ll remember that when I make the other kit πŸ™‚

More Crafting

It’s time for a craft update. While KLS was in Ireland I occupied myself with a bit of making. Three different miniature kits to be precise, and all turned out quite well.

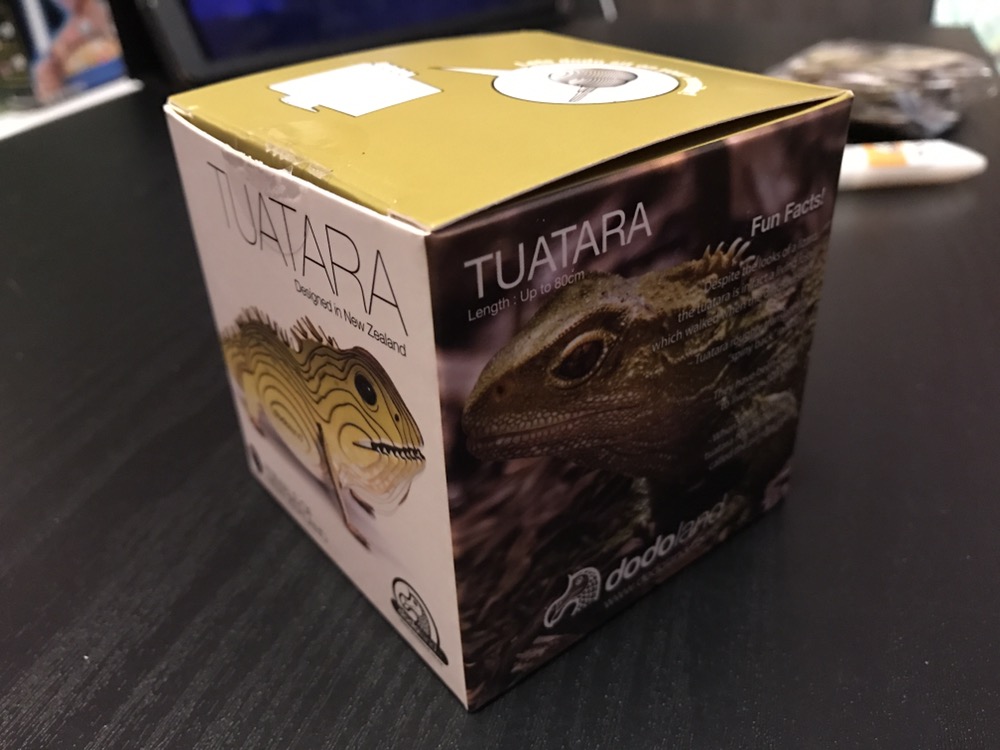
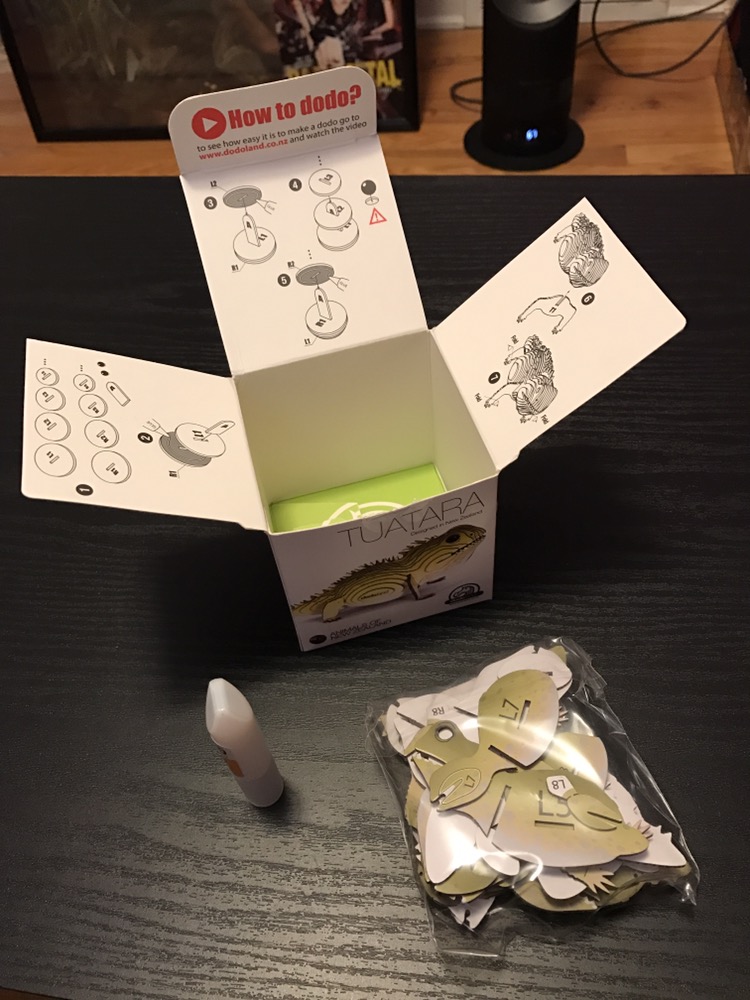
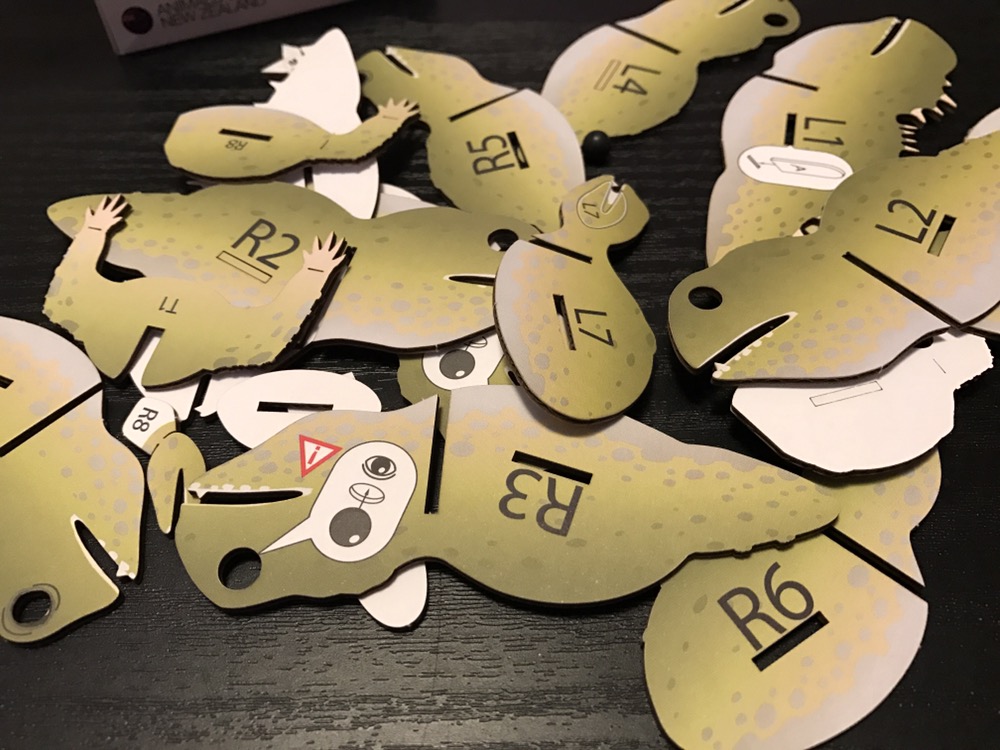
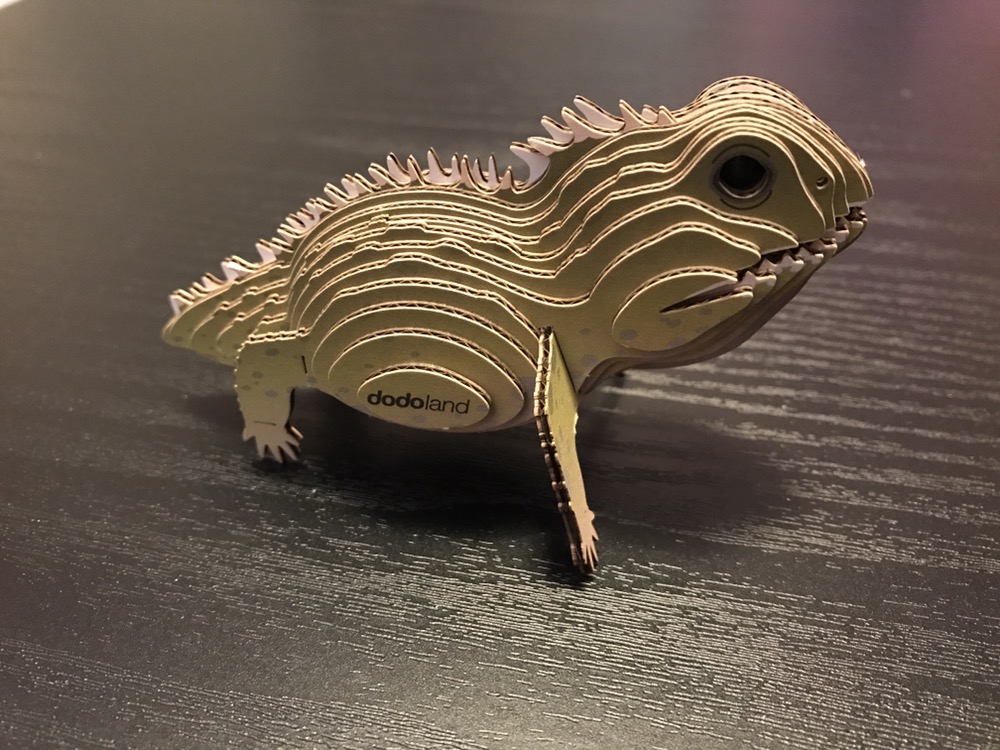
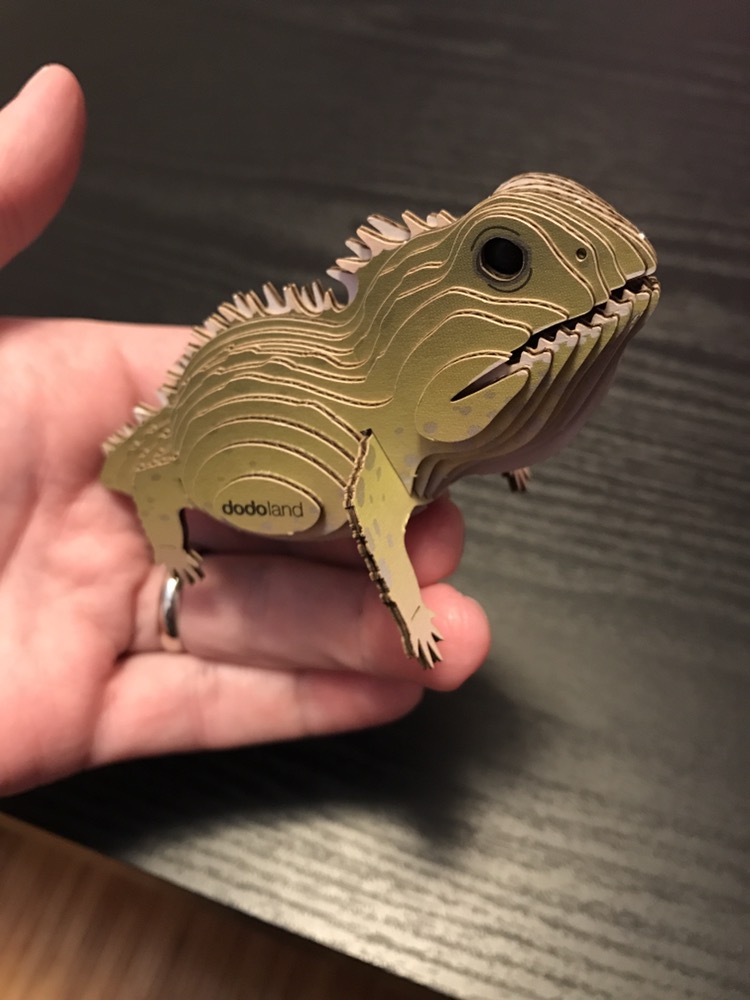
The first was a tiny cardboard dinosaur skeleton that I had picked up in CA earlier this year. I bough a kit by the same maker in Japan years ago but ruined it during assembly so I was very careful this time and it went together without issue.

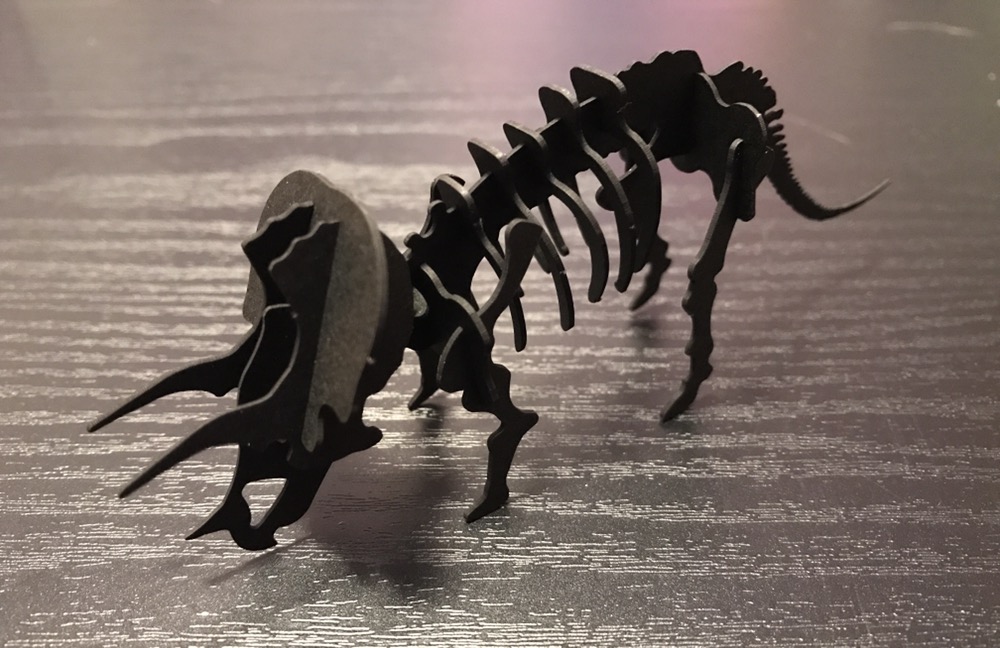
As you can see it’s very detailed for its size (about 1.5 inches high) if a little flimsy. A tiny bit of glue would perfect this, but I’m too nervous to do it so it shall sit on the shelf forever!

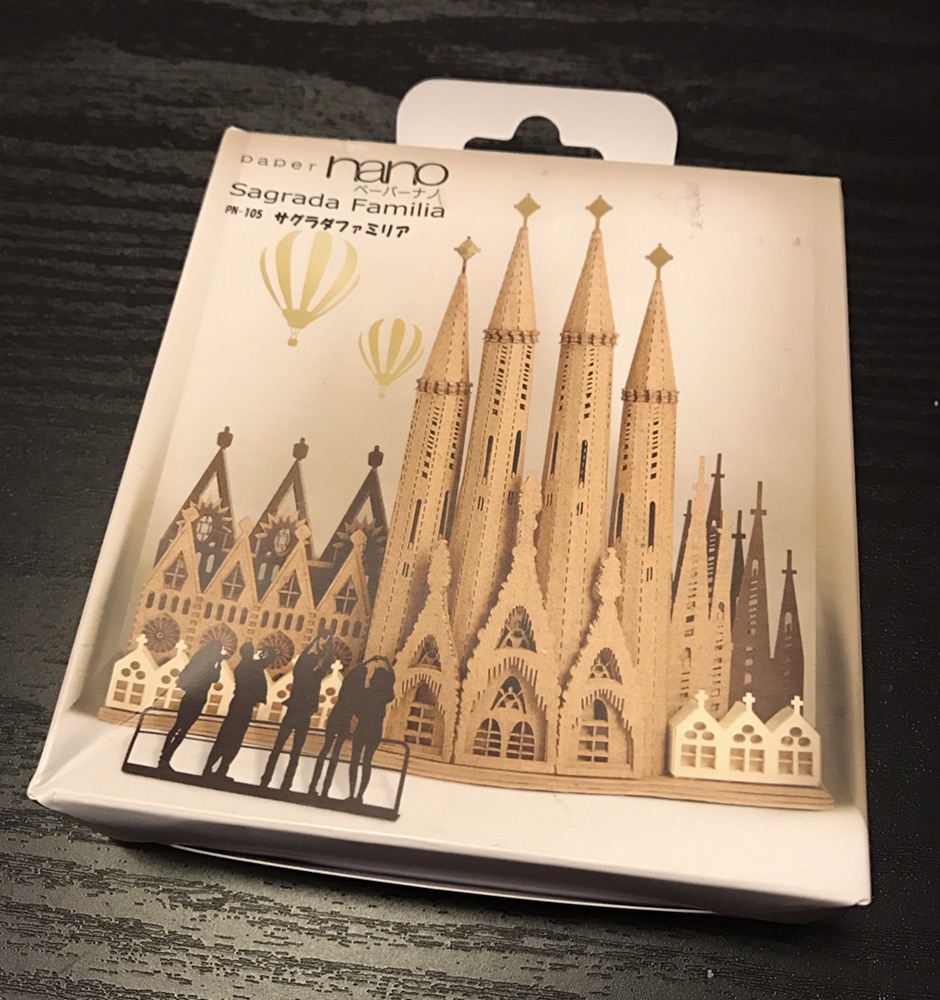
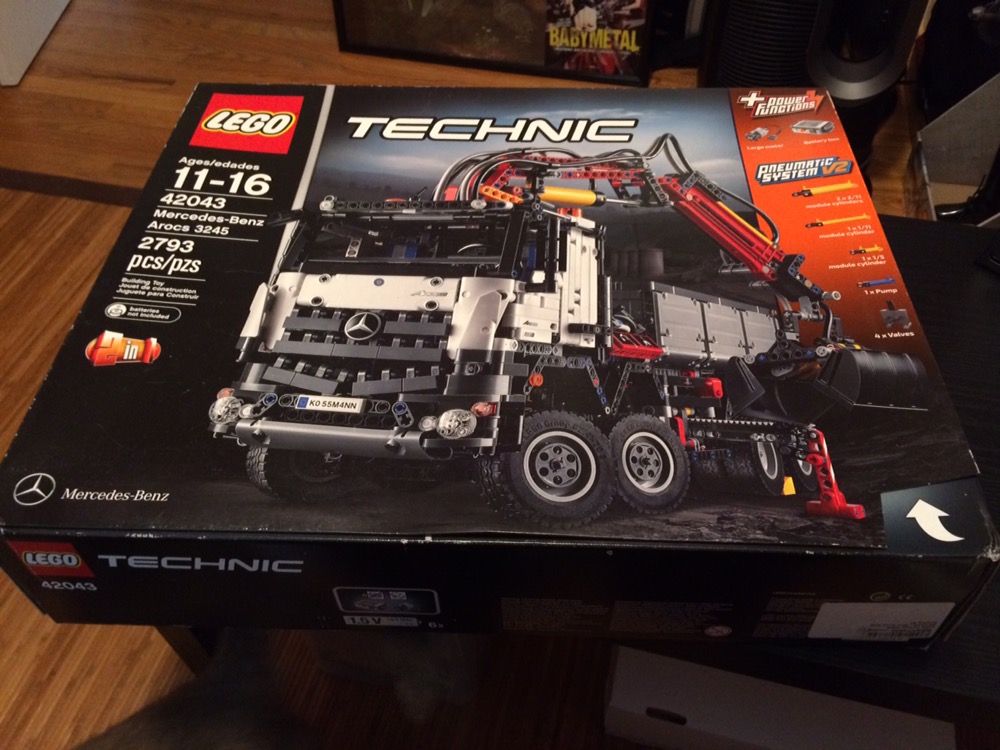
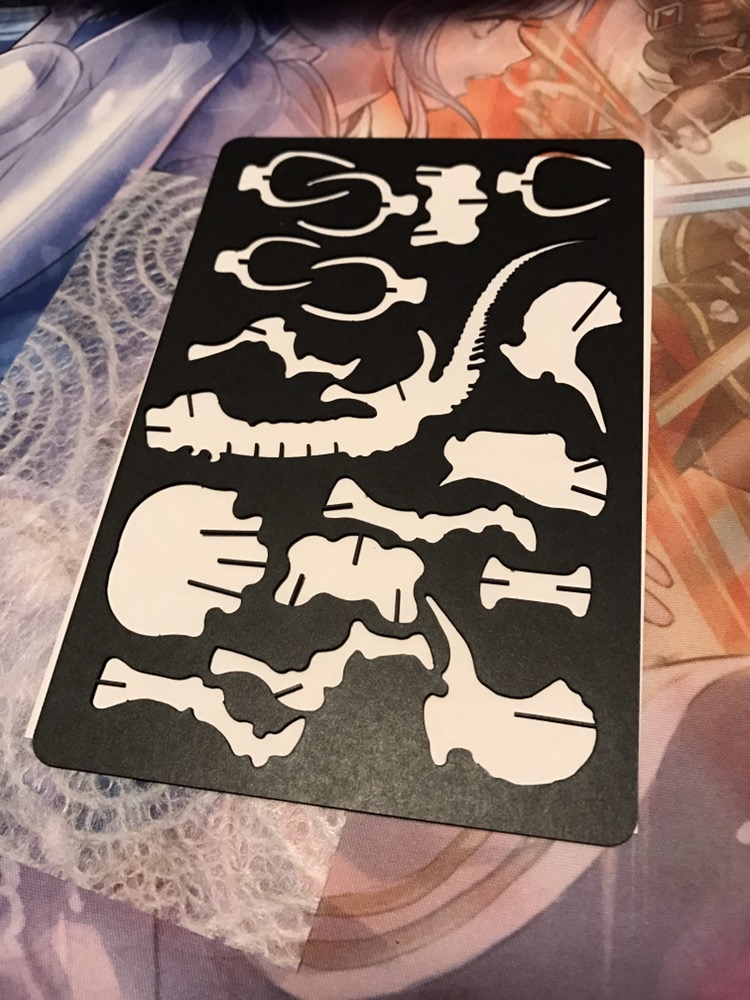
The next kit was a gift from Florence, who has since admitted she chose it because it looked difficult. She wasn’t wrong!

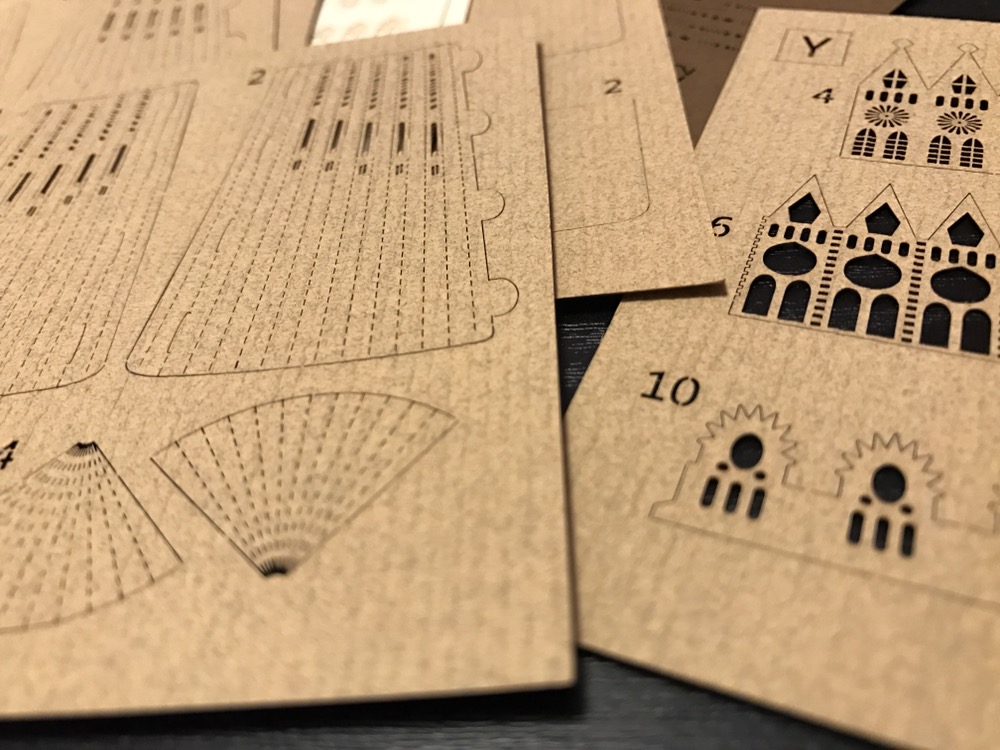
I’d made one like this before and that was hard enough, but look at the micro-folds required here! The level of precision is incredible, and this one also requires glue to assemble. Im not sure I had the correct tools for this, but then I don’t know even what the correct tools would be!

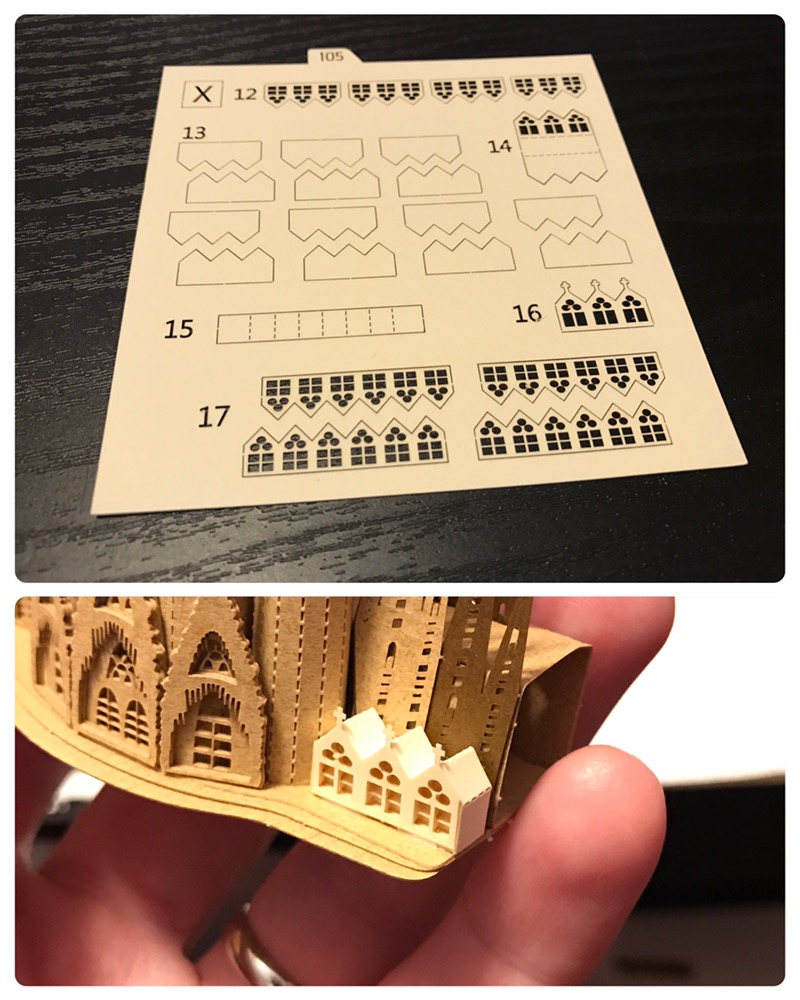
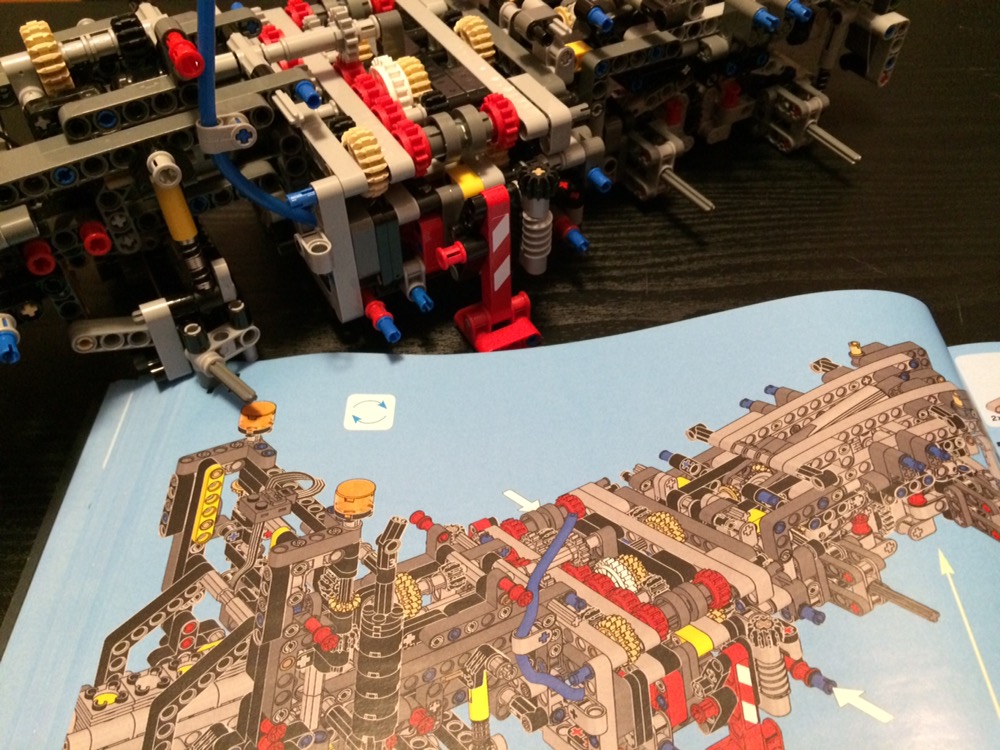
Almost all the pieces in the first photo go into making the tiny three-windowed piece in the lower right of the second!

Anyway I was careful and meticulous and patient and believe I ended up doing quite a good job:

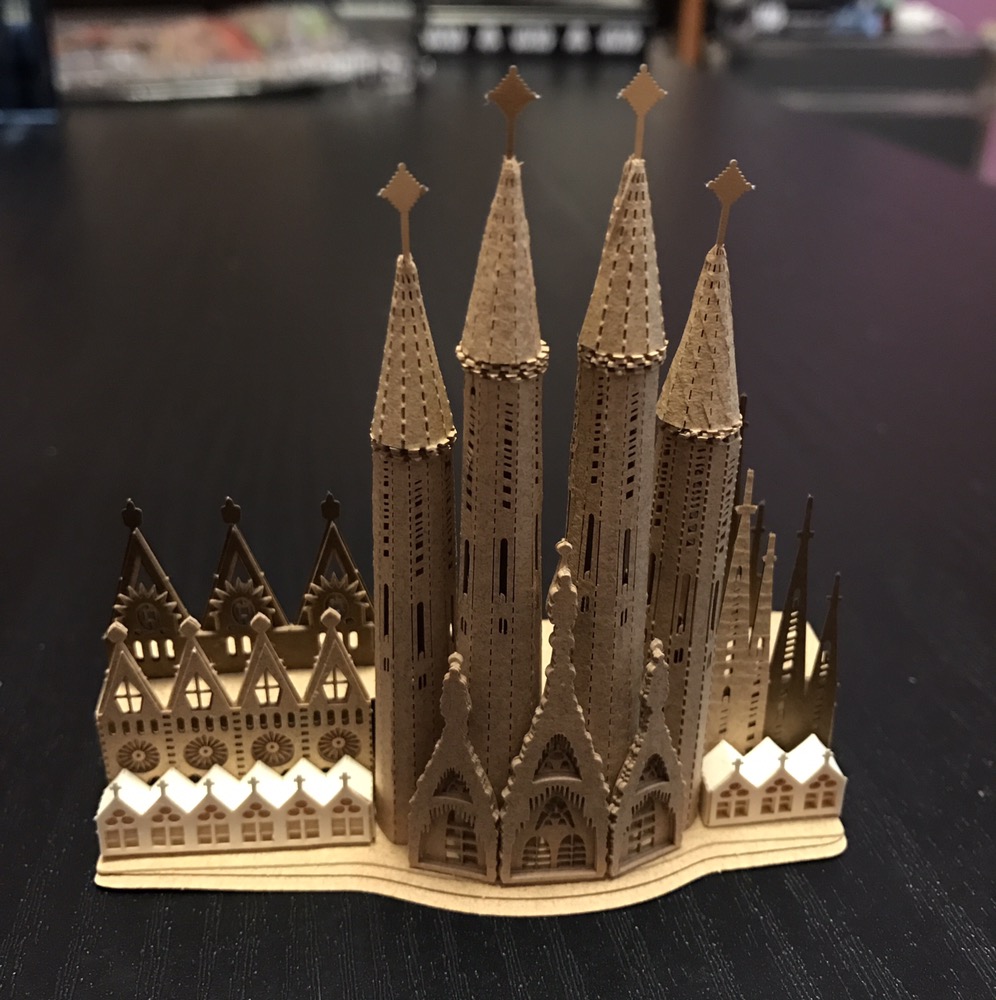
It came with a little display case (which also needed assembly) but I like it better out.

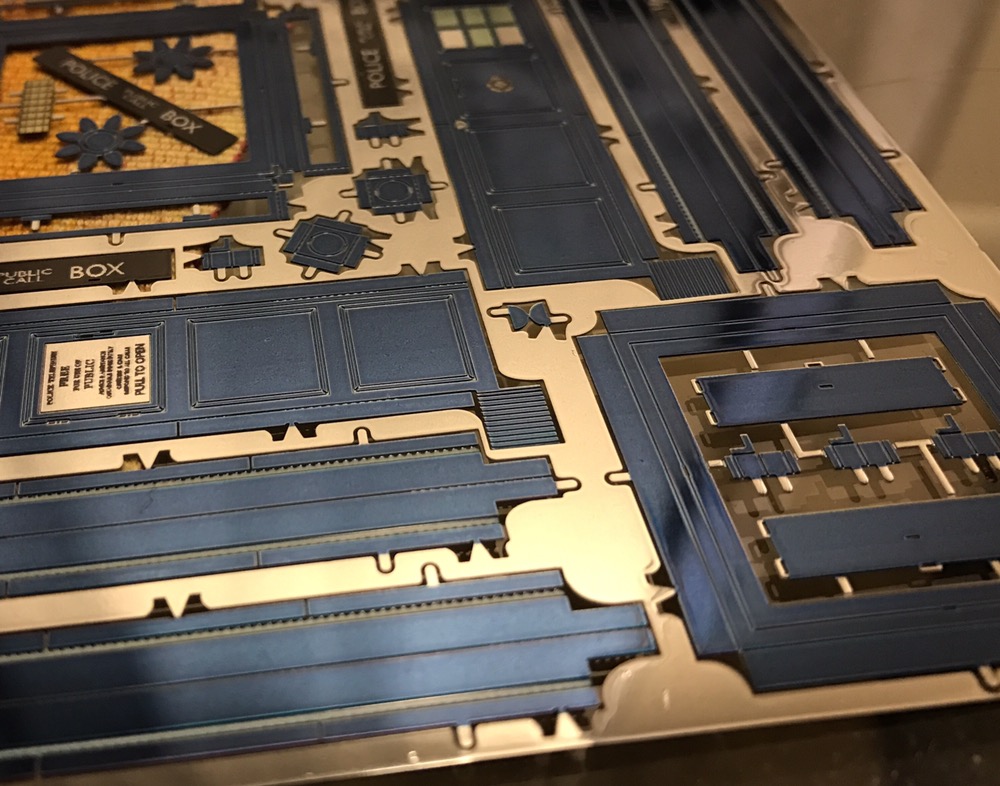
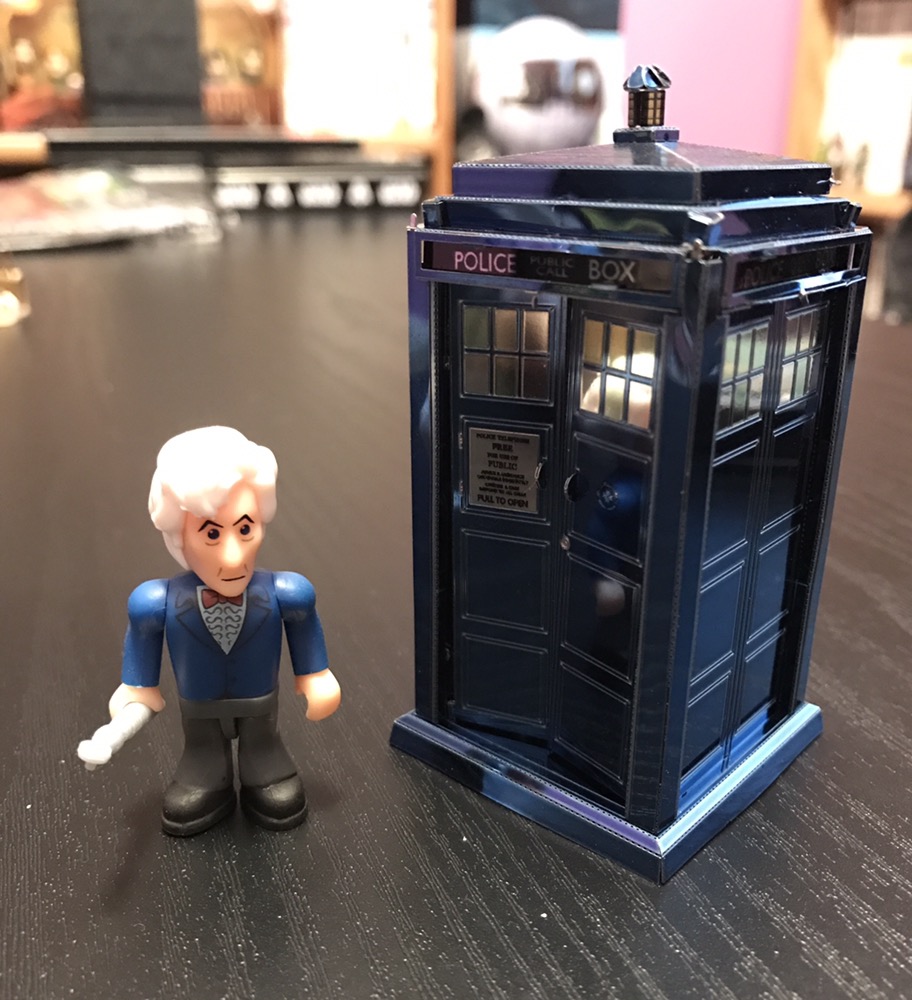
Lastly it was time for (yet!) another Metal Earth kits, this time from their new Doctor Who license.

This was another trial of my patience to be honest, and definitely amongst their more difficult kits. But once made, it’s amazing:

Next on my list: a Gundam. Whether or not that happens before Oz remains to be seen…

Air Powered

It was time to assemble the Lego kit I’d gotten for my birthday. It’s a Mercedes Benz ‘Arocs’ truck with a pneumatic crane. Even by technic standards this is a complex kit. The manual alone is over 400 pages!

The kit is made in five broad parts: the chassis with gears, the pneumatic crane, the cab and the bed. The gearing mechanism is dazzlingly complex and requires careful assembly.

It’s also quite large. Here is the complete chassis (sans wheels) shown next to a rather large house at for scale:

The pneumatic system is even more complicated, and we’re not trivial to assemble! Many times I thought I’d attached the wrong hose to the wrong nozzle, or feared that once I’d finished it wouldn’t work and I’d have to take it apart. For this kit, that’d be a nightmare!

This is a real pneumatic system, which means the kit includes an electric pump that pushes air through these tubes to power pistons. It’s amazing just how much functionality they’ve worked in (four pistons and dozens of tubes) and how the kit is designed to fit all this in the crane itself. Here’s the truck 75% finished, only needing the cosmetic parts added (the cab and bed). Until this point, I’d been working for maybe 6 or 7 hours.

The remaining sections were easy by comparison, but that’s not to say they were simple. The mechanism to tilt the can forward was particularly nice. Here’s the finished kit in ‘road ready’ mode:

And here it is with the supports out, bed up and crane functioning:

All the functions you see above are controlled by the motor and switching system (via the astonishing gearing). I was very relieved it all worked first go πŸ™‚

It’s a beautiful, massive, complex (and yes expensive) kit and was enormously fun to put together. Highly recommended πŸ™‚