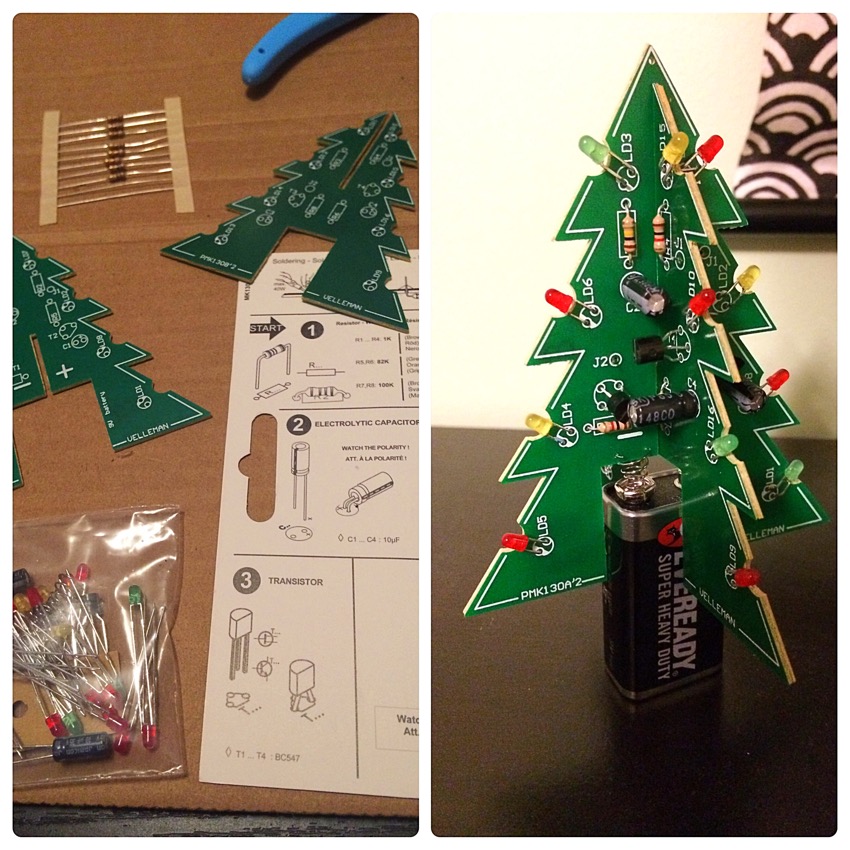
It’s time again for a craft upgrade. I’ve made a few things since Christmas, and some will wait for their own post, but here’s a few of the others.
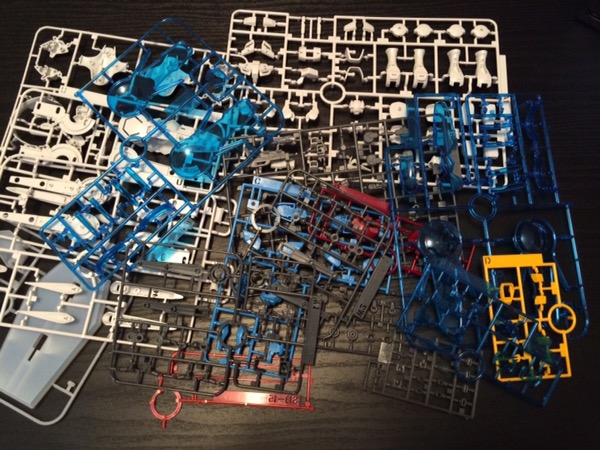
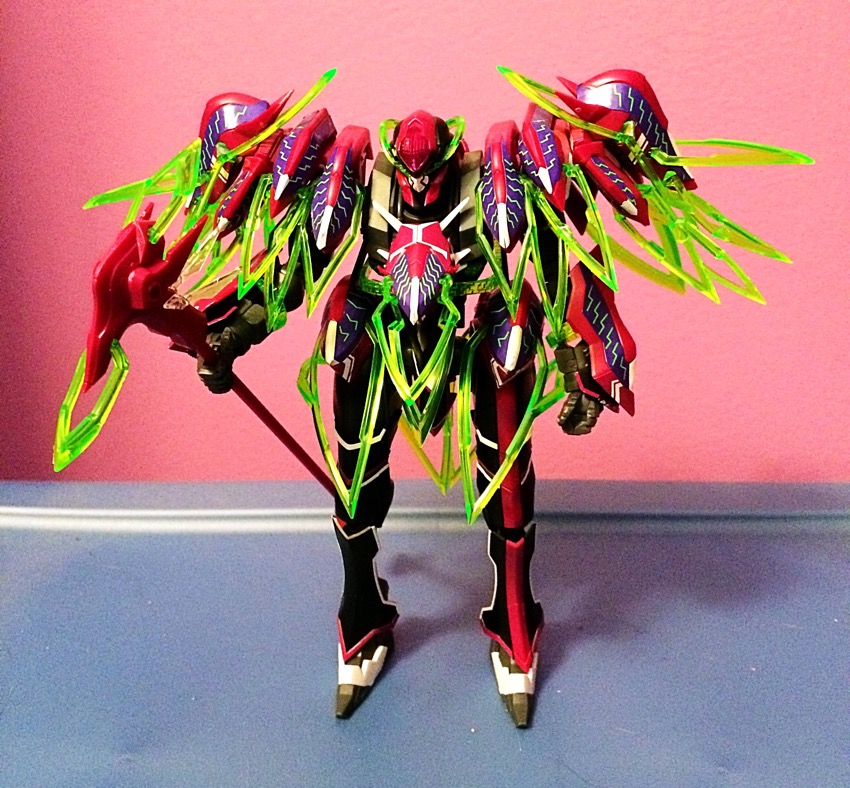
That’s all the parts for Gundam G (Self Perfect Pack) which is a 1/144 scale, not particularly expensive (<$20) kit. It’s a not particularly attractive version of the basic Gundam design that I bought because it has a gimmick. See this photo:
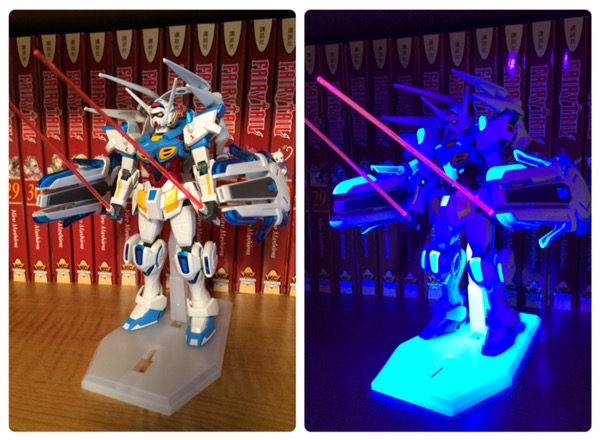
Yes, it (intentionally) glows under UV light! Sure it’s garish and unsightly, but at least it glows!
Jokes aside this was a quick and easy build with the typical high quality Bandai brings to all Gundams. While it doesn’t require glue, I put a few drops in a couple of places to make it more secure. For the price, this is a good kit.
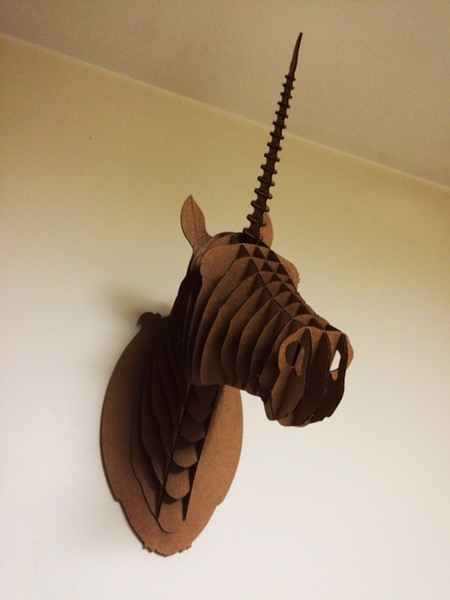
The next item was this:
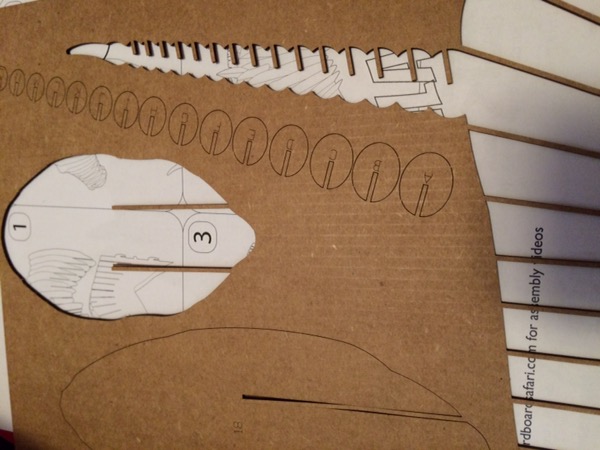
It’s a 3D sculpture made of cardboard! KLS got me this for Christmas and although it was very quick to assemble I was impressed with the precision and how nifty it looks complete. Here it is hanging in our kitchen (it’s about 2 feet tall):
Lastly, another model kit:
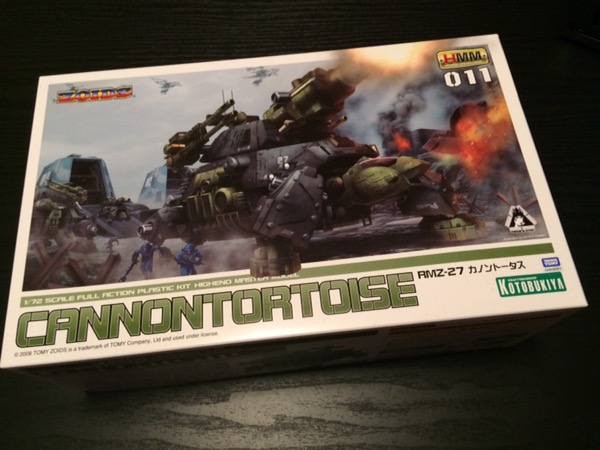
Yes, another Zoid, namely Cannon Tortoise. As with the others I have purchased, this was expensive, complicated to assemble, and very impressive once complete:
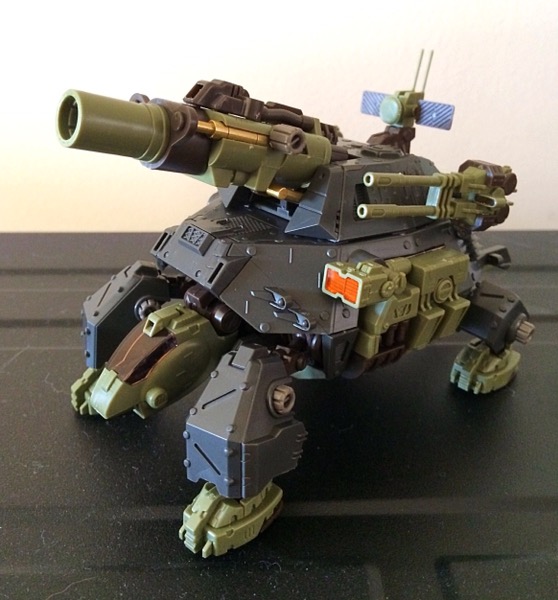
It’s not much bigger than my palm, has articulated feet, a rotating (and rising/lowering) cannon, and a head/cockpit that can retract into the shell.
It isn’t a kit for beginners, and it’s a little drab unpainted, but I greatly enjoyed making it and suspect it won’t be my last Zoid!