We bought seven candy-making kits on recent trips and it’s time to make them all. I’ll cover one a day for the next week.
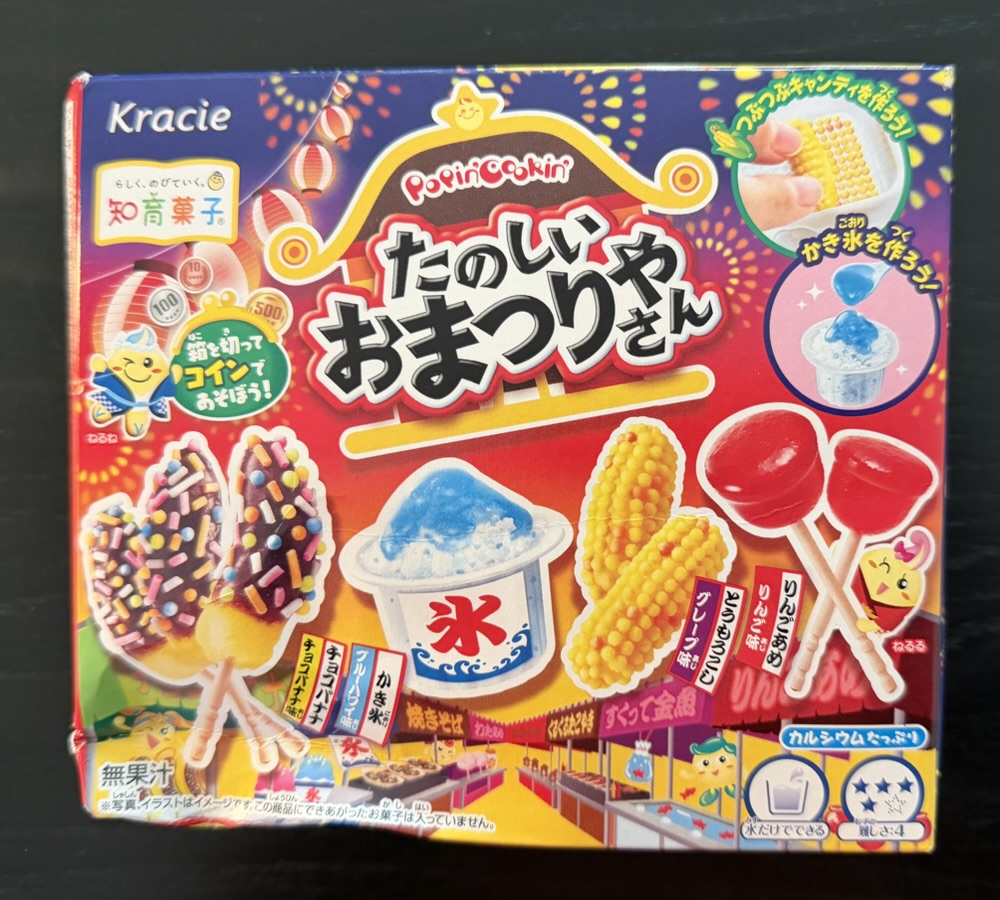
I’ve made Kracie brand kits before on this blog, but not this one which is traditional Japanese ‘fair food’. This one hasn’t been released in the USA so I had to rely on a translator to understand the instructions, but there wasn’t any complex steps so this was arguably not even necessary.
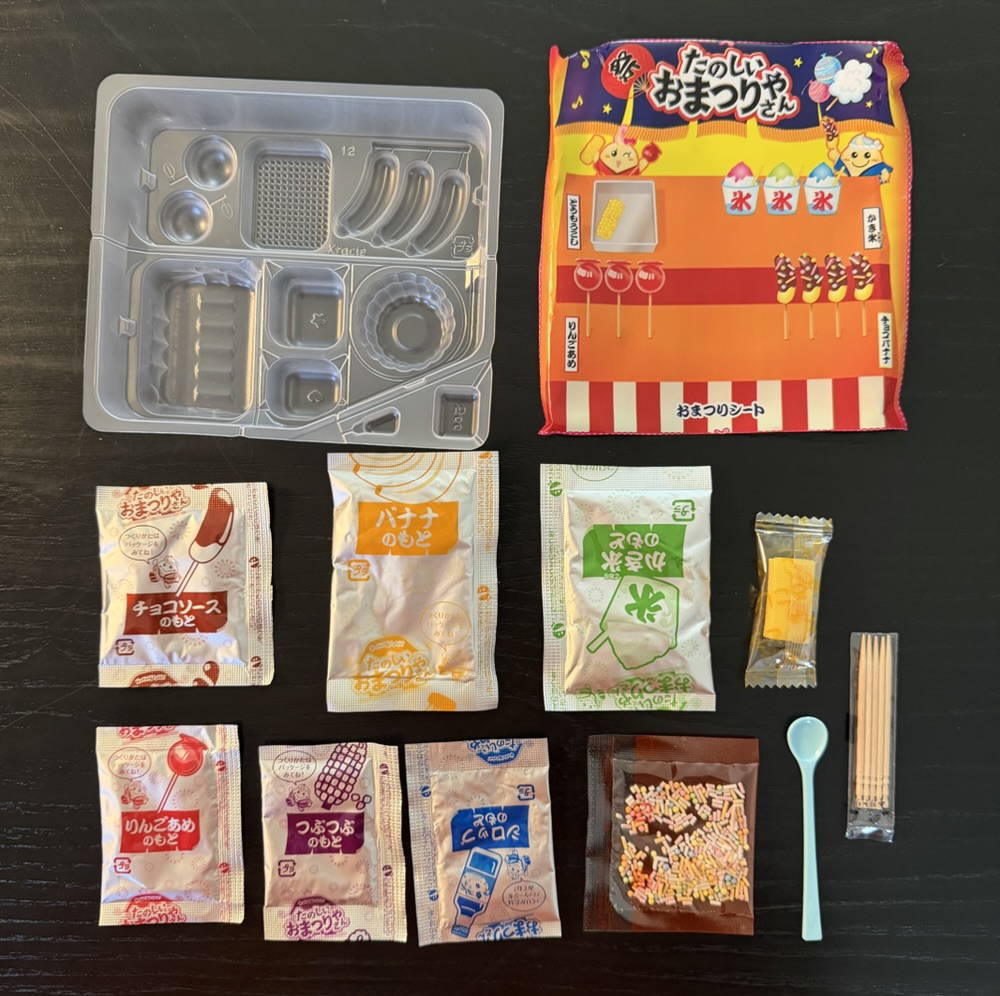
The above shows the contents of the box, and as usual for such kits everything begins in powder form and is mixed with water in the provided trays.
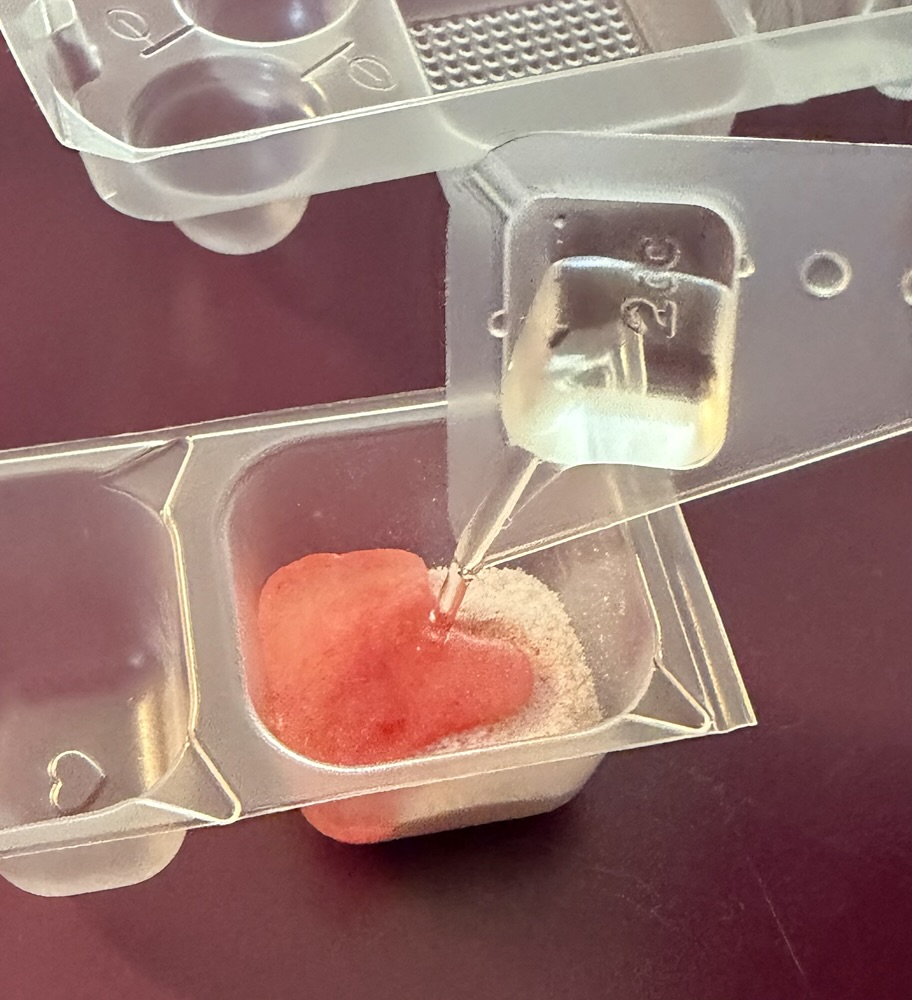
The powders are usually white and odorless and when you add water they take on their final colour and the smell (usually fruit) comes out. This is the candy apple base, which was then added to molds to make the apples.

The banana base was similar, although while the apples were fluid and had to set for a while (to become gummy) the banana material was plastic and sticky. All the other parts of the candies were made using similar means.
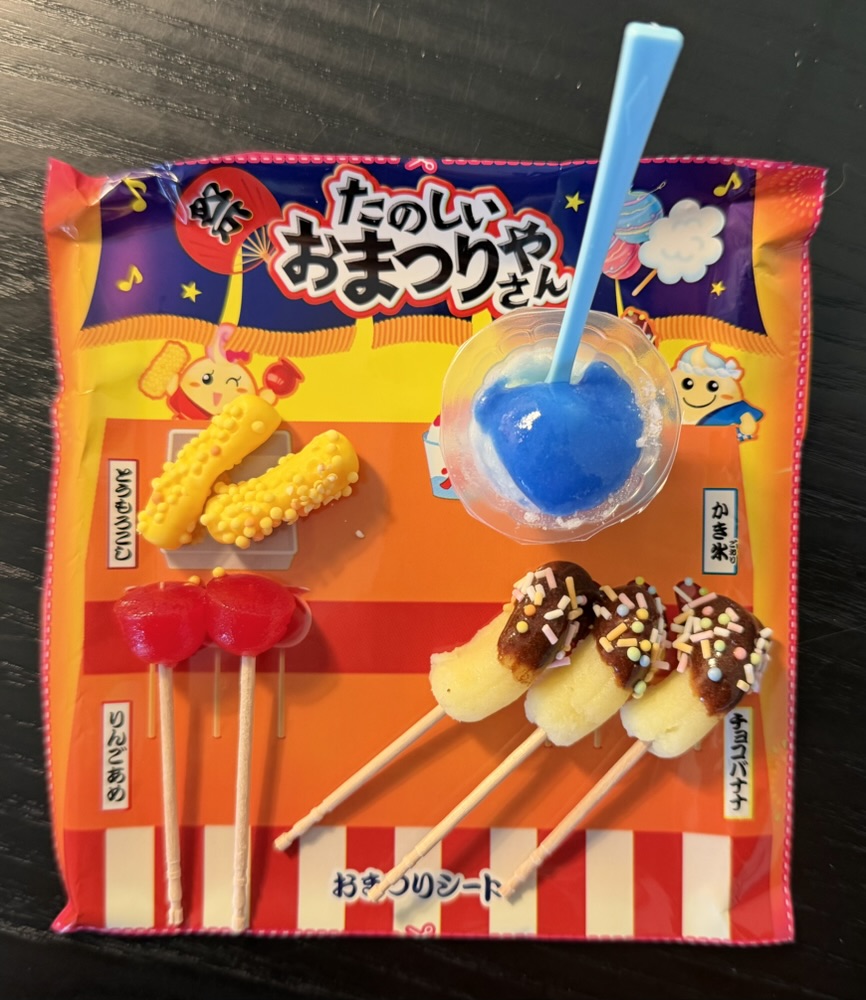
Here’s the finished product. If you compare this to the photo on the box you’ll note the grilled corn looks very different from the packaging! This is because the little candy pieces didn’t adhere to the base material. The rest looks good if I do say so myself, and ended up closely resembling the box photos.
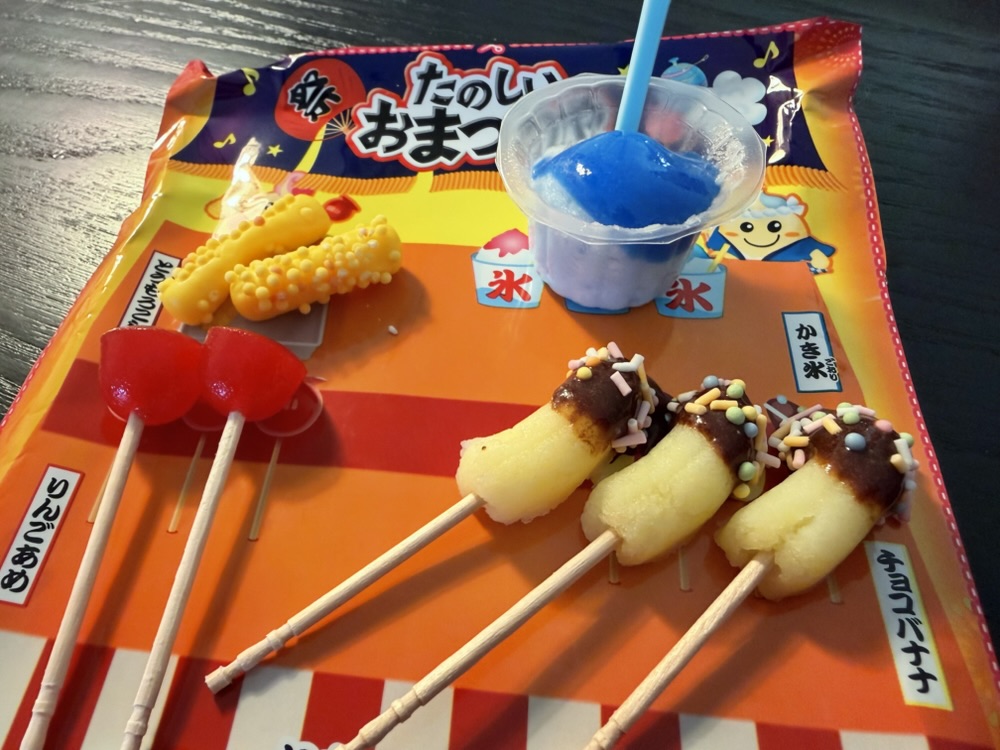
The shaved ice (which was fizzy!) and corn (melon flavour) tasted best while the apples and bananas – while not bad – were not as good. The apples had a strange ‘grainy gummy’ texture which was a bit disagreeable, but the shaved ice bore an astonishing resemblance to actual ice!
Overall this was a fun platter of ‘food’ to make and tasty to eat so this kit (as with most Kracie kits) gets two thumbs up.


