Category: Home

Toffees

A couple of weeks ago I remembered a home-made lolly from my youth called ‘toffees’. I recalled buying them at church and school fetes, but hadn’t had one for decades.

A quick google search later and KLS had found a recipe. It was time to try and recreate this sweet from my youth!

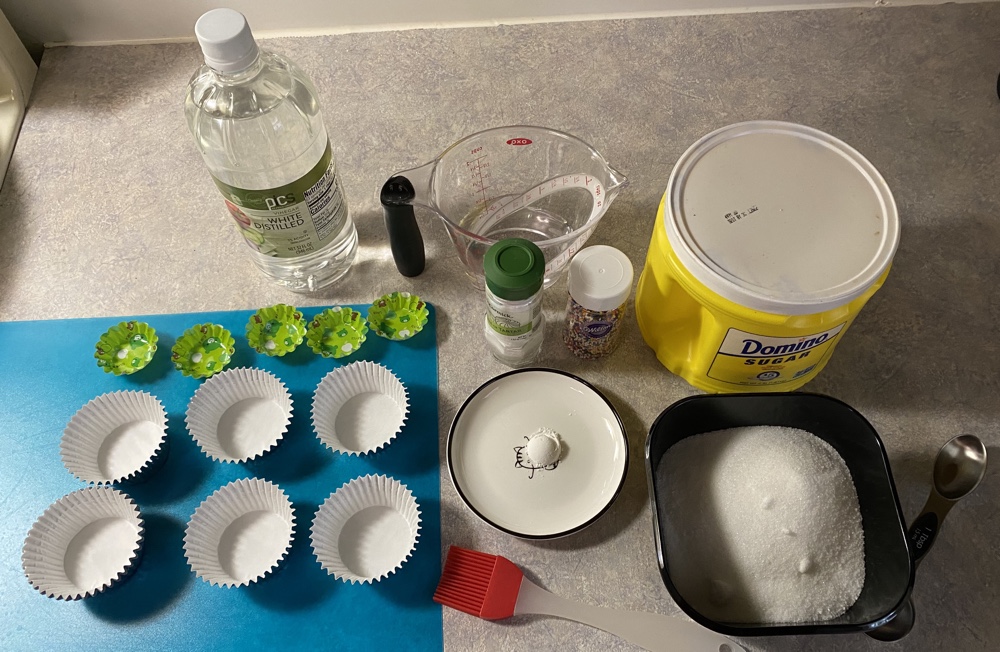
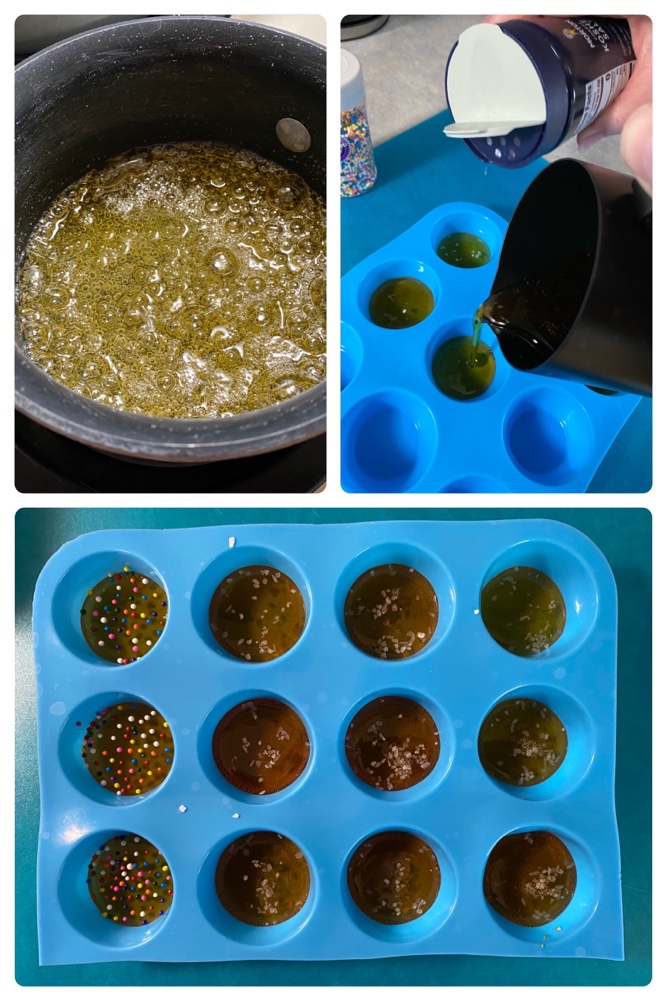
The ingredients are simple: sugar, water, vinegar and cream of tartar. The process of cooking isn’t too difficult either: just mix it together and cook on medium heat for about 20 minutes:

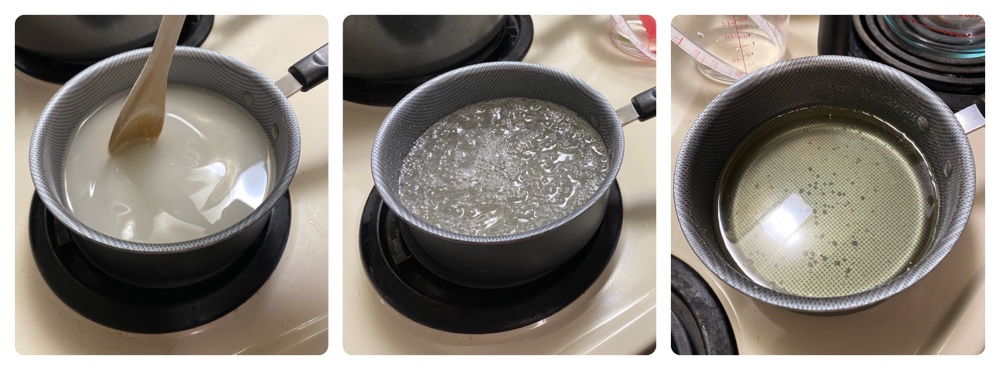
The above shows our first attempt. When it’s ready we poured it into cupcake cups:

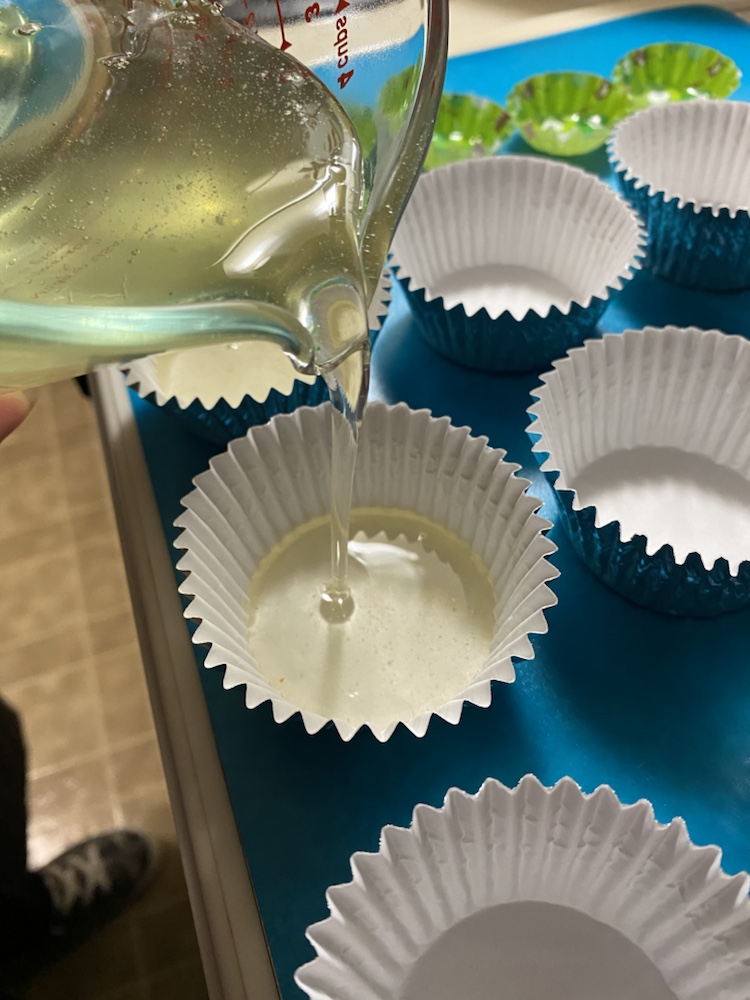
And after adding a few sprinkles we were done:

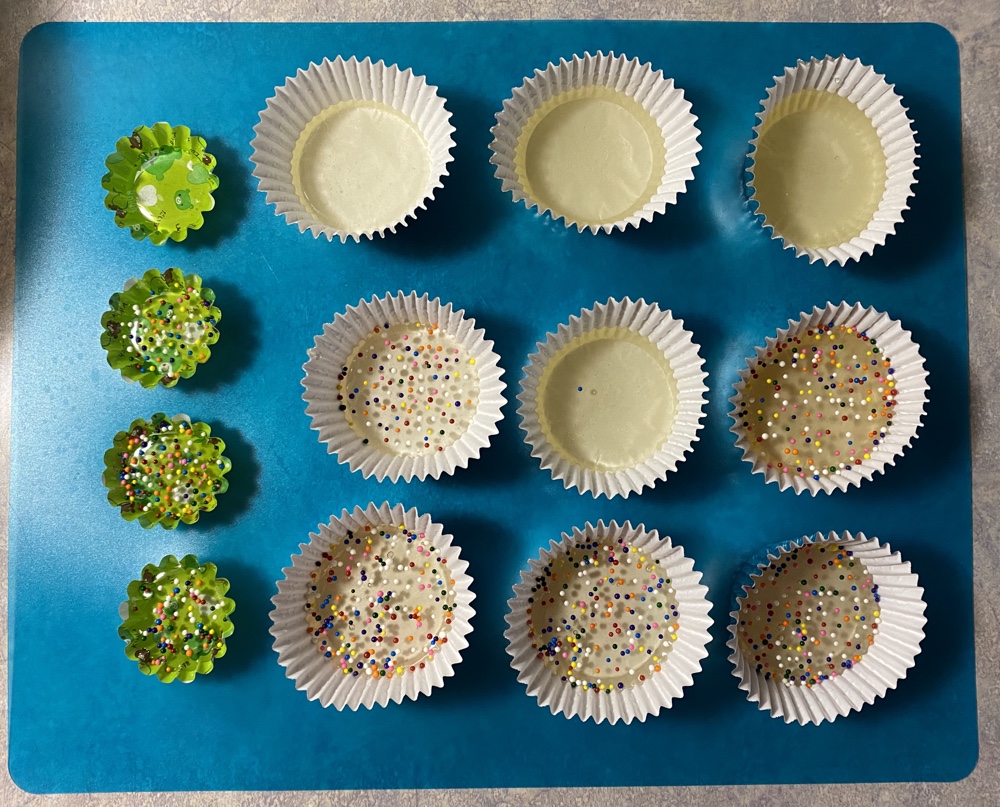
Not bad for our first attempt are they? They tasted great but there was a problem: they were incredibly sticky! As in you could barely open your mouth when you bit one. To be honest, they were scary to eat!

A second issue was that they were impossible to get out of the cupcake cups, and eating one included a good mouthful of paper as well. ๐Ÿ™‚

Kristin knew the cream of tartar was the culprit and less would result in a harder toffee. It was time for round two! This time she let the mix boil slightly longer until it turned golden, and then when we poured it we used silicon cups as well:

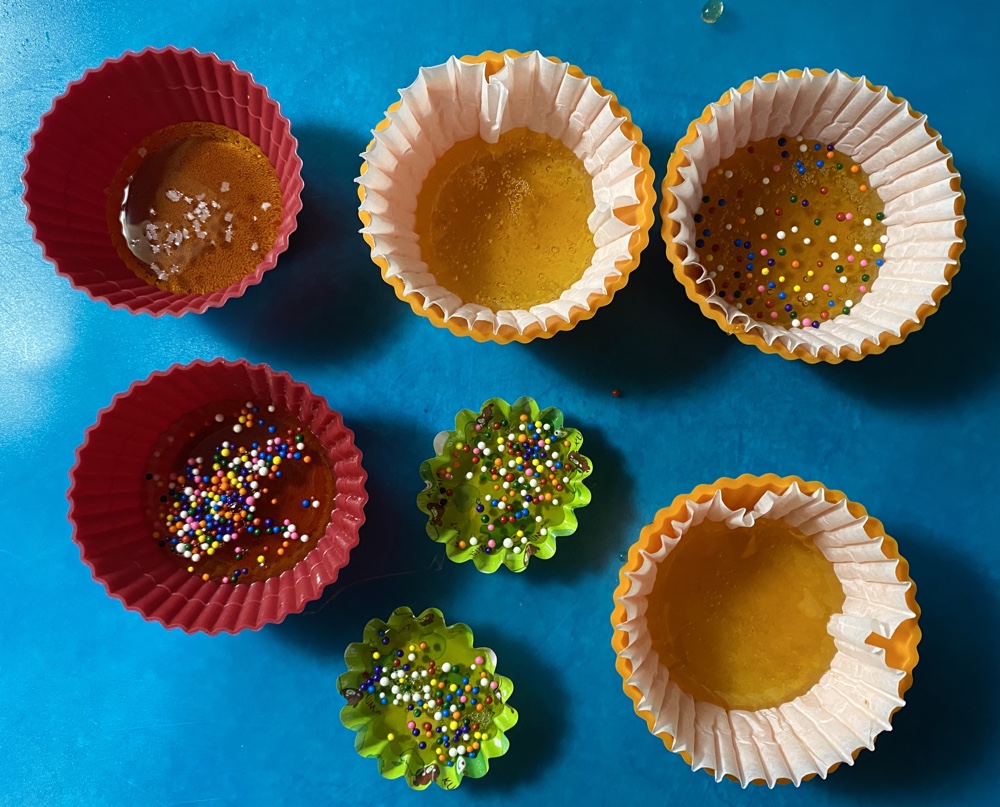
These were much more successful! Not as sticky with a better taste. The one in the top left was sublime since KLS topped it with salt! As a bonus they came out of the silicon mold perfectly:

Alas there was still one issue: they were too big! This made them difficult to eat since they were too hard to bite through and a bit too large in the mouth. It was time for further refinement…

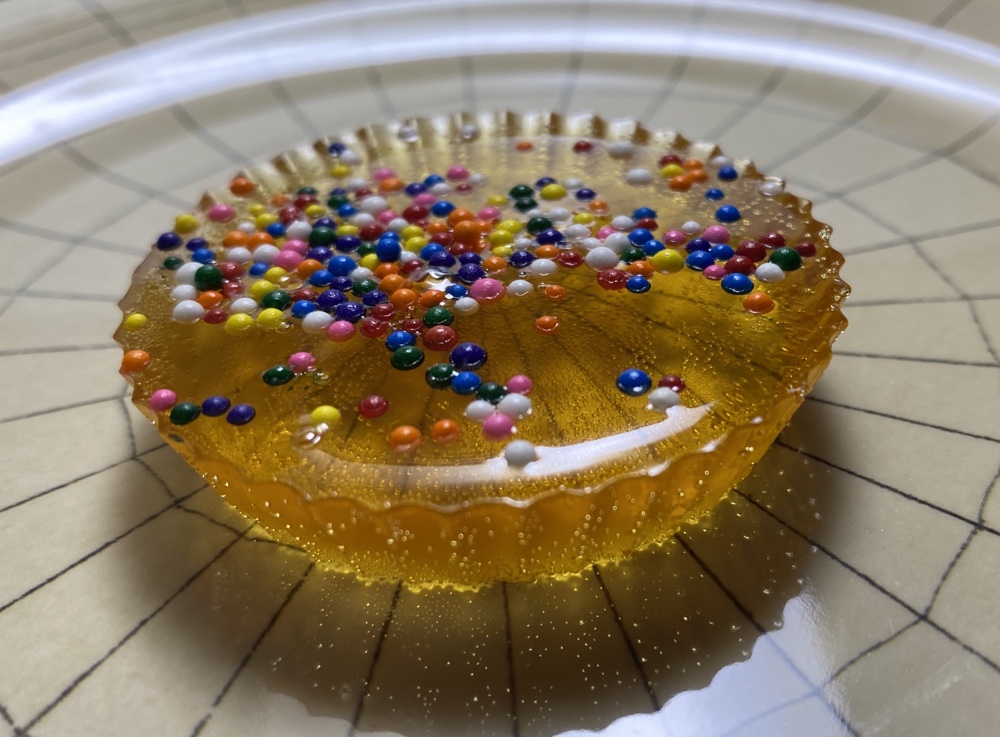
A week later we had secured more sugar and a new set of smaller molds, and we tried again. Golden brown boil, smaller silicon molds, salt on top:

Finally, we had crafter perfection! These are astonishingly good and 100% the taste of my youth.

A great success! Even though they’re basically just sugar, they taste like salted caramels. Next time you visit, we’ll make you some ๐Ÿ™‚

Happy Halloween!

On Kristins birthday a few weeks ago we went pumpkin picking!

We drove to a farm about an hour away and they had a few massive fields full of pumpkins of all shapes, sizes and colours!

Kristin searched for just the right pumpkin for Jack-o-lantern carving, and I just grabbed any old vegetable ๐Ÿ™‚

With raw material secured, it was time to carve some Halloween decorations:

As you can see Kristin is quite proficient! My attempts were comparatively modest. Here’s the finished display:

That was 3 weeks ago almost to the day. And now we arrive at Halloween, and our pumpkin buddies haven’t fared so well. I took a photo every few days to document their aging process:

As you can see they’ve been nibbled on by savage beasts and infected by some evil rot. Both are now full of poisonous liquids and smell of death. In short: they become the perfect Halloween decorations!

Right now we’re at the drive-in for their Halloween extravaganza (two films, cider and donuts and some sort of special stage show!). I hope your Halloween is as much fun, and you’re not too scared by monsters ๐Ÿ˜‰

As a bonus, here’s a two-month ‘timelapse’ of a chrysanthemum we bought for our front step:

Green Thumb Days

We planted some seeds. How did they turn out? Let’s look!

That’s the ‘left’ planter on the back patio (this is a rare post from my computer so you can click on the images to see them in higher resolution). The whiskey barrel is old and falling apart so it may be it’s final year, and we planted morning glory seeds in it. These photos were taken over an approximately 4 month period, about one a week. You can see a few (purple) flowers in the second last photo, but it’s starting to look a bit ragged probably due to the excessive heat it receives during the day.

That’s the ‘right’ planter, and you can easily see the dilapidation of this barrel (not to mention the no-longer-functional palantir in the middle). As with the other barrel we planted morning glories and you can see they flourished in this one since it is partially shaded by the tree above. However they are still showing sun damage in the final few shots. Had I taken any of these photos during the early hours you would see more flowers; they are mostly closed during the day.

And here we have close to the full life cycle of marigolds from seeds. I bought the seed packet for next-to-nothing at Walmart, and planted all the seeds in two cheap pots. Sue told me that this was a bad idea since they’d compete for nutrients and it seems she was correct. Even though I tried to thin them out when they (all!) sprouted, their roots had entangled a bit and this was difficult so I decided to leave them to their own devices. As you can see they started promisingly but quickly became weeds. They were not helped by a rogue chipmunk hell-bent on digging out the soil and monsoonal rains that kept knocking them over for days at a time. Basically these plants were cursed, and their ruinous lives led to a wretched final state. If we actually see flowers I’ll deem it a miracle!

So there you go. Some success and some failure, but mostly more the former. Lessons were learned, and next time the marigold seeds will fare better ๐Ÿ™‚