Recently a secret source in Japan – let’s call her AC – sent me a wonderful set of four postcards. Not just any postcards; she sent me Gotochi, which are special regional postcards made by the Japanese postal service and only sold in the region depicted on the card.
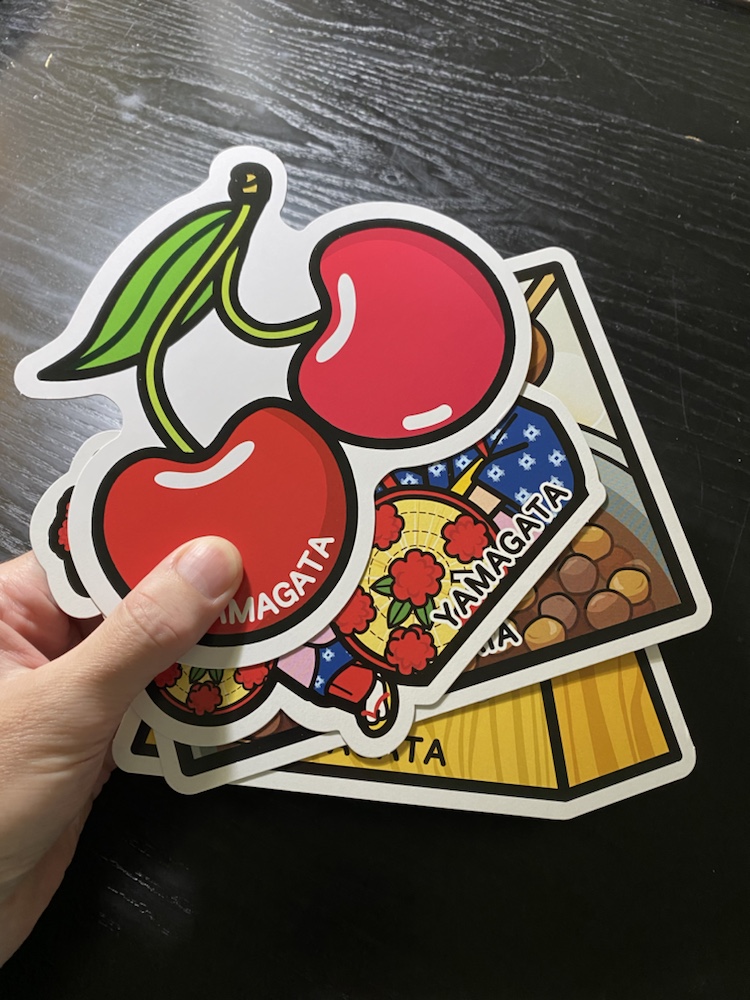
AC lives in Yamagata prefecture (or county), about 350 km north of Tokyo, so these cards all feature things that Yamagata is known for. I know absolutely nothing at all about Yamagata, and can’t read the Japanese on the back of the postcards, so let’s see if we can learn something together based on the card images!
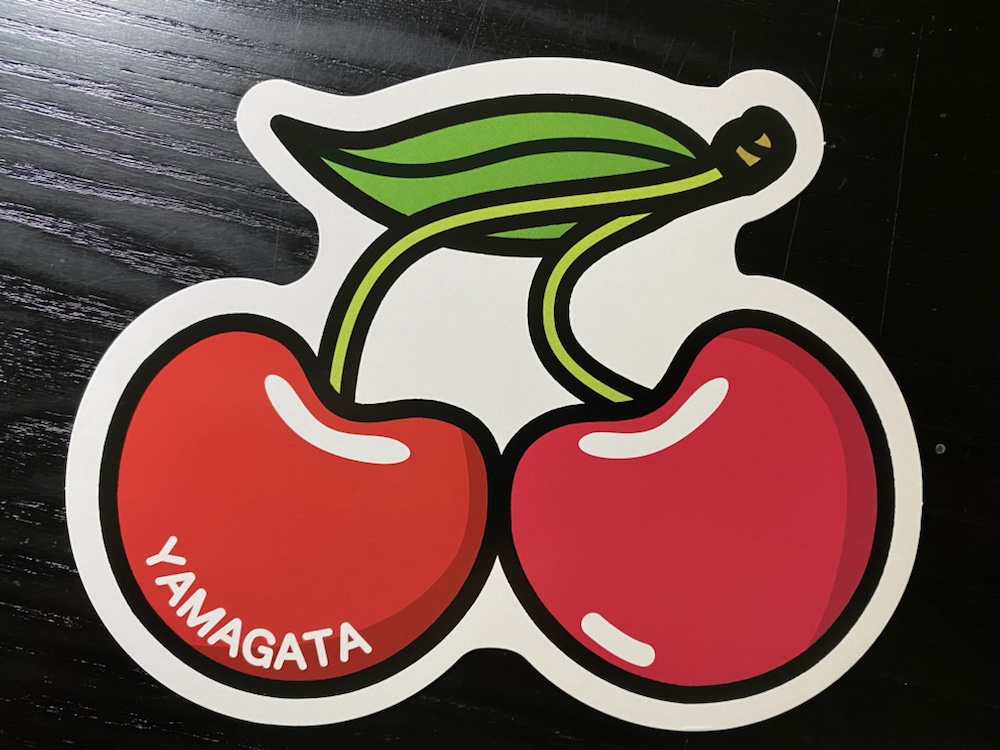
This one is easy: apparently Yamagata is known for cherries! In fact a quick search online reveals that about 70% of all cherries consumed in Japan are grown in Yamagata. The cherry crops include some very high end ones that sell for over US$30 per pound (that’s about $65/kilo) and apparently some farms hire security to stop the cherries from being stolen by thieves! I’m not a big cherry fan, but if I visited Yamagata I’m sure I’d try some.
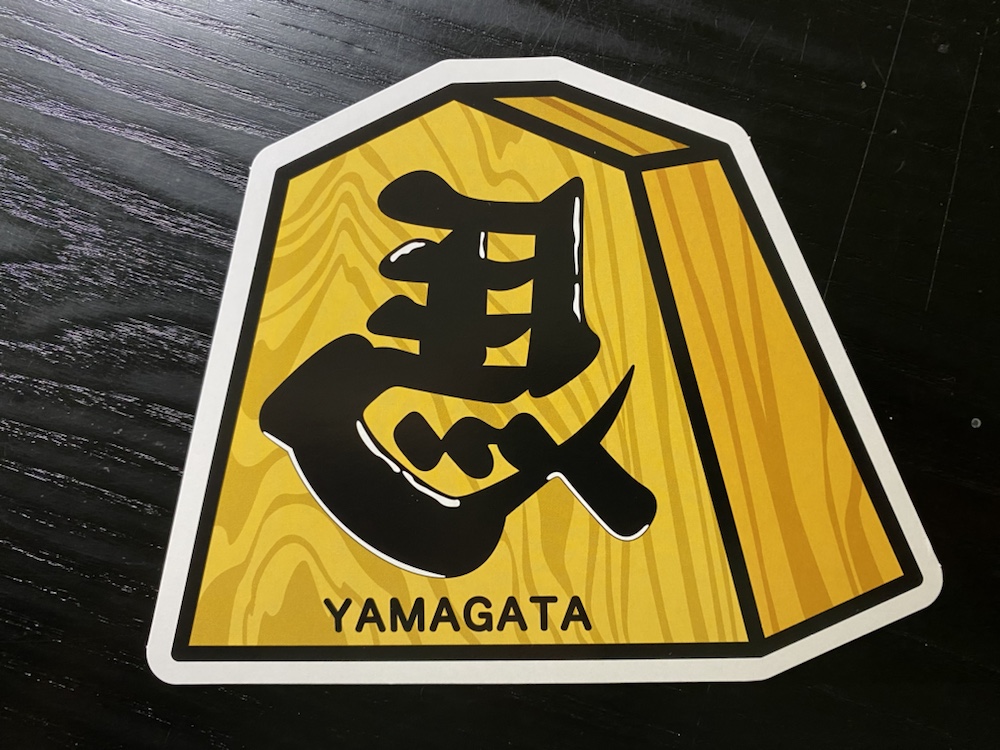
This is a shogi piece, which is from a Japanese game often called ‘Japanese Chess’ (although the two are only slightly related). Traditionally made of wood, the best shogi boards and pieces are made in a city in Yamagata called Tendo, which is famous throughout Japan for its rich shogi history. I’ve never played shogi but I’m probably at the sub-grandmaster level at chess so one of this days I should visit Tendo and impress the locals…
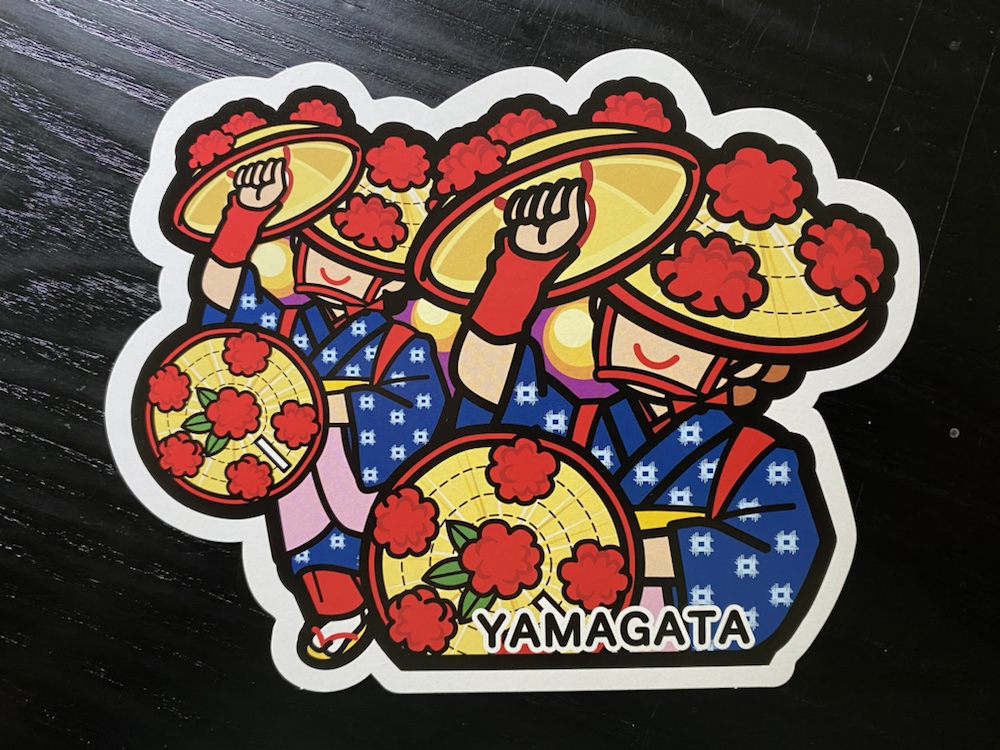
This depicts the Hanagasa Matsuri, which is a traditional festival held in the city of Yamagata. Over ten thousand brightly dressed dancers participate and it’s a major event and tourist attraction. It looks beautiful too; here’s a photo:
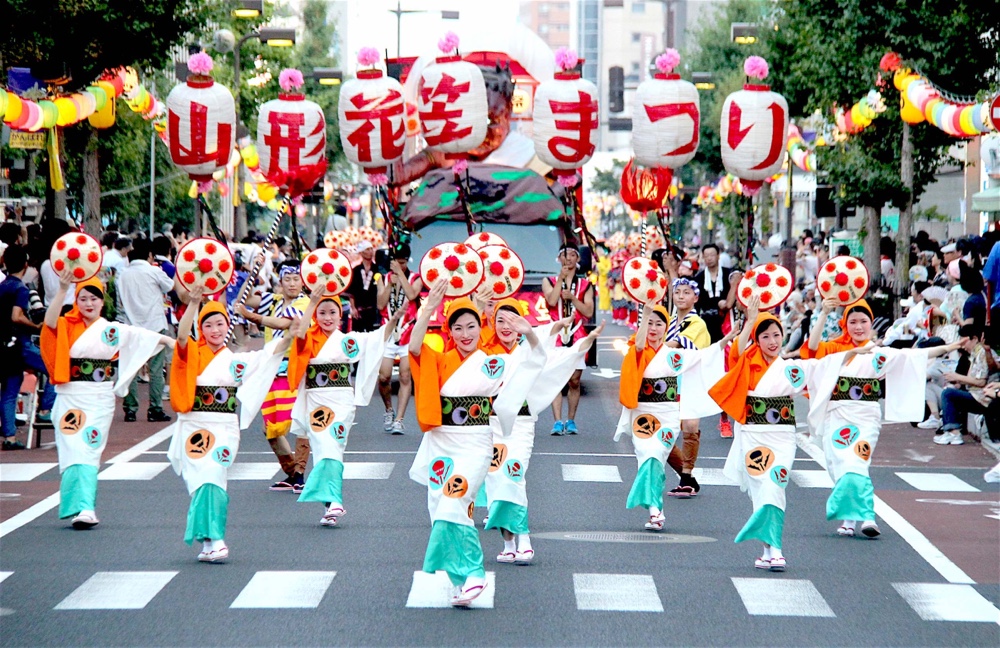
Apparently it celebrates flowers and anyone can join. I wonder if AC has ever danced in it?
I love festivals in Japan, although we’ve seen a few small ones we’ve never been lucky enough to witness anything like this. It would be wonderful to visit a big festival one day 🙂
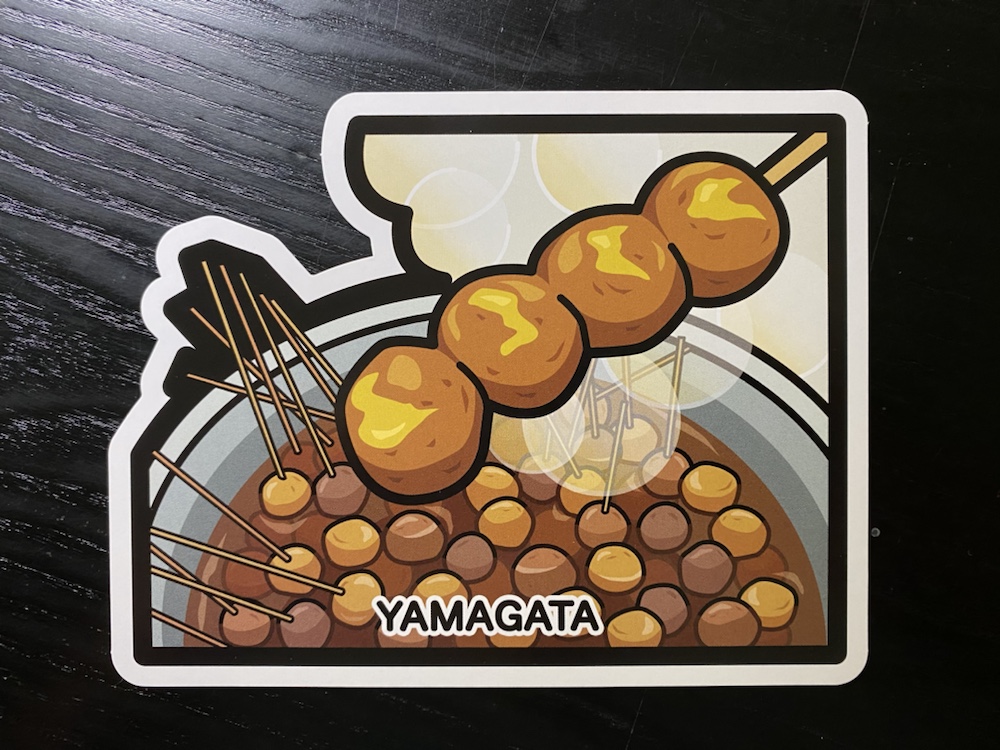
This one took a bit of research. I first assumed it was some sort of meatball-on-a-stick, but eventually (after searching for traditional foods) discovered this shows tama konyakku which are balls of steamed konjac often served with soy sauce or mustard. It seems this is a popular ‘fast food’ of the area; basically a hot dog equivalent, and one (translated) source I found says they are ‘great for female’! Gourmet as I am, I’d keep a wide berth from these, but I like the card anyway!
Incidentally konjac is not considered a food in some countries, including Australia, because it can be difficult to digest. If you visit Yamagata, you probably should try tama konyakku in moderation 🙂
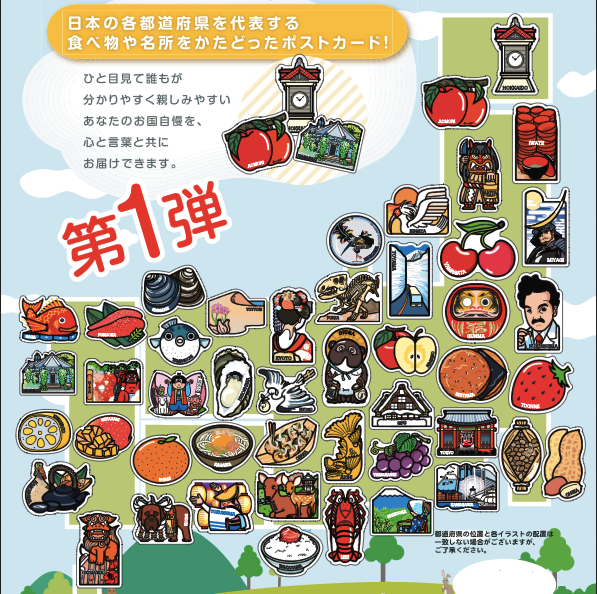
Aren’t these Gotochi great?!? There big and bold and colorful and there’s hundreds of them since each prefecture has (or has had) many different ones. In fact I found no less than 10 different ones from Yamagata alone, and mysteriously some of the ones AC sent me are apparently no longer available. I hope she didn’t send me her own prized copies!
I can’t wait to return to Japan and buy Gotochi myself from all the places I visit. In the meantime a big thanks to AC for these examples. I love them!