Distilling a year into ten photos is never easy, but this year was particularly tough. Furthermore whilst this post tends to prioritize vacation shots, that’s only because I’ve sorted them way better than the normal day-to-day photos, so there’s probably a few gems that should have been here that aren’t.
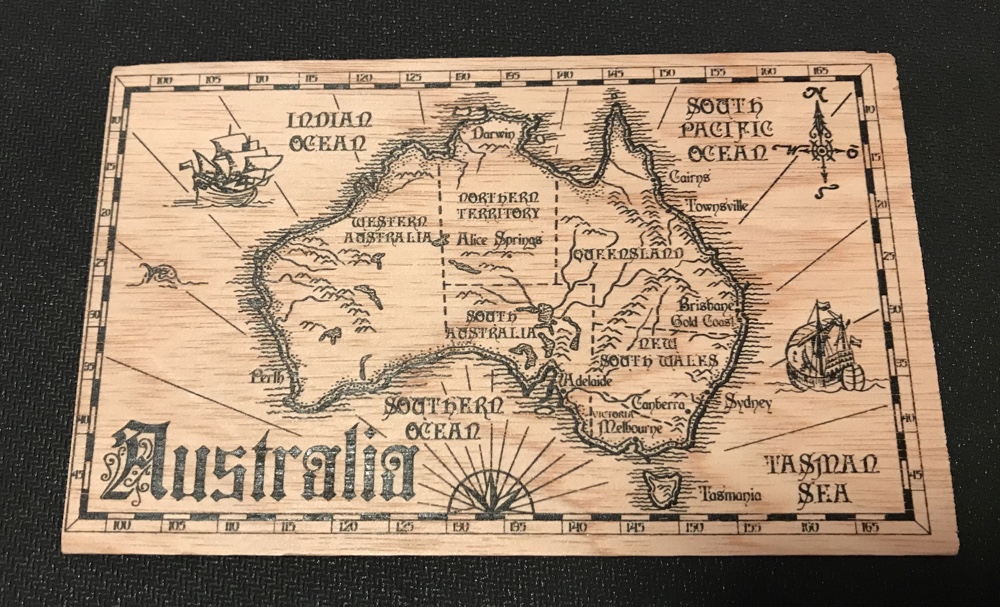
The year began, as it usually does, in Oz:

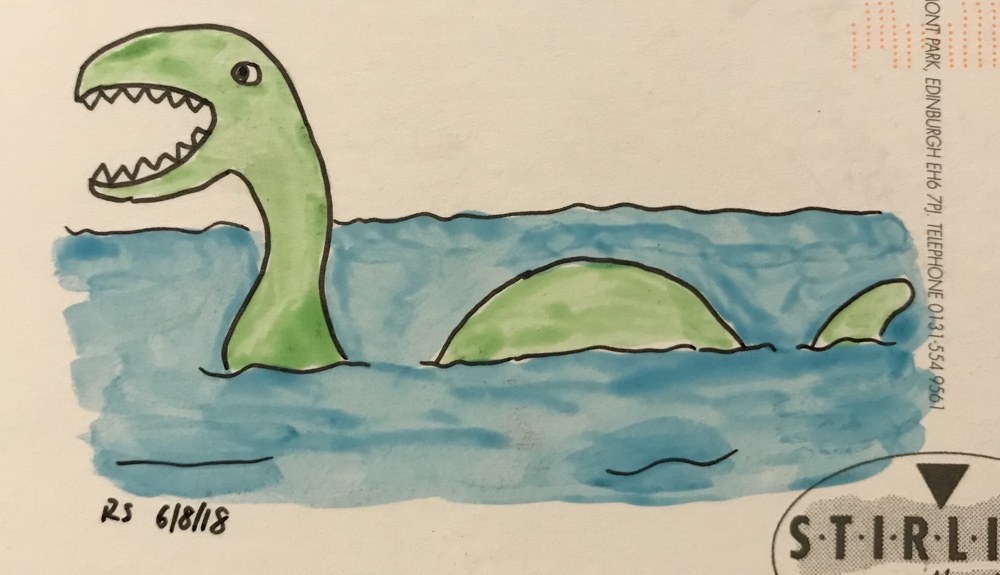
Bernard and I went on a lengthy road trip from the Southern Ocean all the way up to Newcastle and had a blast on the way. We even ran into notorious Australian terrorist Ned Kelly at one point:
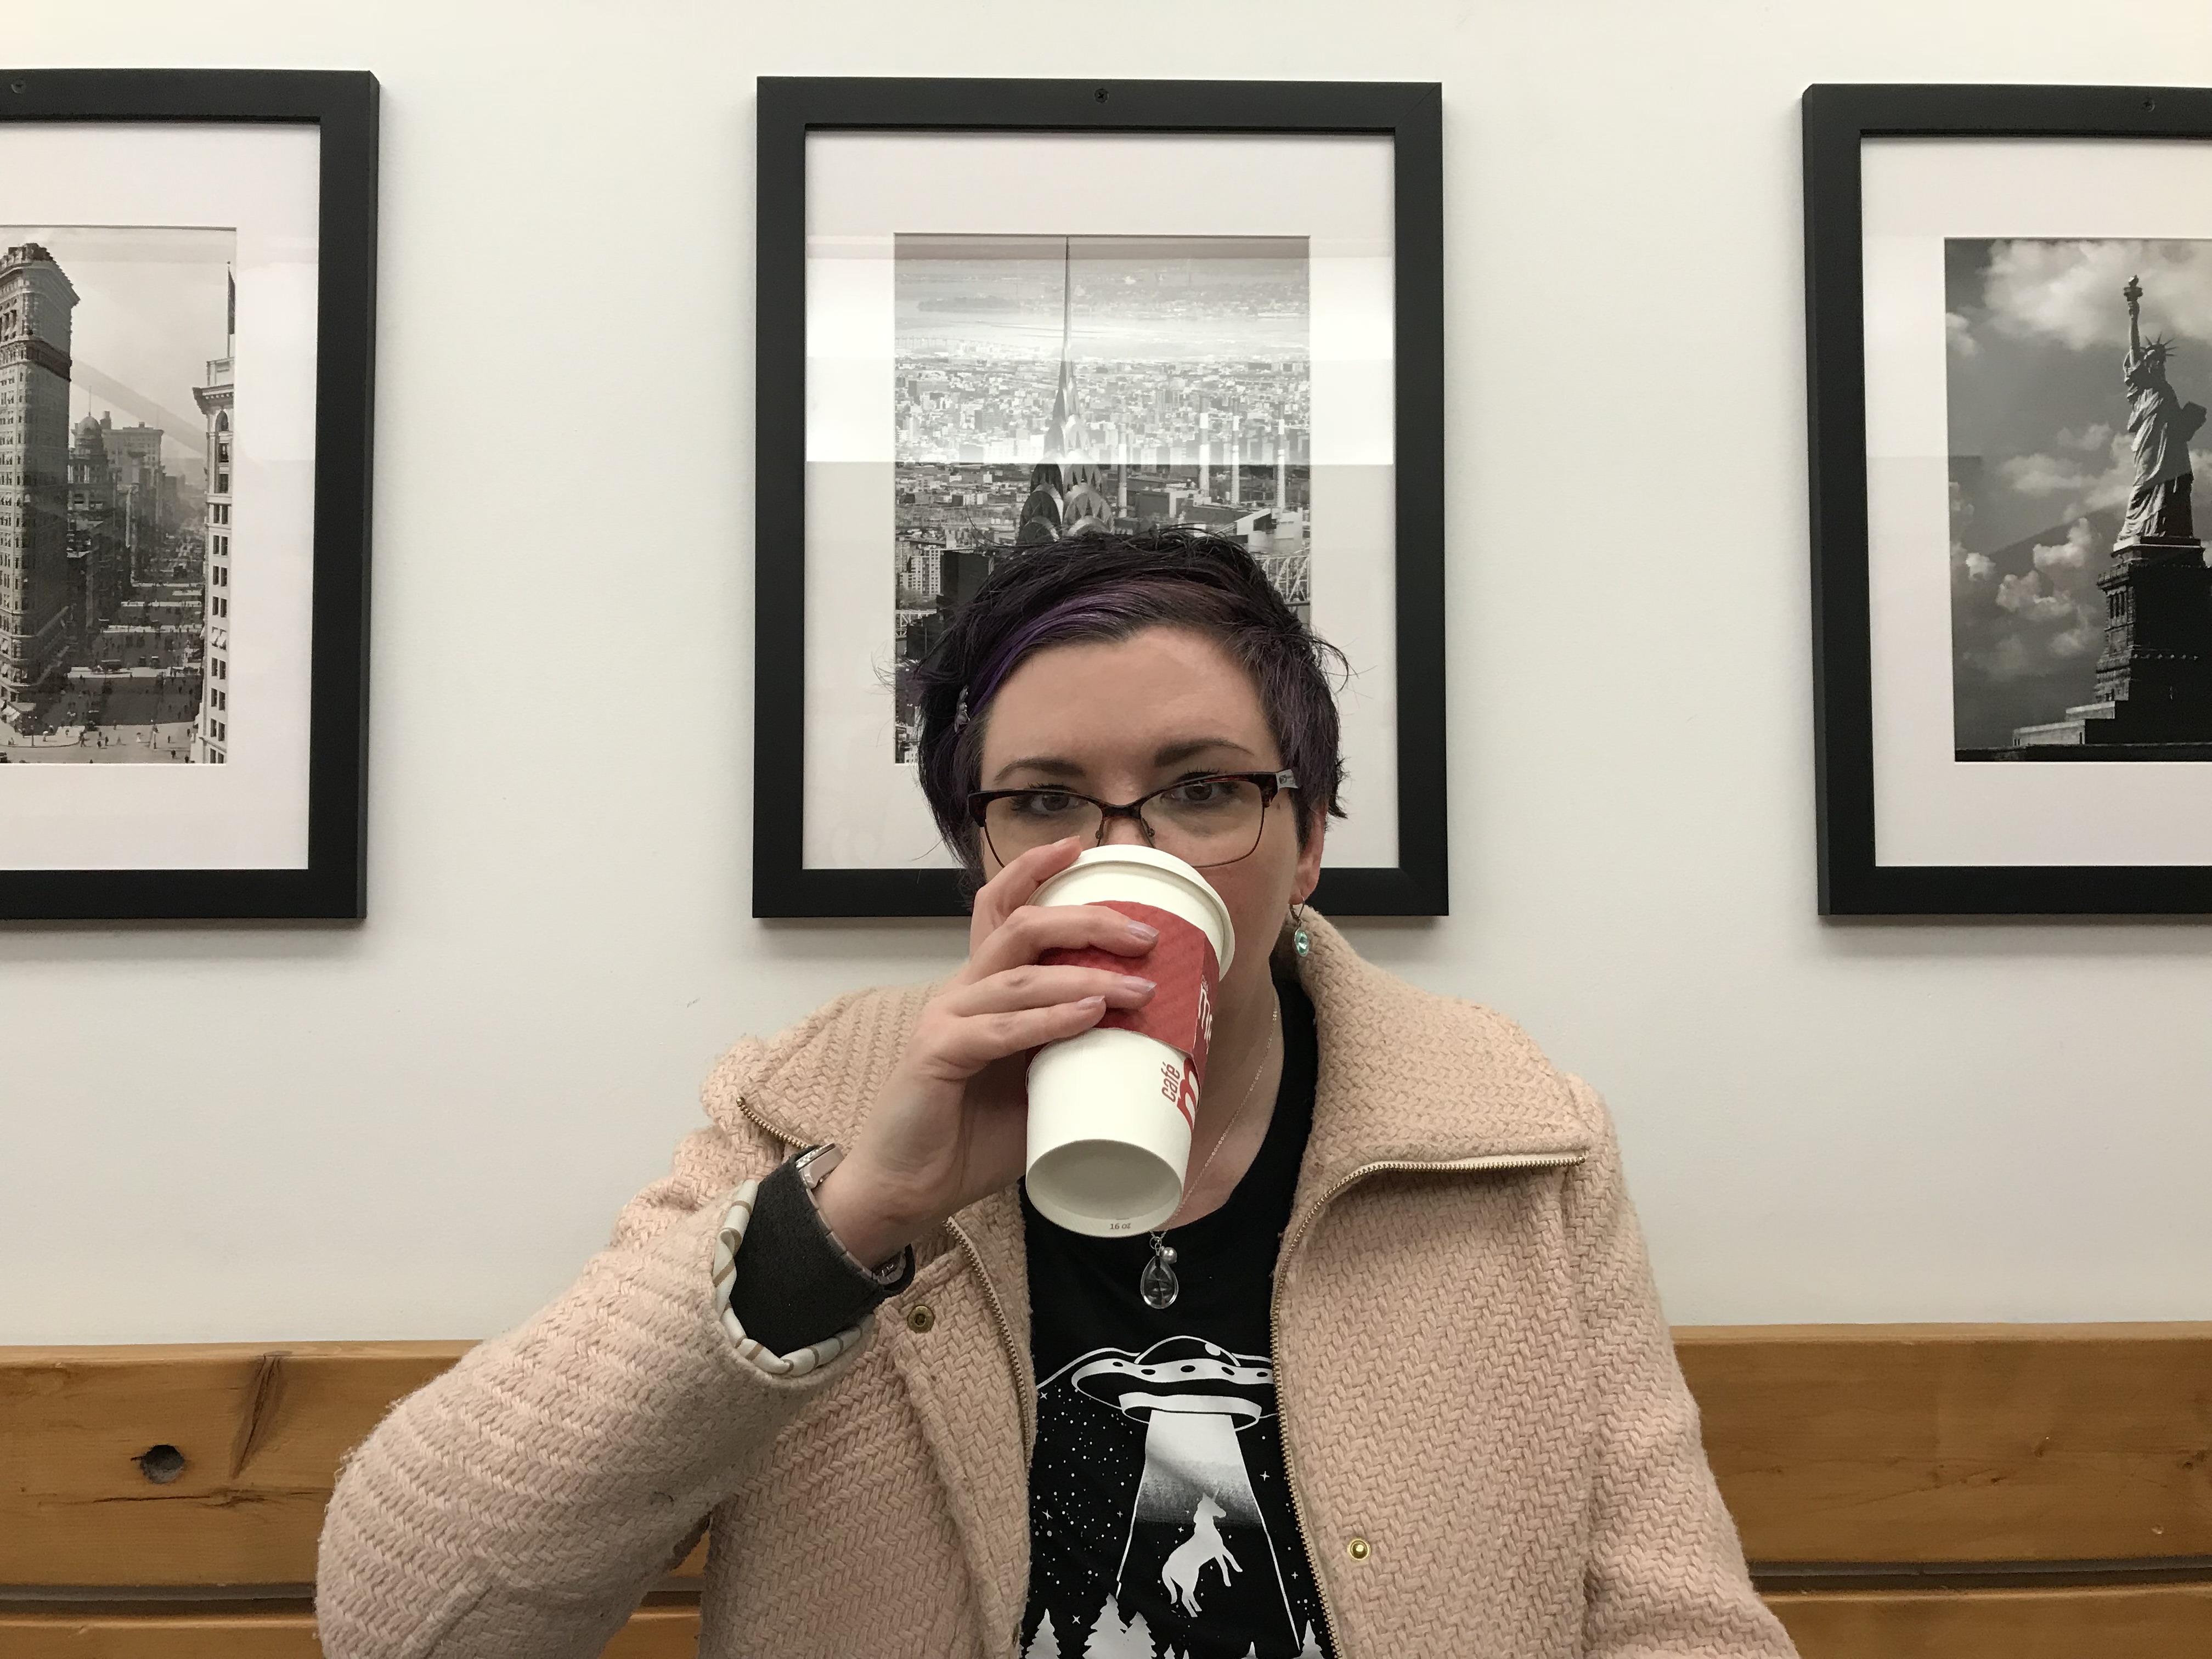
In March KLS and I went to the city for the first of three trips this year. It was cold but fun, and we lived like the urbanites we are for a few days:
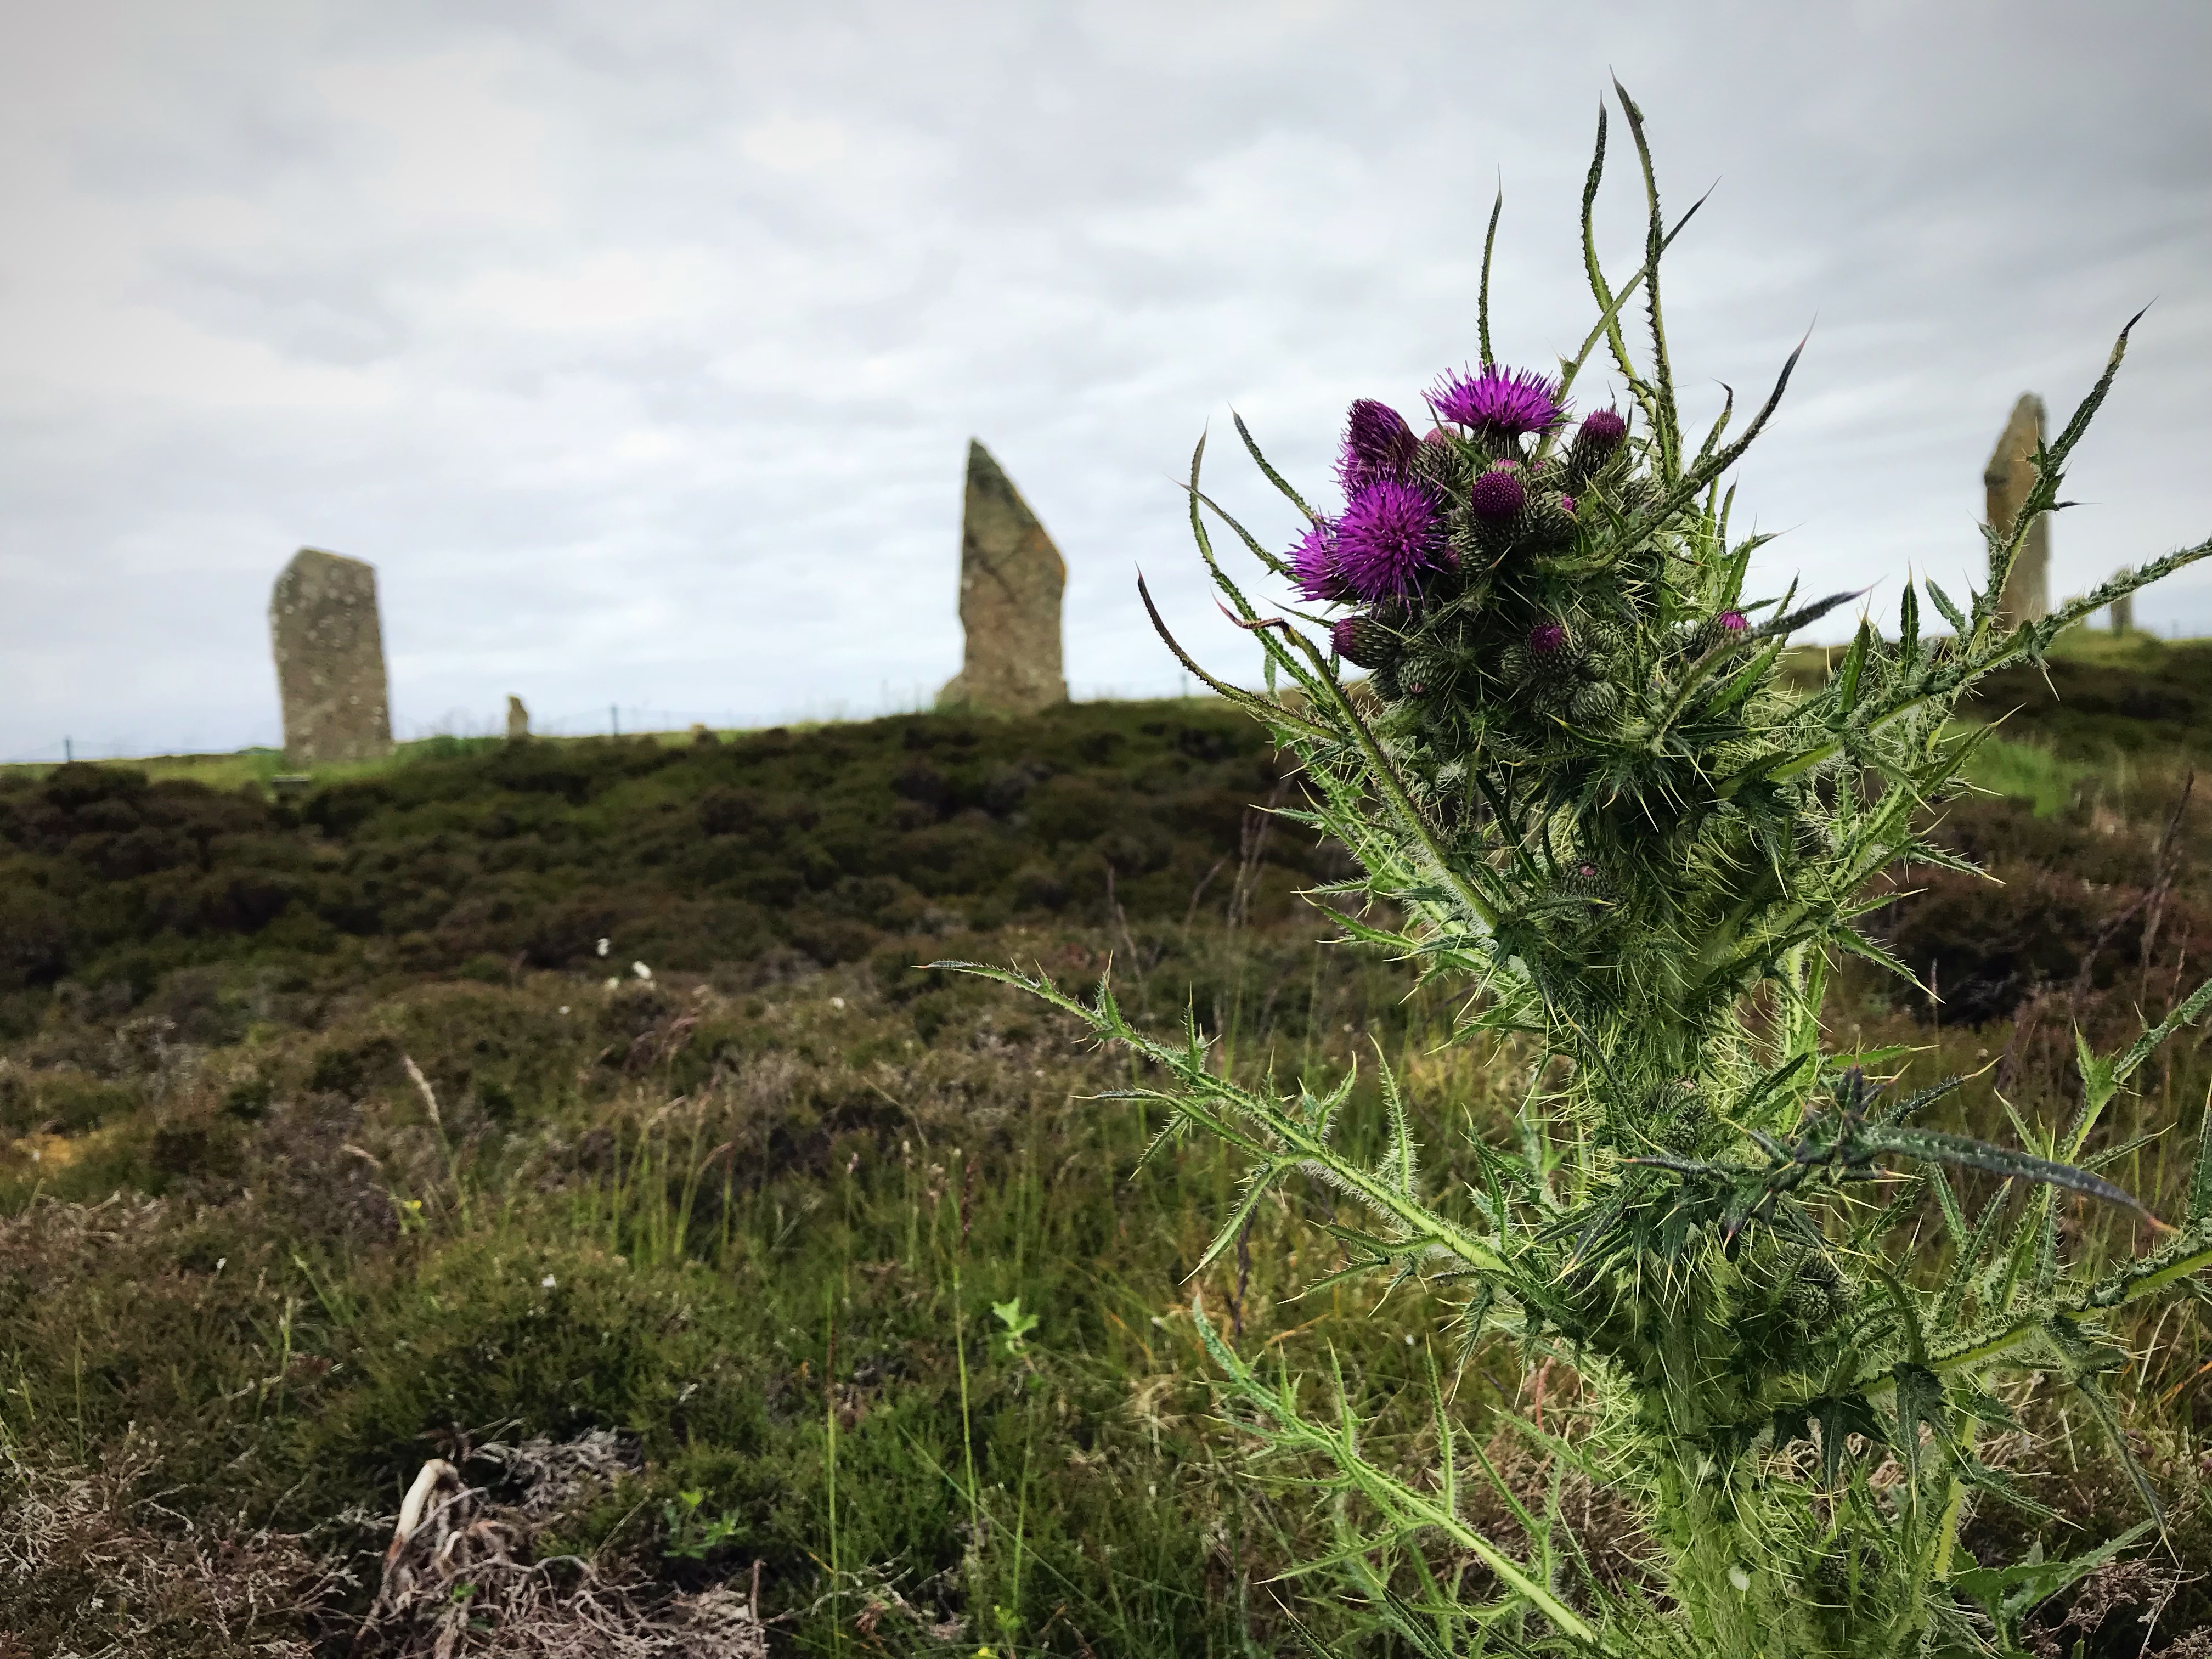
Our first international vacation was to Scotland, otherwise known as the prettiest country on Earth. This was one of those dream vacations we’ll never forget, and in our little car we saw the length and breadth of the highlands and hebrides islands and enjoyed one amazing day after another, like the puffins on Staffa:

Or the standing stones on Orkney:
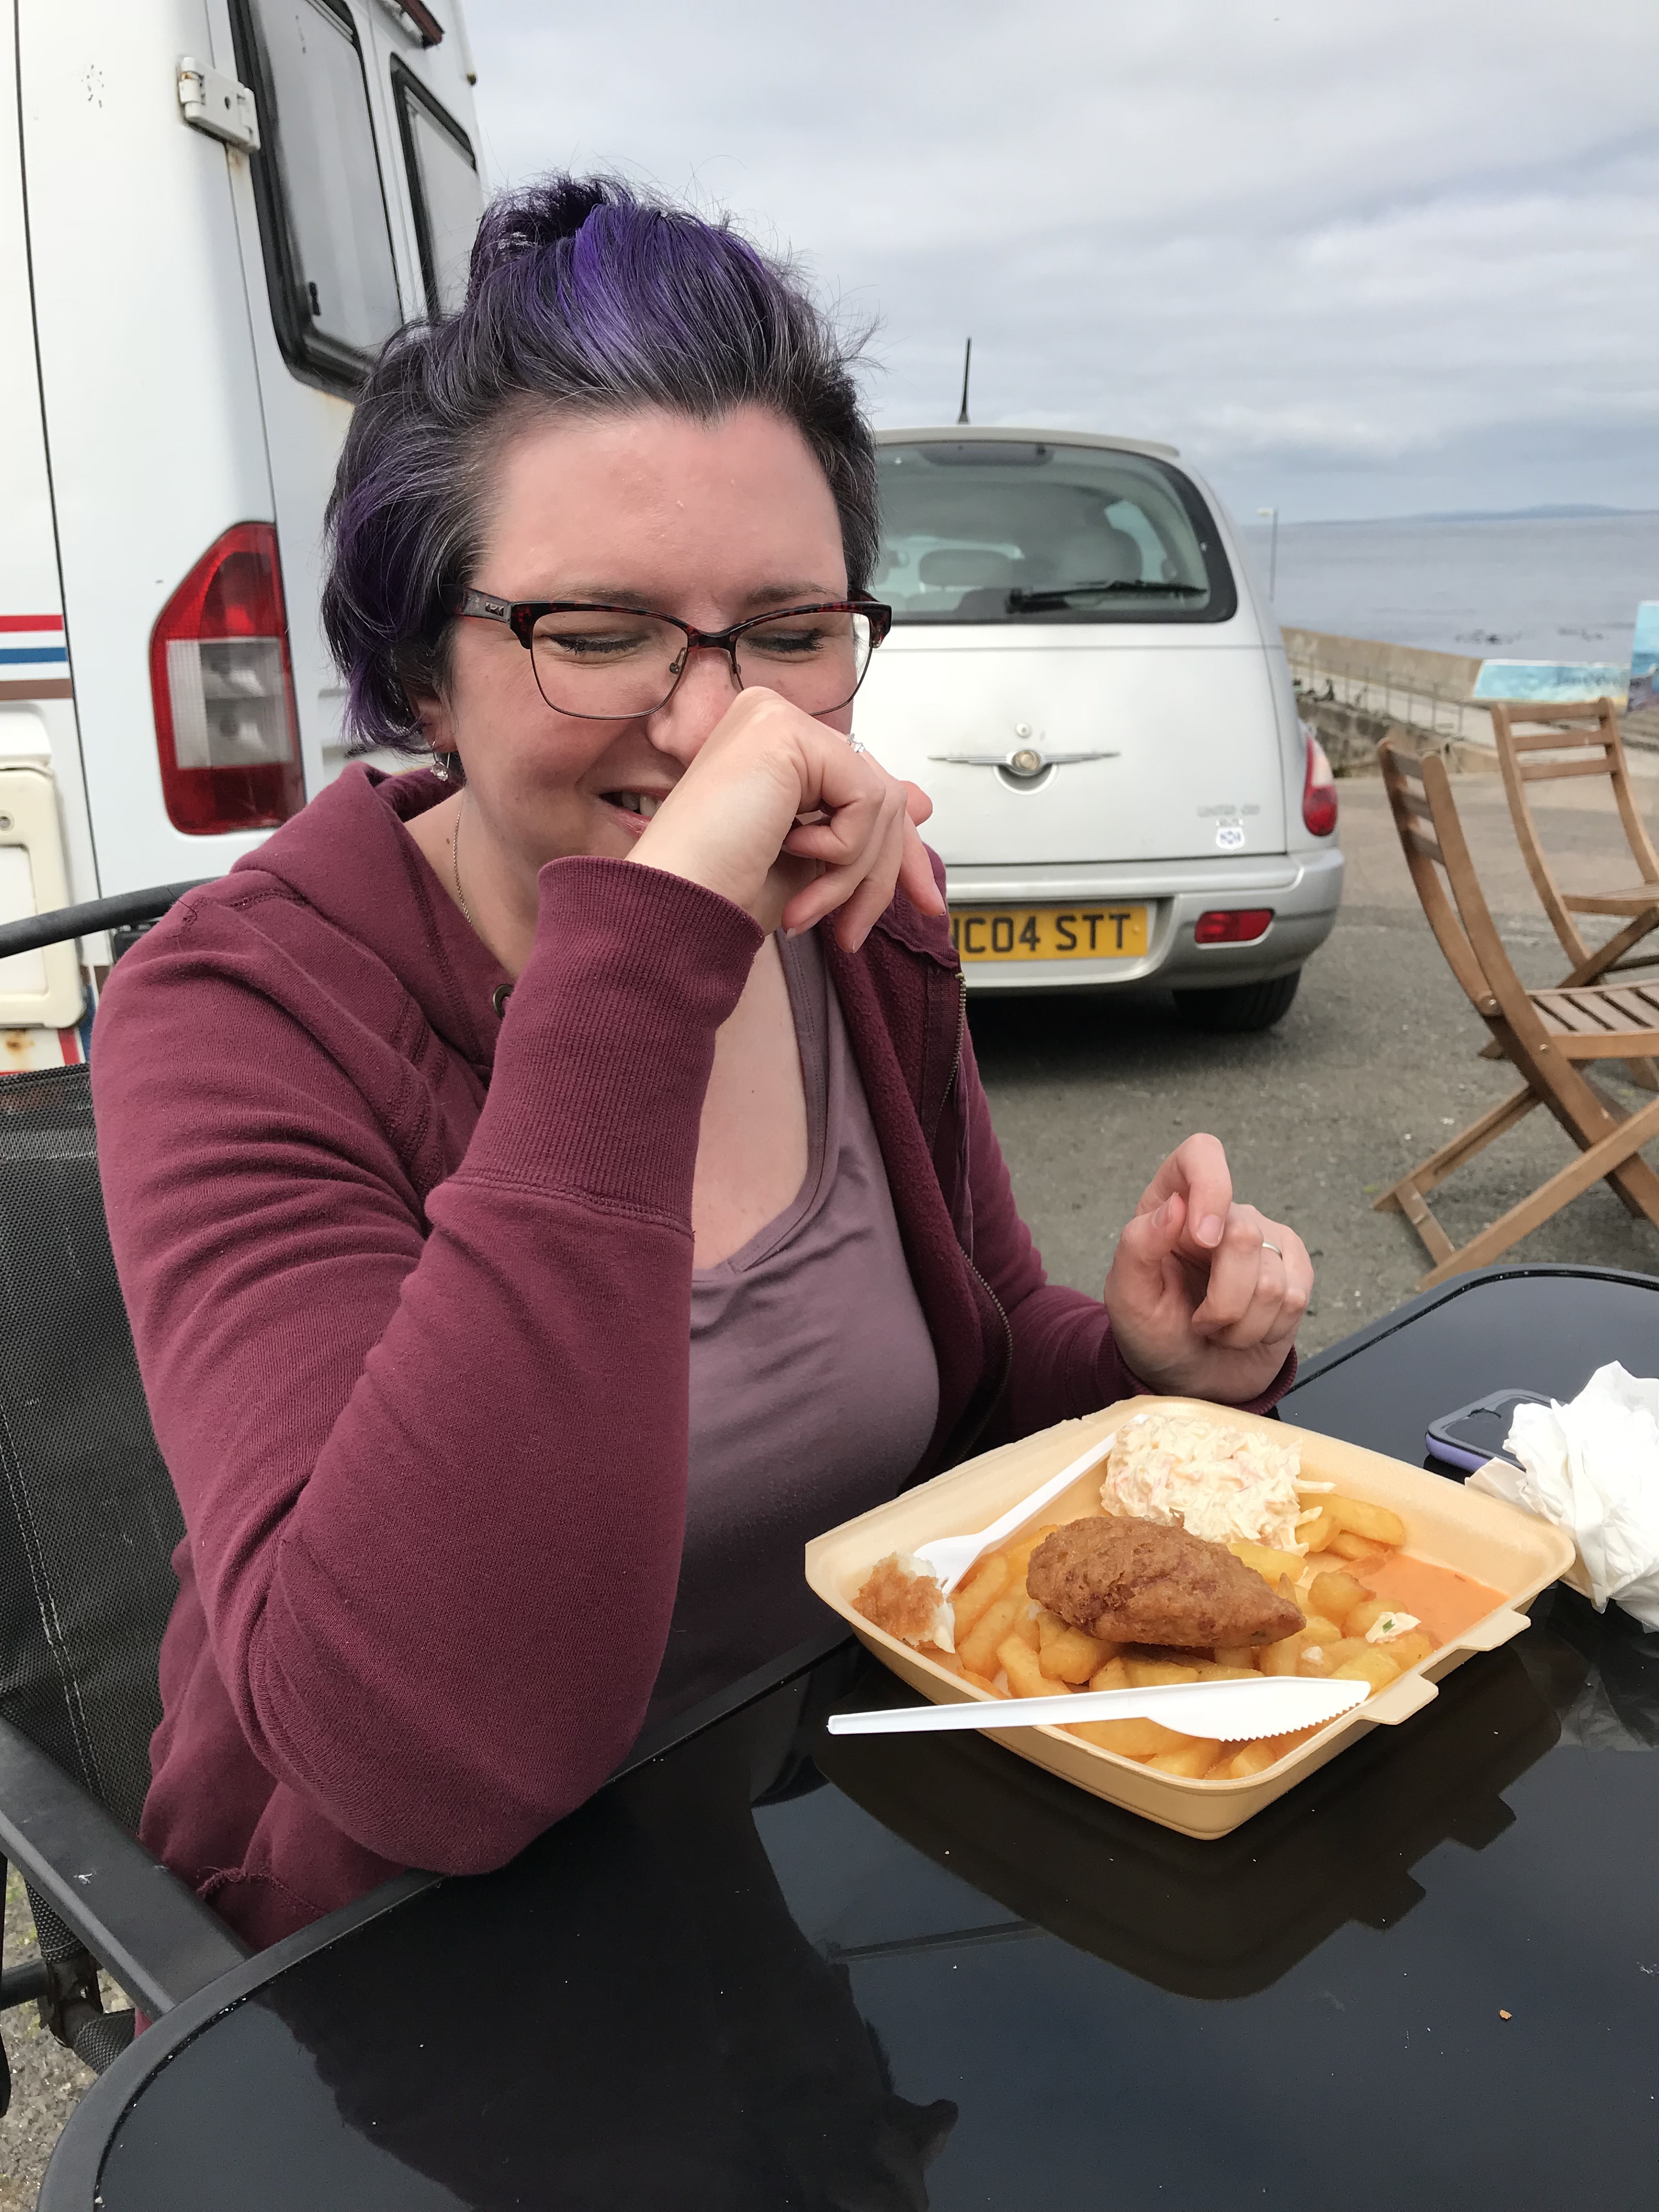
Or even just eating fish’n’chips at the northernmost town in Great Britain:
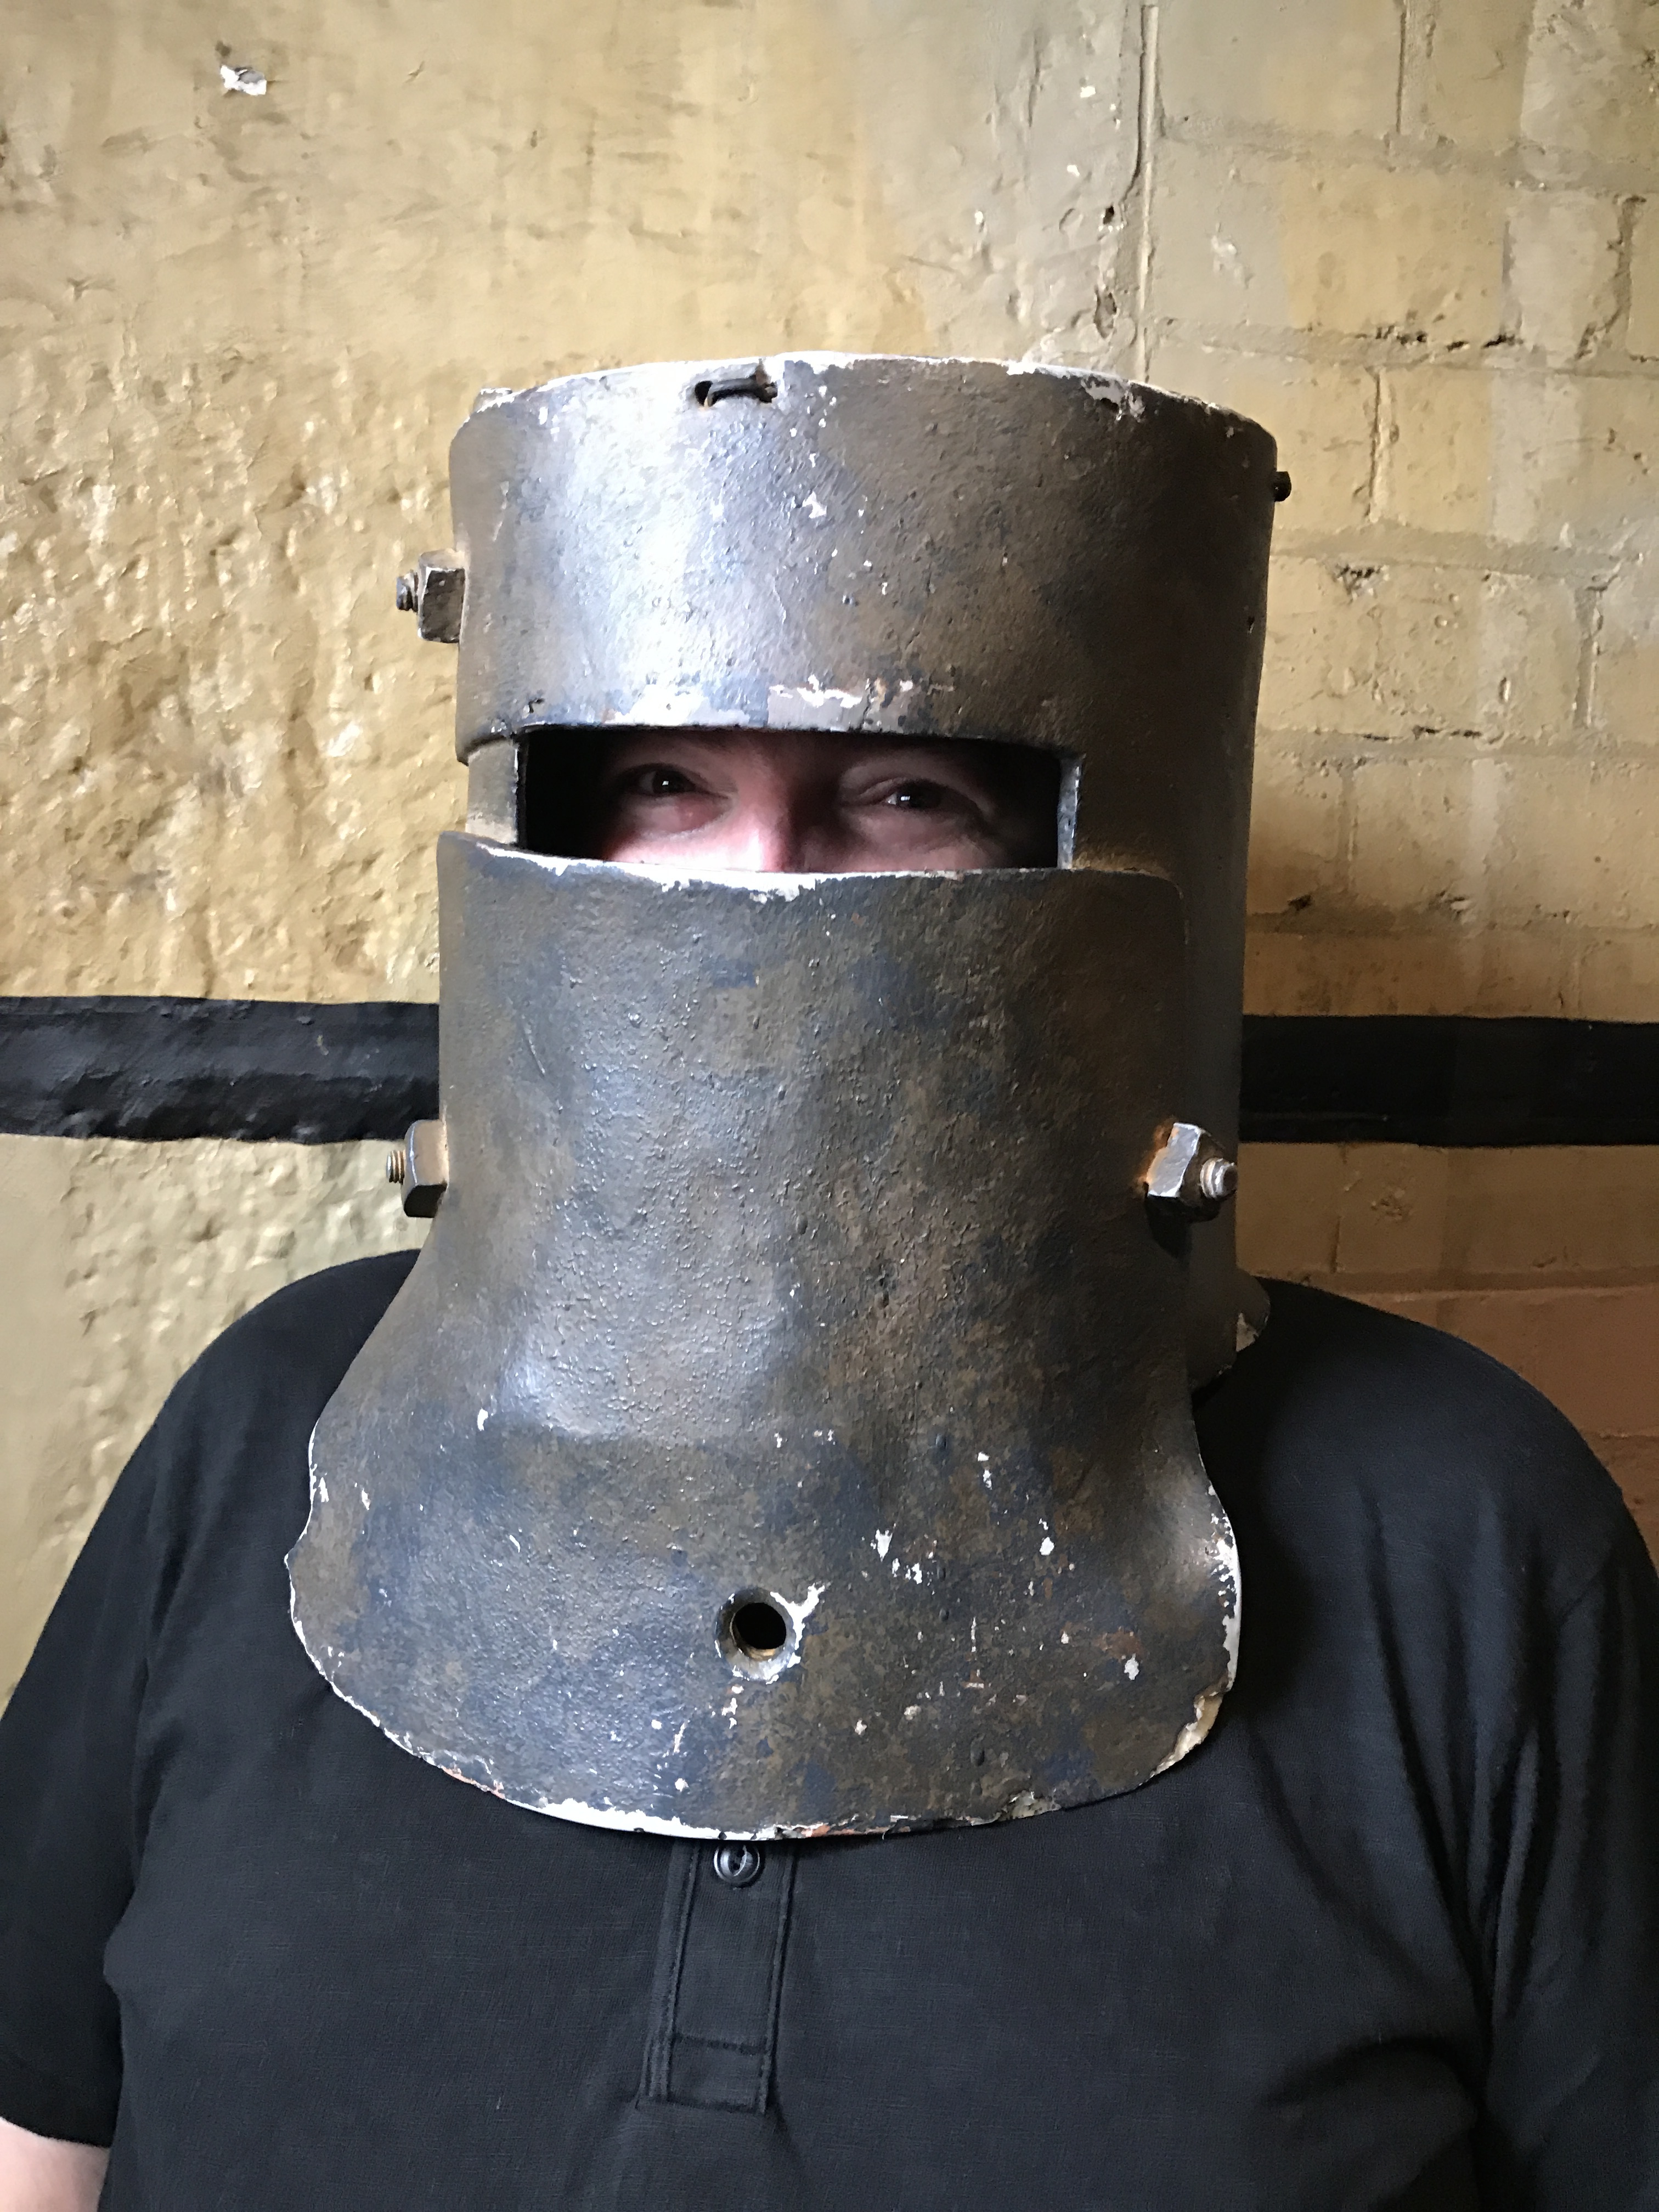
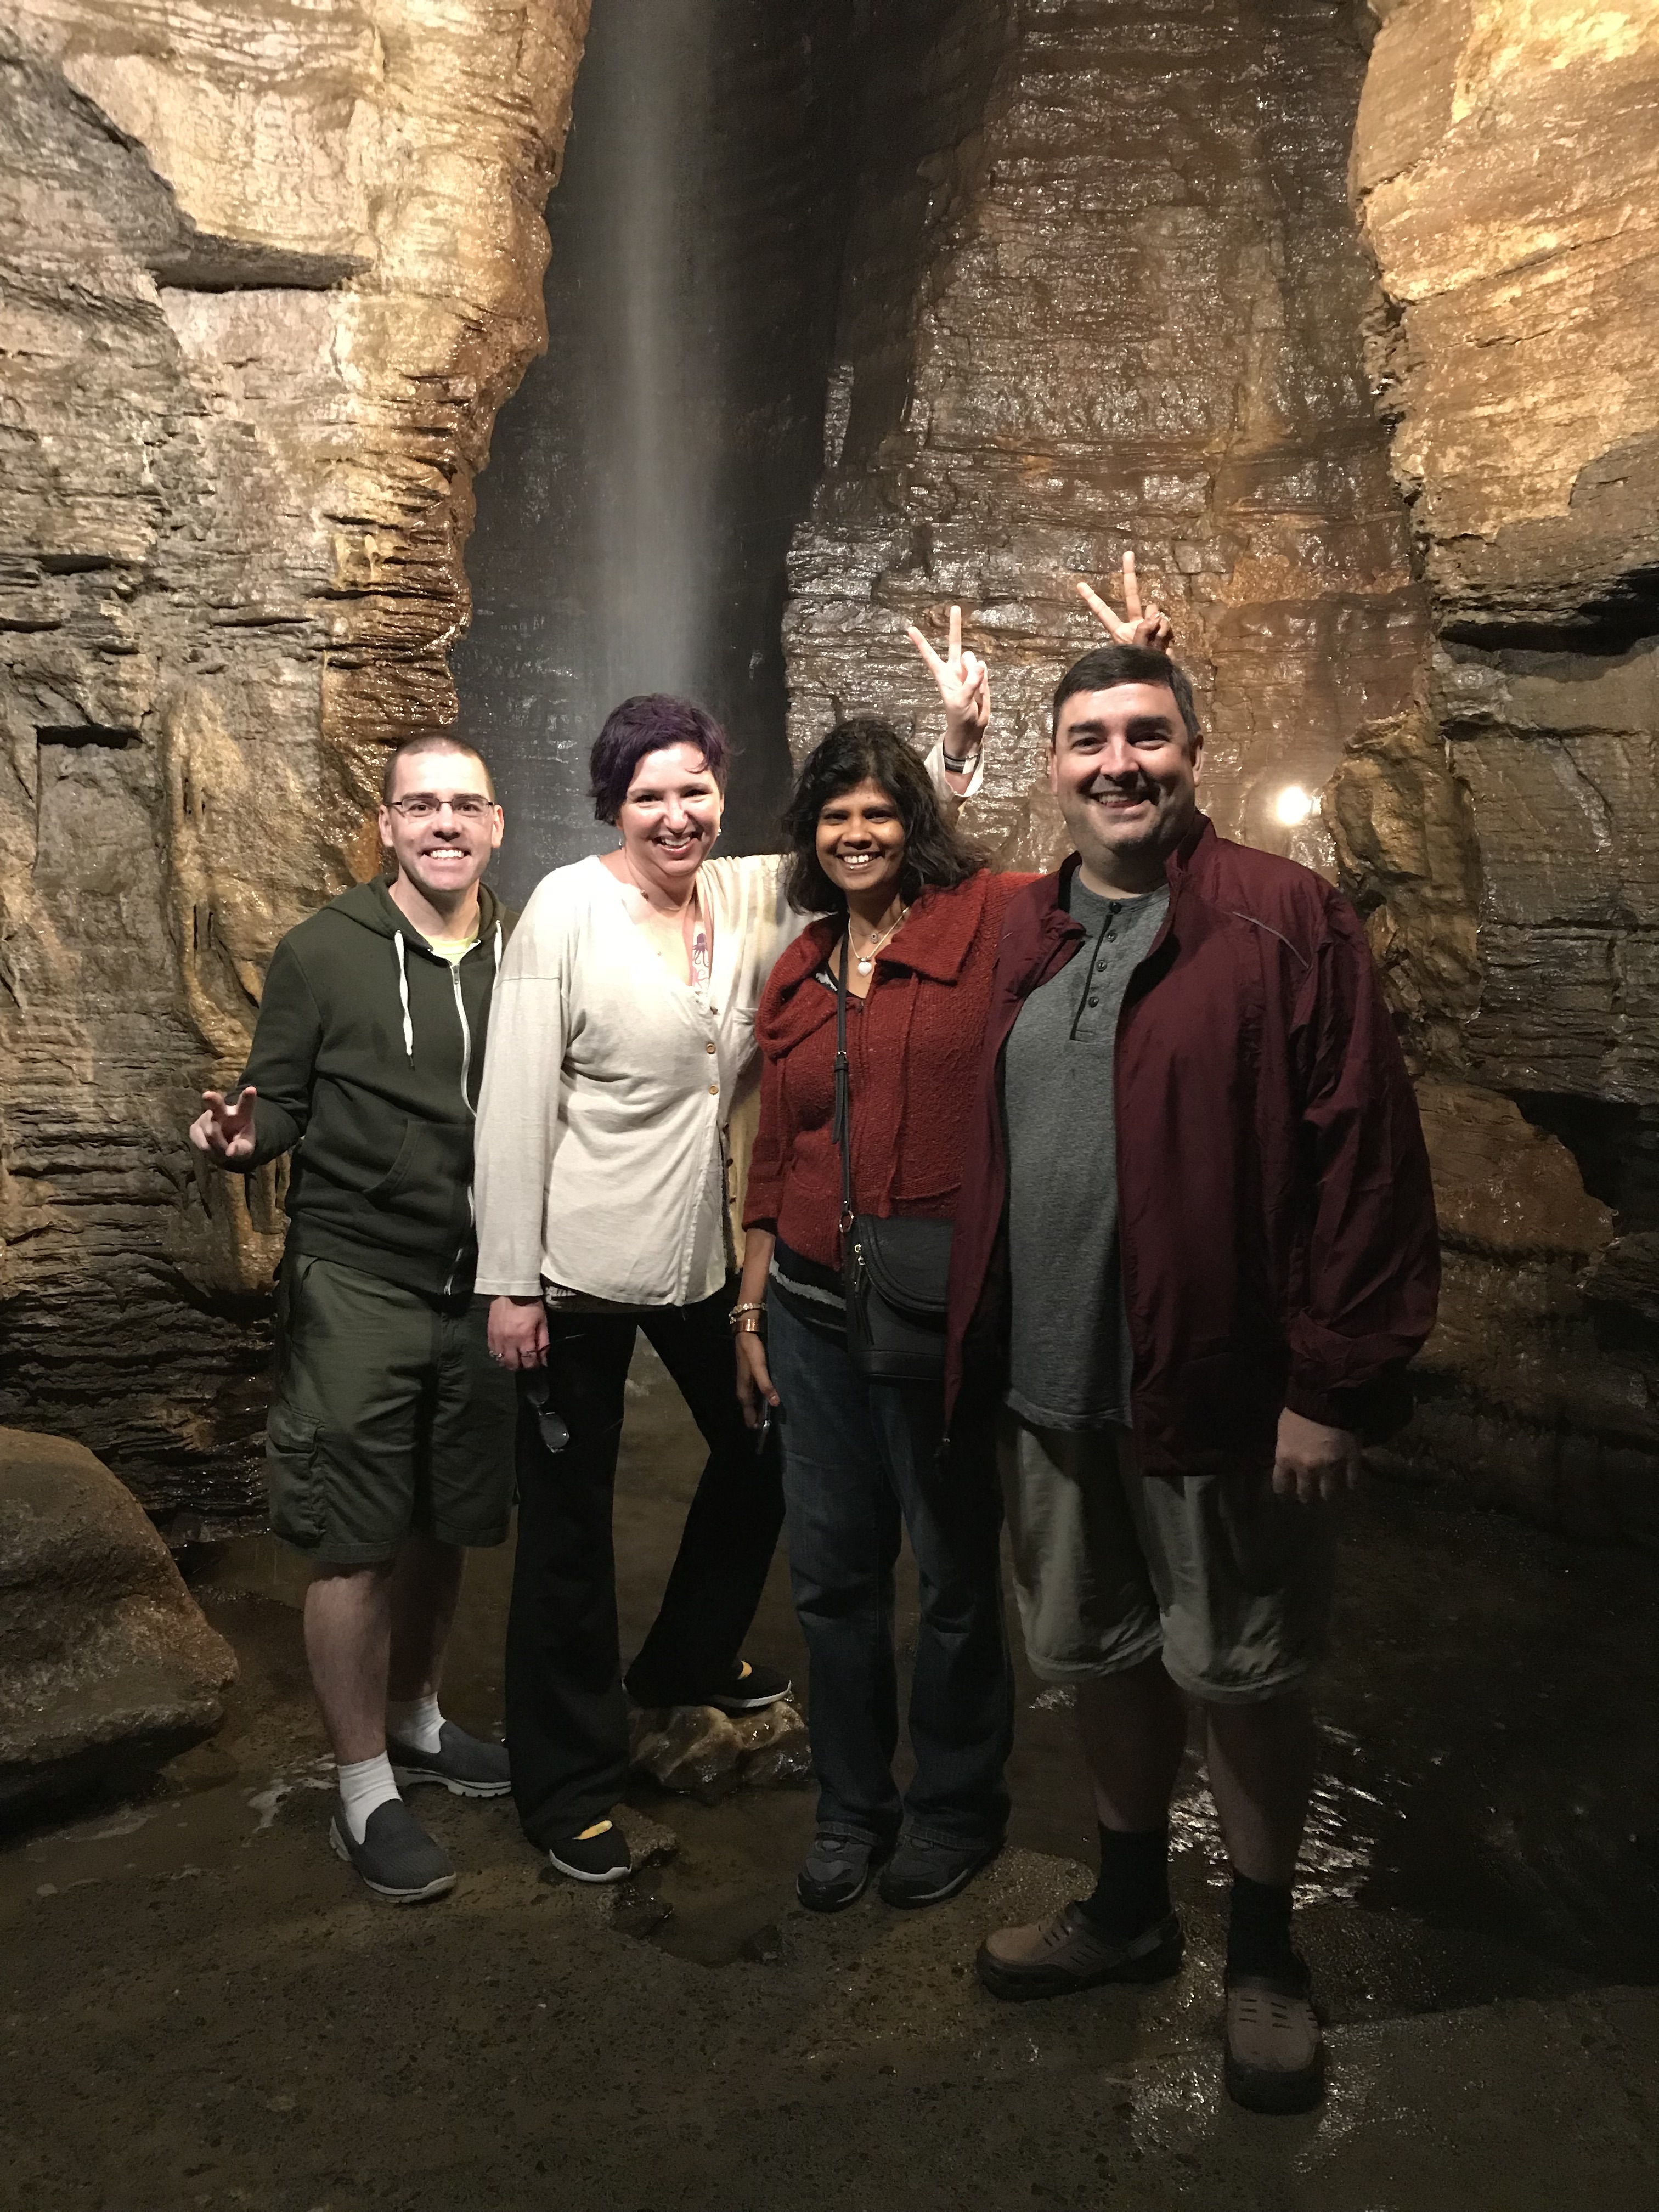
During the summer Bernard and Lakshmi visited! Here we are deep in a dungeon:
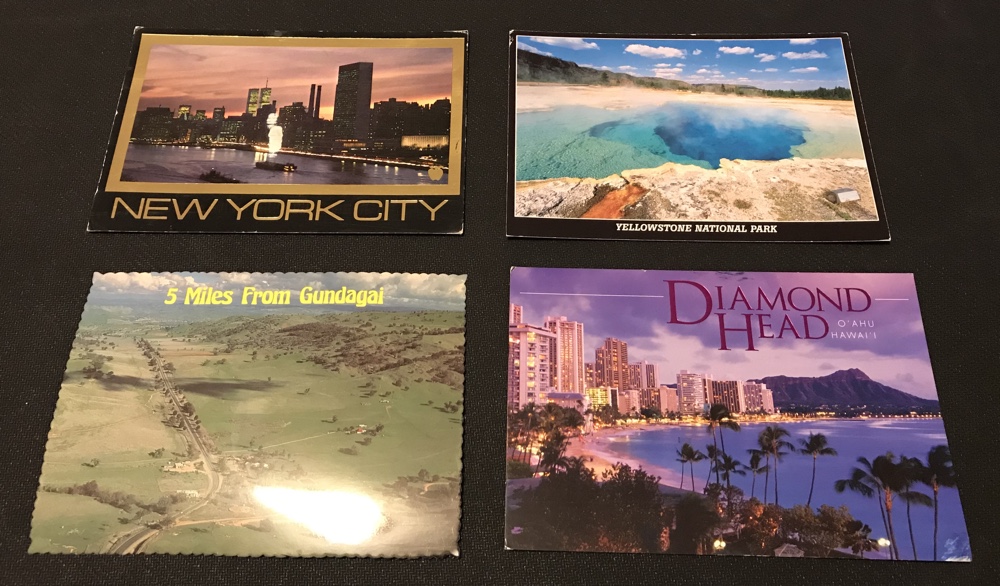
We went on another vacation too. After a brief stop in Portland for Florence’s wedding (insert heart emoji here) we jetted off to Hawaii for fun in the sun… and a hurricane!
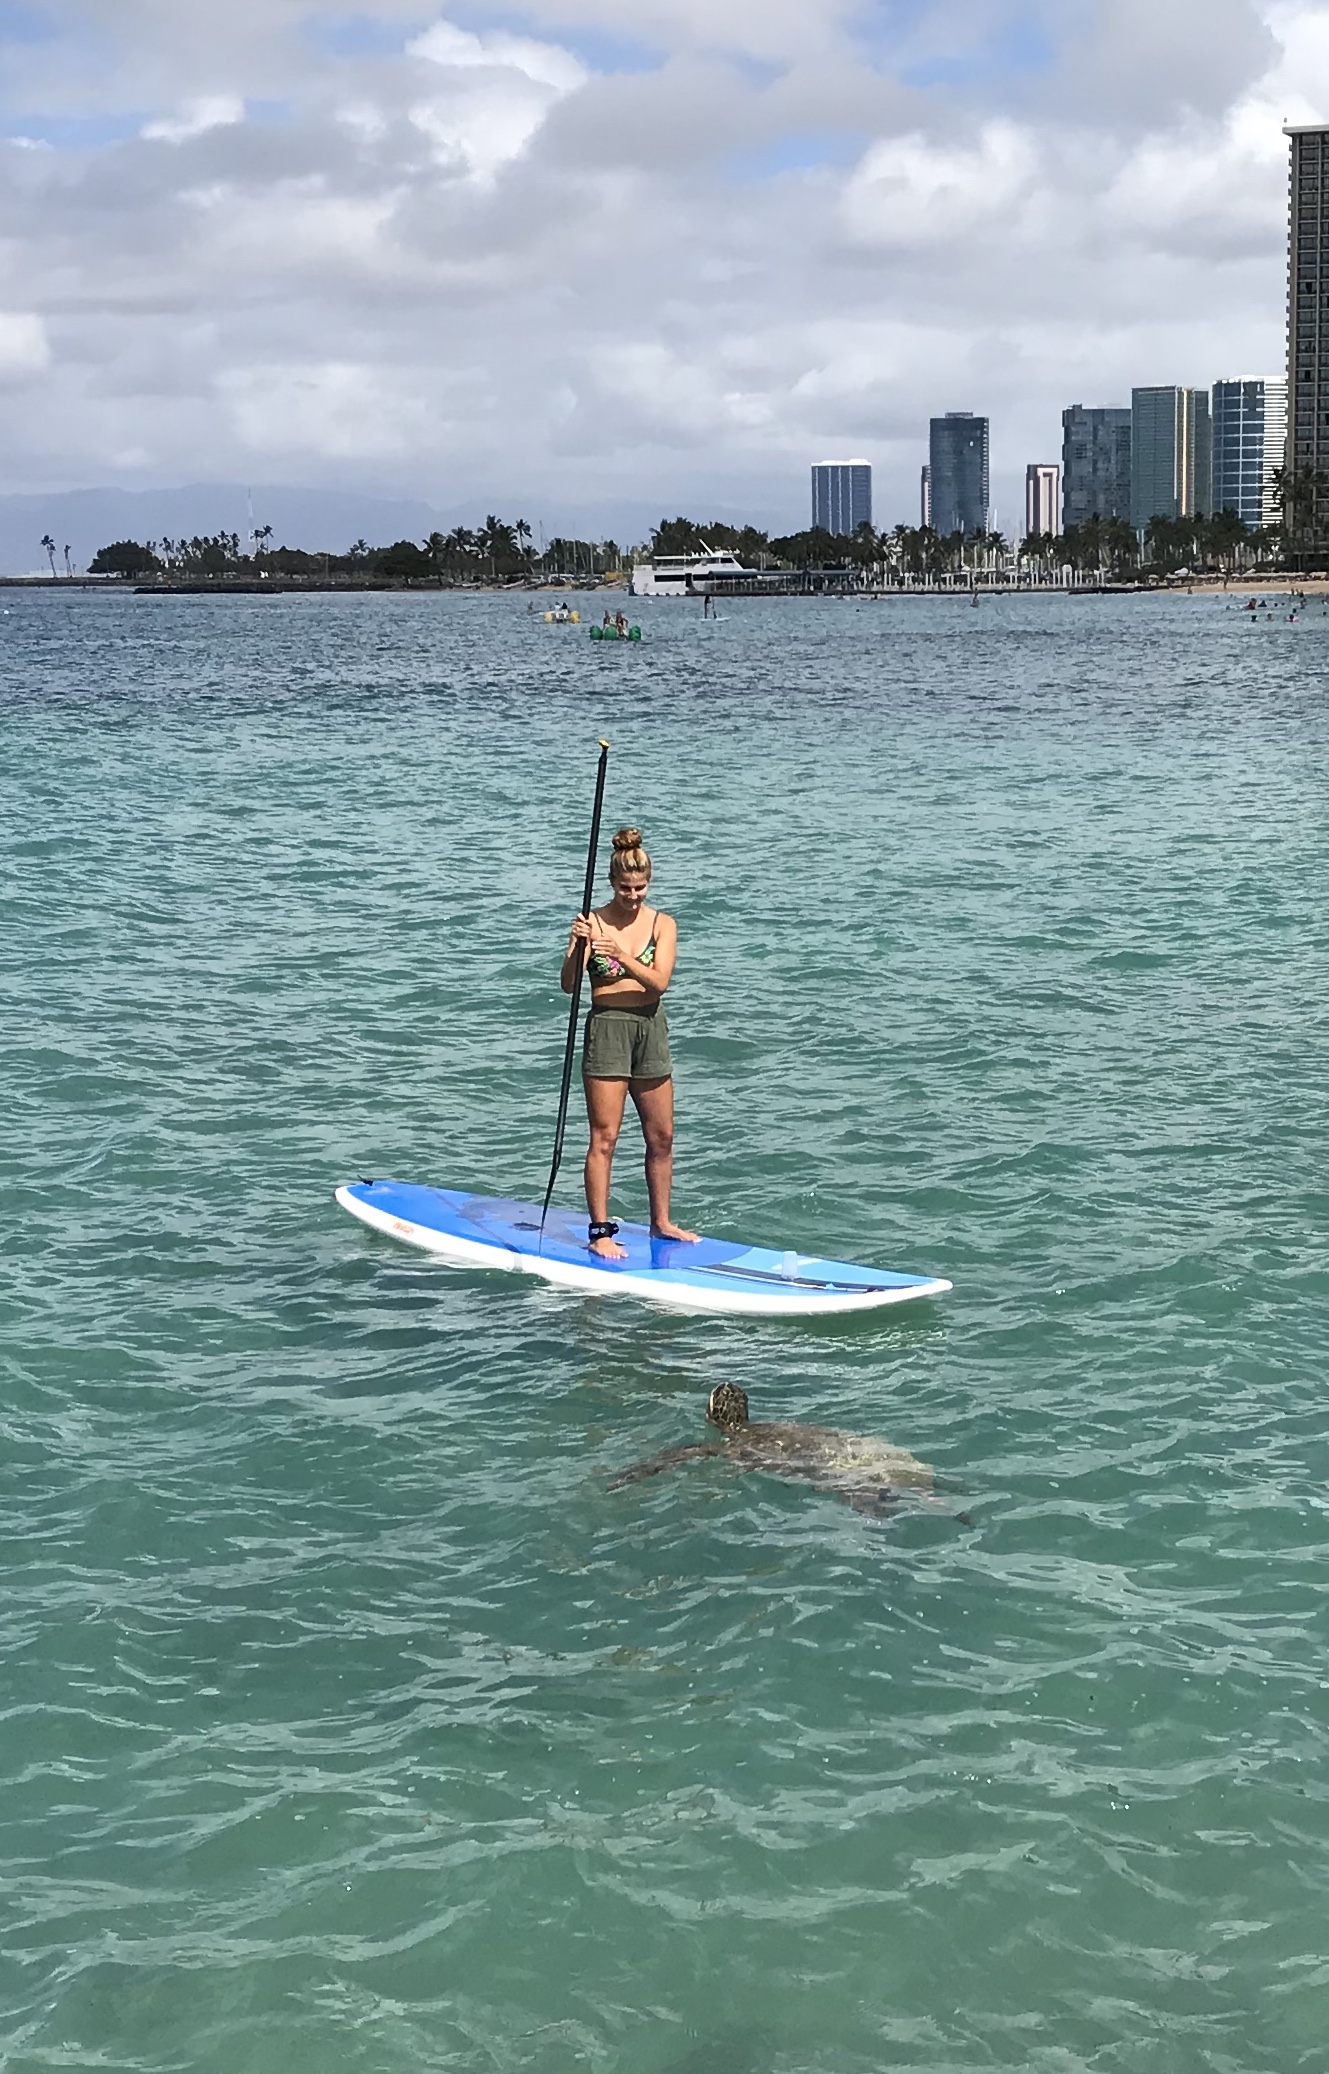
The first four days were beautiful and warm and sunny and we spent a lot of time at or on the beaches. But then this happened:

And next thing you know the beaches emptied and people wrote SOS in the sand:
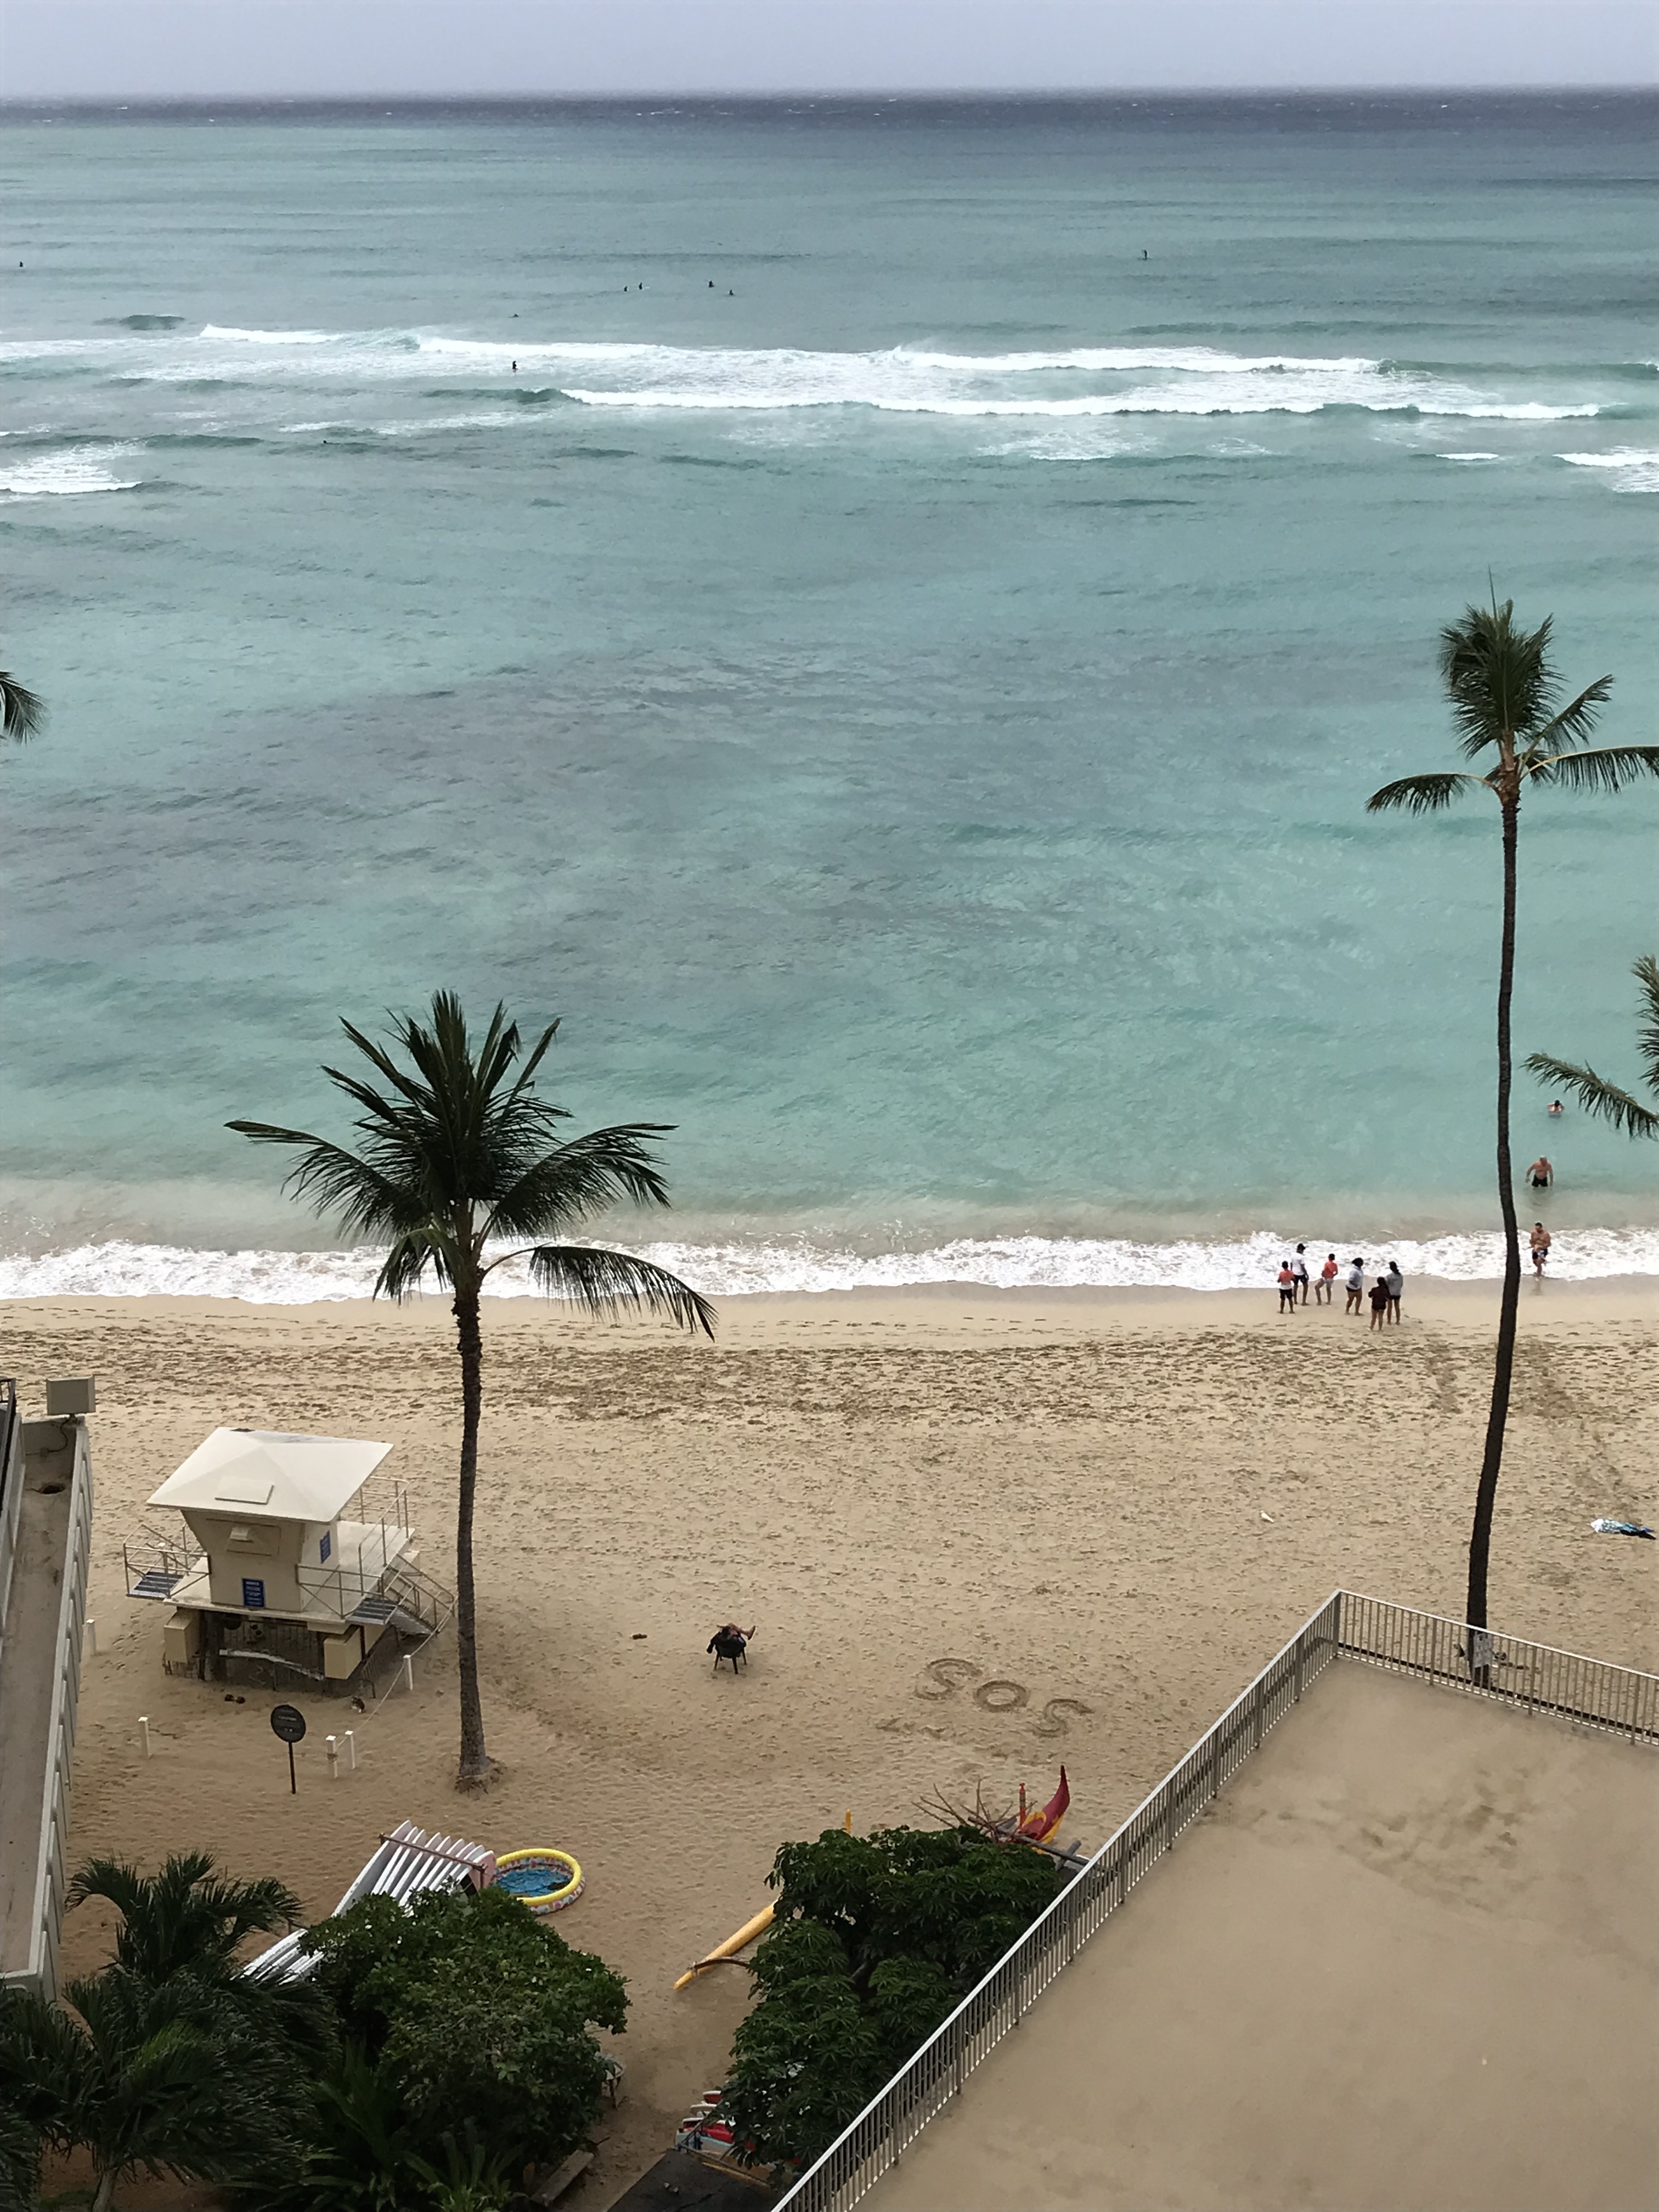
As you know we were lucky and the storm dissolved before reaching us. But that was certainly an interesting and memorable experience, and one I don’t want to soon repeat!
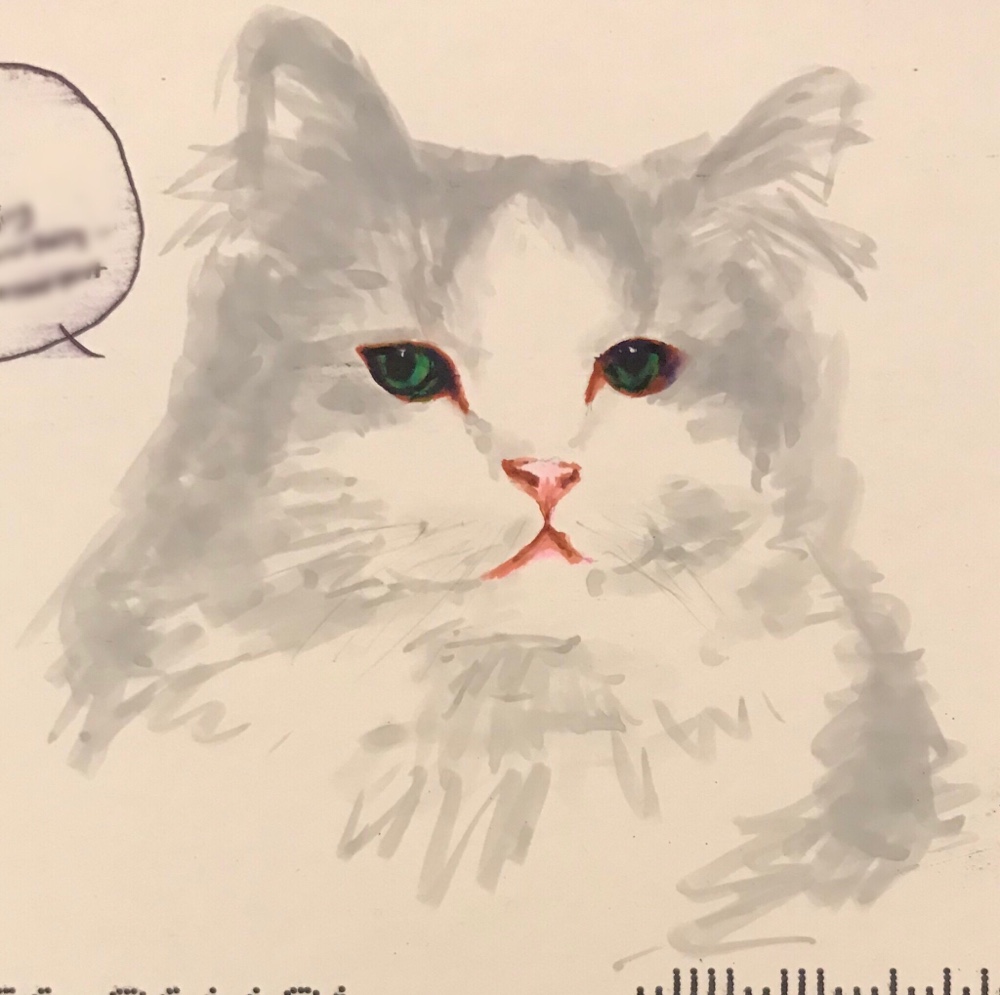
I’ll end with a shot of my lovely friend Yossie, which just shows you don’t have to go to exotic places to take photos you’ll treasure forever:

So thats the year in a nutshell. A good one; a memorable one. I hope you enjoyed the blog in 2018.
What’s next? Well in a week I’ll be in Oz once again, and mid January I’ll be flying from Sydney to Tokyo where I’ll meet Bernard for a week of otaku madness. I think it’s safe to say there’ll certainly be some photos worth seeing here in the next few weeks…