With my birthday fast approaching I figured it was time to catch up on old birthday gifts… like this guy:
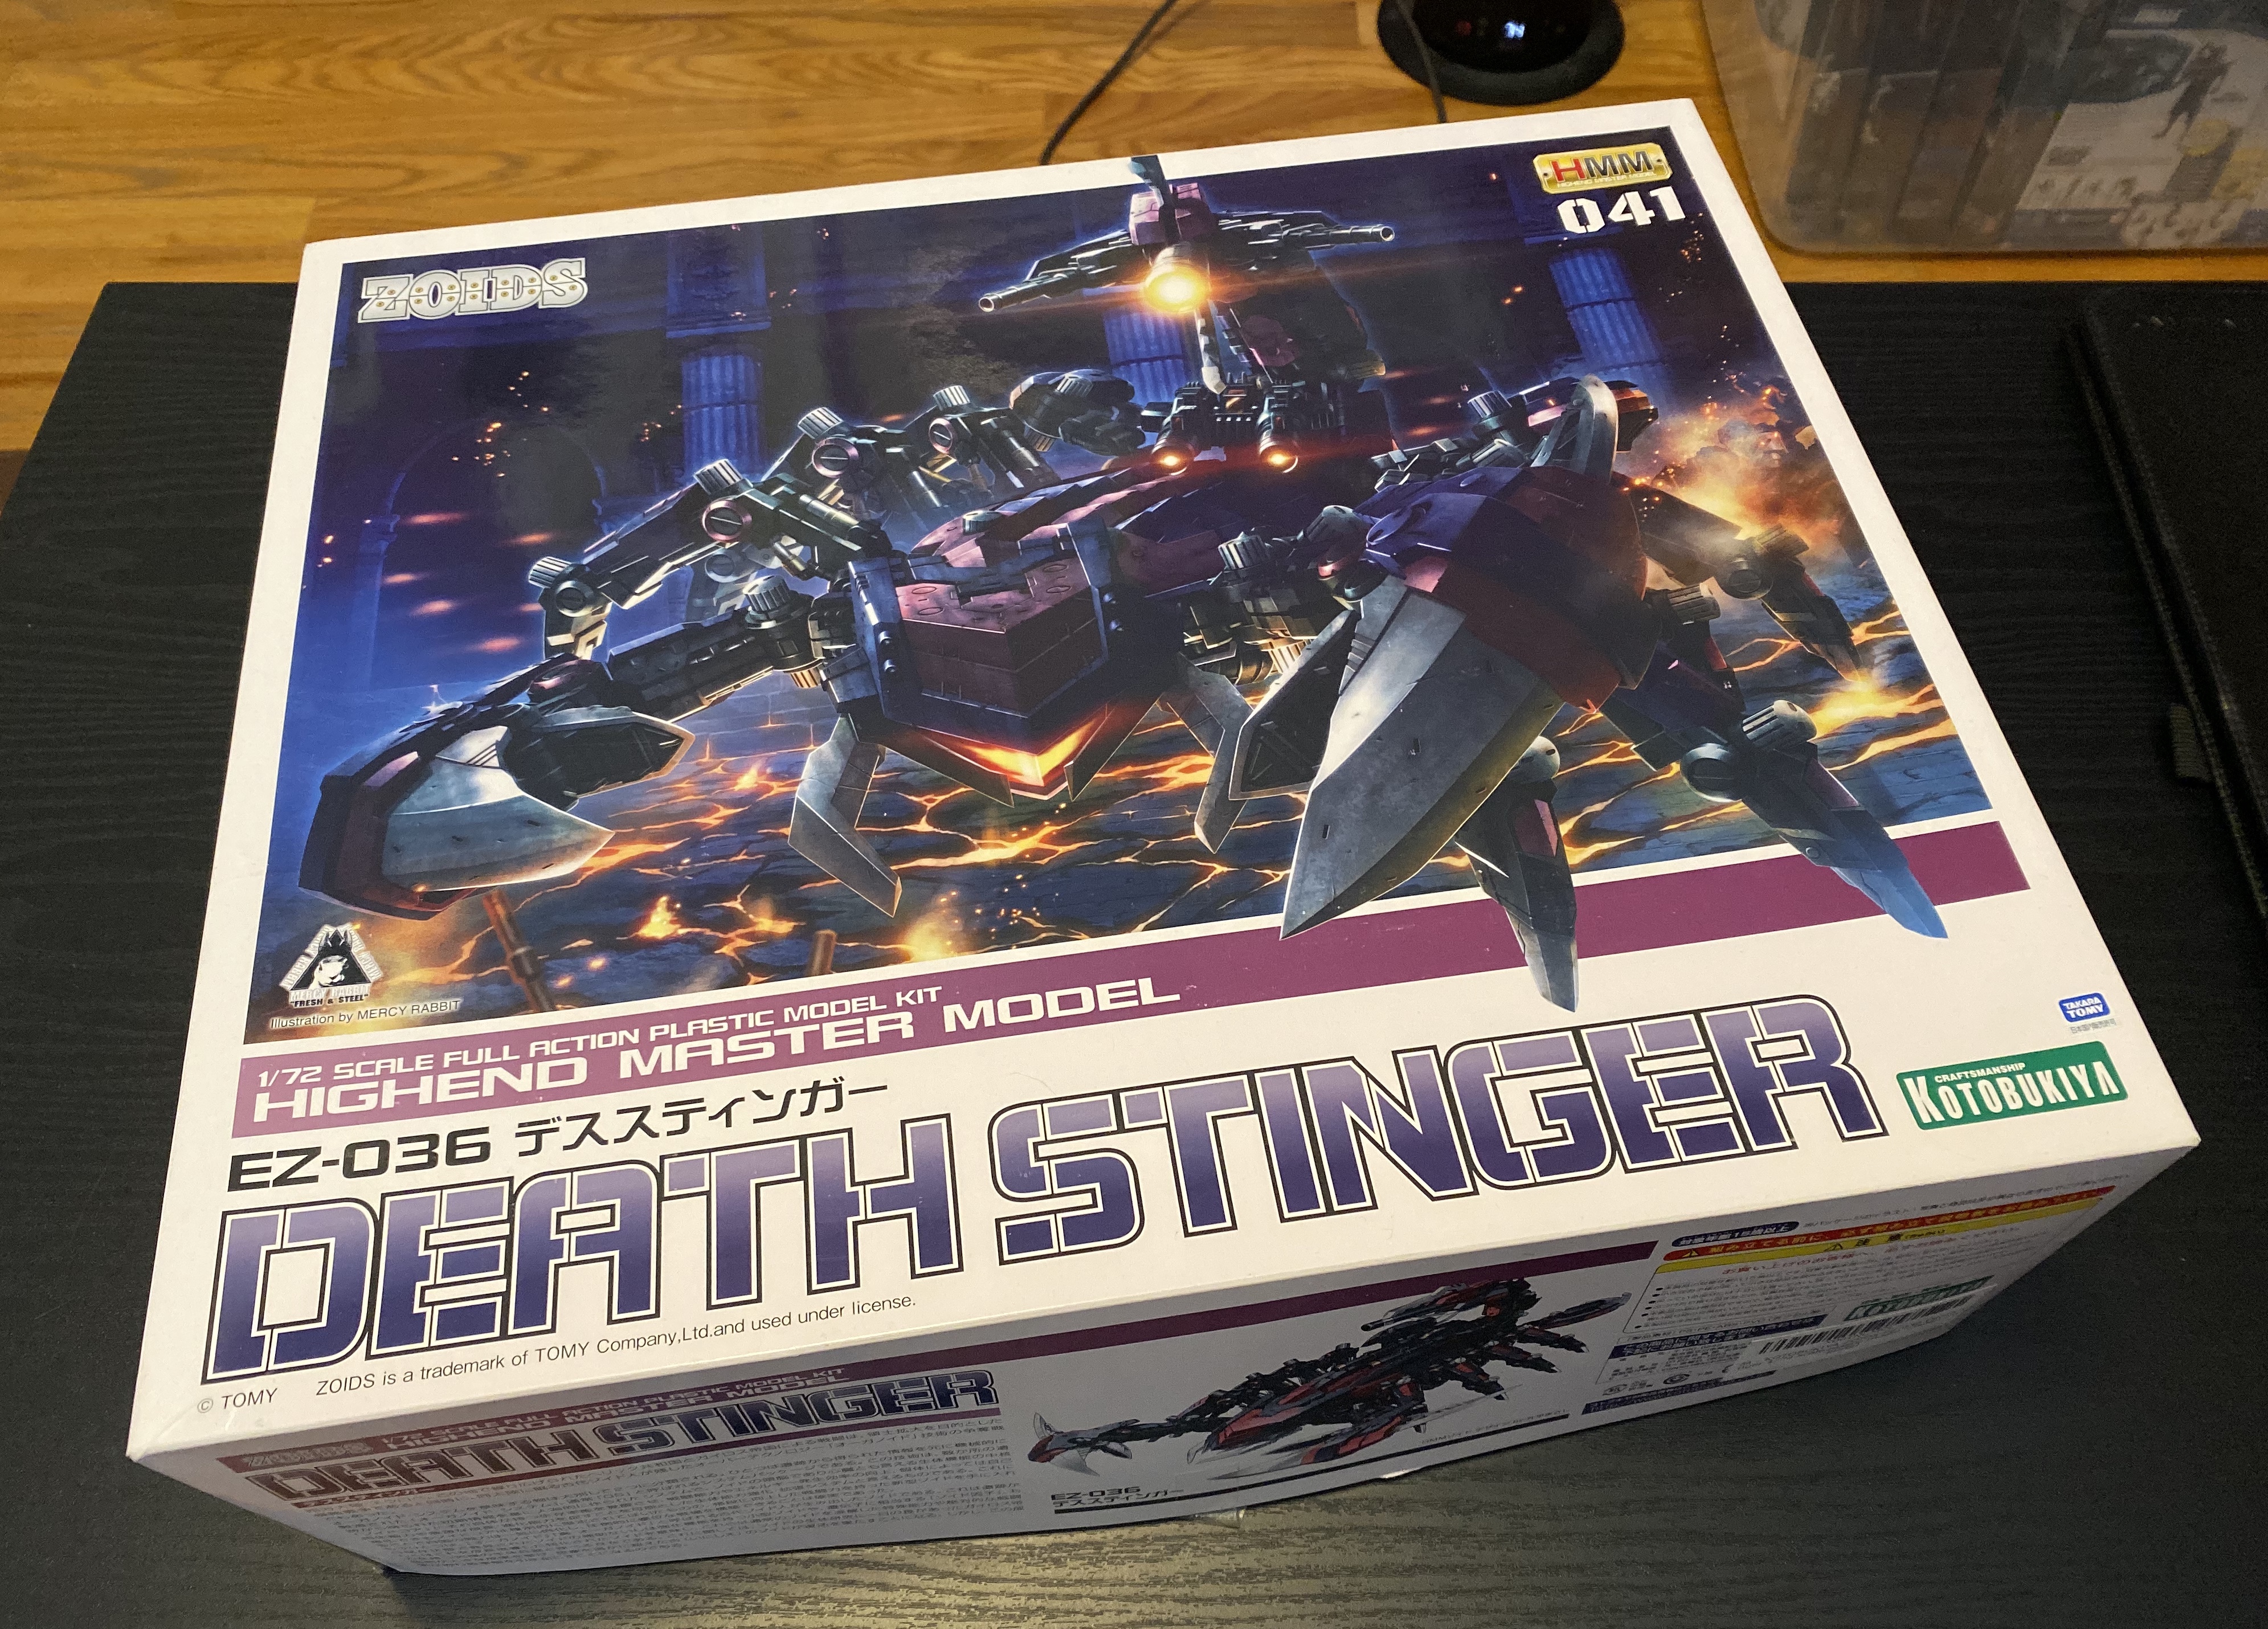
That’s a silly-big model kit of a robot scorpion ZOID! Do I know anything about ZOIDs? Not really, but they look cool and this is one of the coolest. I got this kit for my birthday 2 (?) years ago and dedicated myself to completing it before this birthday. So I did!
The box is massive. Here’s what was inside:
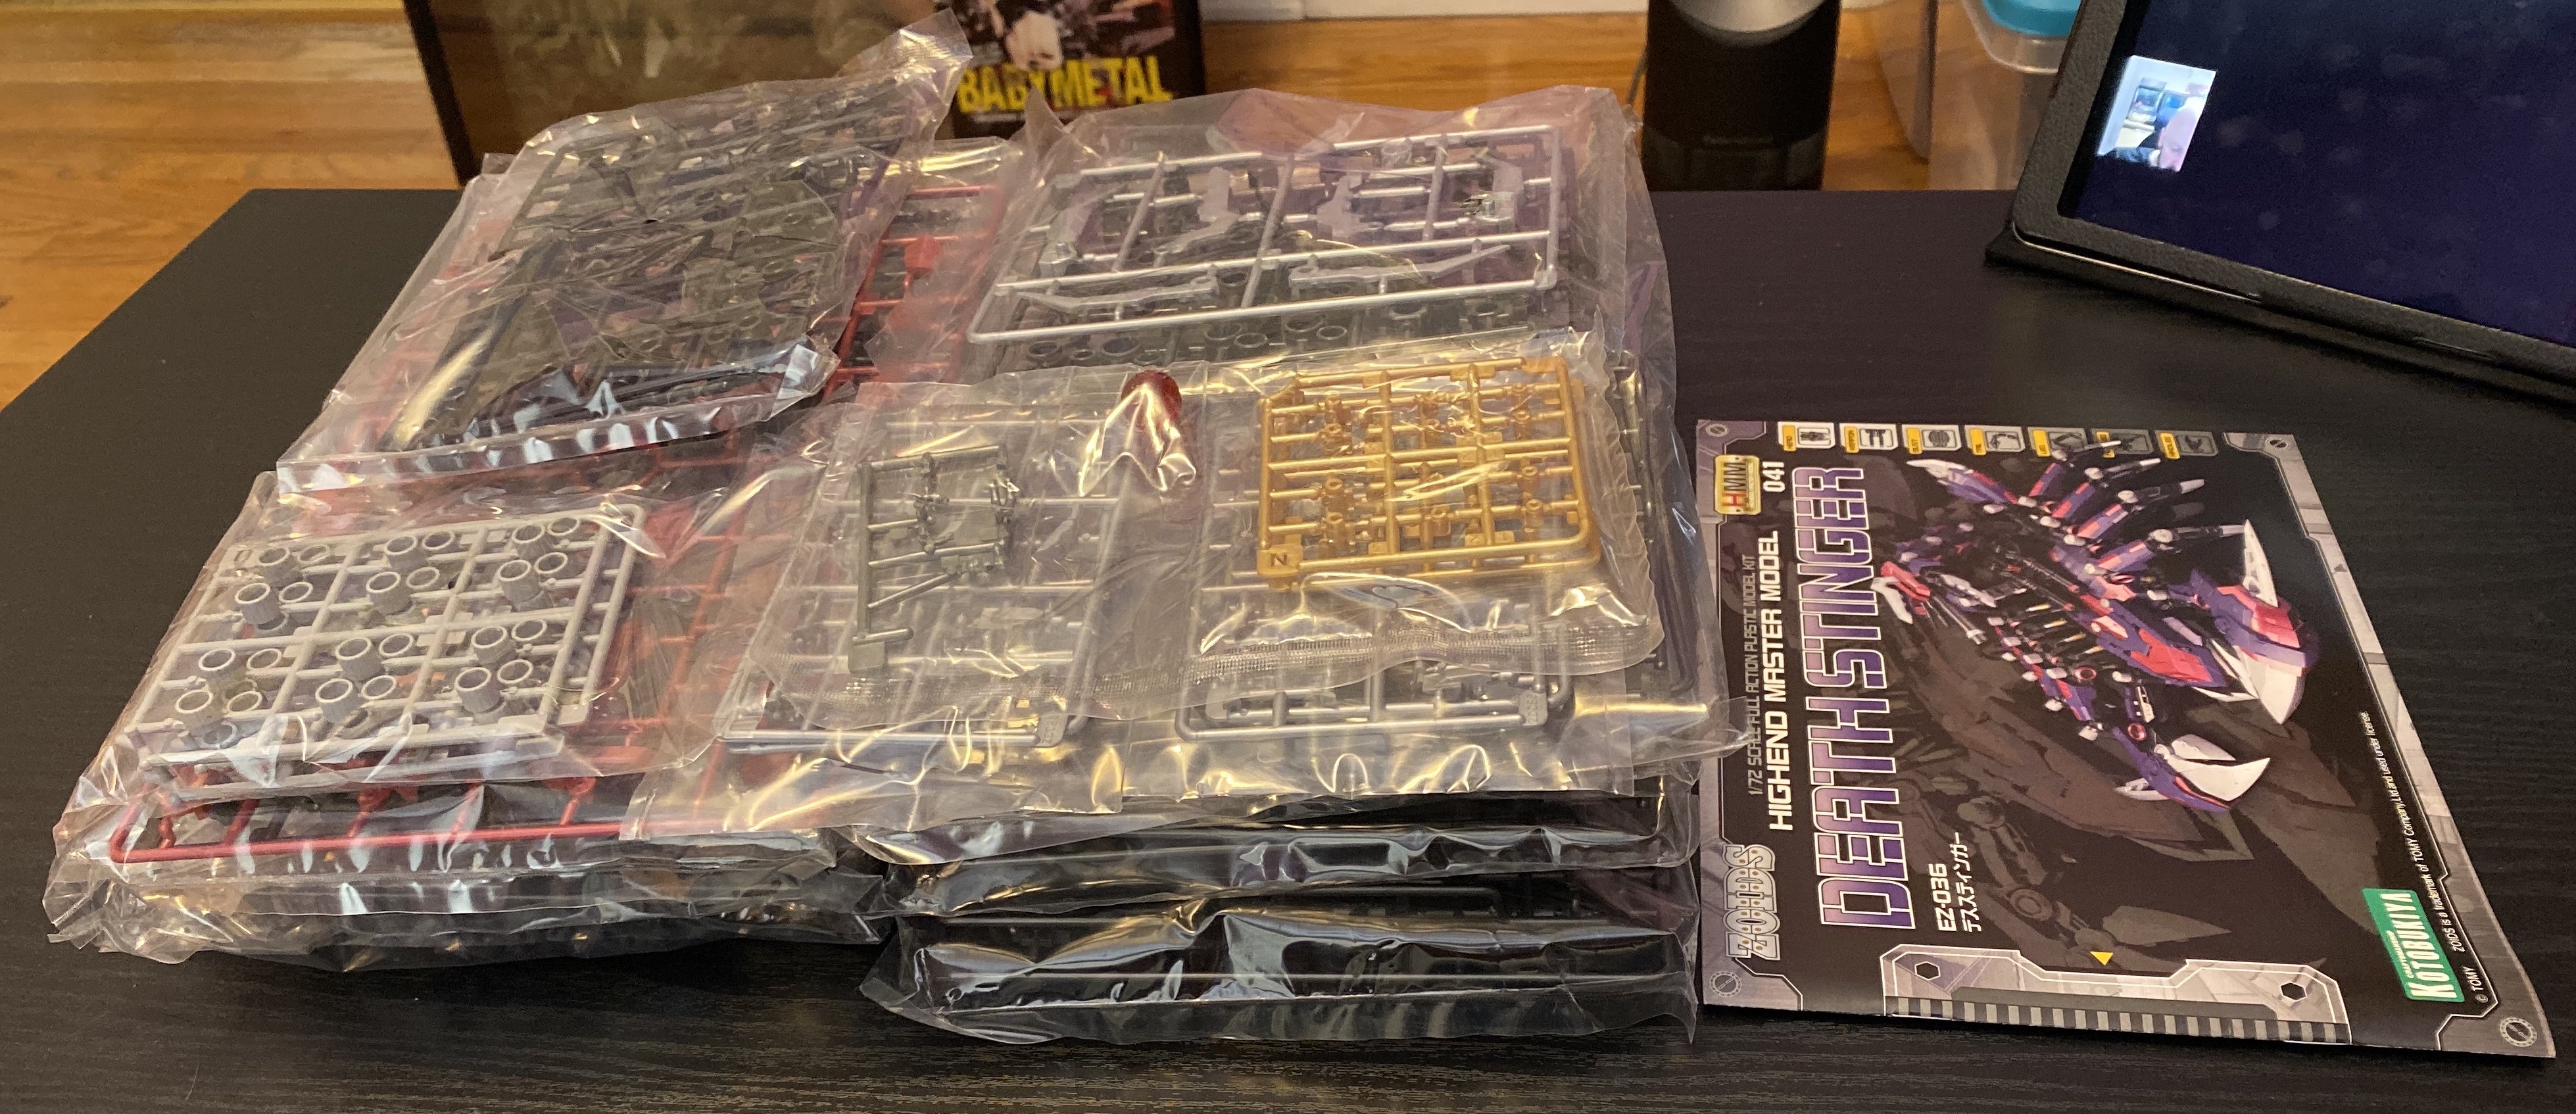
So many runners! So many pieces! And yet the instruction manual wasn’t the biggest I’d seen in a kit, mostly since there’s a lot of repetition.
Assembly wasn’t particularly difficult, but took me 4 weekends working maybe 5 hours at a time. As I reach my dotage I find that my developing arthiritis tends to make these tasks a little trickier, and Kotobukiya kits are harder than Bandai ones because they don’t shy away from very small pieces and complex connections.
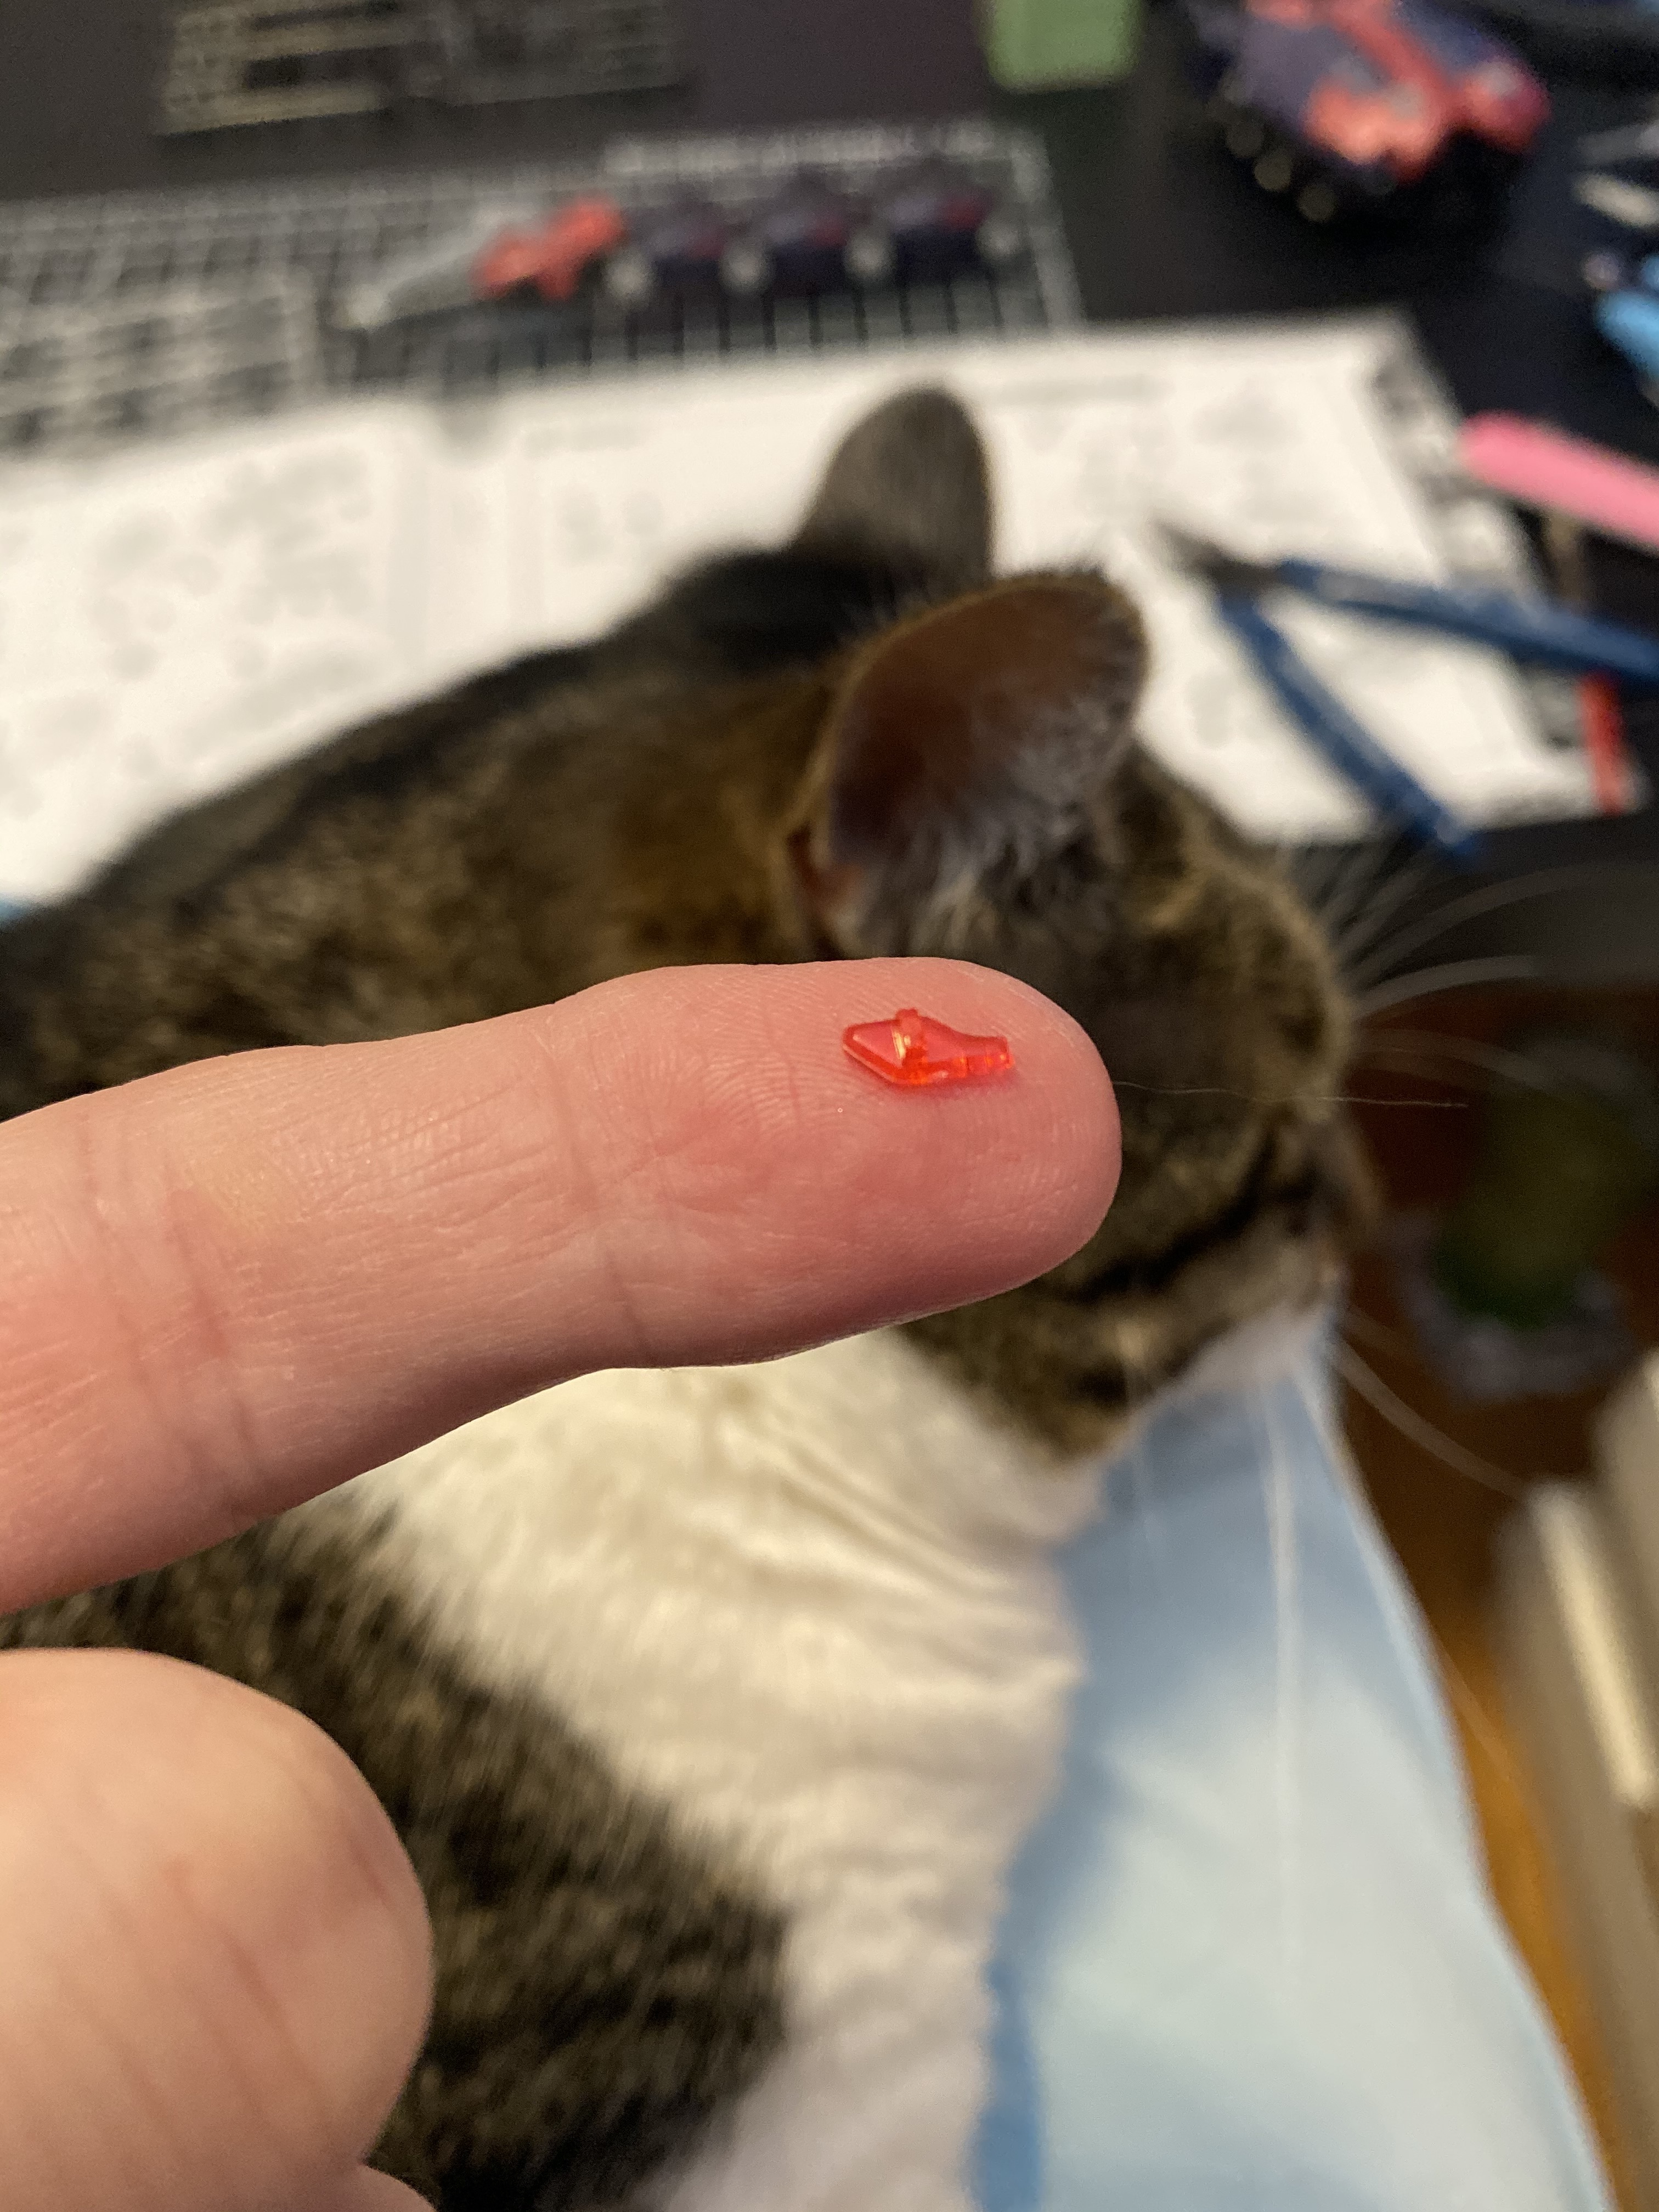
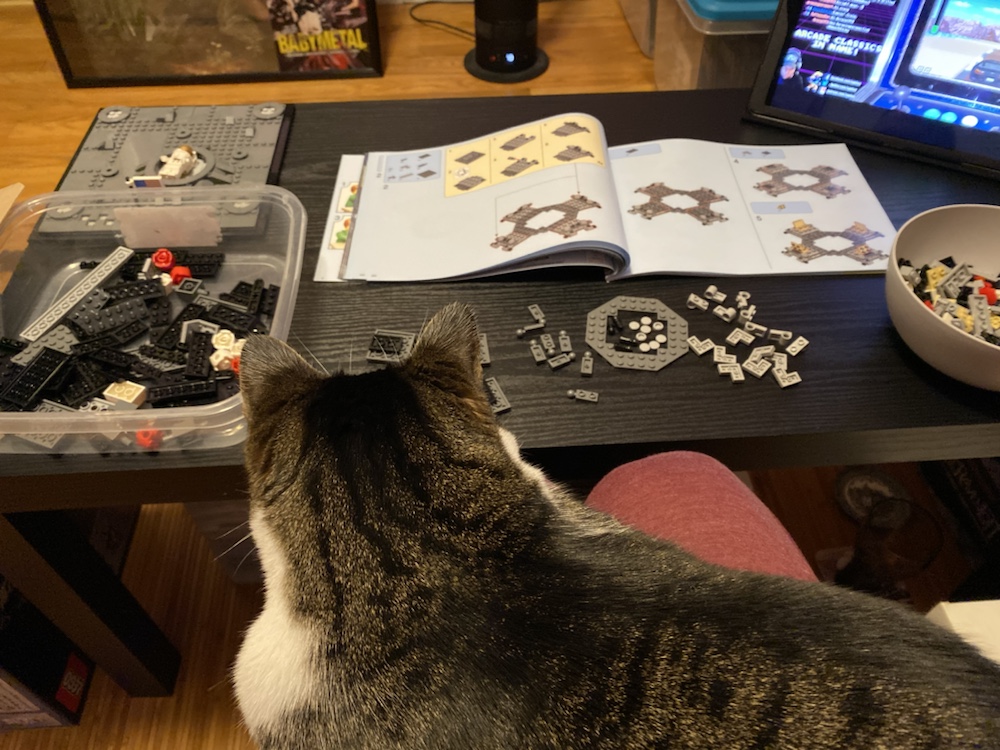
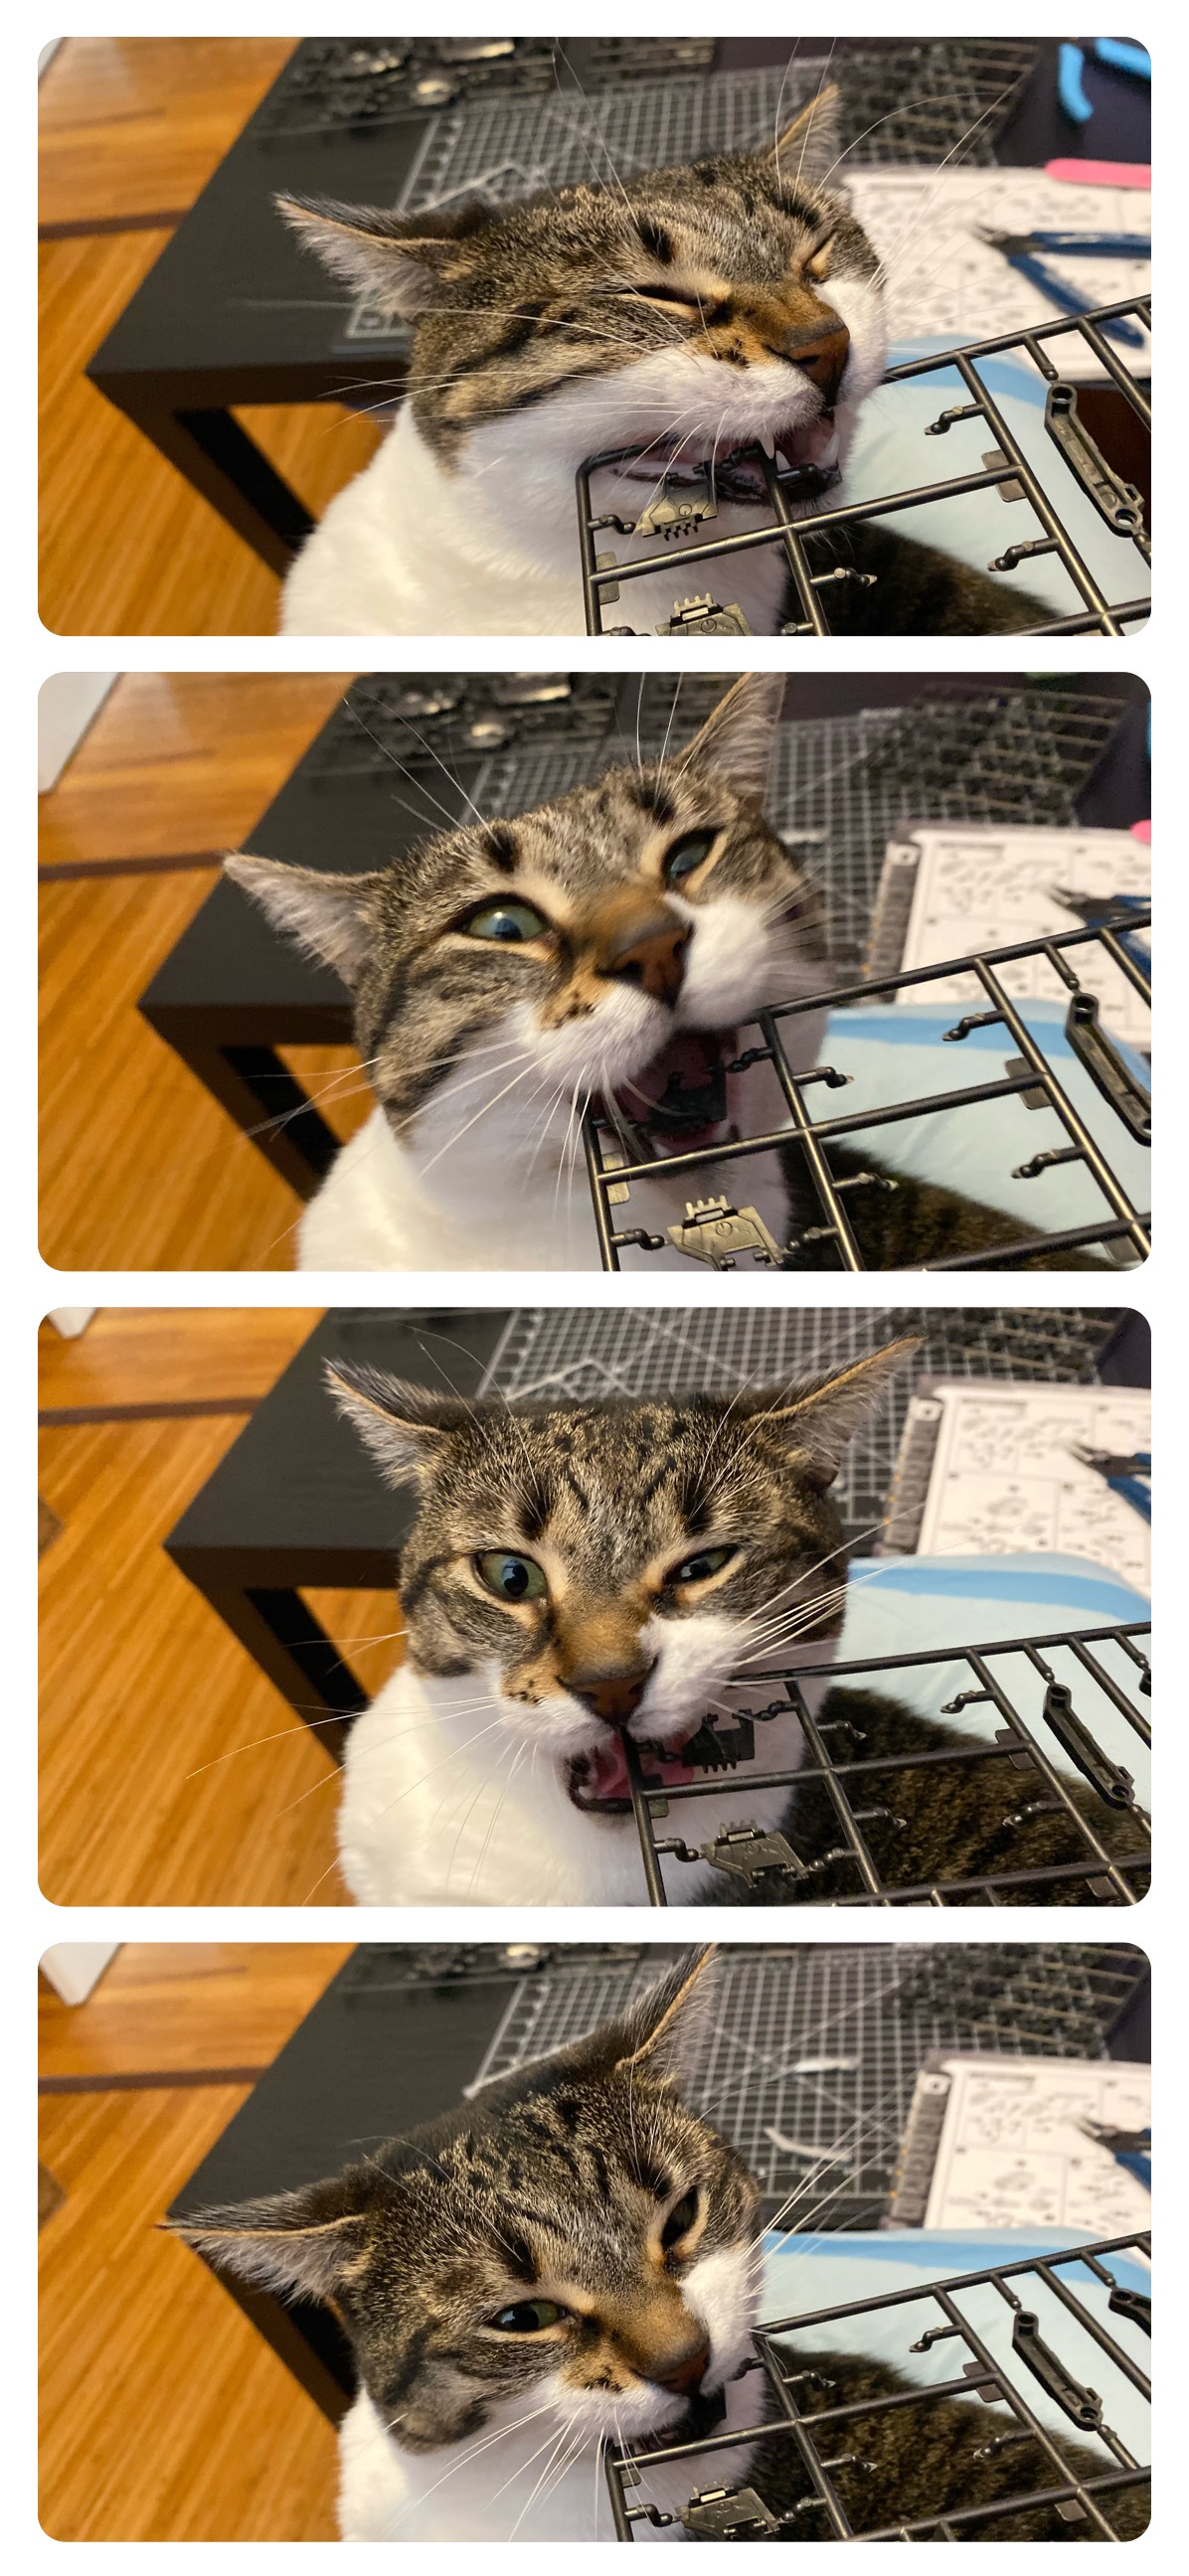
Luckily I had assistance to help with the complex bits:
I’ll spare you the interim photos and get right to the finished piece:
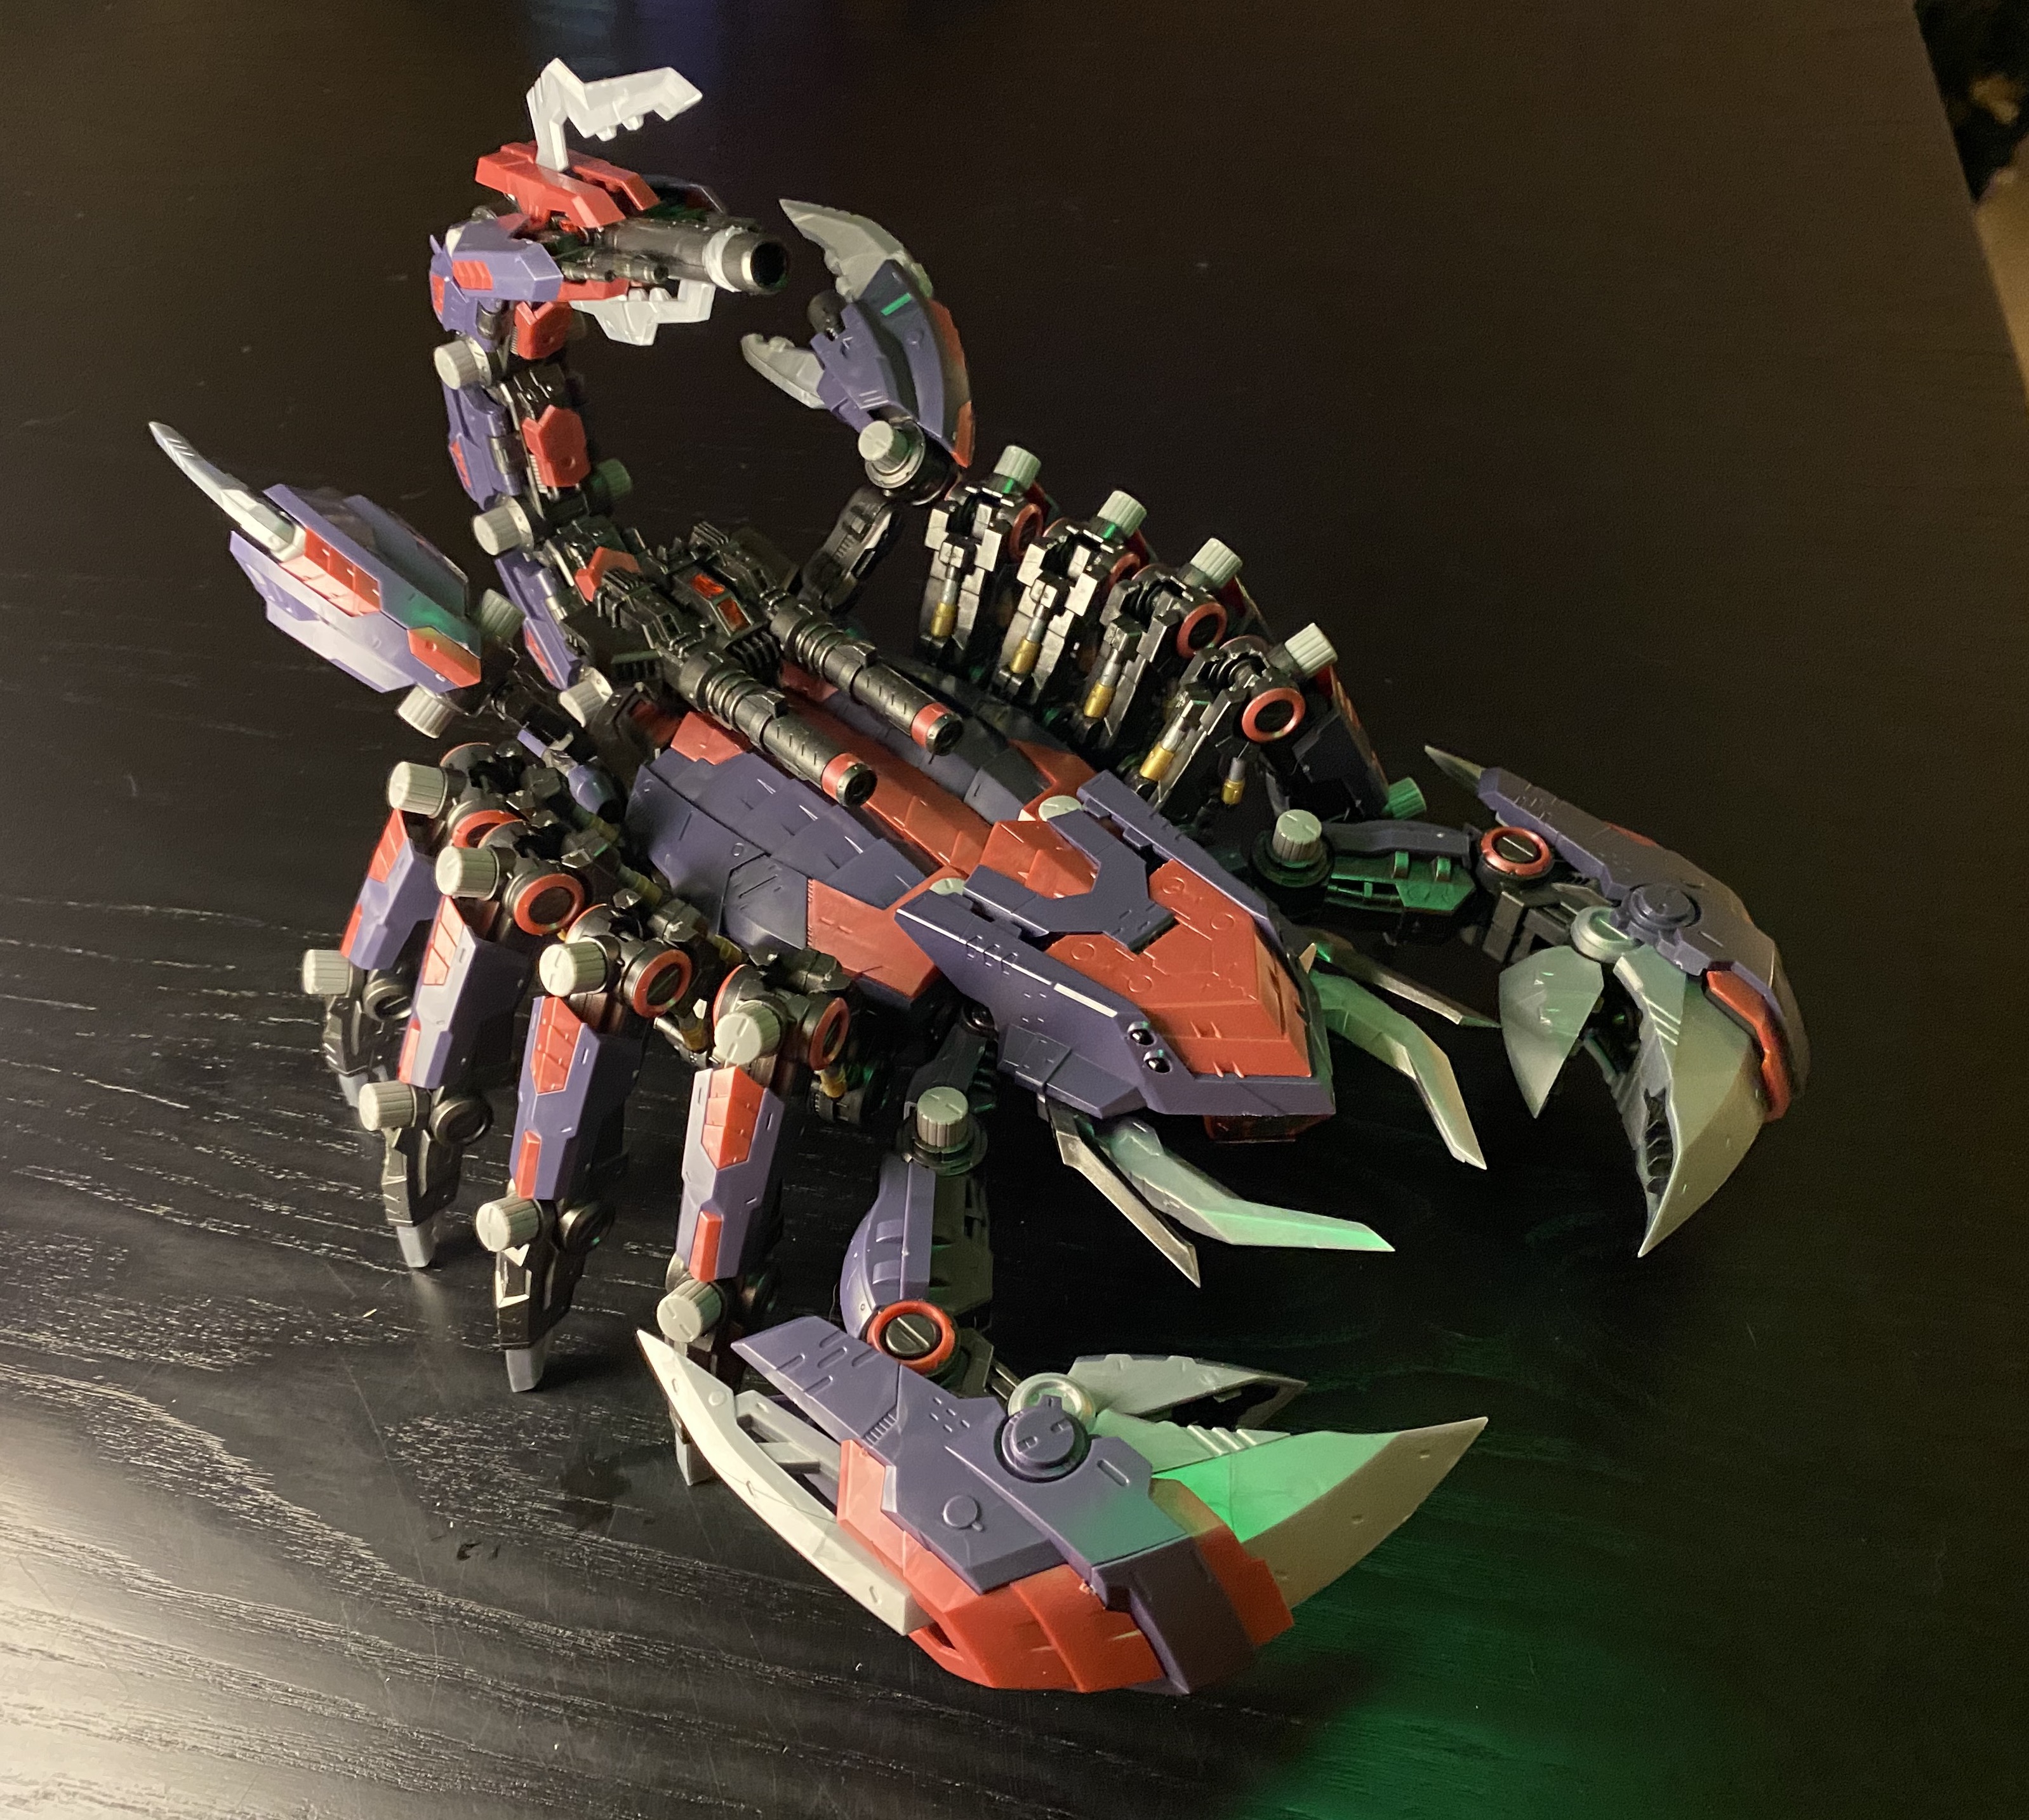
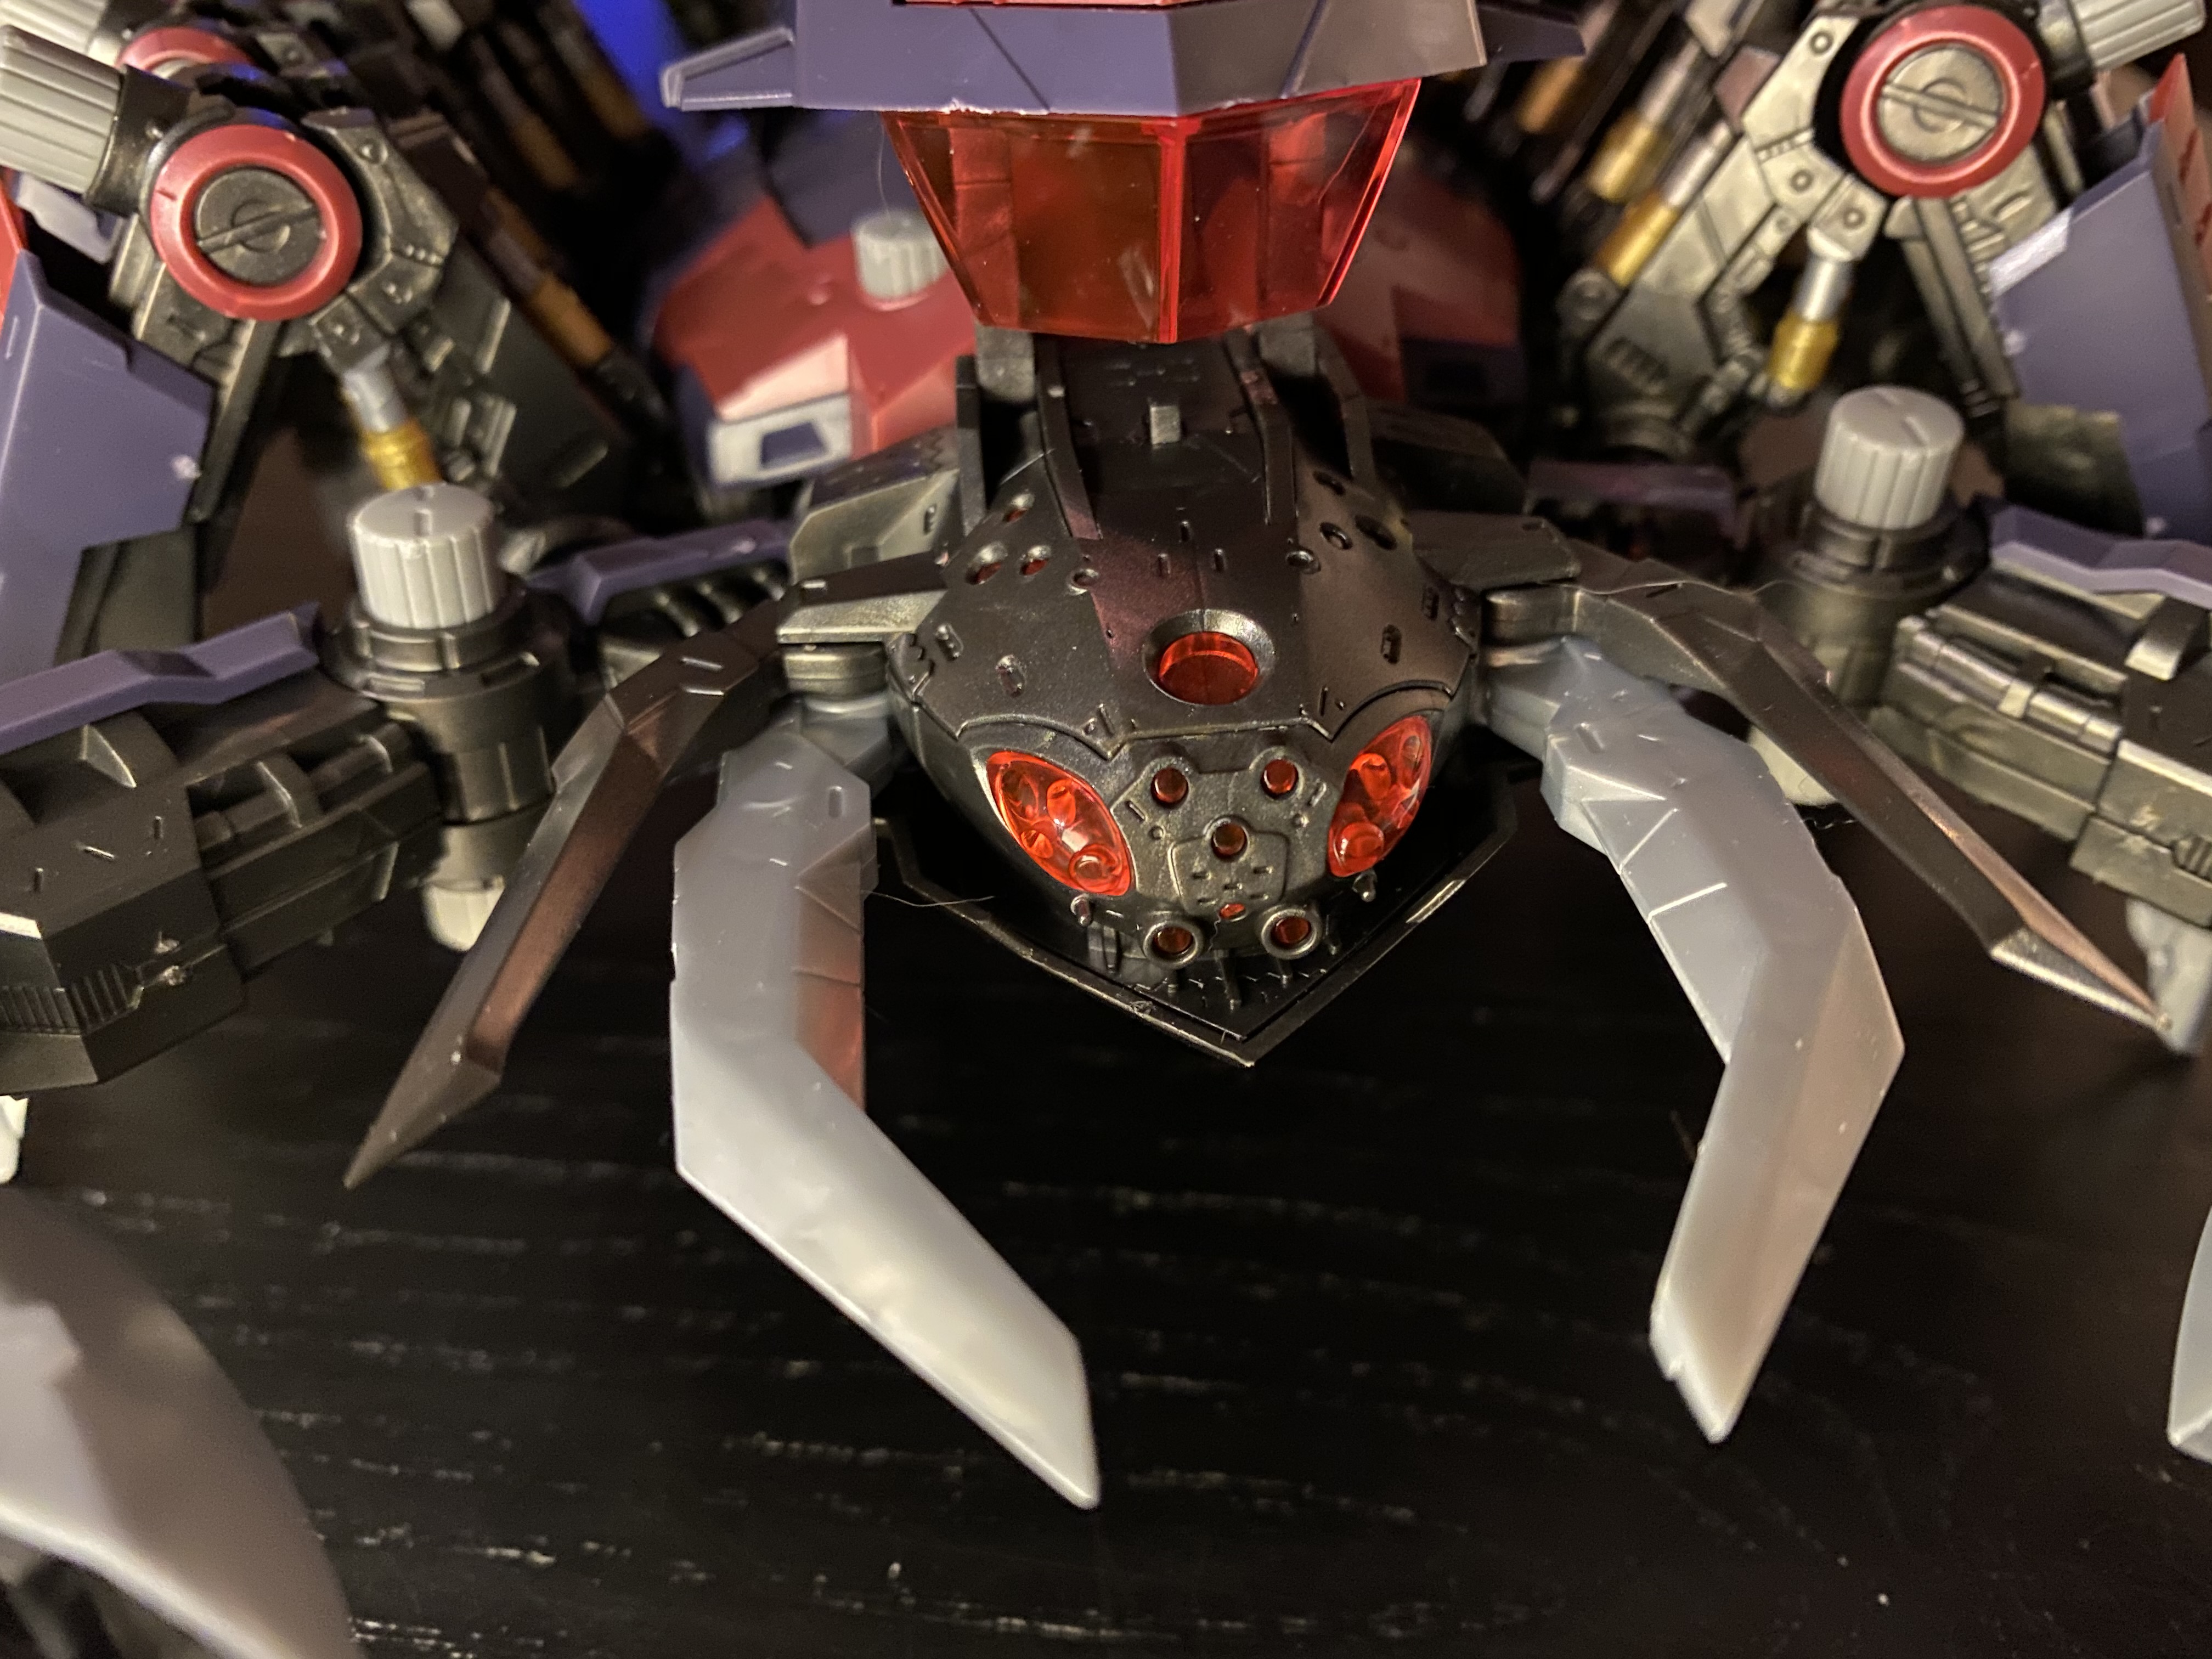
It’s impressive isn’t it? It’s also quite massive; easily the biggest kit I’ve assembled. I’d say it’s about 10 inches from front to back (with the tail folded up) and wider than my outstretched palm. There’s an insane amount of articulation: not only do all the limbs and guns move but you can even open lots of the flaps and vents (probably to emulate cooling systems) which can make it even bigger than it is here. Here’s the scorpion head when you open up the head armour:
It was a lot of fun to build and looks great in our glass cabinet. I wouldn’t recommend this kit though since it’s a) way too expensive and b) not ideal for a beginner. If you like the look of ZOIDs start with a smaller kit, or even better a toy version since those are much less pricey.