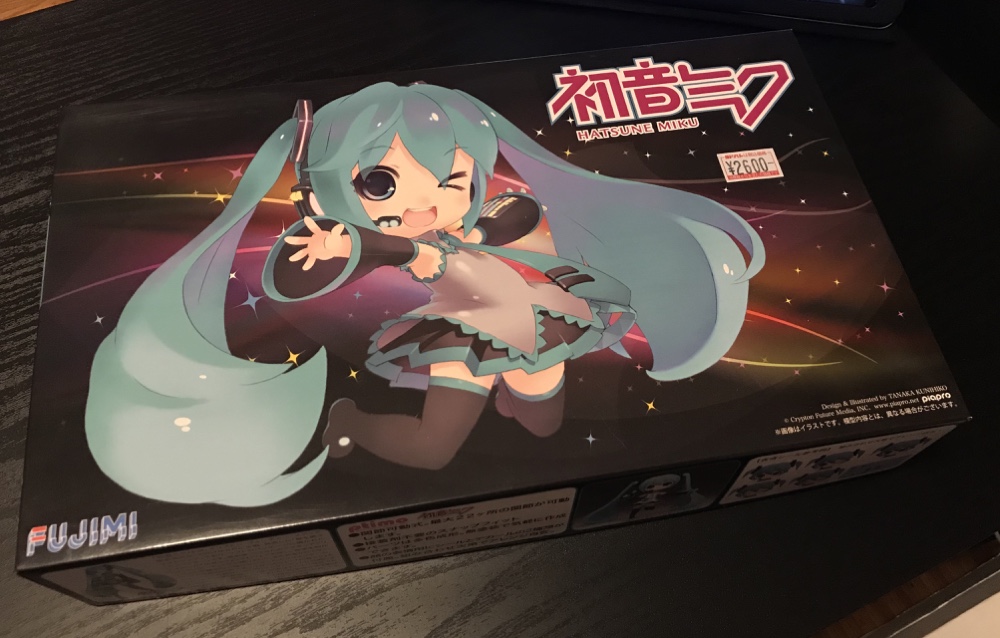
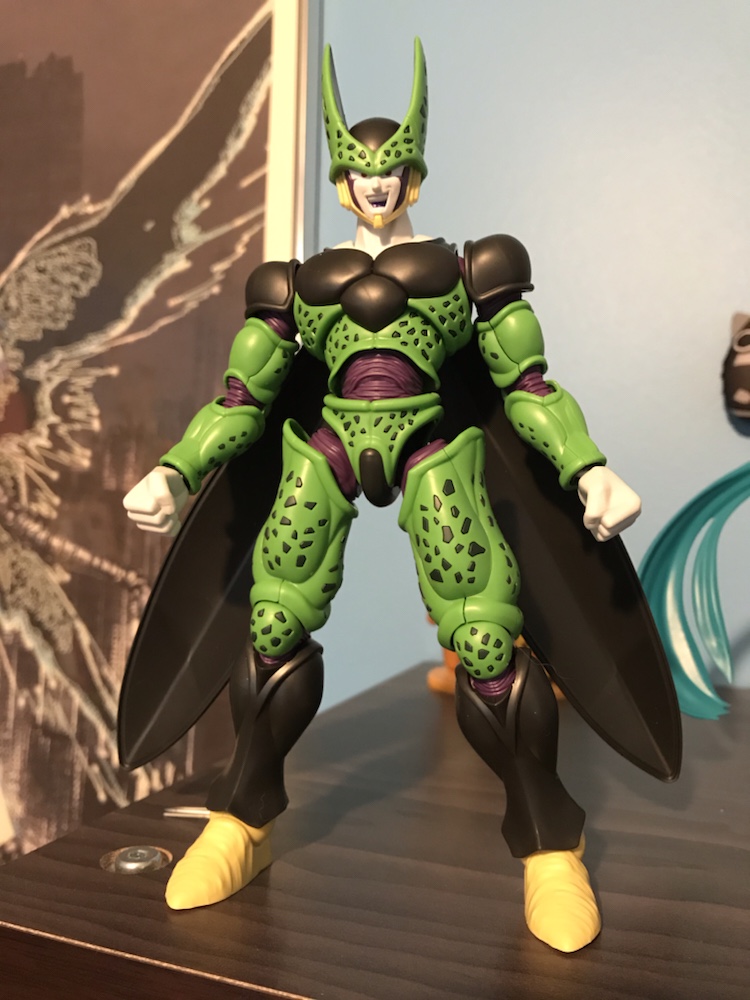
The new Ultraman series on Netflix is fantastic. It adapts the recent manga which has updated the series for the modern era whilst not rejecting the past, and in my opinion succeeds tremendously.
When I first learned of it I was wary of one of the major aspects: the combat suits. Ultraman was no longer a being, but a human in a suit. However – and without giving anything away – by the end of the first season I loved the suits, and happily and eagerly picked up the two model kits recently put out by Bandai.
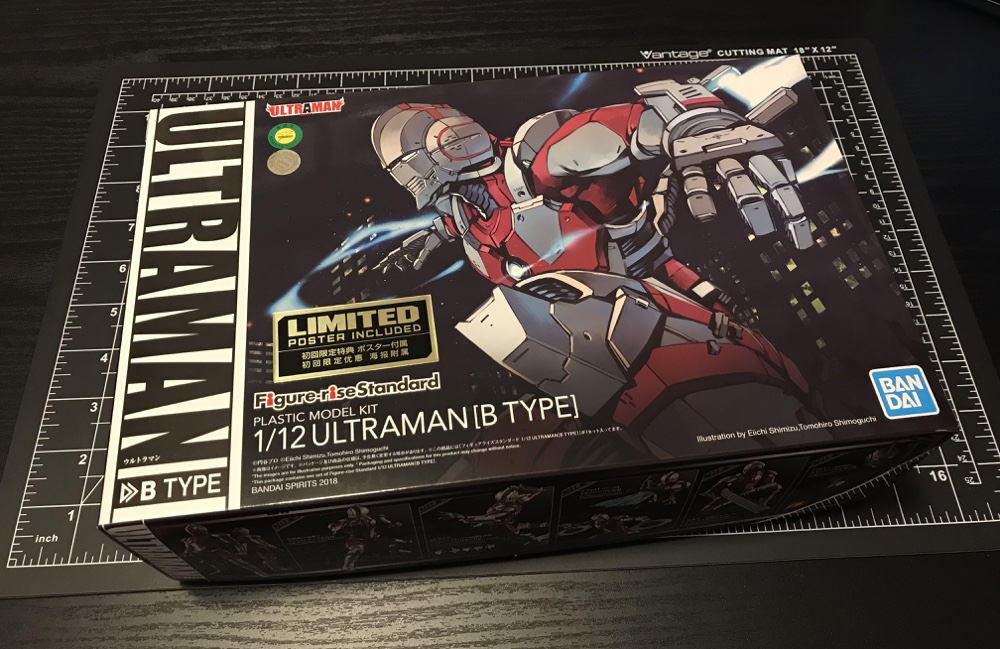
That’s the first one. It was a little pricey compared to a Gundam, but it’s a very high quality kit with a very nifty feature.
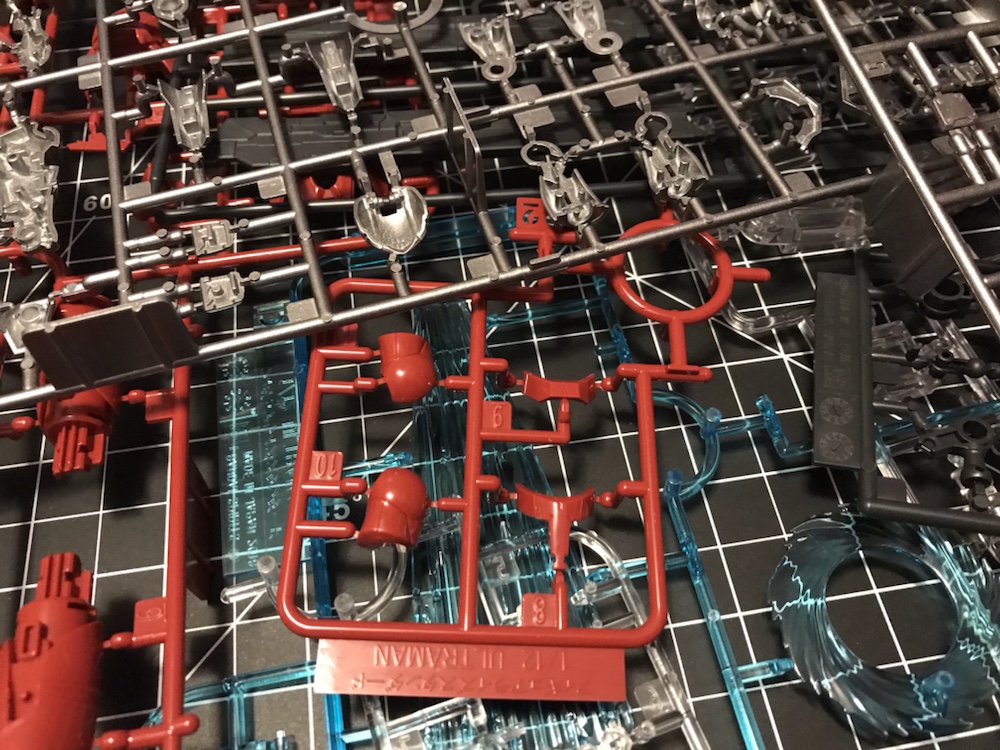
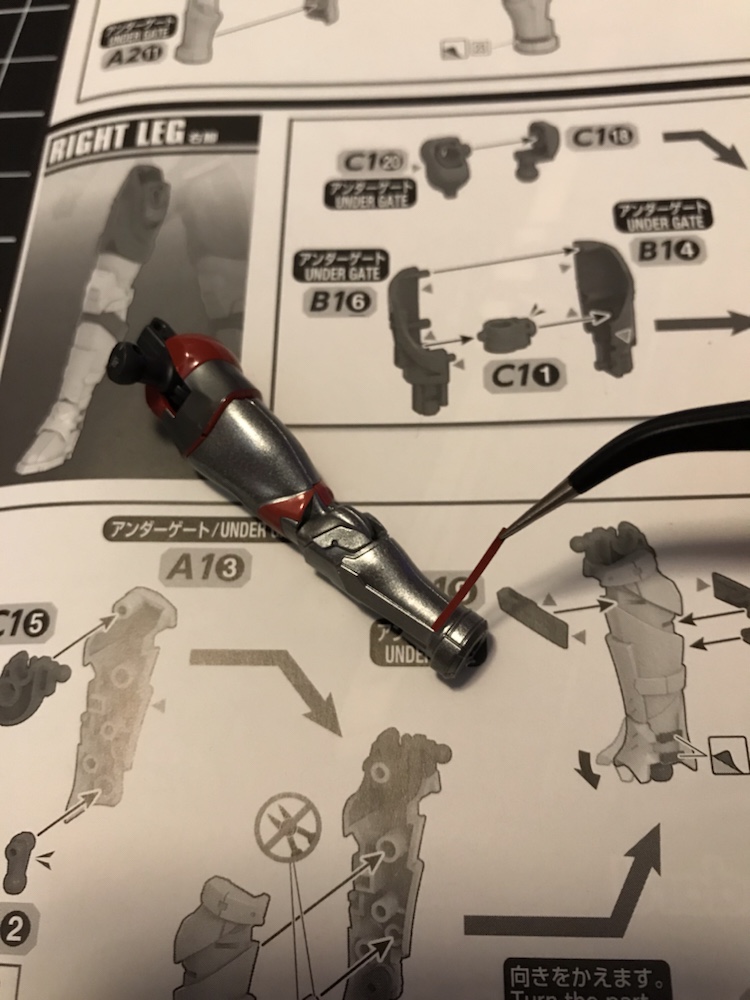
This is not a beginners kit. The metallic gray is painted on, which means cutting from the runners leaves white (the colour of the underlying plastic) edges that need to be cleaned up. There’s also a lot of tricky-to-remove tabs on the red pieces that require a lot of patience. Cleverly Bandai has designed the kit to hide almost all of these after assembly but I needed a silver paint pen to fix a few spots.
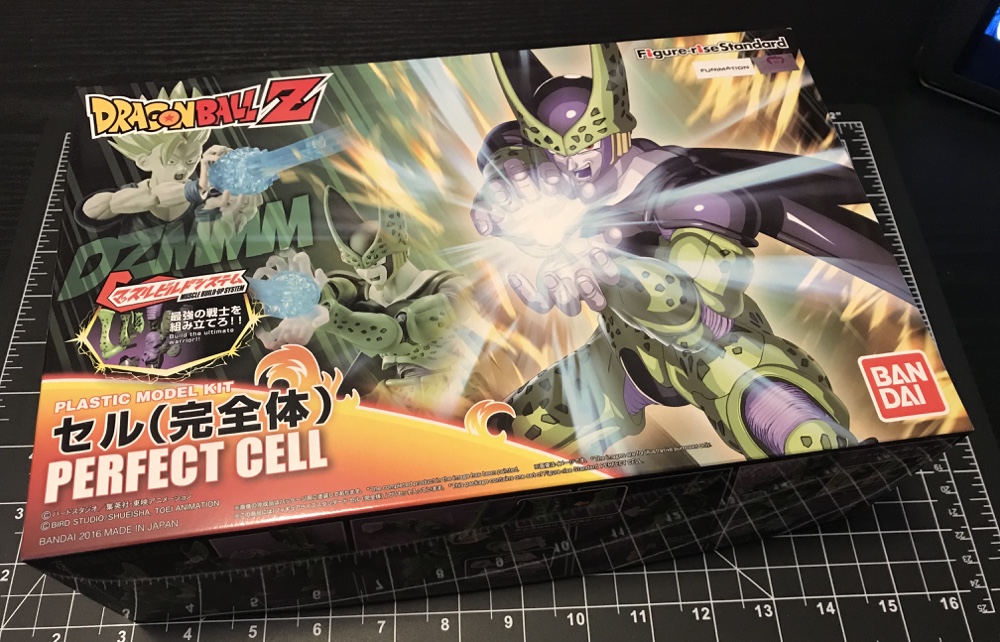
Secondly the kit has a lot of stickers that in some cases were fiddly to attach. I’m not a great fan of stickers, but found them particularly unusual in this case since they were the same colours as the runners. We’re this a higher-priced kit I suppose the stickers would have just been extra pieces, and I don’t know why the cheaper Dragonball kits can do this level of detail sans stickers but this one couldn’t?
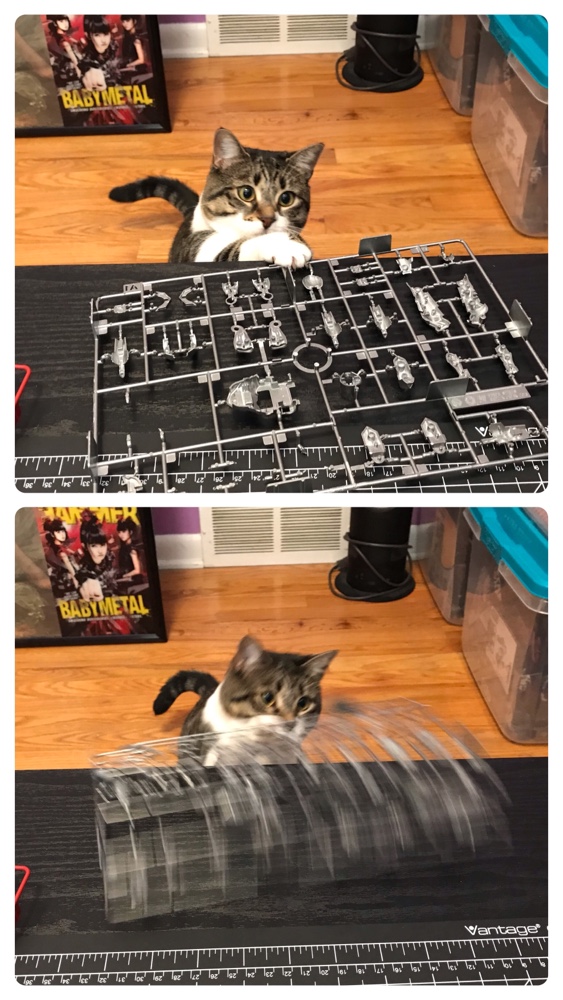
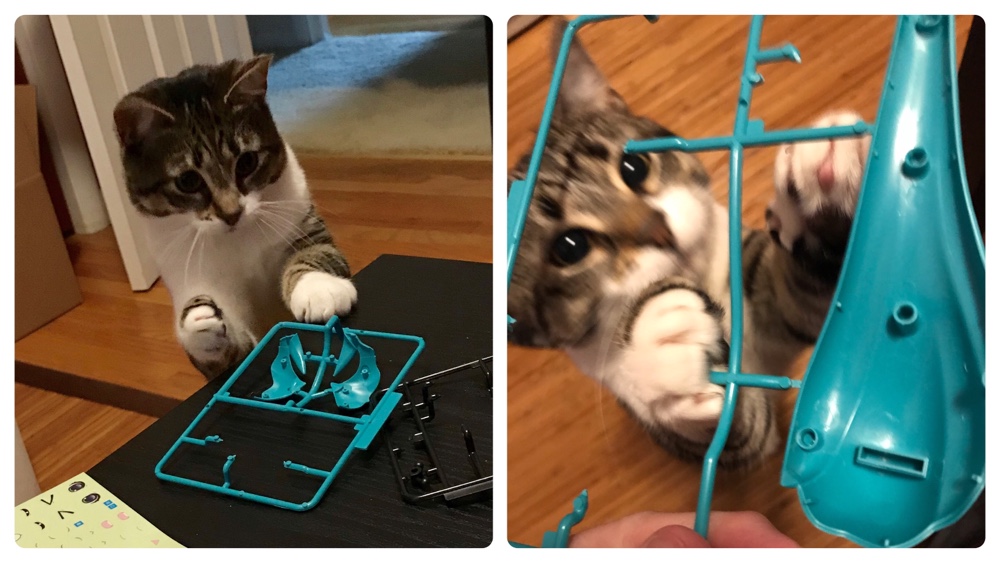
That said – and despite occasionally interference from a fuzzy thief – assembly wasn’t difficult and it looked great once finished:
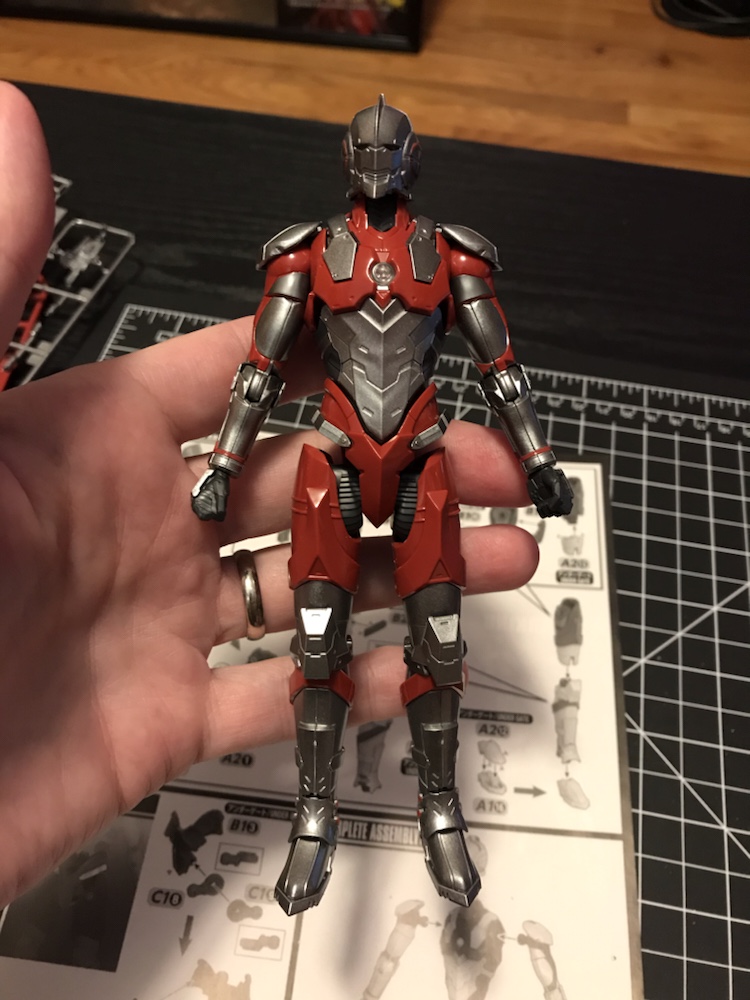
As usual I was happy with just the figure, but there’s a lot of Ultraman’s various energy (‘specium’ to be precise) weapons that can be assembled and attached. But even without any accessories this kit is special for an extra feature; a first for one of my kits:

He has lights! His eyes and chest light up, and the chest can be set to blue or red. It looks incredibly good, and the simplistic but effective interior design (with light pipes and a sticker-mirror running from an LED unit) is charming.
An amazing kit therefore. He looks and can be posed like a high-end action figure, but he was assembled from scratch. I can’t wait to make the other one 🙂