In late 1994 Sega of Japan launched the Saturn console, their long-awaited followup to the Megadrive. Sega was starting to struggle in the market after the failure of the Sega-CD and 32X addons, and their hope was the Saturn would fight off the looming threat of Sony’s entrance into the home console market. As history now tells us, it didn’t.
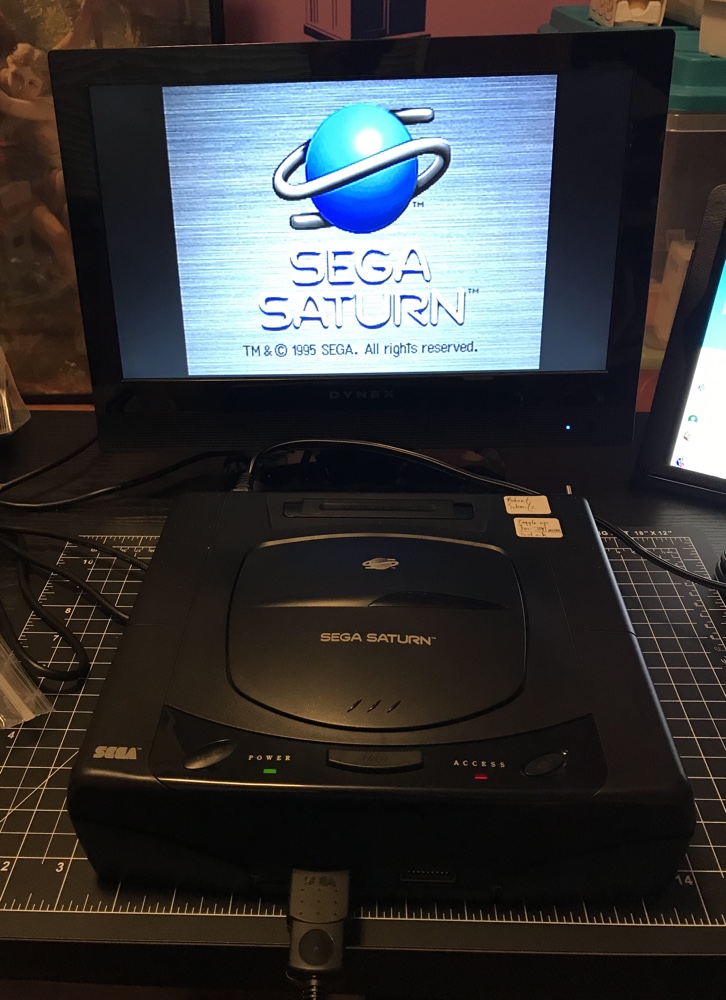
I bought my Saturn on the day of US launch: May 11 1995. Famously Sega launched ‘early’ with only one day advance notice and while I was planning on buying a Saturn I never expected I’d have it in my house several months before the originally stated launch date. As we now know the early launched failed: there weren’t enough compelling games ready and consumers weren’t interested.
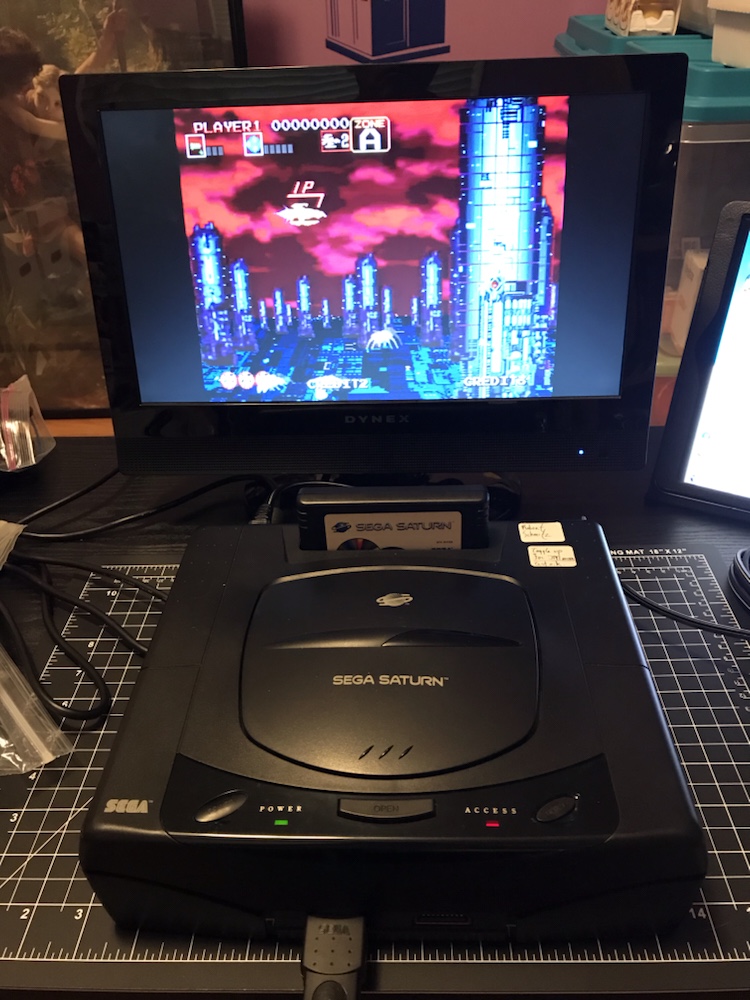
But I loved the Saturn. Mostly this was for the very reason it failed: the Saturn was a machine that was very poor at 3D graphics, but very good at 2D. This meant it got all the ports of Capcom arcade fighters, which I greatly enjoyed back then. For me therefore, the Saturn was an arcade in my home.
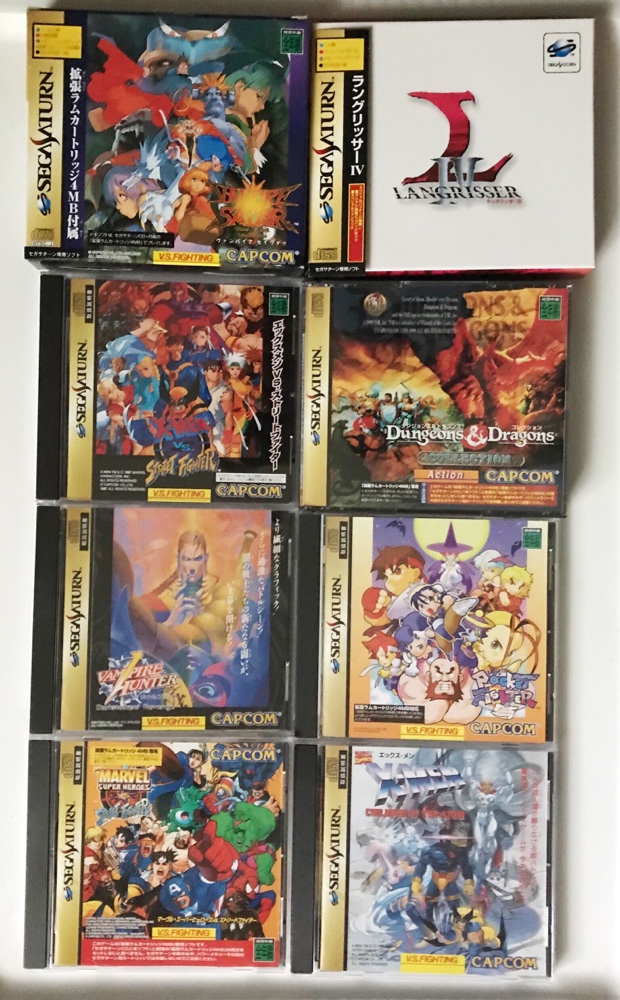
That’s a portion of my collection. I quickly got my Saturn modified to play Japanese games and it became my intro to ‘import gaming’. I played the hell out of the above, and loved them all.
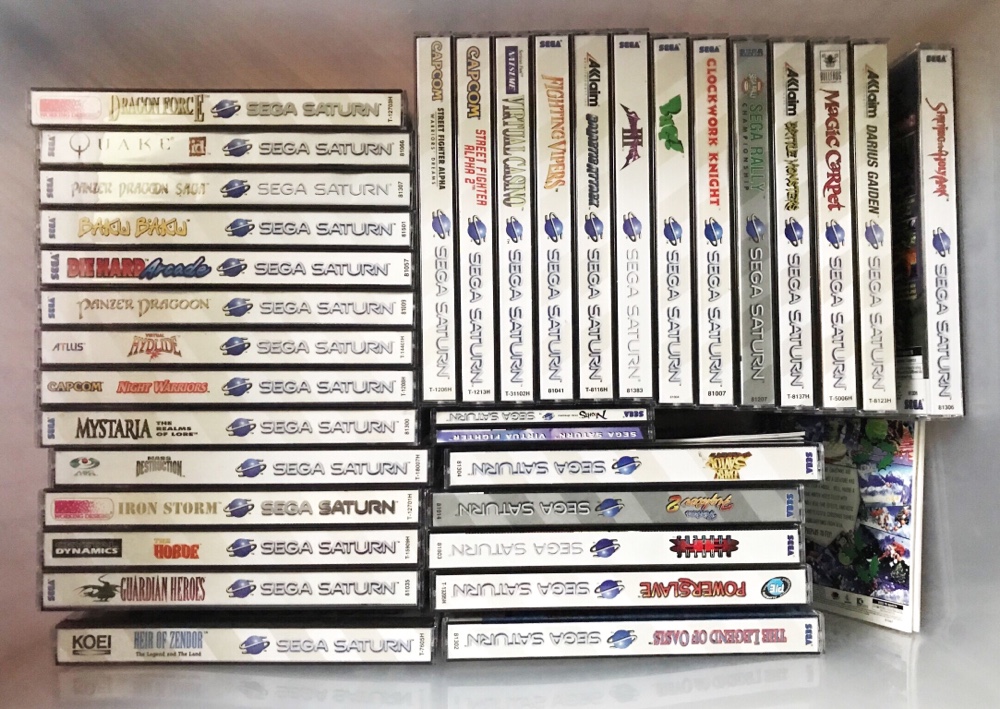
That’s the remainder of my current collection, and back in the day I had more but traded some in during the late 90s. I bought more games for my Saturn than for any other non-Nintendo system.
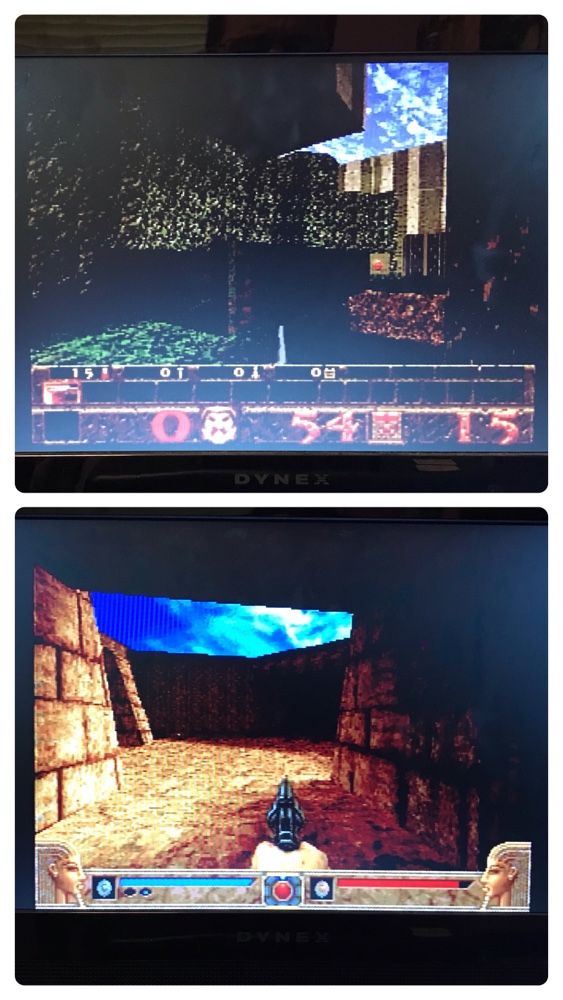
And it wasn’t just 2D fighters. The above show Quake and an Egyptian turned FPS called Powerslave which is easily the better game. I also bought driving games, puzzle games, RPGs (alas not enough were released) and all sorts of other weird games (such as a horse racing simulator). During the failing days of the system I bought just about anything I saw for cheap, which was often as little as $5 brand new! I didn’t want to see this console die.
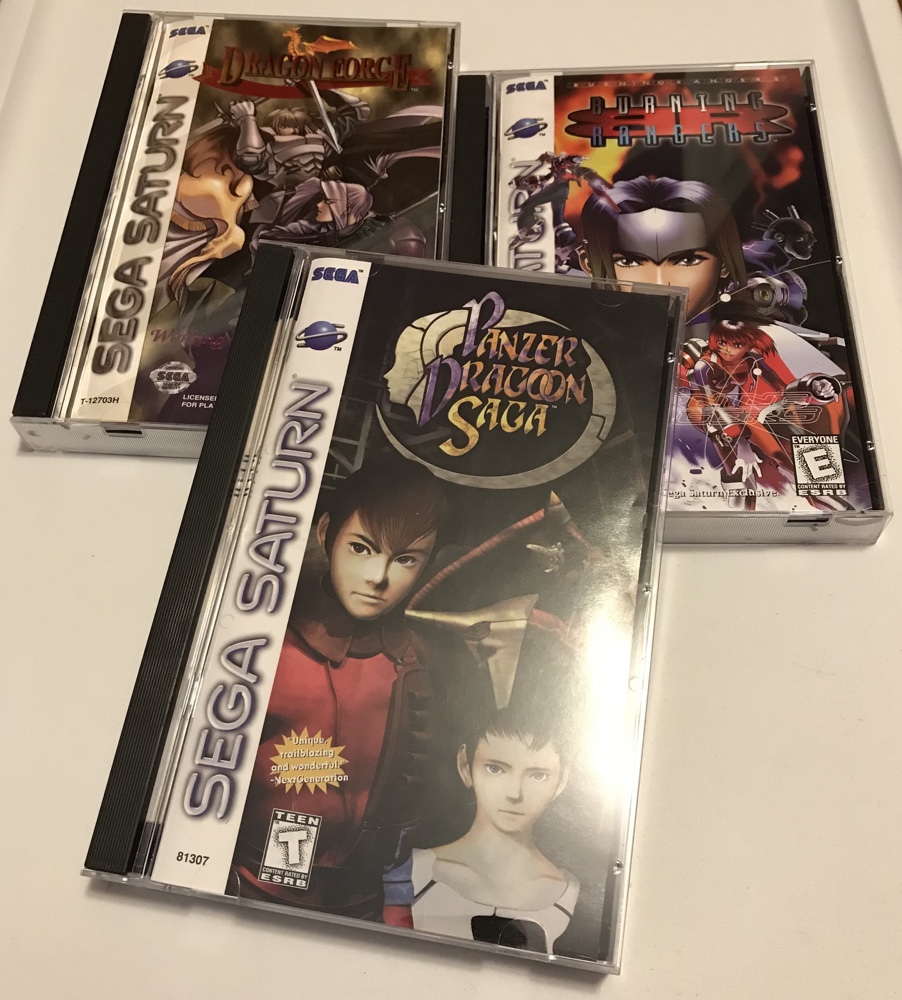
The Saturn was never a great success, and it laid the groundwork for Sega’s ultimate departure from the hardware market. But it’s treasured by retro gamers and as such some of its rarer games now fetch astonishing prices. Collectively the three shown above would probably fetch $1500 or more, which is more than I paid in total for my system and all the games. Collecting for the Saturn these days is a rich man’s hobby!
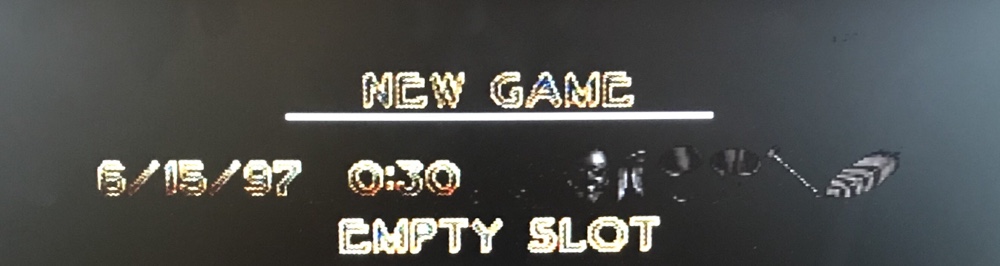
The above shows a save file I found when I was looking through my games earlier. Over 22 years ago, and 12:30 am no less. Younger me played well into the night! In the mid to late 90s I often played my Saturn much more than my PlayStation or N64 and my save files go all the way up to 2000.
But as with all consoles it would eventually be obsoleted – followed up by the Dreamcast in 1999 – and less than a year later I packed mine away and put it into ‘deep’ storage. Here’s where I usually say I had fun looking through my collection but it’s going back into storage for another XX years, never to be sold… but not this time…
Because this time things are different, since for the first time ever I’m very seriously considering selling a portion of my collection. Indeed I’ve started the process, and whether or not it actually happens depends on a few factors, not the least being the offer I receive.
Rest assured if it does happen you’ll be able to read about it here.