Category: Otaku

Birthday Cards

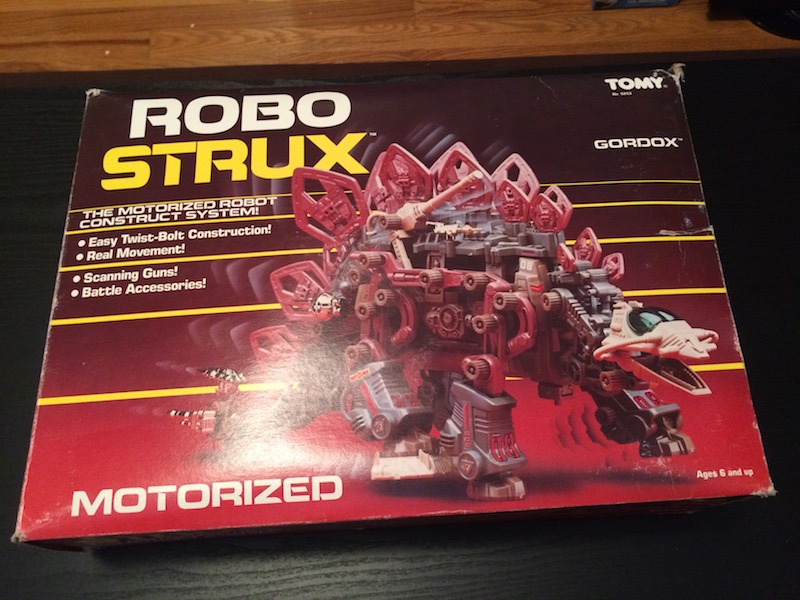
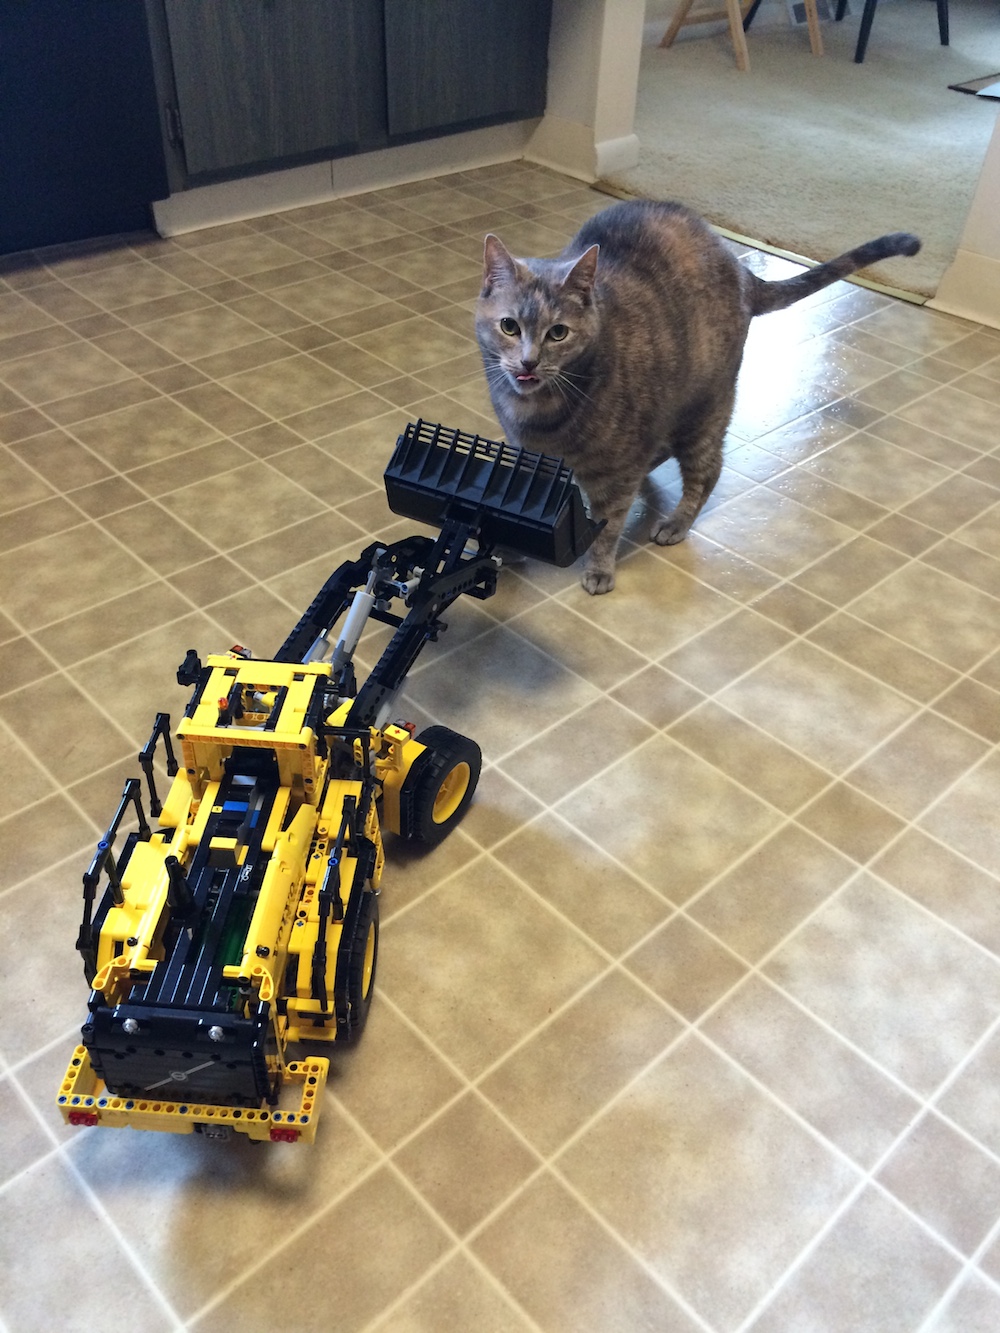
The other day I received a box of (belated) birthday gifts from my brother! Amongst other items, the box contained these:

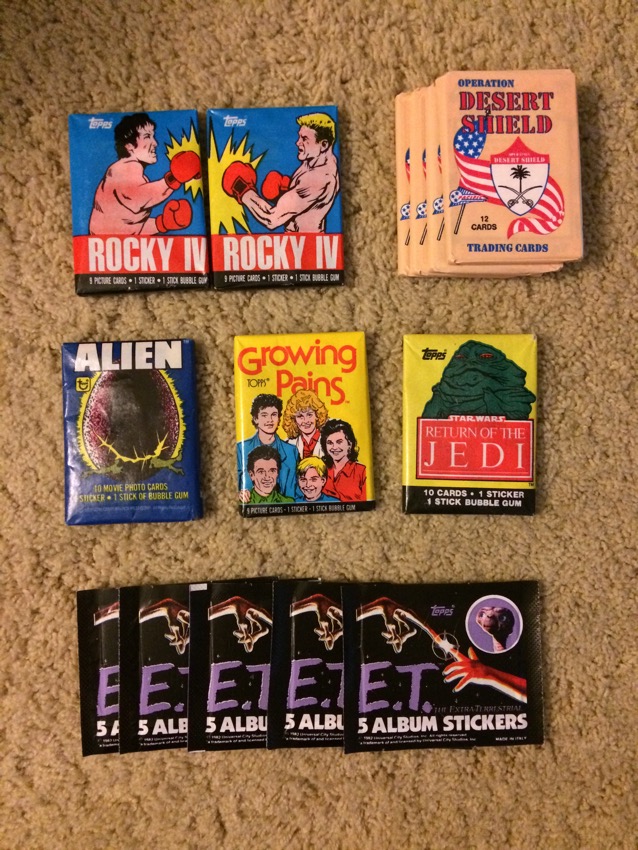
With a big grin on my face I opened them all just now. Here’s what I found inside… 


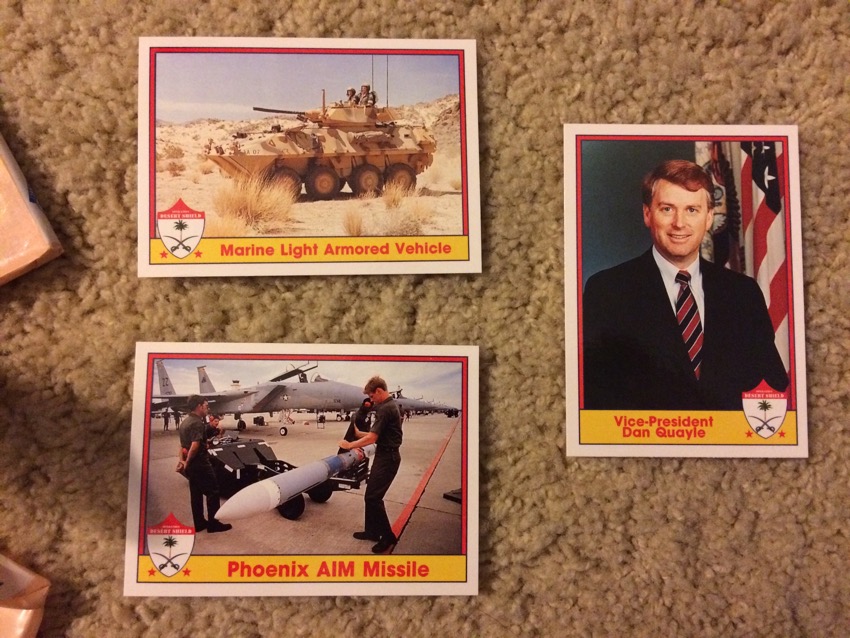
The Desert Shield cards (1991) chronicle the leading to the Iraq War of the early 90s. As you can see they are a tedious collection of military vehicle photos interspersed with publicity stills of ‘celebrities’ of the era. This is one of those sets that I am astonished has an audience. 


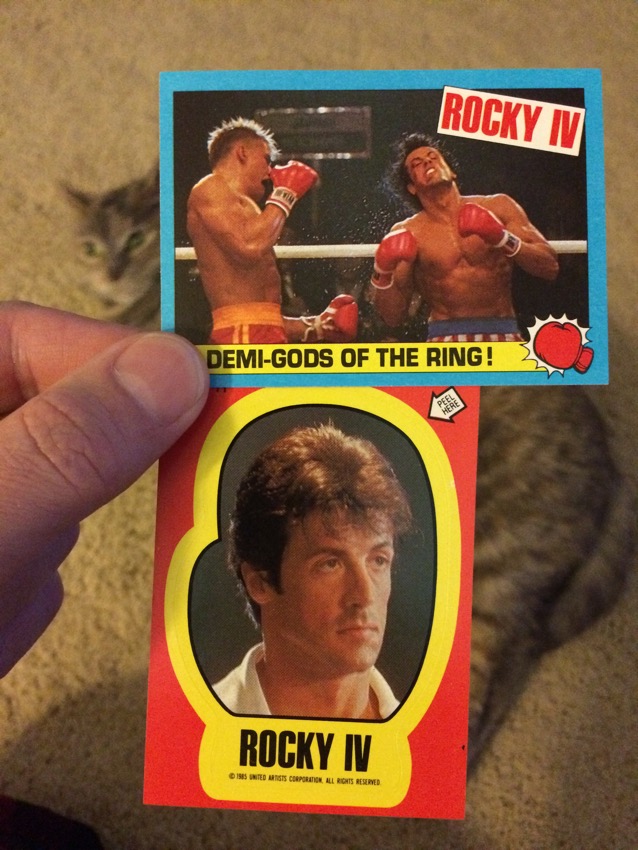
I’ve never seen Rocky IV, but from the surprisingly detailed card backs I’m guessing it’s about a Russian boxer (Drago) who defeats an aging US champion (Apollo Creed) and is in turn defeated by Rocky. The cards are ho-hum, but I got a good sticker for AW! 


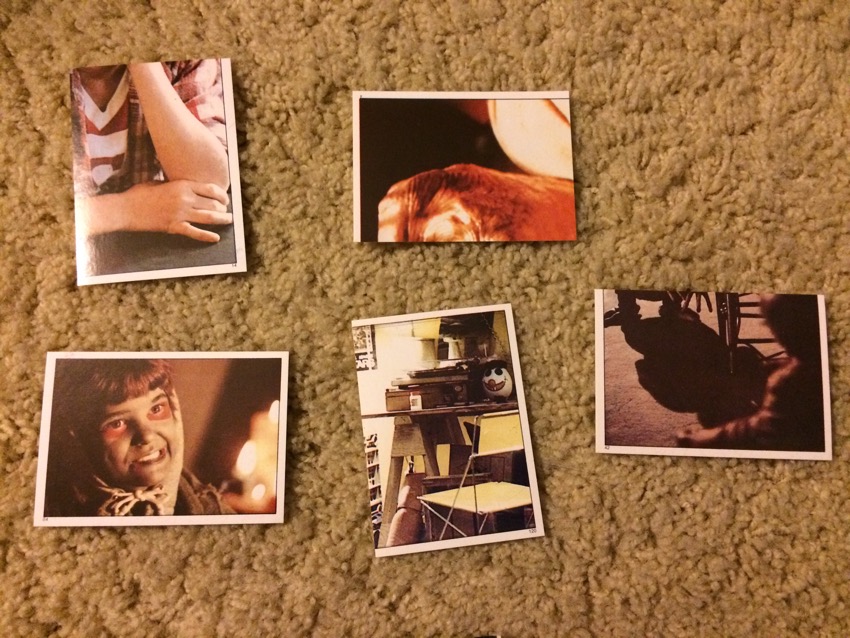
That’s the entire contents of one of the E.T. sticker packs from ’82. It’s one of those album sets, but imagine how disappointed you’d be had you bought one pack and got these five! I wager had I not said, you’d be hard pressed to guess the movie they were from! 


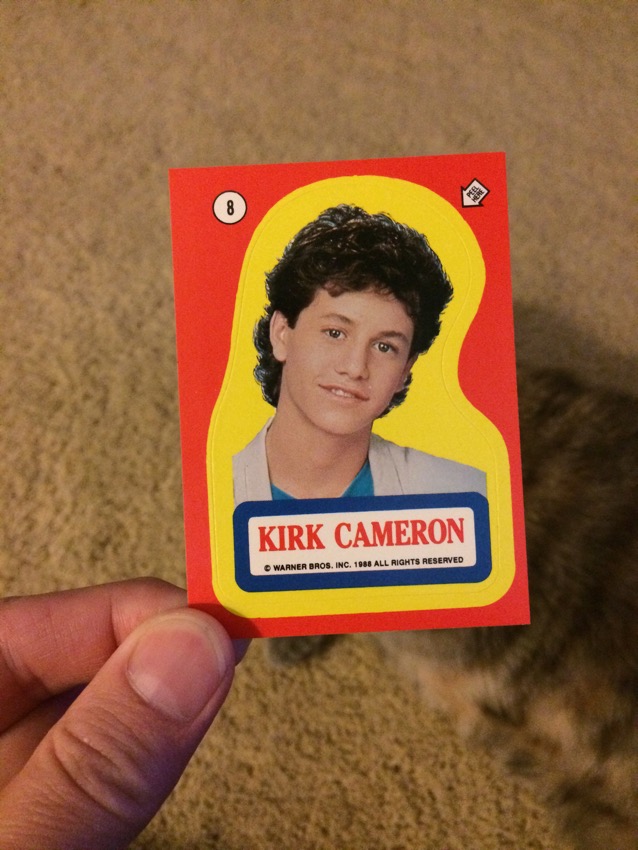
All I’m going to say about the above is it’ll look great on AW’s dresser 😉 


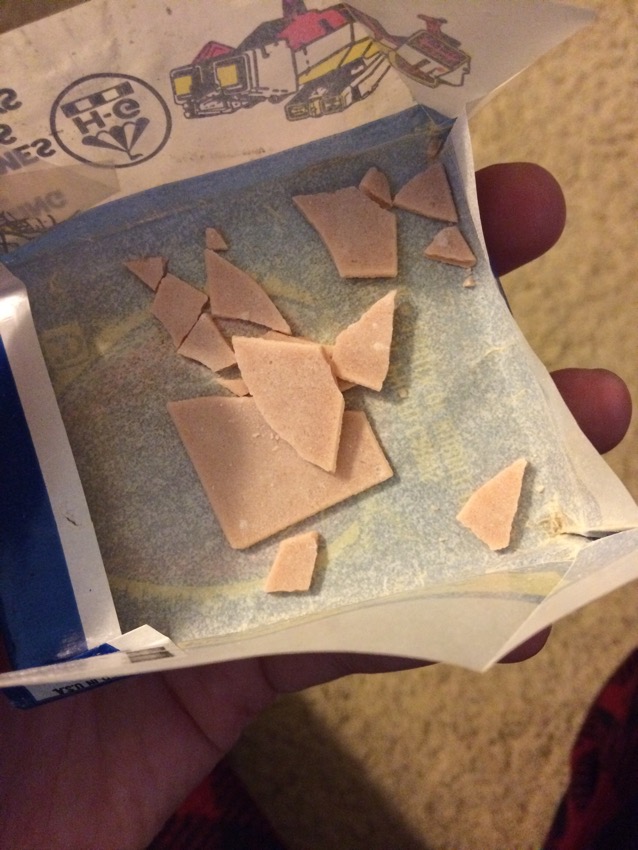
The oldest cards are from Alien (1979) which makes the included gum 36 years old. Naturally I had to taste it… 


It was strangely bitter, and incredibly hard, like a piece of plastic. It hasn’t aged well.

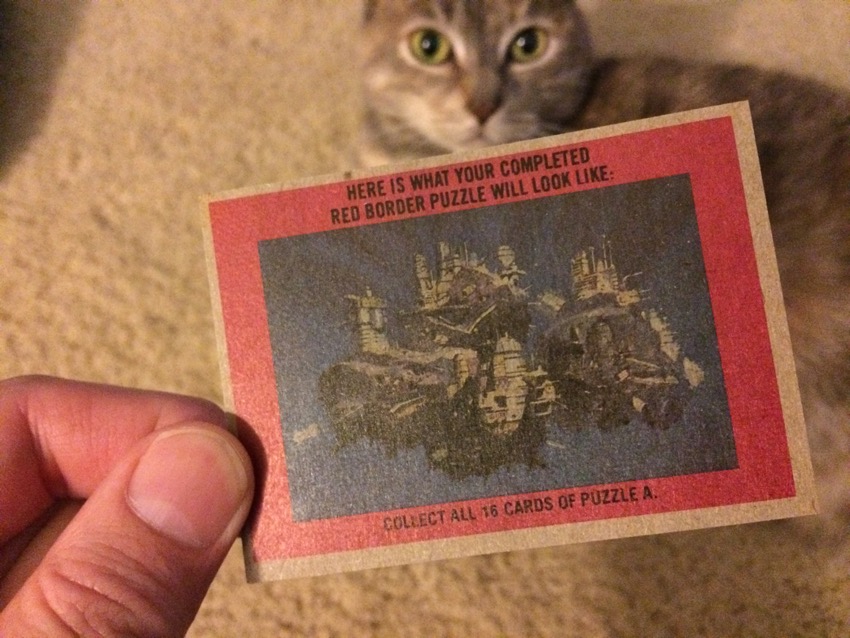
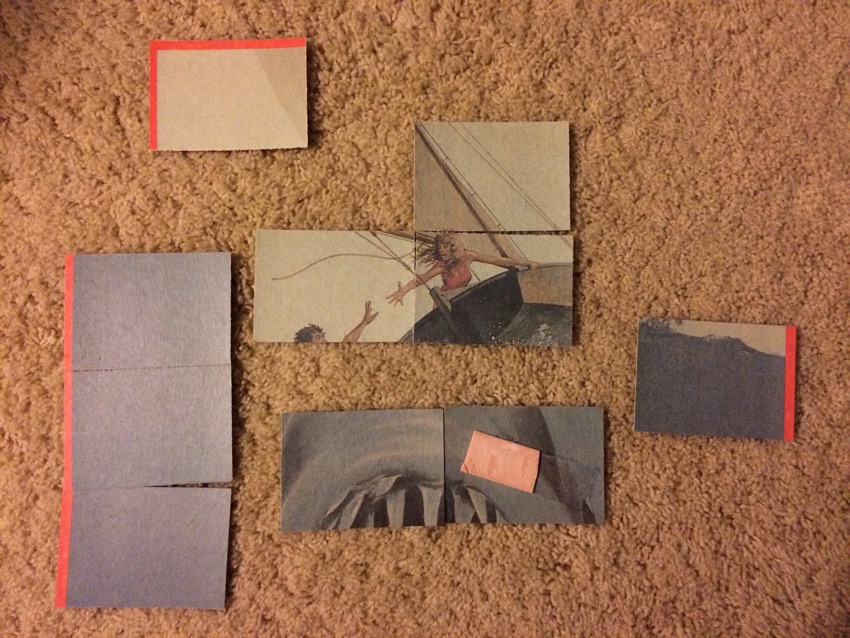
The cards themselves were decent (the usual promo shots) and as with many sets of the era the backs formed a puzzle. Strangely it had nothing to do with Alien: 


The last pack was timeless: 


Fun fact: as a child I used to glue trading cards into a big ‘scrapbook’! I suppose I never cared about the backs 🙂

What’s this?!? I forgot a pack: 


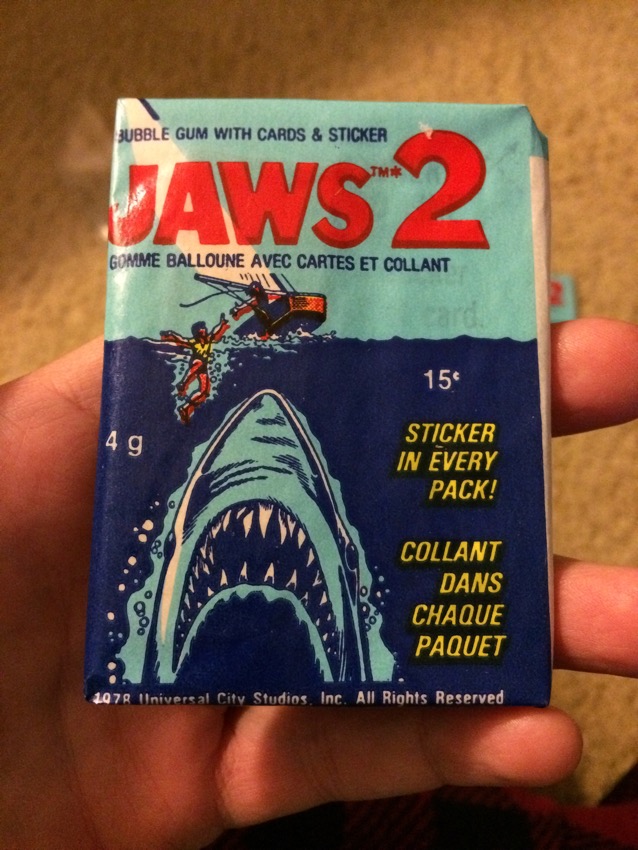
For a set based on the eminently forgettable sequel to a very average film, these cards were surprisingly good!


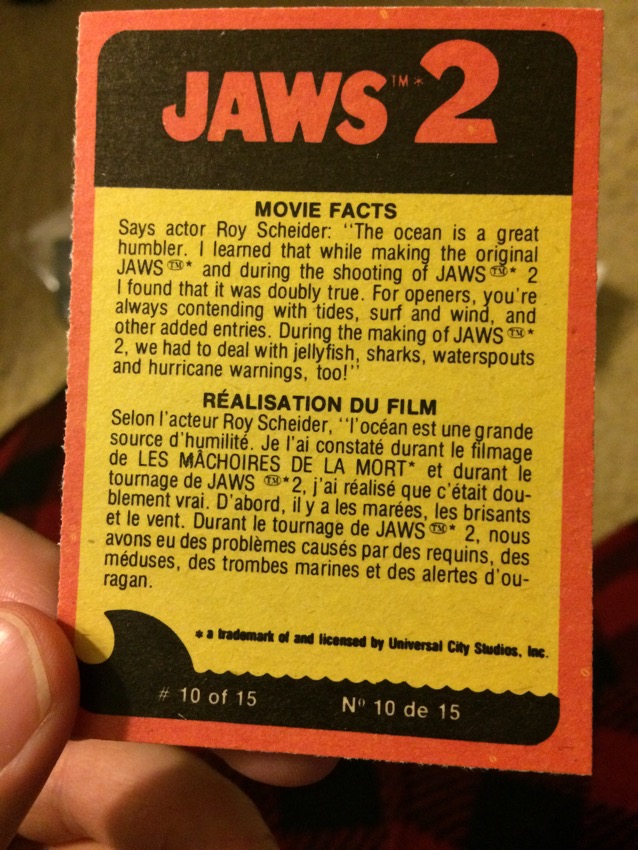
1) The card backs are detailed and bilingual… 


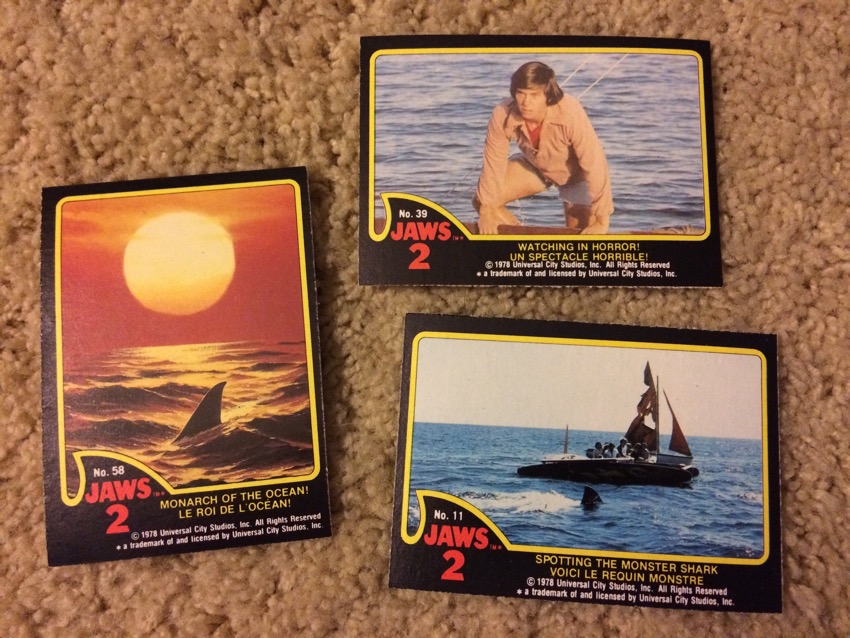
2) The print quality is high and the images shown are decent (although the cards are perforated as if they were hand separated!)…


3) And best of all the puzzle on the backs seems very cool!

However the pack lies when it says ‘A sticker in every pack’ since neither of mine had any sticker. Sorry Adam 🙂

The 30 year old Zoid

A few weeks back I went to a local convention and bought this:

IMG_6924

I’m sure I don’t have to explain why, but in case you’re having a senior moment…

This, my friends, is a Zoid. Specifically from the series called ‘Robo Strux’, which were the US Zoid rereleases from 1985. Zoids are robot animals (often dinosaurs or predatory cats) and I’ve always liked their design. As a child we were too poor for me to ever own one, but I’ve been remedying that in recent years! I was agog to see such an old one for sale at my local con, and my agog-level doubled when I discovered it was unmade. A quick ebay search told me his price (at which I first baulked) was low, so I snapped it up. I was a very happy man that day.

Unquestionably the value of this product was mostly due to the fact it was still unmade and almost complete (only the sticker sheet was missing). Were I a fanatical collector, I would have put it somewhere safe and been happy in the knowledge I owned it. But I bought it to make it, and this past weekend I did. Here’s what was inside the box:

IMG_6925

And this was between the pages of the manual:

IMG_6926

So it was purchased in NYC back in March 1987, almost certainly for $9.99. That’s about $21.50 in todays money. Which is much less than I paid 🙂

IMG_6933

The basic construction of the kits is remarkably similar to today’s models. There were several runners, molded in 5 different colours. It was snap together, and very easy to assemble with only cutters and a file (to remove the flash). However since the model is motorized and the legs need to move, some pieces were loose against each other and held on by interesting rubber caps:

IMG_6930

Even after 30 years, the rubber was still perfectly pliable.

As a kit designed for children, there weren’t nearly as many pieces as one of the ‘High Grade Master Model’ kits I’ve been buying recently, but there were still enough to make it interesting and fun. The design was very clever, especially of the legs. Here he is the first time he was able to stand up:

IMG_6932

Assembly took me about an hour, and was great fun. I wish the dude at the con had had more of these buggers for sale!

IMG_6935

And here he is finished:

IMG_6936

Oooh! Dangerous and mighty he looks, but Gordox (or more correctly Gordos) is apparently a specialized command unit more useful for his long-range sensor and communications than his offensive abilities.

He’s also a bit slow…

Isn’t he cute!

Lego Technician

I bought this kit several months ago, and it was time to make it:

volvo

A licensed Technic kit is a bit weird, but it’s another construction vehicle, and I’m a sucker for those. Although to be honest I would have preferred it without the ‘power functions’, which sadly have become more than just an option in recent years. More on that later.

IMG_6730

The box is suitable massive, but strangely empty when opened. I guess they make it bigger to make it seem like it has more pieces than it does! Unlike other kits, the bags aren’t labelled and you need to open them all before starting. If you don’t like sorting pieces in advance (and I don’t) this sort of packaging leads to longer build times due to the time digging through the pile to find a particular piece.

IMG_6764

The instruction book is massive – over 300 pages in total. As usual for Lego kits, it’s wonderful designed and makes the kit very easy to assemble. Things start off complex from the get go. I’m only a few pages in and you can see already how complicated the gearing for the wheels is. It also becomes quickly apparent just how large the finished kit is:

IMG_6855

That’s a shot from much later in assembly, showing the massive bulk of the main engine compartment. You can see how dense the construction is here, and you can see how the ‘power function’ elements (such as the motors) are structural. Even if you wanted to build the kit without them, you would be in for some serious customization and deviation from the manual. I’m not a big fan of this approach.

It’s an extremely sturdily build model, and I know if I’m ever going to take it apart it’ll be a hell of a job. Good thing I didn’t make any mistakes during construction…

IMG_6859

…except that I did! It’s hard to see in the photo, but I used the incorrect axle on one rear wheel, all the way back at the start of assembly. I didn’t notice this until the 11.99th hour (long after the above shot was taken) and it was a real chore disassembling half the underside of the rear wheels to fix the problem. Had I made an error somewhere internal in the model, I may have had to put it away somewhere for a while out of frustration!

All told the construction took me maybe 6 or 7 hours over a few weeks. Here’s the gigantic (and heavy!) finished kit:

IMG_6864

A better shot:

IMG_6866

And one for scale:

IMG_6872

Since many of you know just how big Yossie is, you can clearly see that this is a monster of a Technic kit. It’s heavy and long enough that you need two hands to carry it!

And how does it work? Here’s a quick video I shot of the ‘power functions’:

A bit slow perhaps, but impressive given the size of the model. I don’t show it too well in the video, but it moves along quite speedily for it’s size!

Verdict: massive, impressive, complex and fun-to-build technic kit that I believe would have been even better without the motors.