Category: Otaku

Pinball Wizards

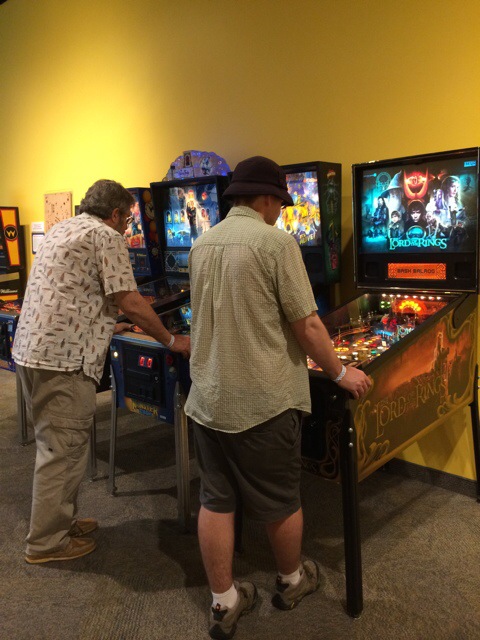
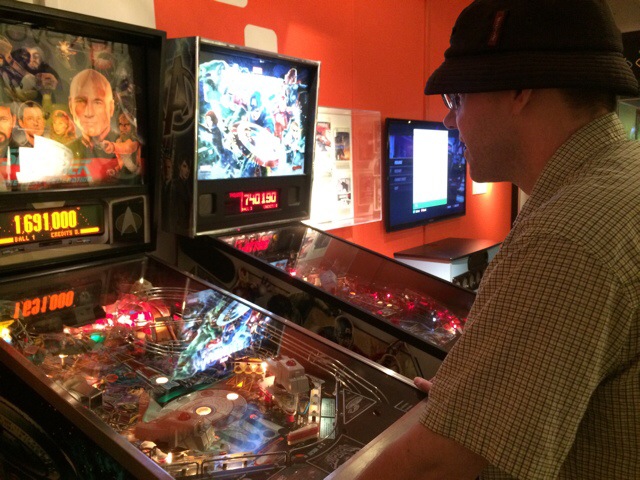
A few years back we visited the video game exhibit at the Strong museum here in Rochester. Last year they added a large pinball collection to the museum, and many are on display and playable. This morning we went to check it out.

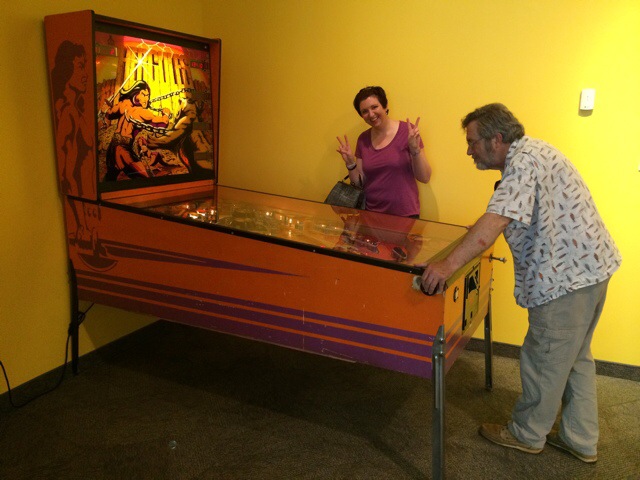
20140609-174330-63810878.jpg

That’s a crazy Atari pinball from 1979 that uses actual pool balls for balls. It was very noisy! This was just one of dozens of pinballs on display, all of which we played.

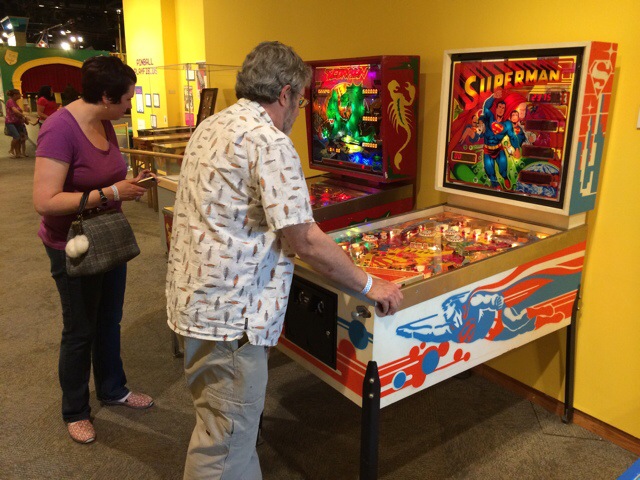
20140609-185438-68078692.jpg

20140609-185458-68098757.jpg

20140609-185516-68116790.jpg

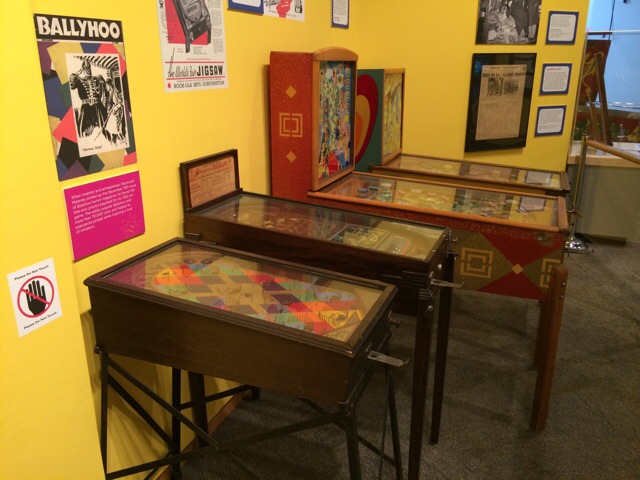
The games were arranged chronologically, from very early mechanical games all the way up to a Star Trek game from last year. They also had a display of historical documents and prototype pieces.

20140609-185703-68223263.jpg

It’s very cool, and the games are still fun to play. Highly recommended.

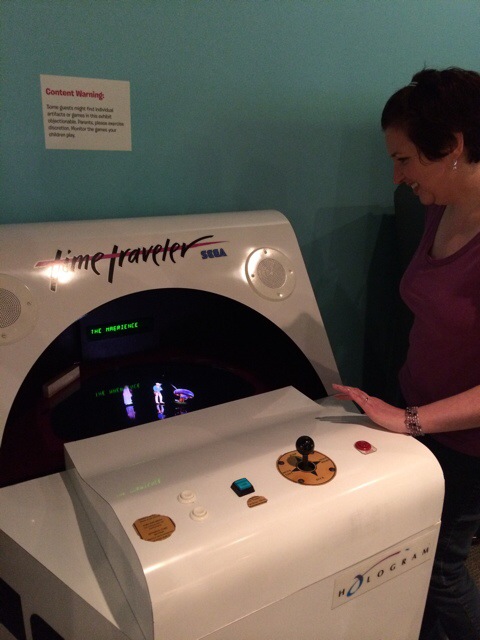
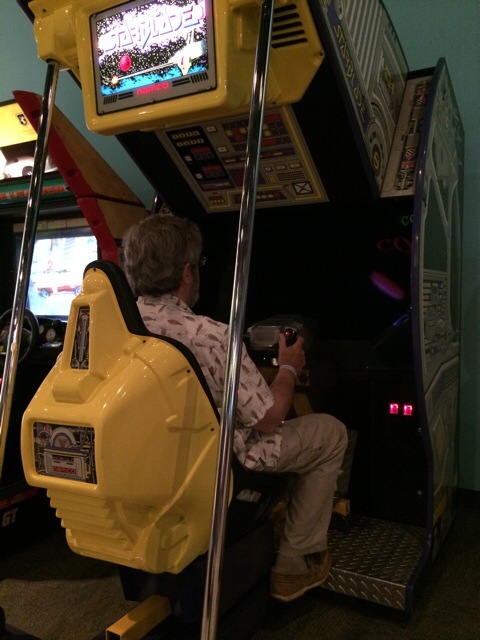
Needless to say we also had to visit the arcade in which arcade games from the museum collection are playable. Right now they have a seasonal display showcasing some very rare machines.

20140609-185955-68395703.jpg

20140609-190007-68407203.jpg

20140609-190140-68500241.jpg

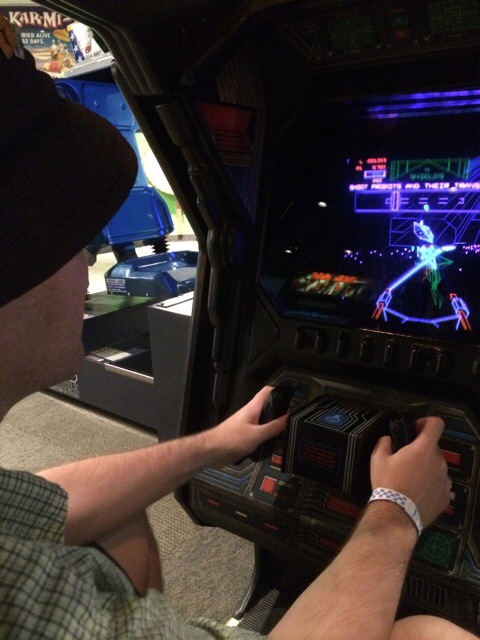
That’s the ESB retrofit for a sit down Star Wars cabinet. I haven’t seen that since Orbit 100 over 30 years ago!

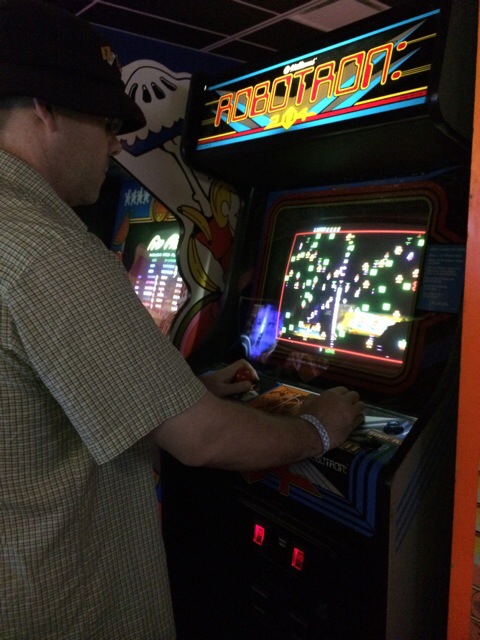
Needless to say I had to play the best arcade game ever made…

20140609-190310-68590473.jpg

20140609-190325-68605727.jpg

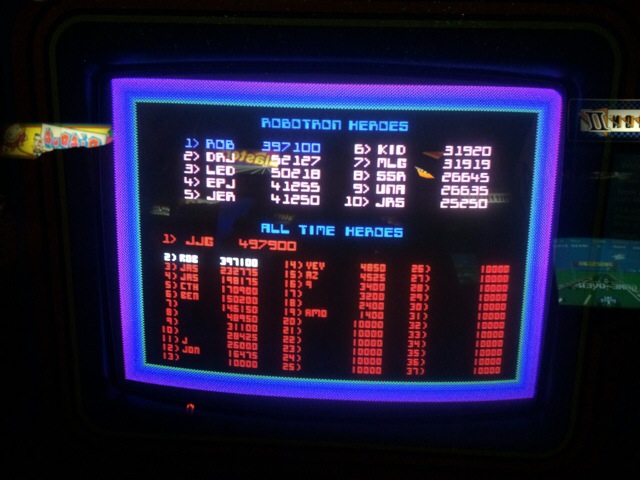
You may want to compare my score to the best I achieved in Australia back in January.

As I said years ago, Strong museum has an incredible permanent video game exhibit. I’ll certainly be back again one day 🙂
One Year Later

I’ll just present this here:

20140605-142853-52133678.jpg

I think this is the third game – after Animal Crossing (GameCube) and World of Warcraft (Mac) I’ve played for over a year. And since I’m enjoying it as much as ever, I reckon there’s life left in PazuDora yet 🙂

Another Lego Crane

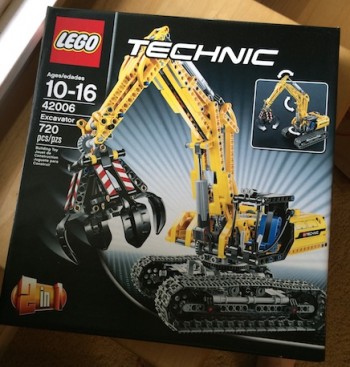
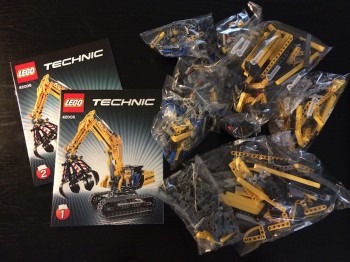
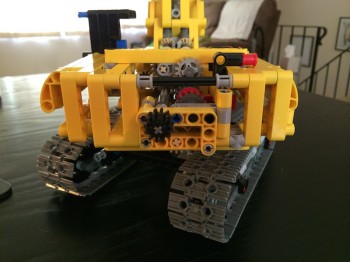
Over the last week, I assembled this Lego kit:

IMG_1256

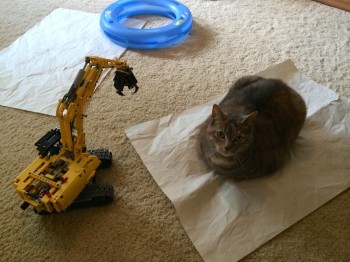
IMG_1262

As far as these kits go, this one is seriously lacking originality, being almost identical in design and construction to other cranes I have made before.

As it turns out my familiarity with the basic design would almost be my downfall! This kit has 108 pages of assembly instructions, with over 250 individual steps. And on the 19th page, less than 20% into the construction, I made an error. This isn’t the end of the world – everyone makes mistakes with complex Lego kits here and there. But this tiny mistake became massive indeed since I didn’t notice it until over 70 pages later!

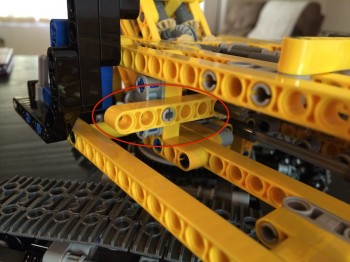
Here it is:

IMG_1291

See that circled piece? We’ll call than an ‘eleven-er’. It should have been 2 tabs shorter, a ‘nine-er’. But it’s so embedded into the construction of the crane that removal at this point would require essentially dismantling 50% of the build and redoing it – losing many hours of work. What was I to do? I was so close to the finish at this point that my options were few, and I really, really didn’t want to dismantle and start again. So I had a brainwave:

IMG_1293

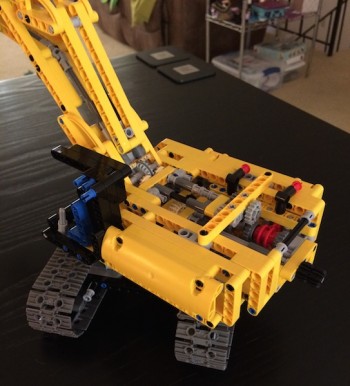
Can’t see the fix can you? The curved piece on the side of the crane is attached using the 9 piece that I should have used 70 pages earlier. I had to attach it differently (the original instructions required the 11 piece and it was attached at the bottom not at the top as I did). But it’s very clean and it’s only visible in profile that there is an error:

IMG_1294

Notice how on the left side the side panel is not flush with the body of the crane? Not perfect perhaps, but good enough 🙂

Here’s the final product compared to a very large animal so you can see how big it is:

IMG_1295

It’s a very nice kit. The crane can be raised and lowered, and the claw at the end opens and closes using a fascinating mechanism. The kit can also be fitted with the technic motor and be battery driven, but my motor is still in my other crane so I didn’t do that. All things considered this is a great kit and while derivative of the other cranes I’m glad I own it 🙂