Category: Tech

My Collection: Wonderswan

In 1999, Bandai – no doubt tempted by the oodles of cash Nintendo were raking in via their Gameboy – released their own handheld system called the Wonderswan. It was notably designed by legendary hardware engineer Gunpei Yokoi (who created the Gameboy and many other Nintendo products) and was less expensive, more powerful and had longer battery life than the Gameboy. Bandai leveraged their contacts within the anime industry to deliver a wealth of licensed games unique to the system. It was quite a success in Japan in the first couple of years, obtaining almost 10% of the portable market. Then along came the Gameboy Advance, which killed the Wonderswan almost immediately, and despite two updates in as many years, the Wonderswan was discontinued in 2003. It was never released outside of Japan.

IMG_2163

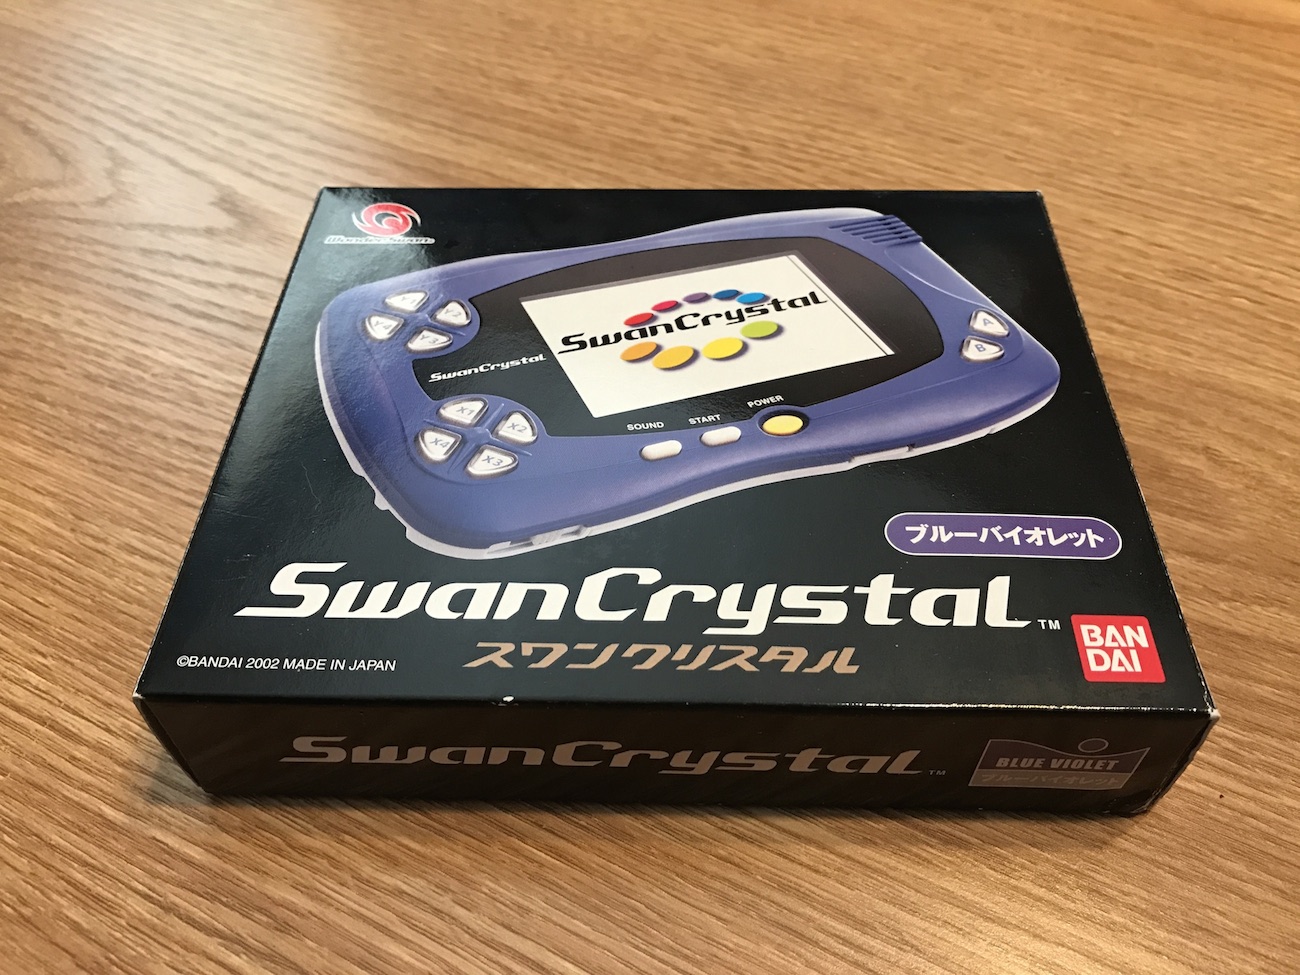
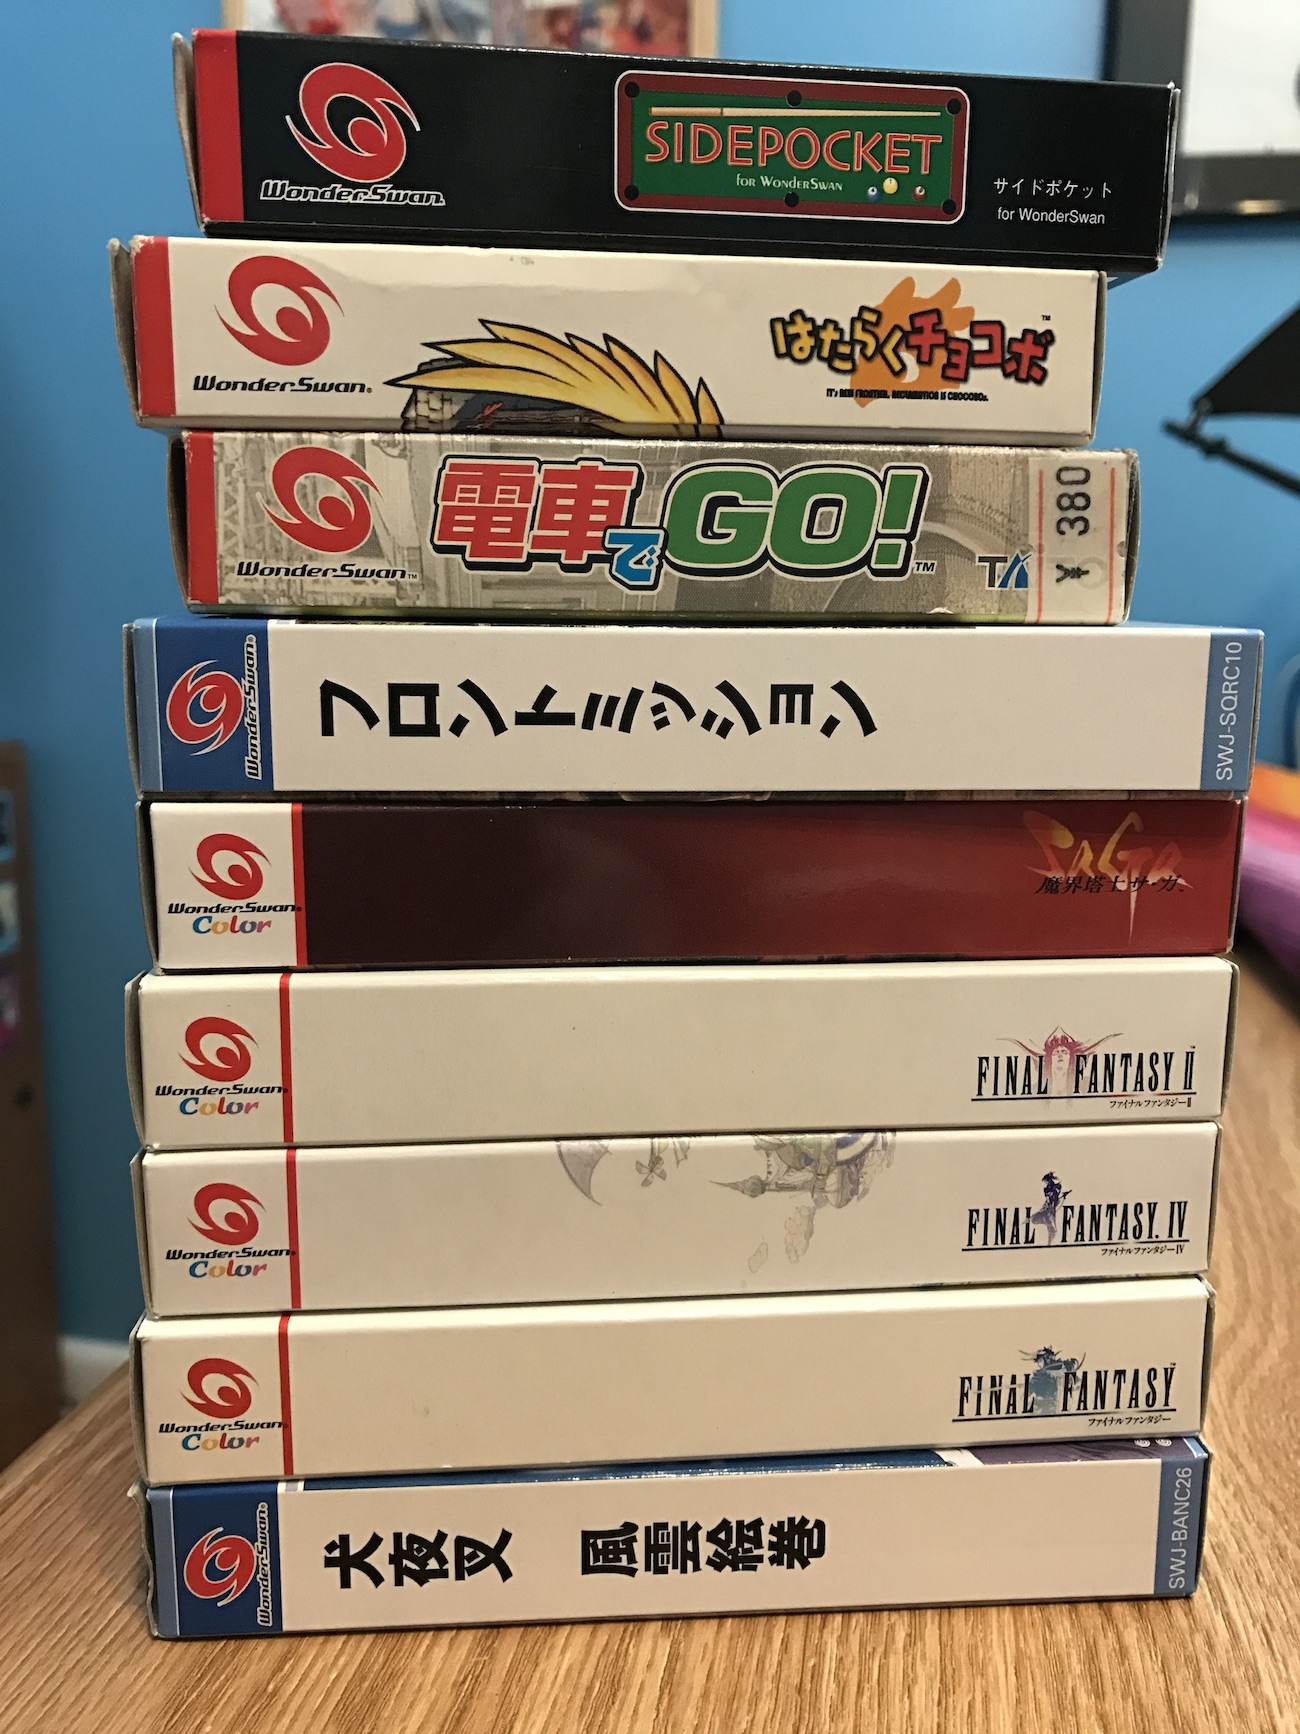
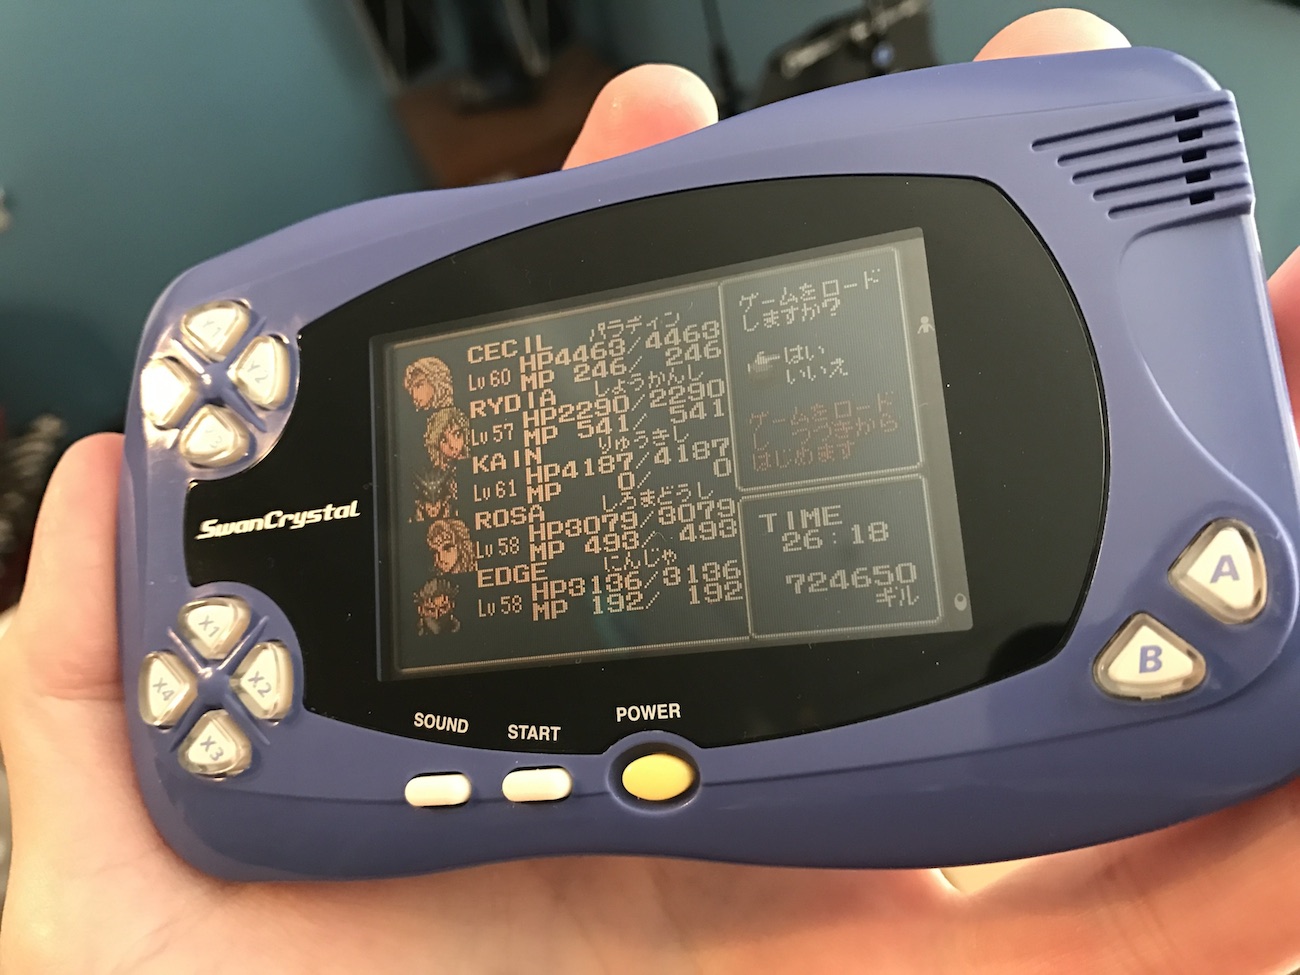
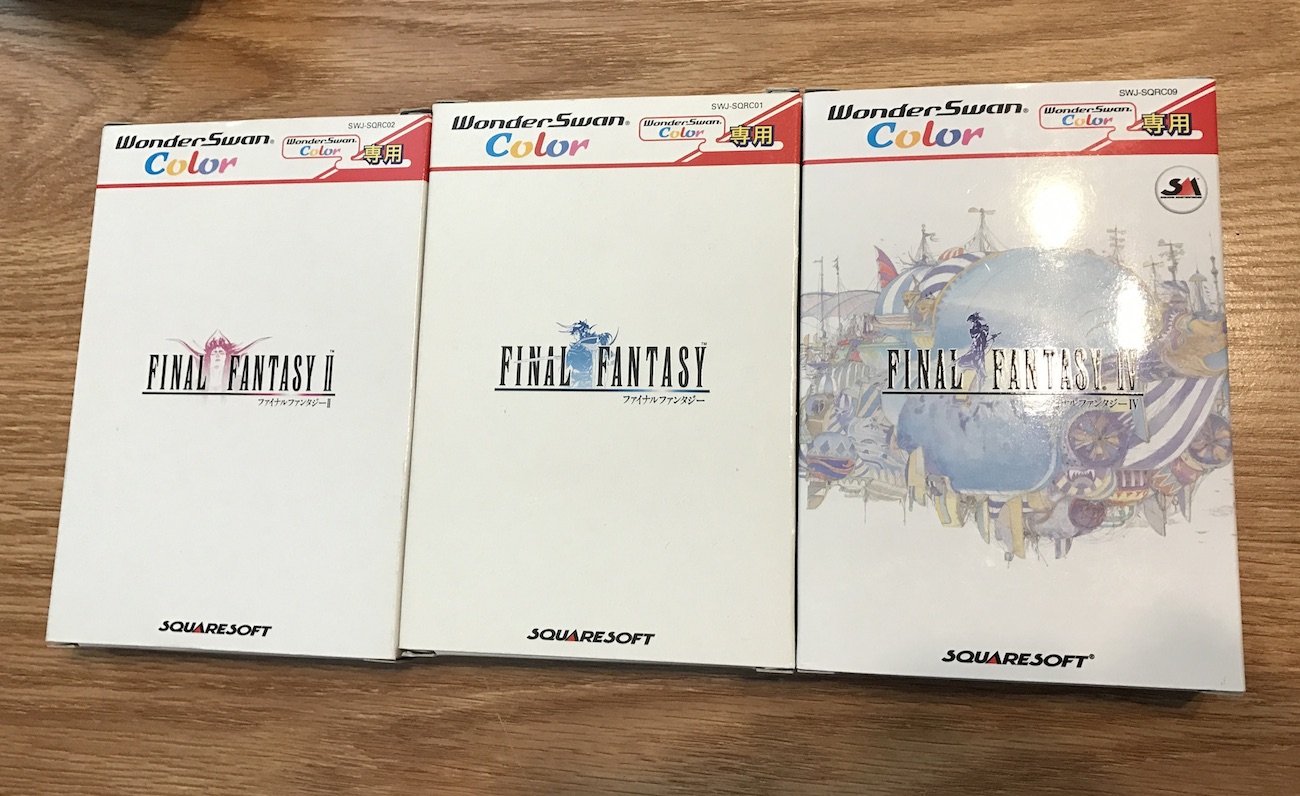
I bought mine in Japan in 2004 for Y3600, or about $31. This was the final iteration of the system, called the SwanCrystal. It boasted better battery life and a colour screen compared to the original version, but is reverse compatible with all Wonderswan games. Mine came with two games and I bought 7 more at a total cost of an additional $45 (approximately). Here are the games I bought that day:

IMG_2162

I bought it in Akihabara, on the first or second day of the trip at a branch of ‘Super Potato’ if memory serves me correctly. Of the games shown above, only Final Fantasy IV (Y1900) and Front Mission (Y1800) cost much at all – Densha de Go! was an incredible Y80 (about $0.70)!

I still have fond memories of playing the system in the inn at night during that very trip to Japan. In those days, this was extremely advanced handheld technology.

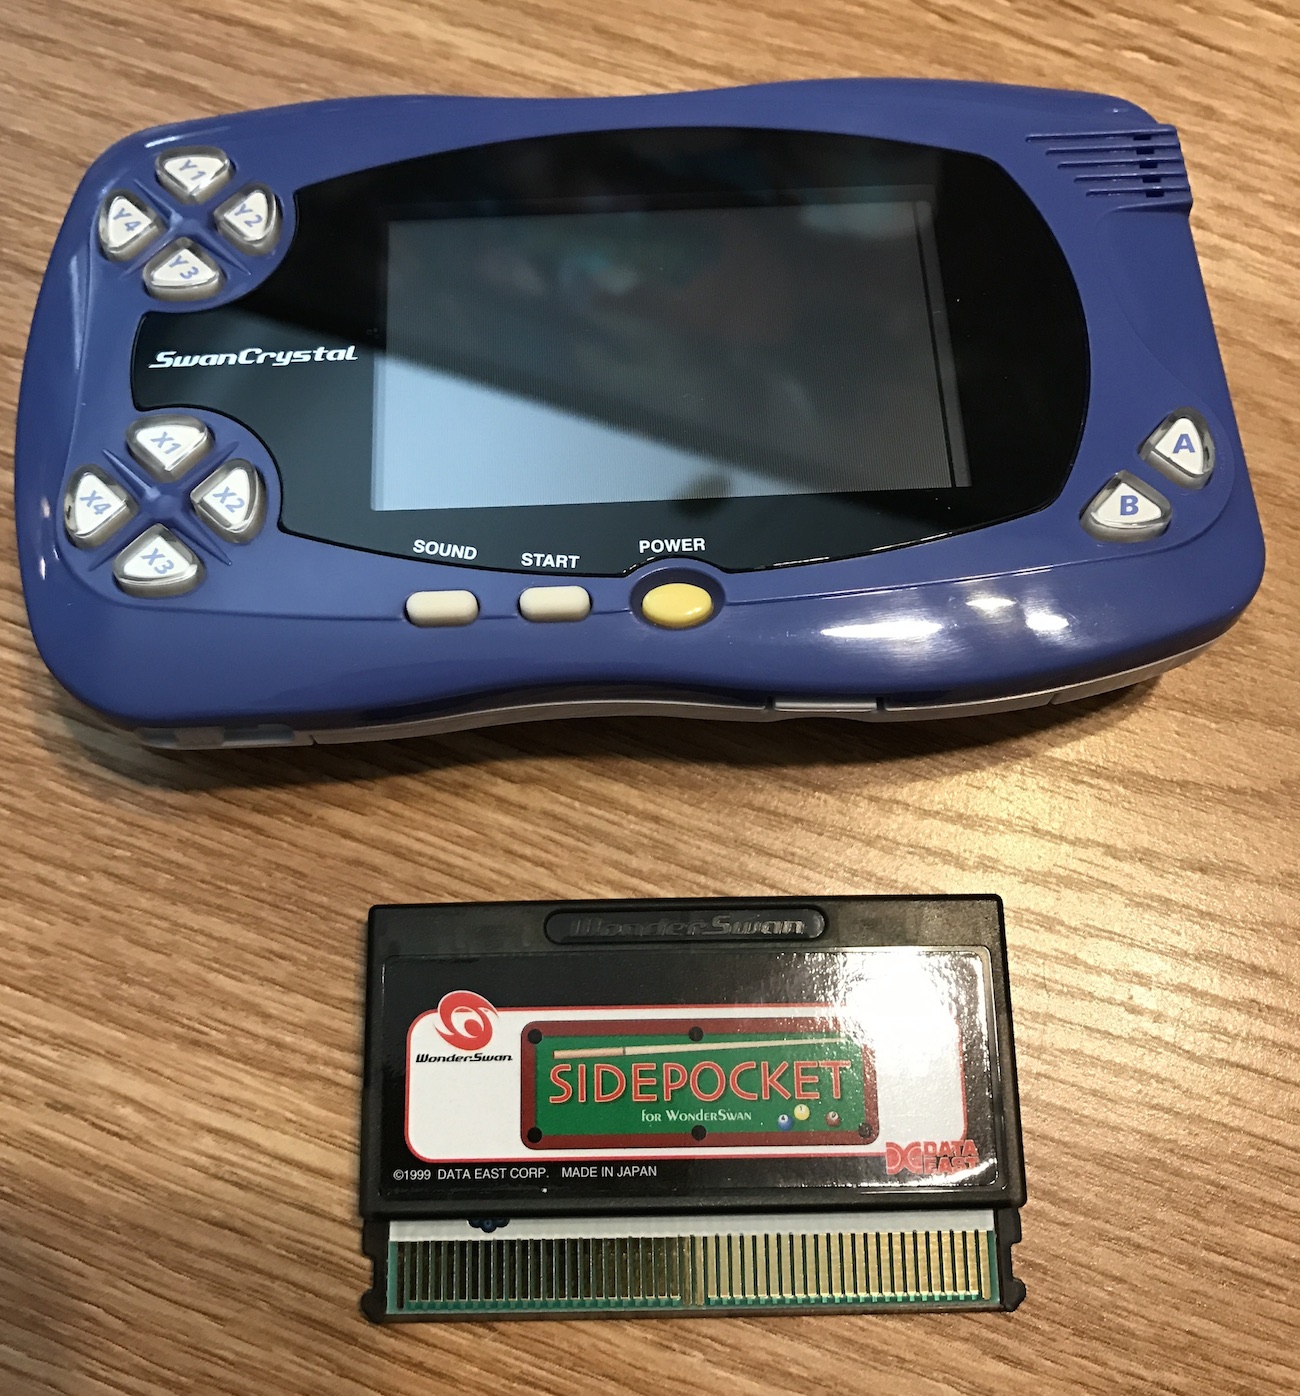
IMG_2164

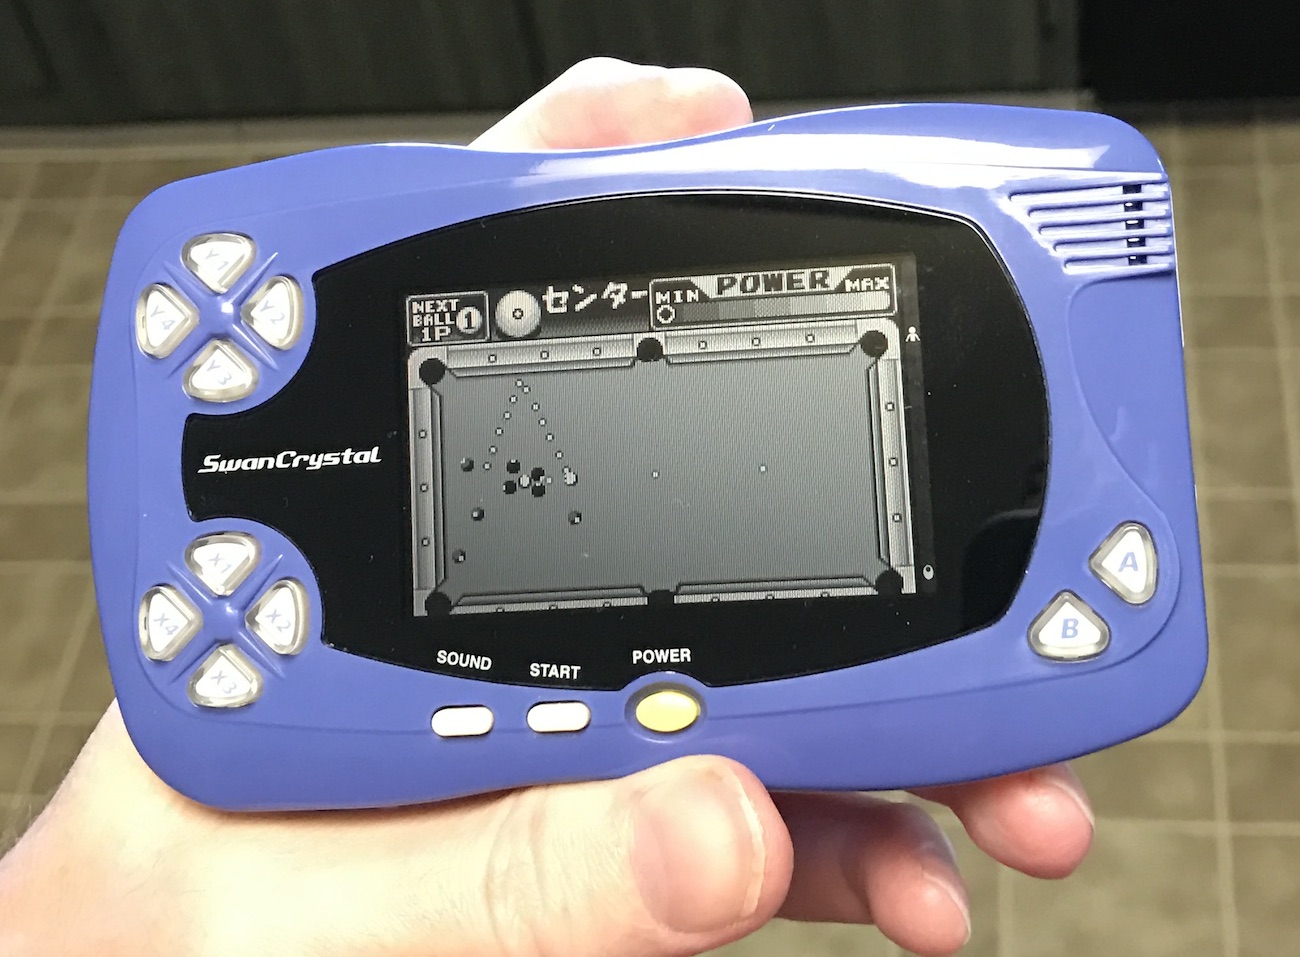
The system uses a single AA battery and has a (non backlit) 224×144 resolution colour LCD screen. It’s very reflective, which made taking photographs difficult. As you can see the cartridge-to-system ratio is enormous, and the cartridges for the WS are not just big compared to itself, but amongst the biggest handheld system cartridges I’ve ever seen. The pool game (Sidepocket) was made before the colour version came out and is B&W only. Here’s a shot of the graphics:

IMG_2172

The Wonderswan feels more like a toy than it’s competitors, but delivers in the gameplay department. The screen refresh is much better than it was on the gameboy, and the graphics and sound are still impressive today. I forget the battery life but it was surprisingly long for a single AA, and I very much enjoyed playing the FF games on this system long before ports came out for the Gameboy Advance. As you can see, it took me over 28 hours to reach the end of Final Fantasy IV:

IMG_2175

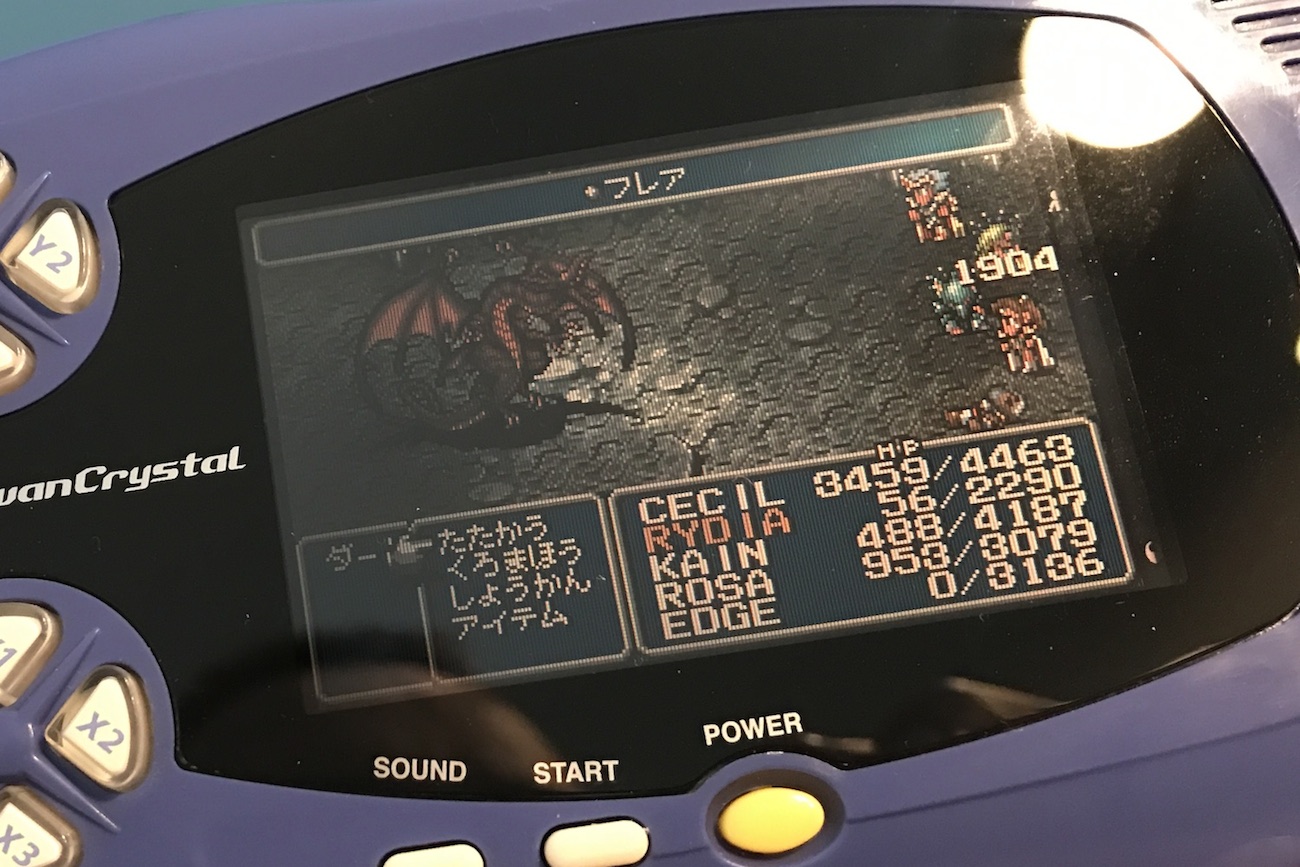
The game is of course all in Japanese (as would be virtually every game for the system) but I had played it multiple times before so that didn’t bother me. Here’s a photo of the fight against Bahamut:

IMG_2178

Note the unusual controls of the system, specifically the two d-pads on the left. This was so the games could be played either vertically or horizontally, or even by two people at once. No game I have supports vertical (or 2P) mode so I don’t know what it’s like, but the small size of the system would make holding it vertically uncomfortable for an adult.

IMG_2181

As with most retro game systems, and despite being at best a footnote and at worst unknown, the WS seems to be appreciating in value these days. A boxed SwanCrystal can be picked up for about $80+ on ebay, although apparently mine is one of the less common colours (‘blue violet’) and may cost twice that. Games range in price from a few dollars up to over $1000. And yes, that’s no mistype: go and search ebay for ‘Judgement Silversword’ to see what I mean. I just checked ebay for the ‘value’ of my games and found most of the WS Colour ones to be going for about $20-30 each (boxed).

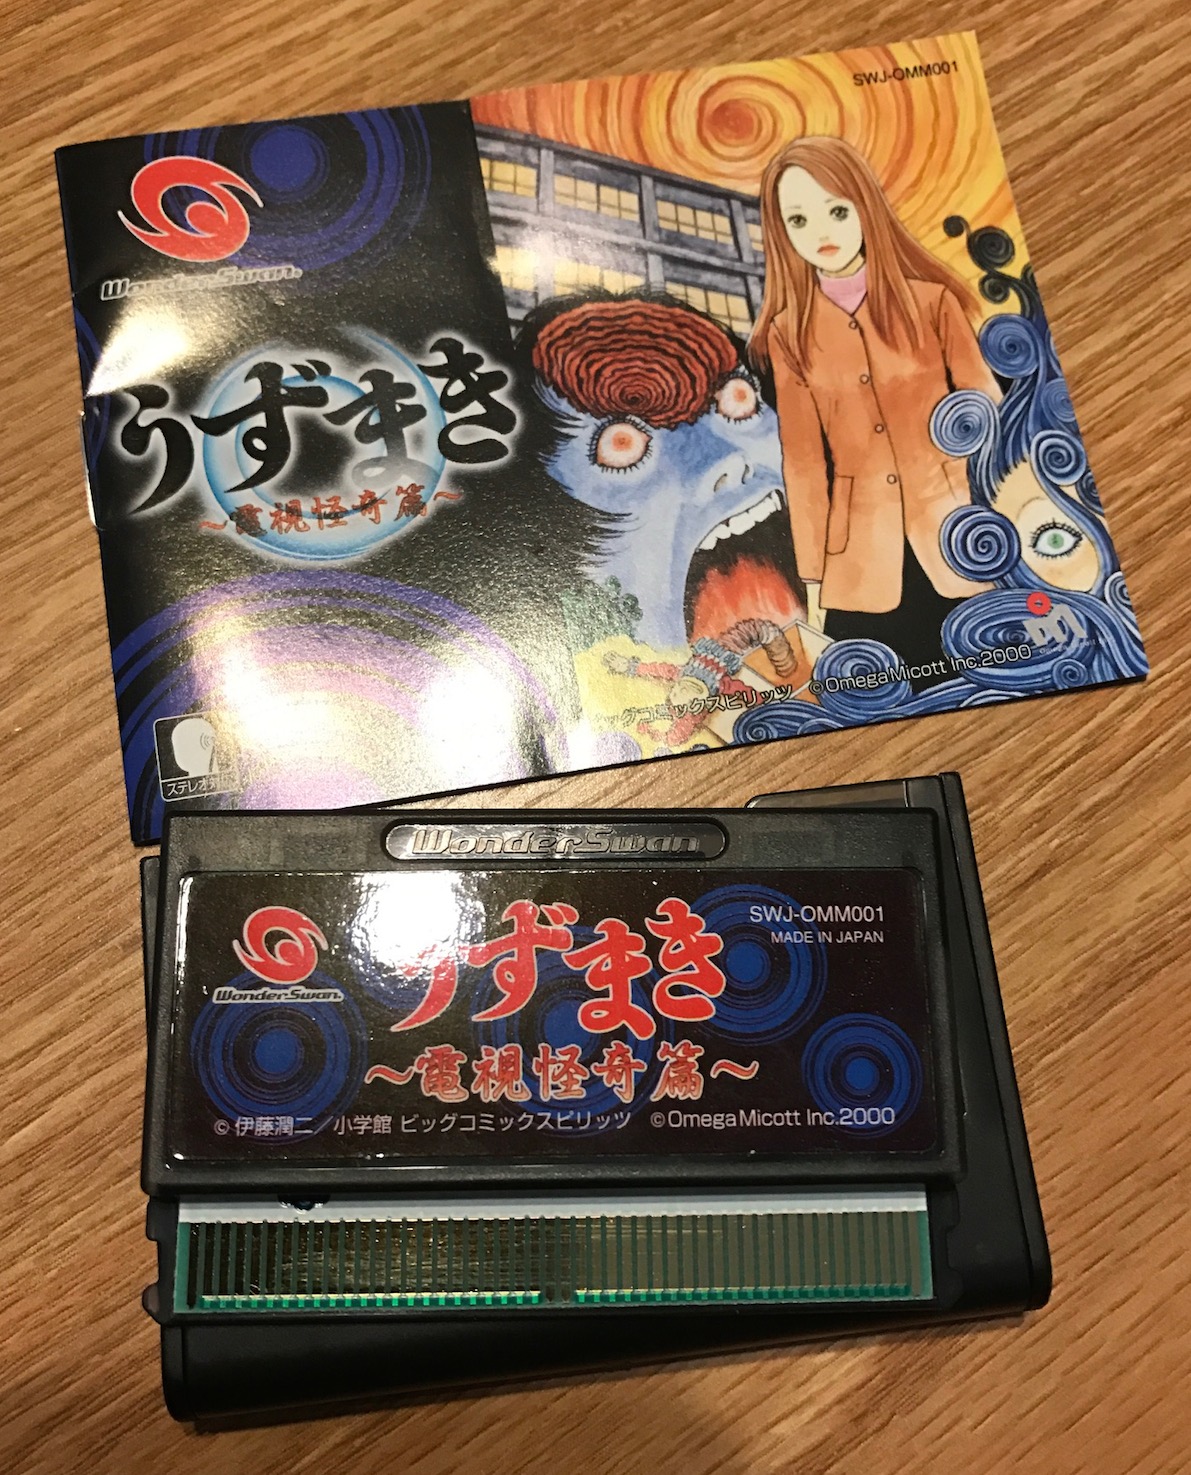
However to me my most prized game is actually this one:

IMG_2182

It’s an adventure-type game based on the Uzumaki manga by Junjo Ito. It’s B&W since it was for the basic WS, and virtually unplayable for me due to the language barrier, but I’m a big fan of the manga so I couldn’t resist buying the game ‘for the collection’ when I saw it a few years after I’d bought the WS during a later Japanese trip. Here’s a screenshot:

uzu

This game was also the reason for the one-and-only Wikipedia edit I ever made. But that’s another blog entry…

Air Powered

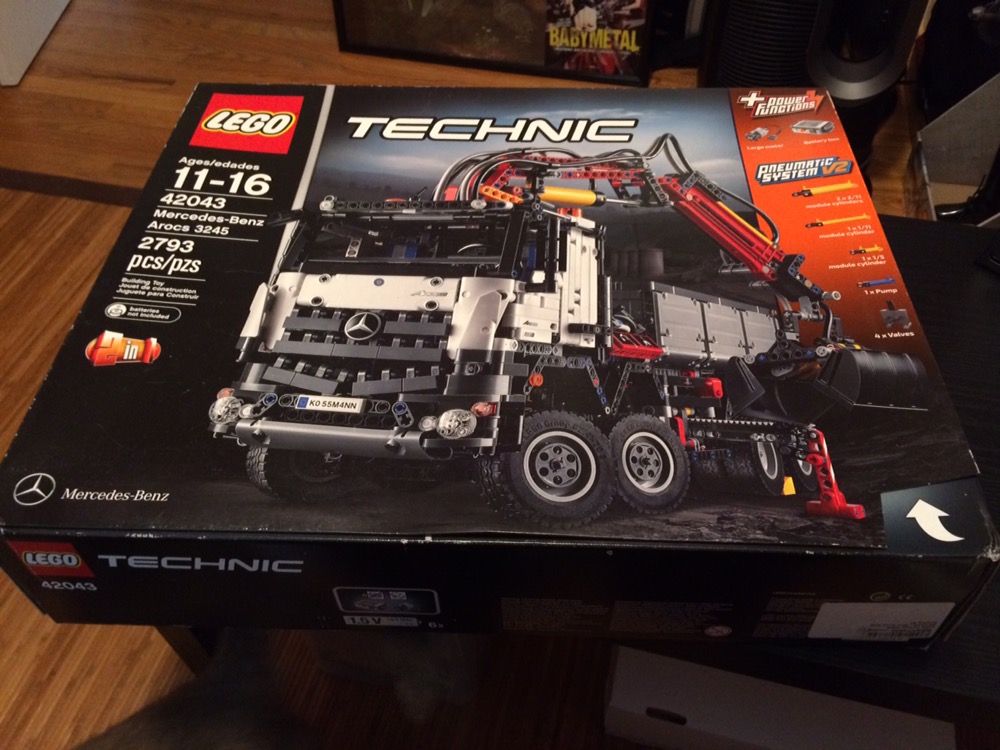
It was time to assemble the Lego kit I’d gotten for my birthday. It’s a Mercedes Benz ‘Arocs’ truck with a pneumatic crane. Even by technic standards this is a complex kit. The manual alone is over 400 pages!

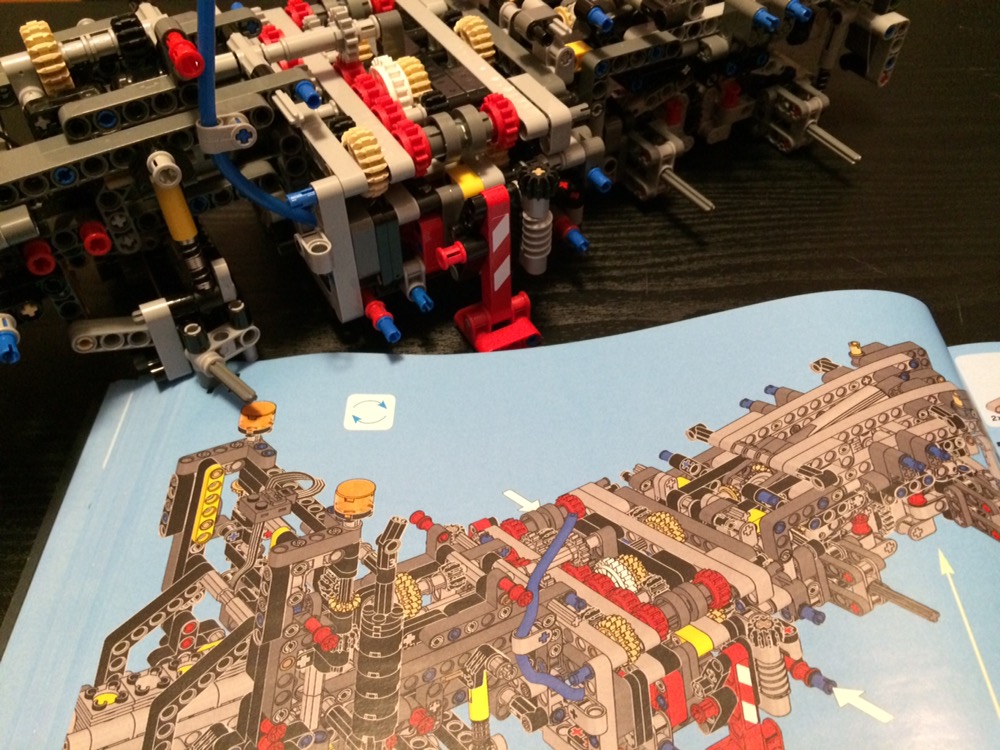
The kit is made in five broad parts: the chassis with gears, the pneumatic crane, the cab and the bed. The gearing mechanism is dazzlingly complex and requires careful assembly.

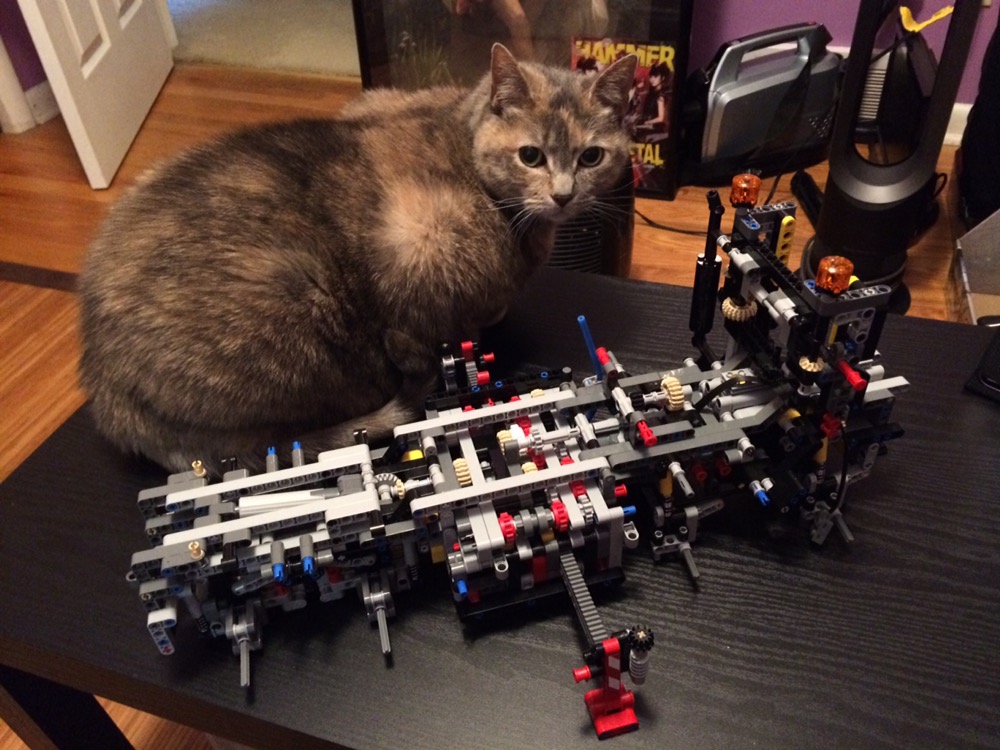
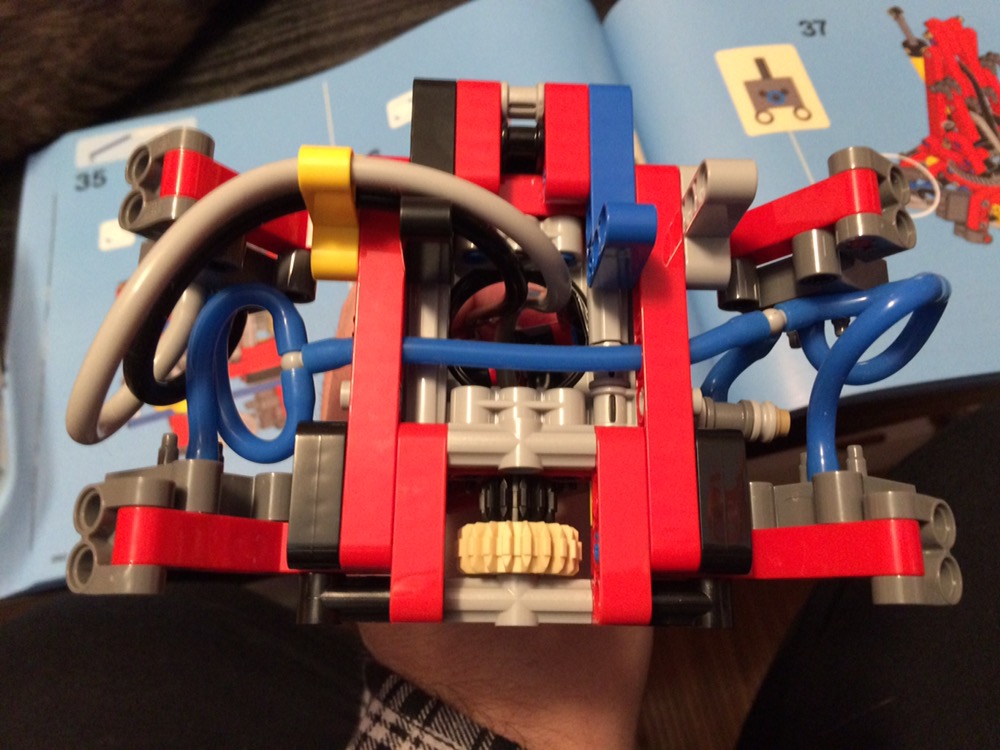
It’s also quite large. Here is the complete chassis (sans wheels) shown next to a rather large house at for scale:

The pneumatic system is even more complicated, and we’re not trivial to assemble! Many times I thought I’d attached the wrong hose to the wrong nozzle, or feared that once I’d finished it wouldn’t work and I’d have to take it apart. For this kit, that’d be a nightmare!

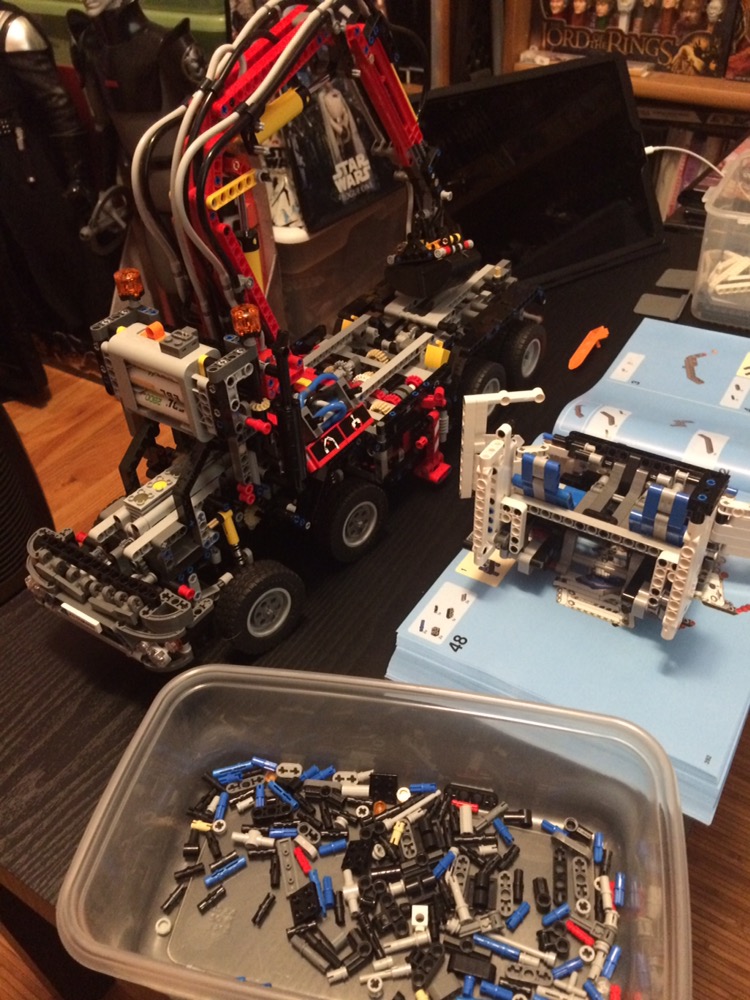
This is a real pneumatic system, which means the kit includes an electric pump that pushes air through these tubes to power pistons. It’s amazing just how much functionality they’ve worked in (four pistons and dozens of tubes) and how the kit is designed to fit all this in the crane itself. Here’s the truck 75% finished, only needing the cosmetic parts added (the cab and bed). Until this point, I’d been working for maybe 6 or 7 hours.

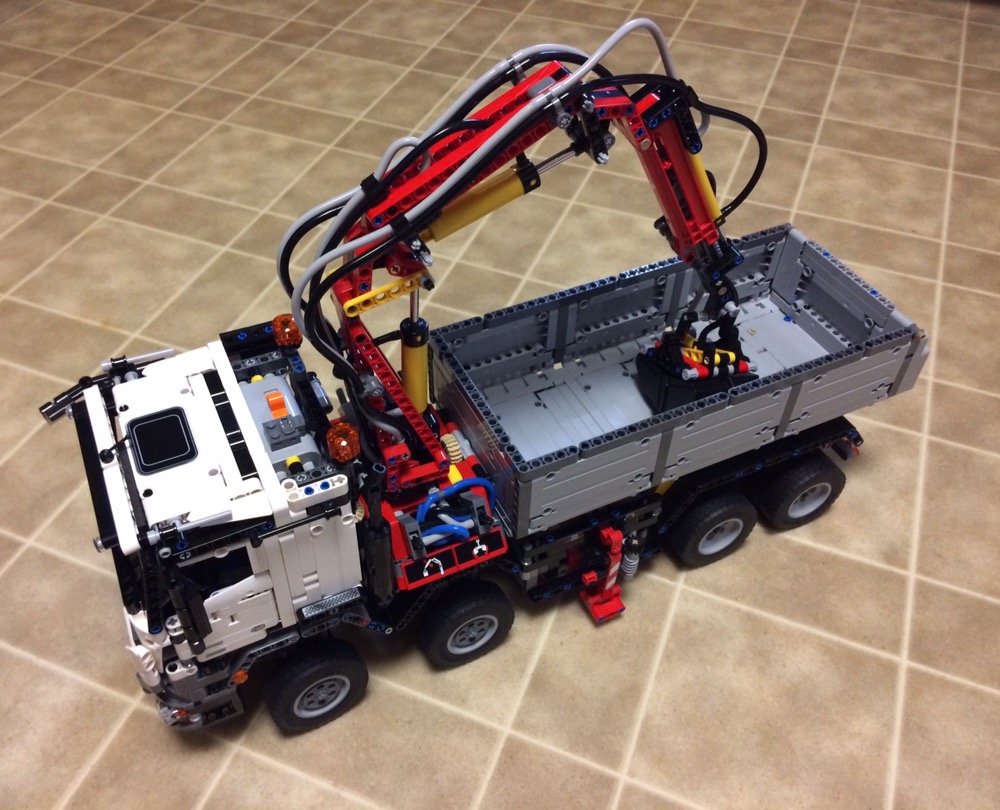
The remaining sections were easy by comparison, but that’s not to say they were simple. The mechanism to tilt the can forward was particularly nice. Here’s the finished kit in ‘road ready’ mode:

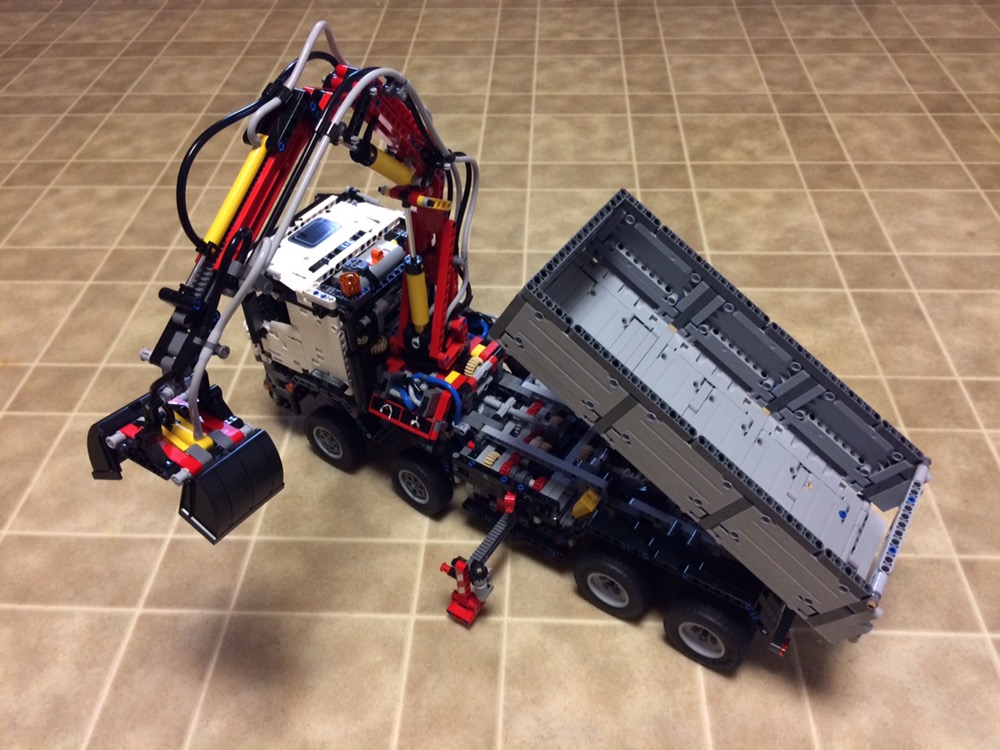
And here it is with the supports out, bed up and crane functioning:

All the functions you see above are controlled by the motor and switching system (via the astonishing gearing). I was very relieved it all worked first go 🙂

It’s a beautiful, massive, complex (and yes expensive) kit and was enormously fun to put together. Highly recommended 🙂

Boldly Gone

Whilst in Bath, we swaggered into a weird hobby/toy/educational store (like National Geographic shops, for the Ozians reading) in which I found, for the princely sum of £3, this:

IMG_1324

It’s appropriate the Olympics were on at the time, because I think I set a world record with the speed at which I purchased it!

It’s a guidebook to the (original series) Enterprise that also includes a cardboard punch-out model! The difficulty rating was the highest they used, but this didn’t sway me. I skimmed past the technical pages (with sections on space navigation or how the transporters work) and moved straight to the seemingly-endless instructions (over 150 steps!) and starting punching out the pieces:

IMG_1326

Notice nothing is labeled by number, only coloured dots. This could have been designed a bit better…

Folding began! It wasn’t particularly difficult at first; certainly easier than the few ‘build a castle’ books I’d purchased in the past (for which you’d need to be a Cardboardmancer to successfully complete). Very quickly I had a piece of the saucer section complete:

IMG_1330

Looks a bit iffy doesn’t it? I won’t take the time here to criticise the ensign who had come up with the idea of requiring the card to gently bend inwards with no actual support method and instead fast forward to the completed saucer:

IMG_1334

It’s not bad! Everything more or less lines up, and incredibly stayed together without any tape or glue. What this picture doesn’t show though was the tension! Even at this point – only half built – it felt like a big compressed cardboard spring wanting to go off. I handled it with care, at least partially, because I didn’t hate it yet. I continued.

The engineering of this kit was, shall we say, ambitious. Take this photo showing the not-quite-semispherical Bussard Collector (and yes, they are referred as such in the instructions) on the front of a warp nacelle:

IMG_1337

I swear I did the best I could there, but it still looks like it was assembled by a Gorn. You can ignore – or at least politely not refer to – the fact that the nacelle behind it is visibly not cylindrical as well.

I forged on, and after maybe 3 hours in total was complete. Here it is in drydock:

IMG_1339

Beautiful! It resembles the actual ship quite a bit, and more or less holds together seamlessly. It was still a ball of tension though, and I had many pairs of kid gloves on as I delicately transported it. I confess two pieces of tape were required (one on each nacelle) and the dish on the lower front was a bit of a hack job since I had torn one of the tabs during assembly.

On it’s maiden voyage, as it often did, the Enterprise encountered a strange new life form:

IMG_1355

Those of you that know the titanic size of Yossie can appreciate just how big this model is.

Then tragedy struck! Almost immediately after the above photo was taken, as the Enterprise took off for a further voyage, this happened:

IMG_1356

Some say it was space debris! Some say the warp field collapsed! Yossie was heard whispering to Emi that she saw me violently tear it to pieces!

All I can say is the model that cost only 3 pounds and gave me 3 hours of entertainment was ruined utterly in only 3 seconds 🙂