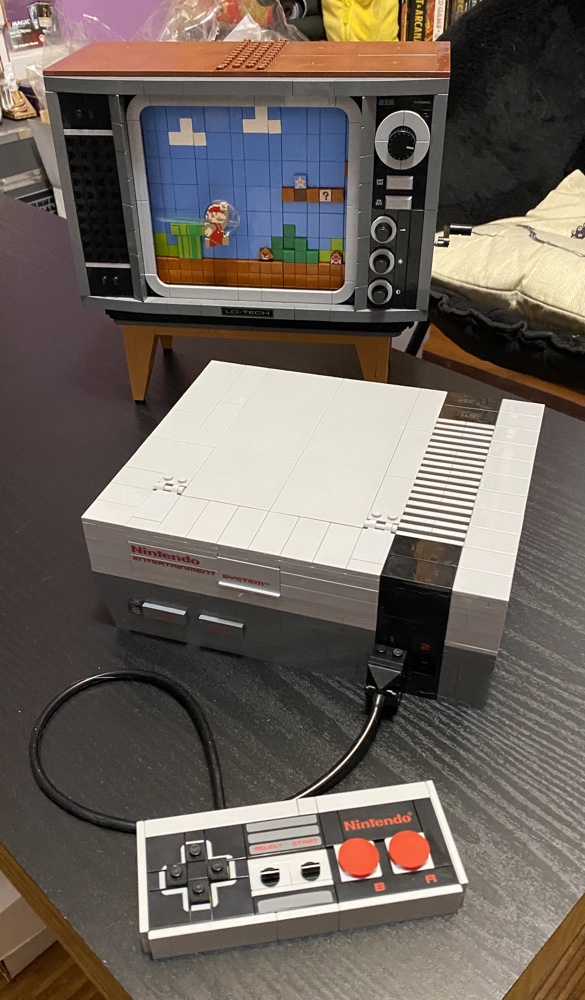
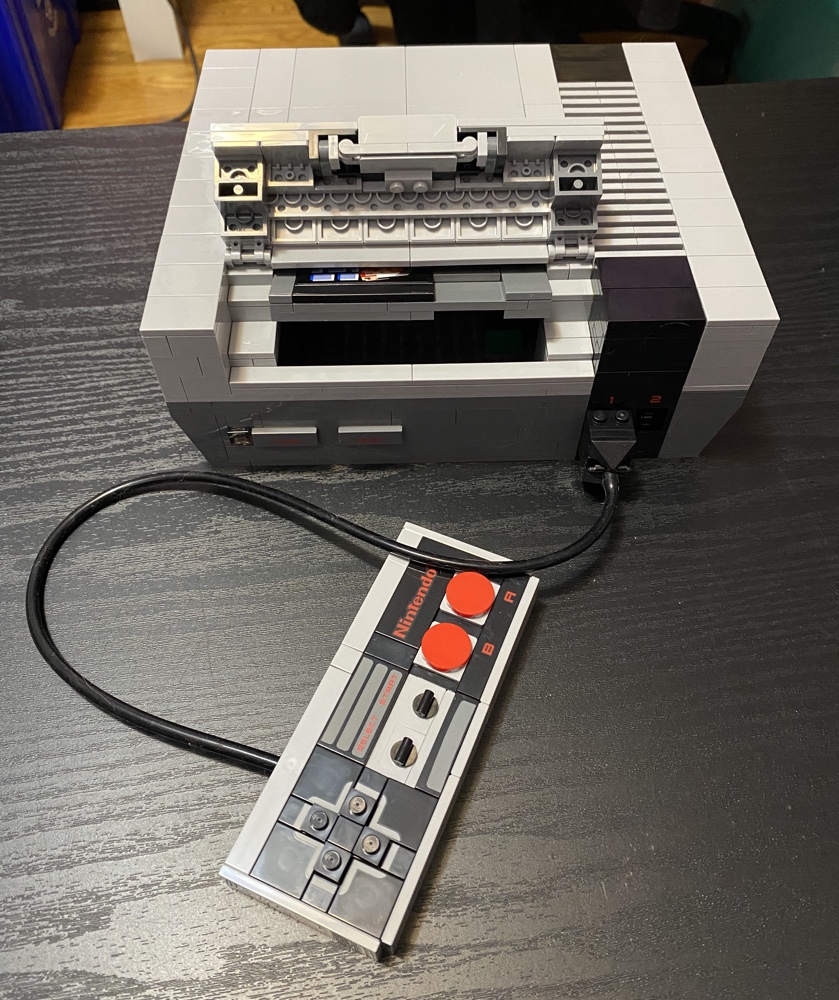
Earlier this year LEGO released a set of the Nintendo Entertainment System (NES) and I bought it online within moments of it being listed.

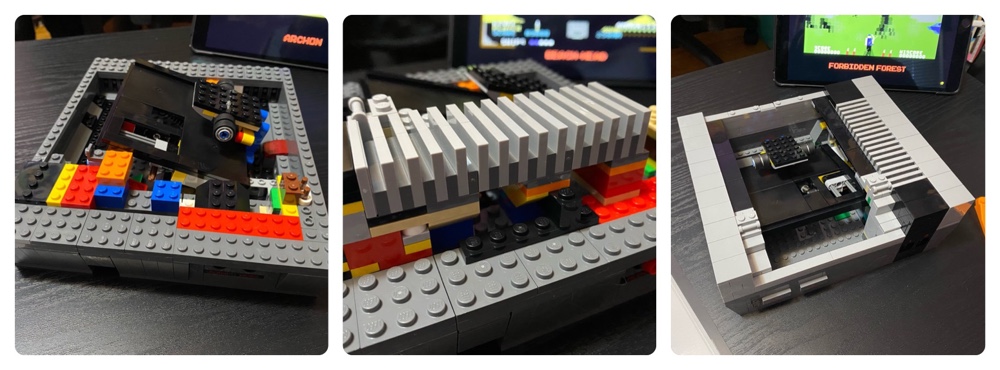
It builds in two parts, the console and the TV. I built the console first. It was a fairly easy build, but the engineering is impressive (amazing even) since it has a working cartridge tray (which locks into place) and the model reproduces to uncanny detail every aspect of an actual NES including all the plugs and sockets.
Here it is finished. You can see the (LEGO) Super Mario Brothers cartridge in the tray.
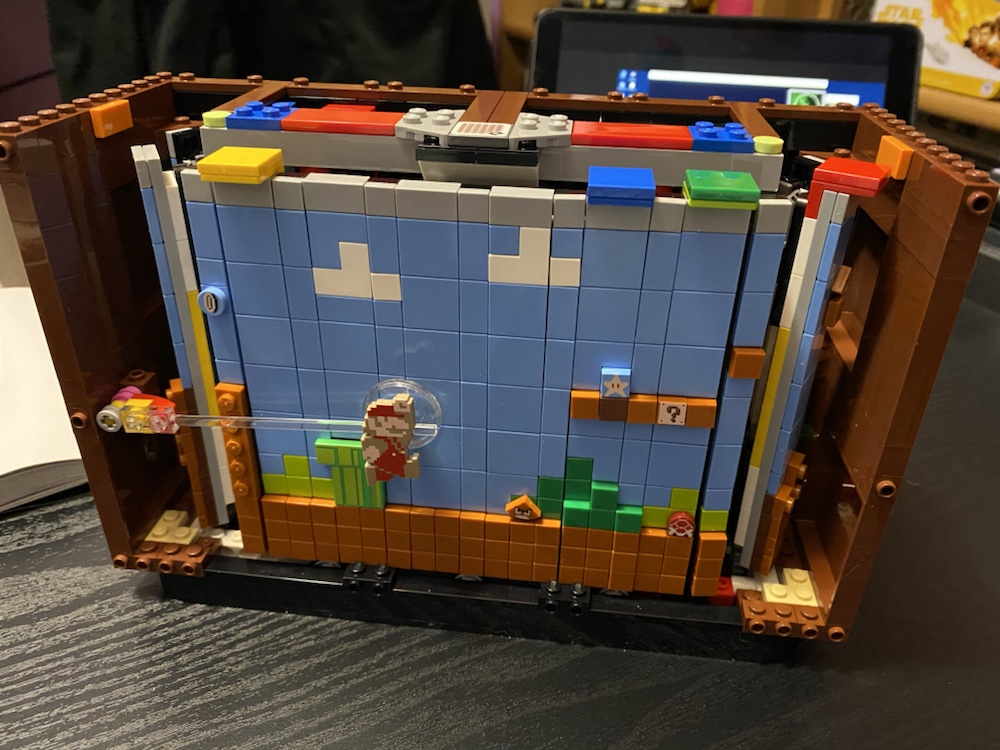
Next game the TV. While I would have been perfectly happy had the set been the console alone, the inclusion of the TV takes it to another level since they actually include a scrolling playfield to simulate the game itself.
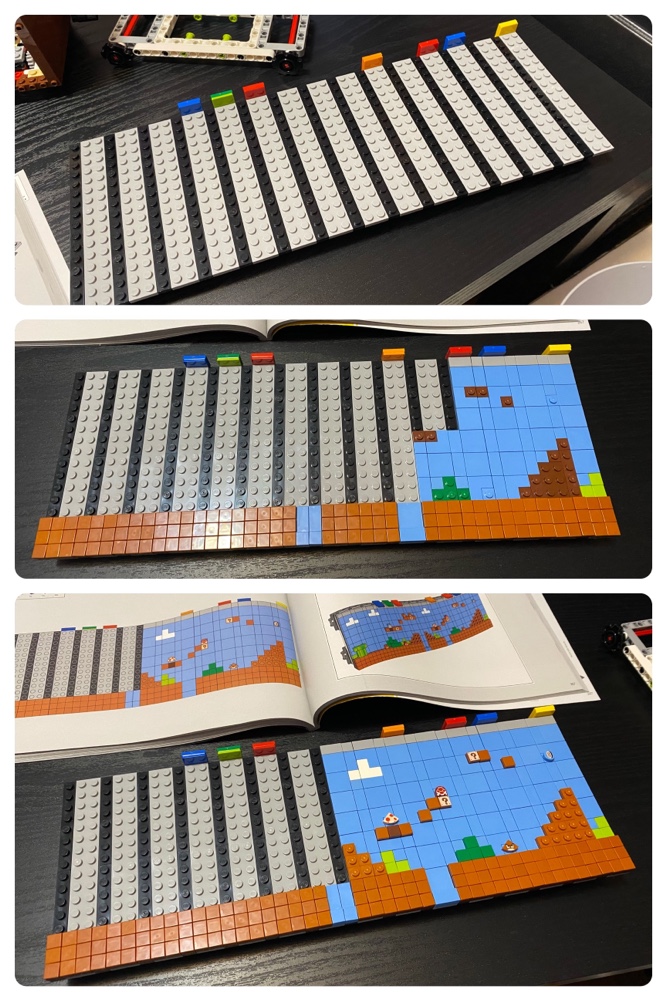
This works by creating a belt mounted on tracks, which then turns via a crank mounted on the side. This works seamlessly and smoothly and is just another example of how clever LEGO engineers have become.
Here’s the TV interior with the scrolling belt attached:
This was a great kit to build, and for old school gamers such as myself the nostalgia value is through the roof. This is easily my favourite LEGO kit to date, and one I’ll likely keep assembled and on display for a very long time.