Today, as you all know, is Triple Force Friday! This means it’s the day product is in stores for not one, not two, but three upcoming Star Wars properties: the new film (The Rise of Skywalker), the TV Series (The Mandalorian) and some game no-one cares about. Naturally I hit the shops after work, giddy with excitement. What did I buy?
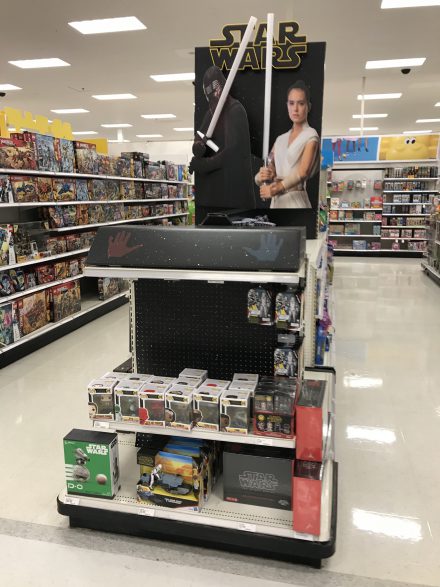
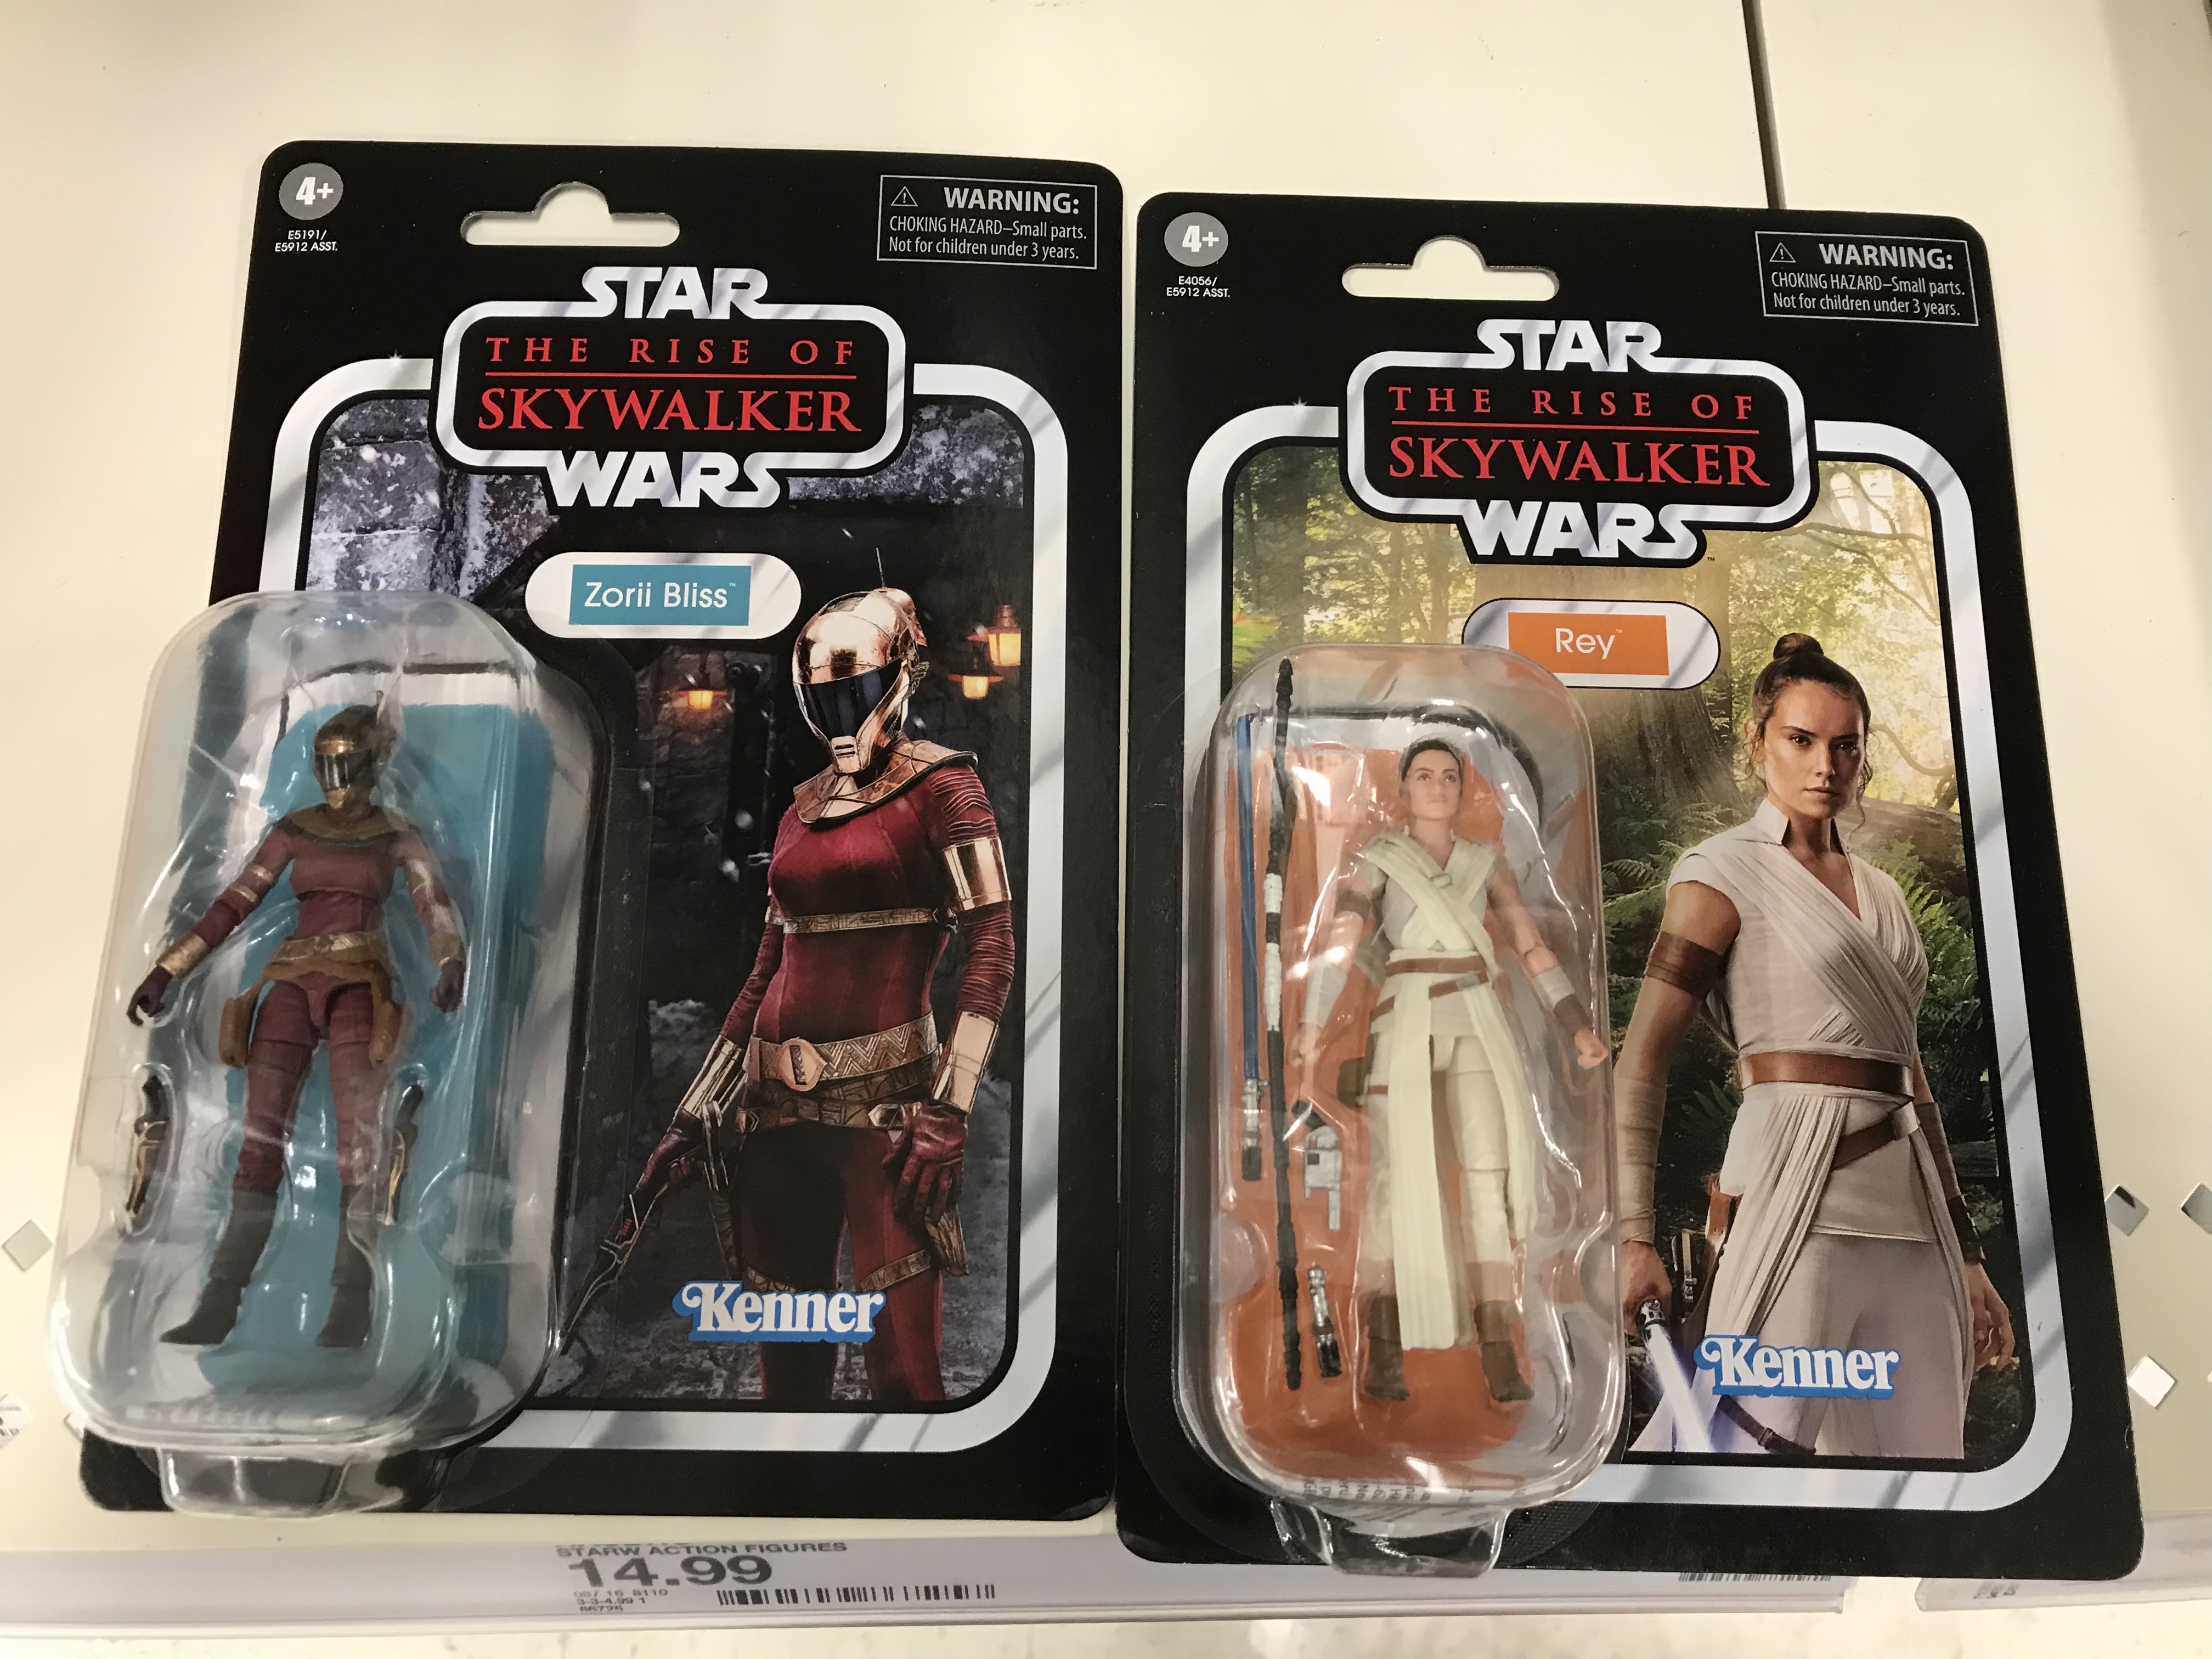
Target was mostly underwhelming. Yes there was a spiffy endcap, but isn’t it just the same basic design as the last two films?!? Also you can see that the shelves weren’t exactly bursting with choice, especially when you ignore (as we all should) the Funko stuff. They had a pittance of new figures like these:
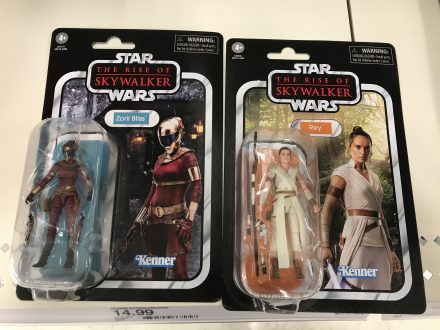
As well as two lego sets, a t-shirt, some stuffed droids (?) and one or two instantly forgettable other things. Nothing grabbed me and I left empty-handed.

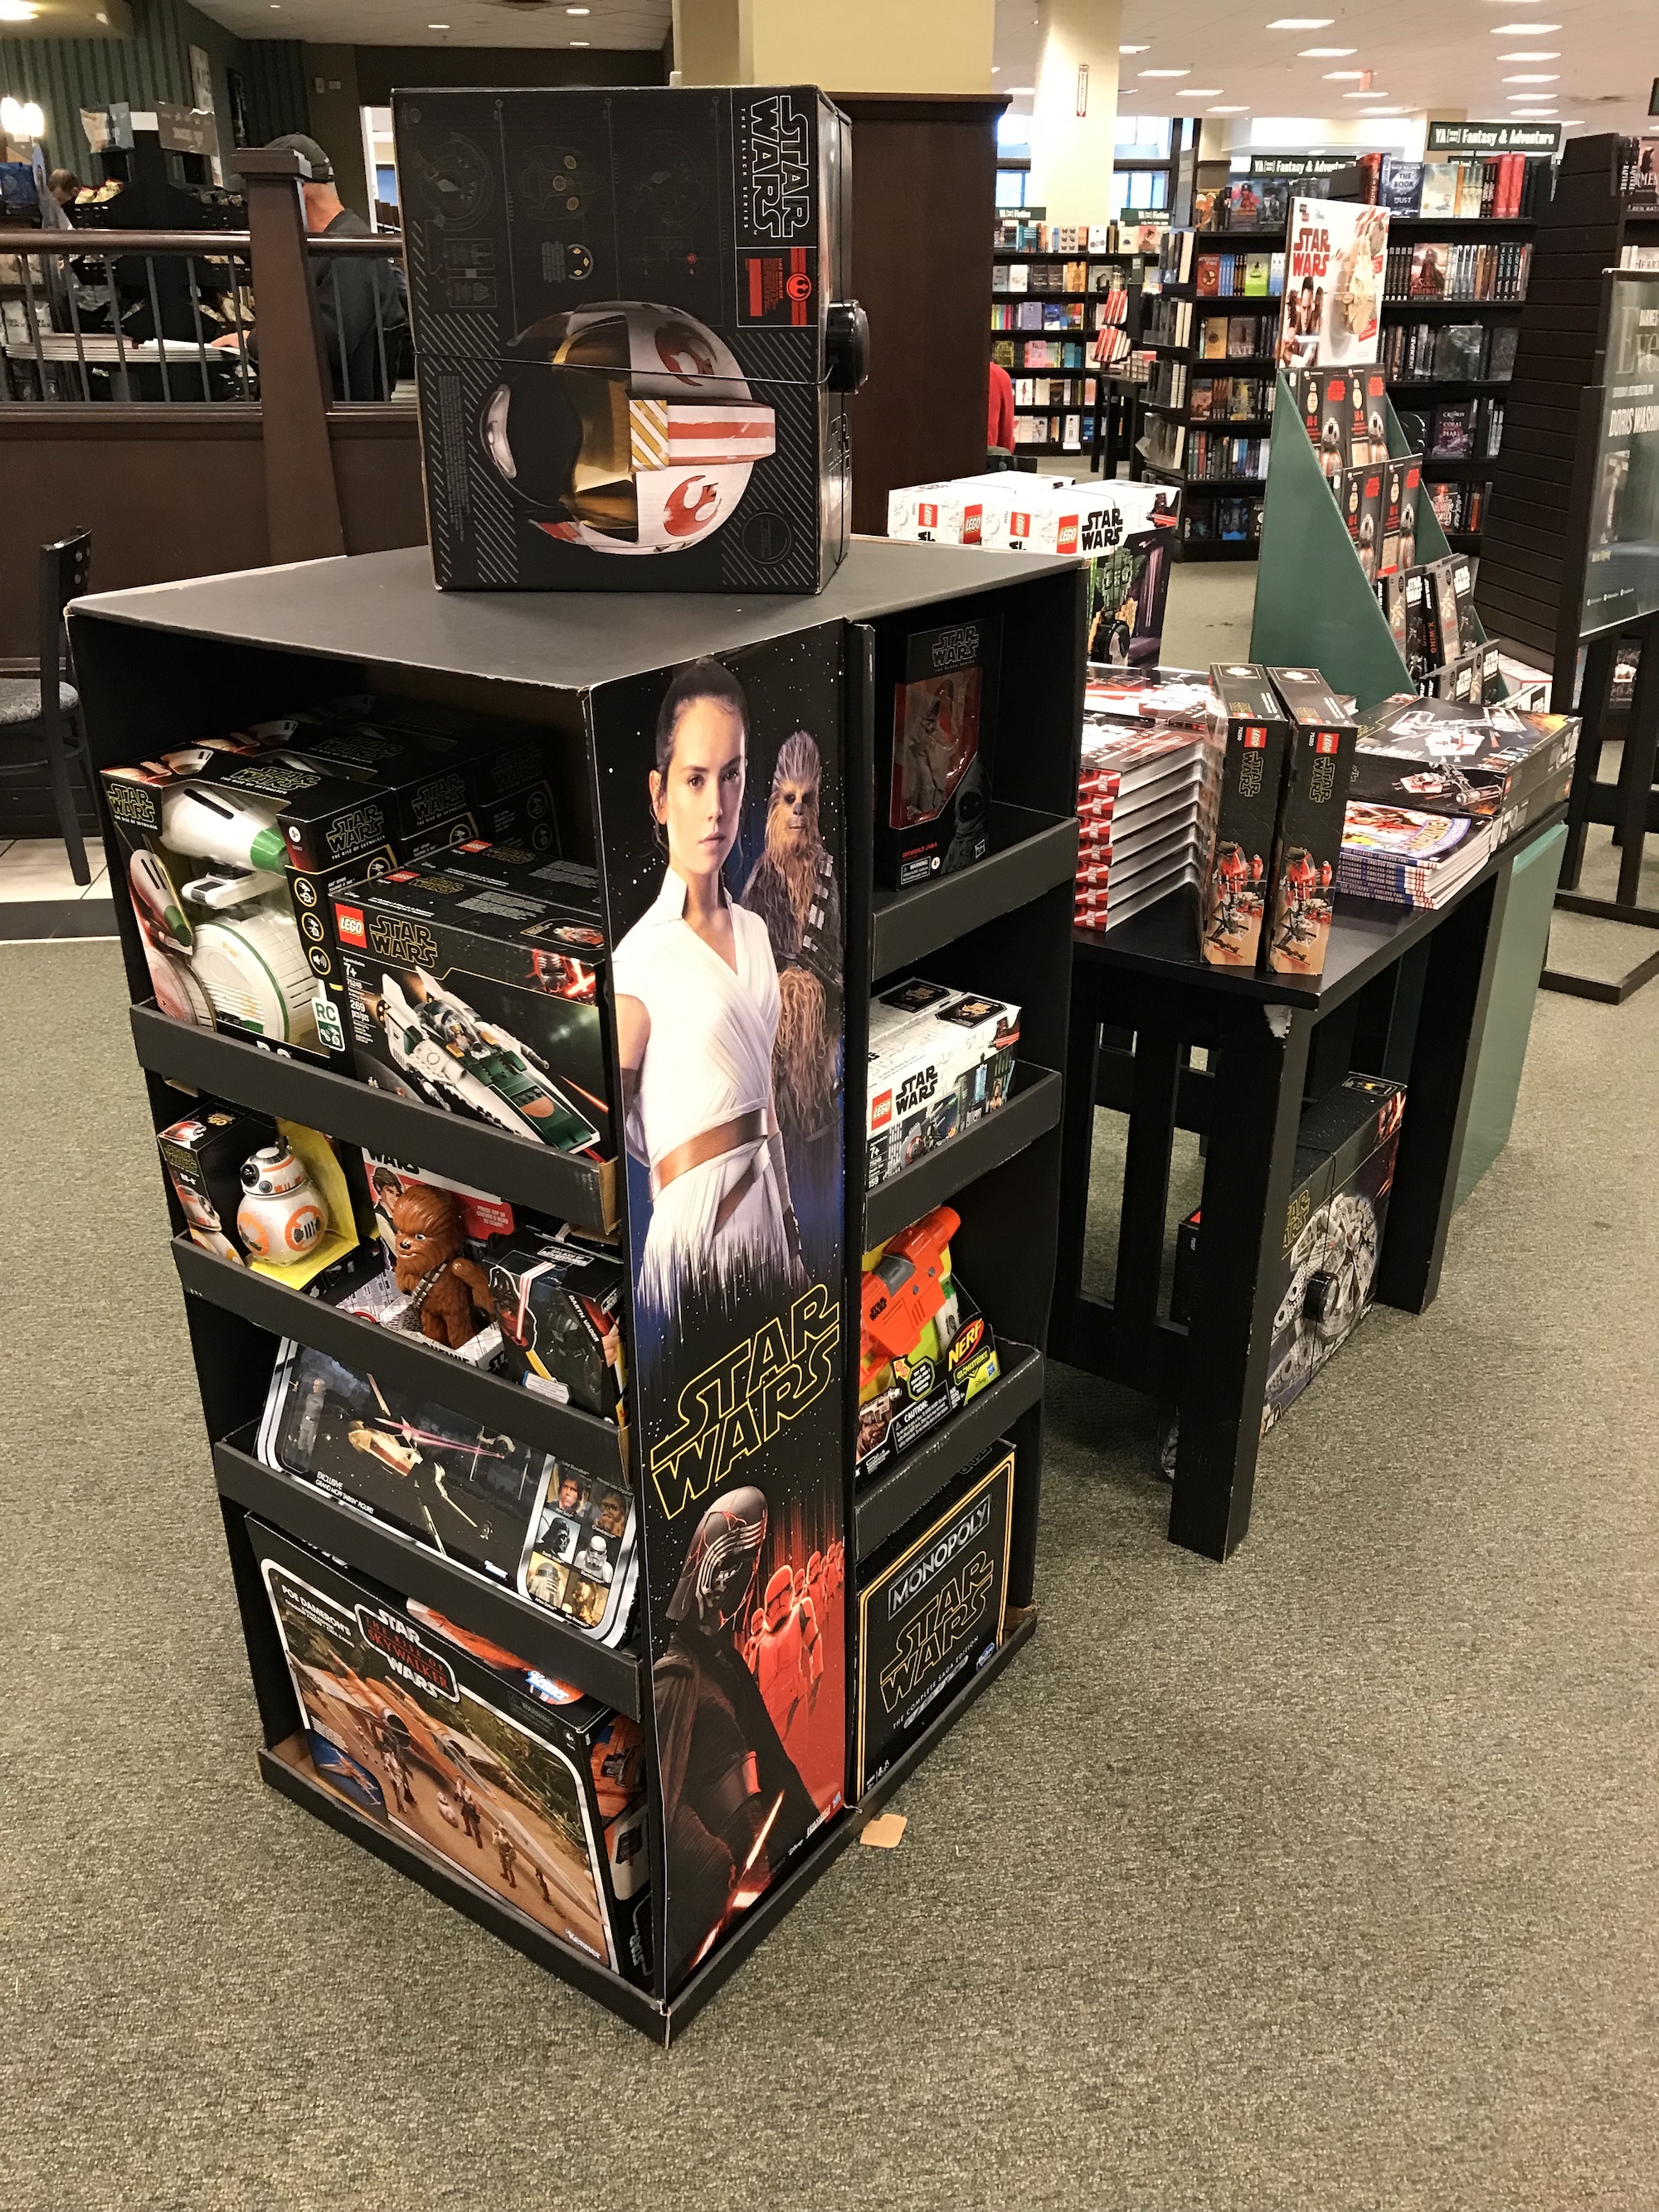
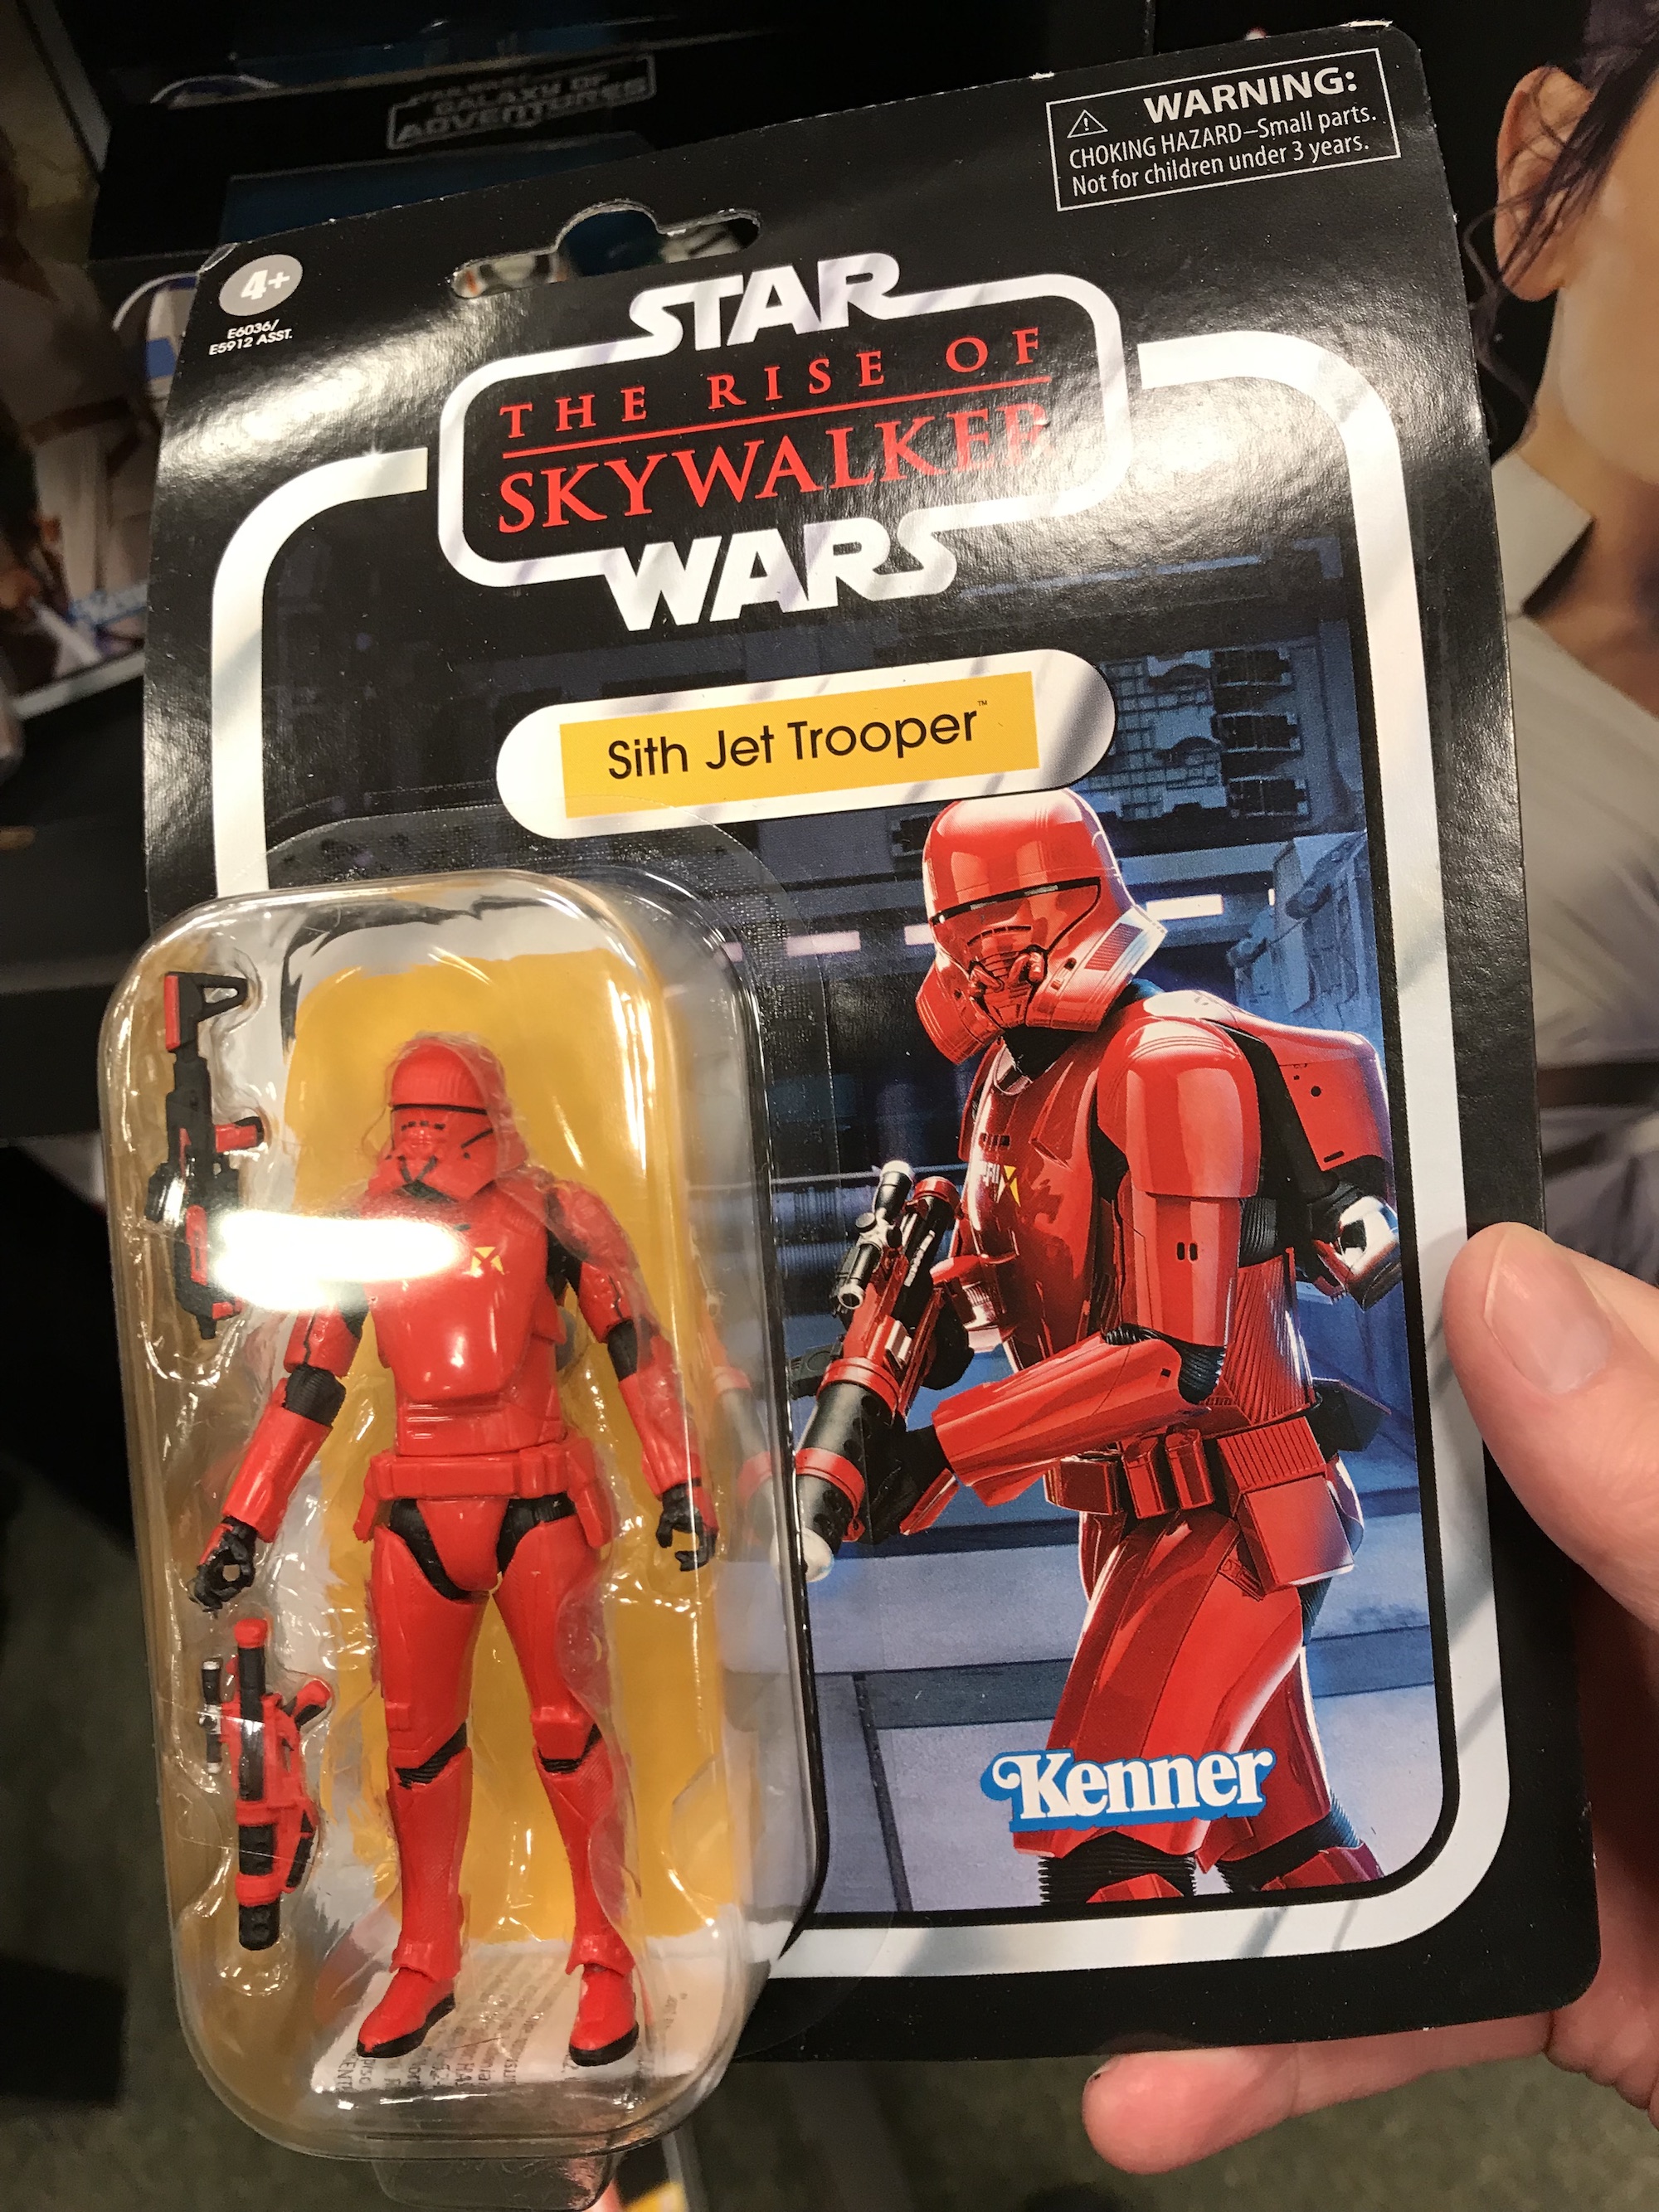
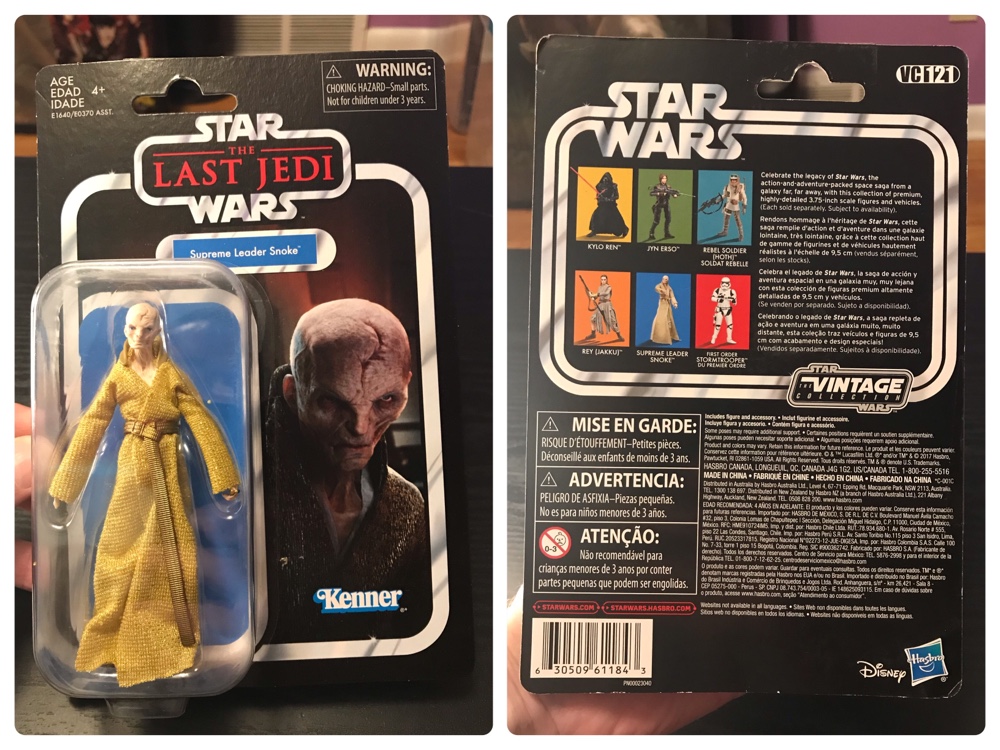
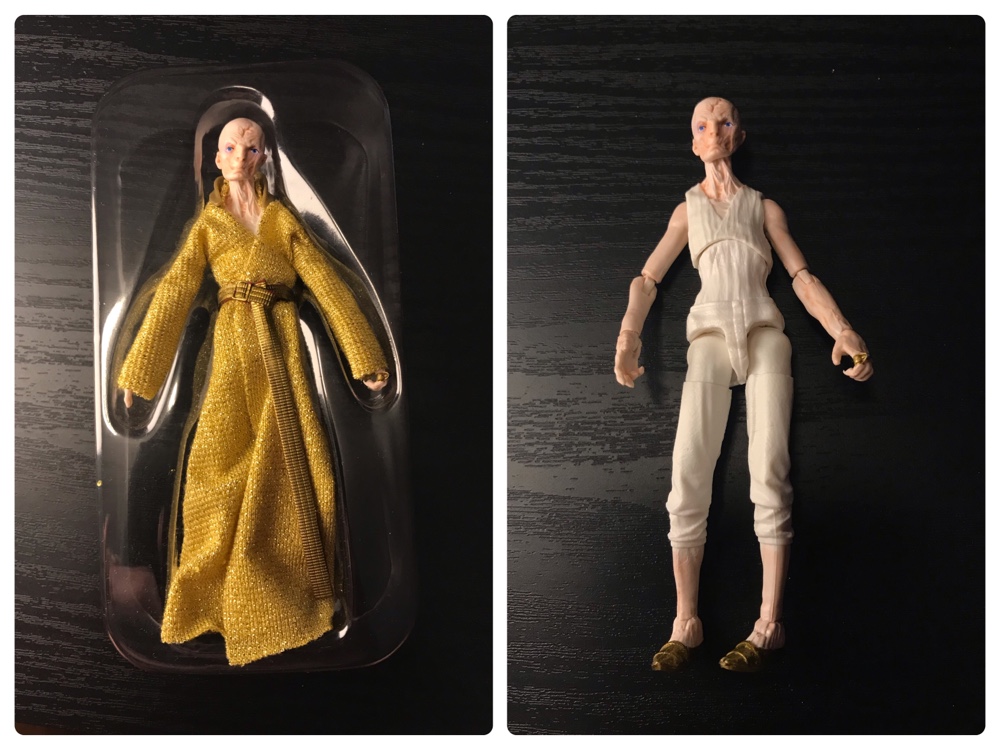
Barnes & Noble was my next stop and as you can see they had a nice little display. Overall it was better than Target with more variety including what looked to be a giant spoileriffic book that I didn’t open. I did learn though – from the packaging of the figures, that the new film will feature a speeder chase on a planet called ‘Pasana’, non-Tattooinian Jawas (!) and this dude:

I was mildly excited by the stuff at Barnes & Noble but not enough to buy anything, and left empty-handed.
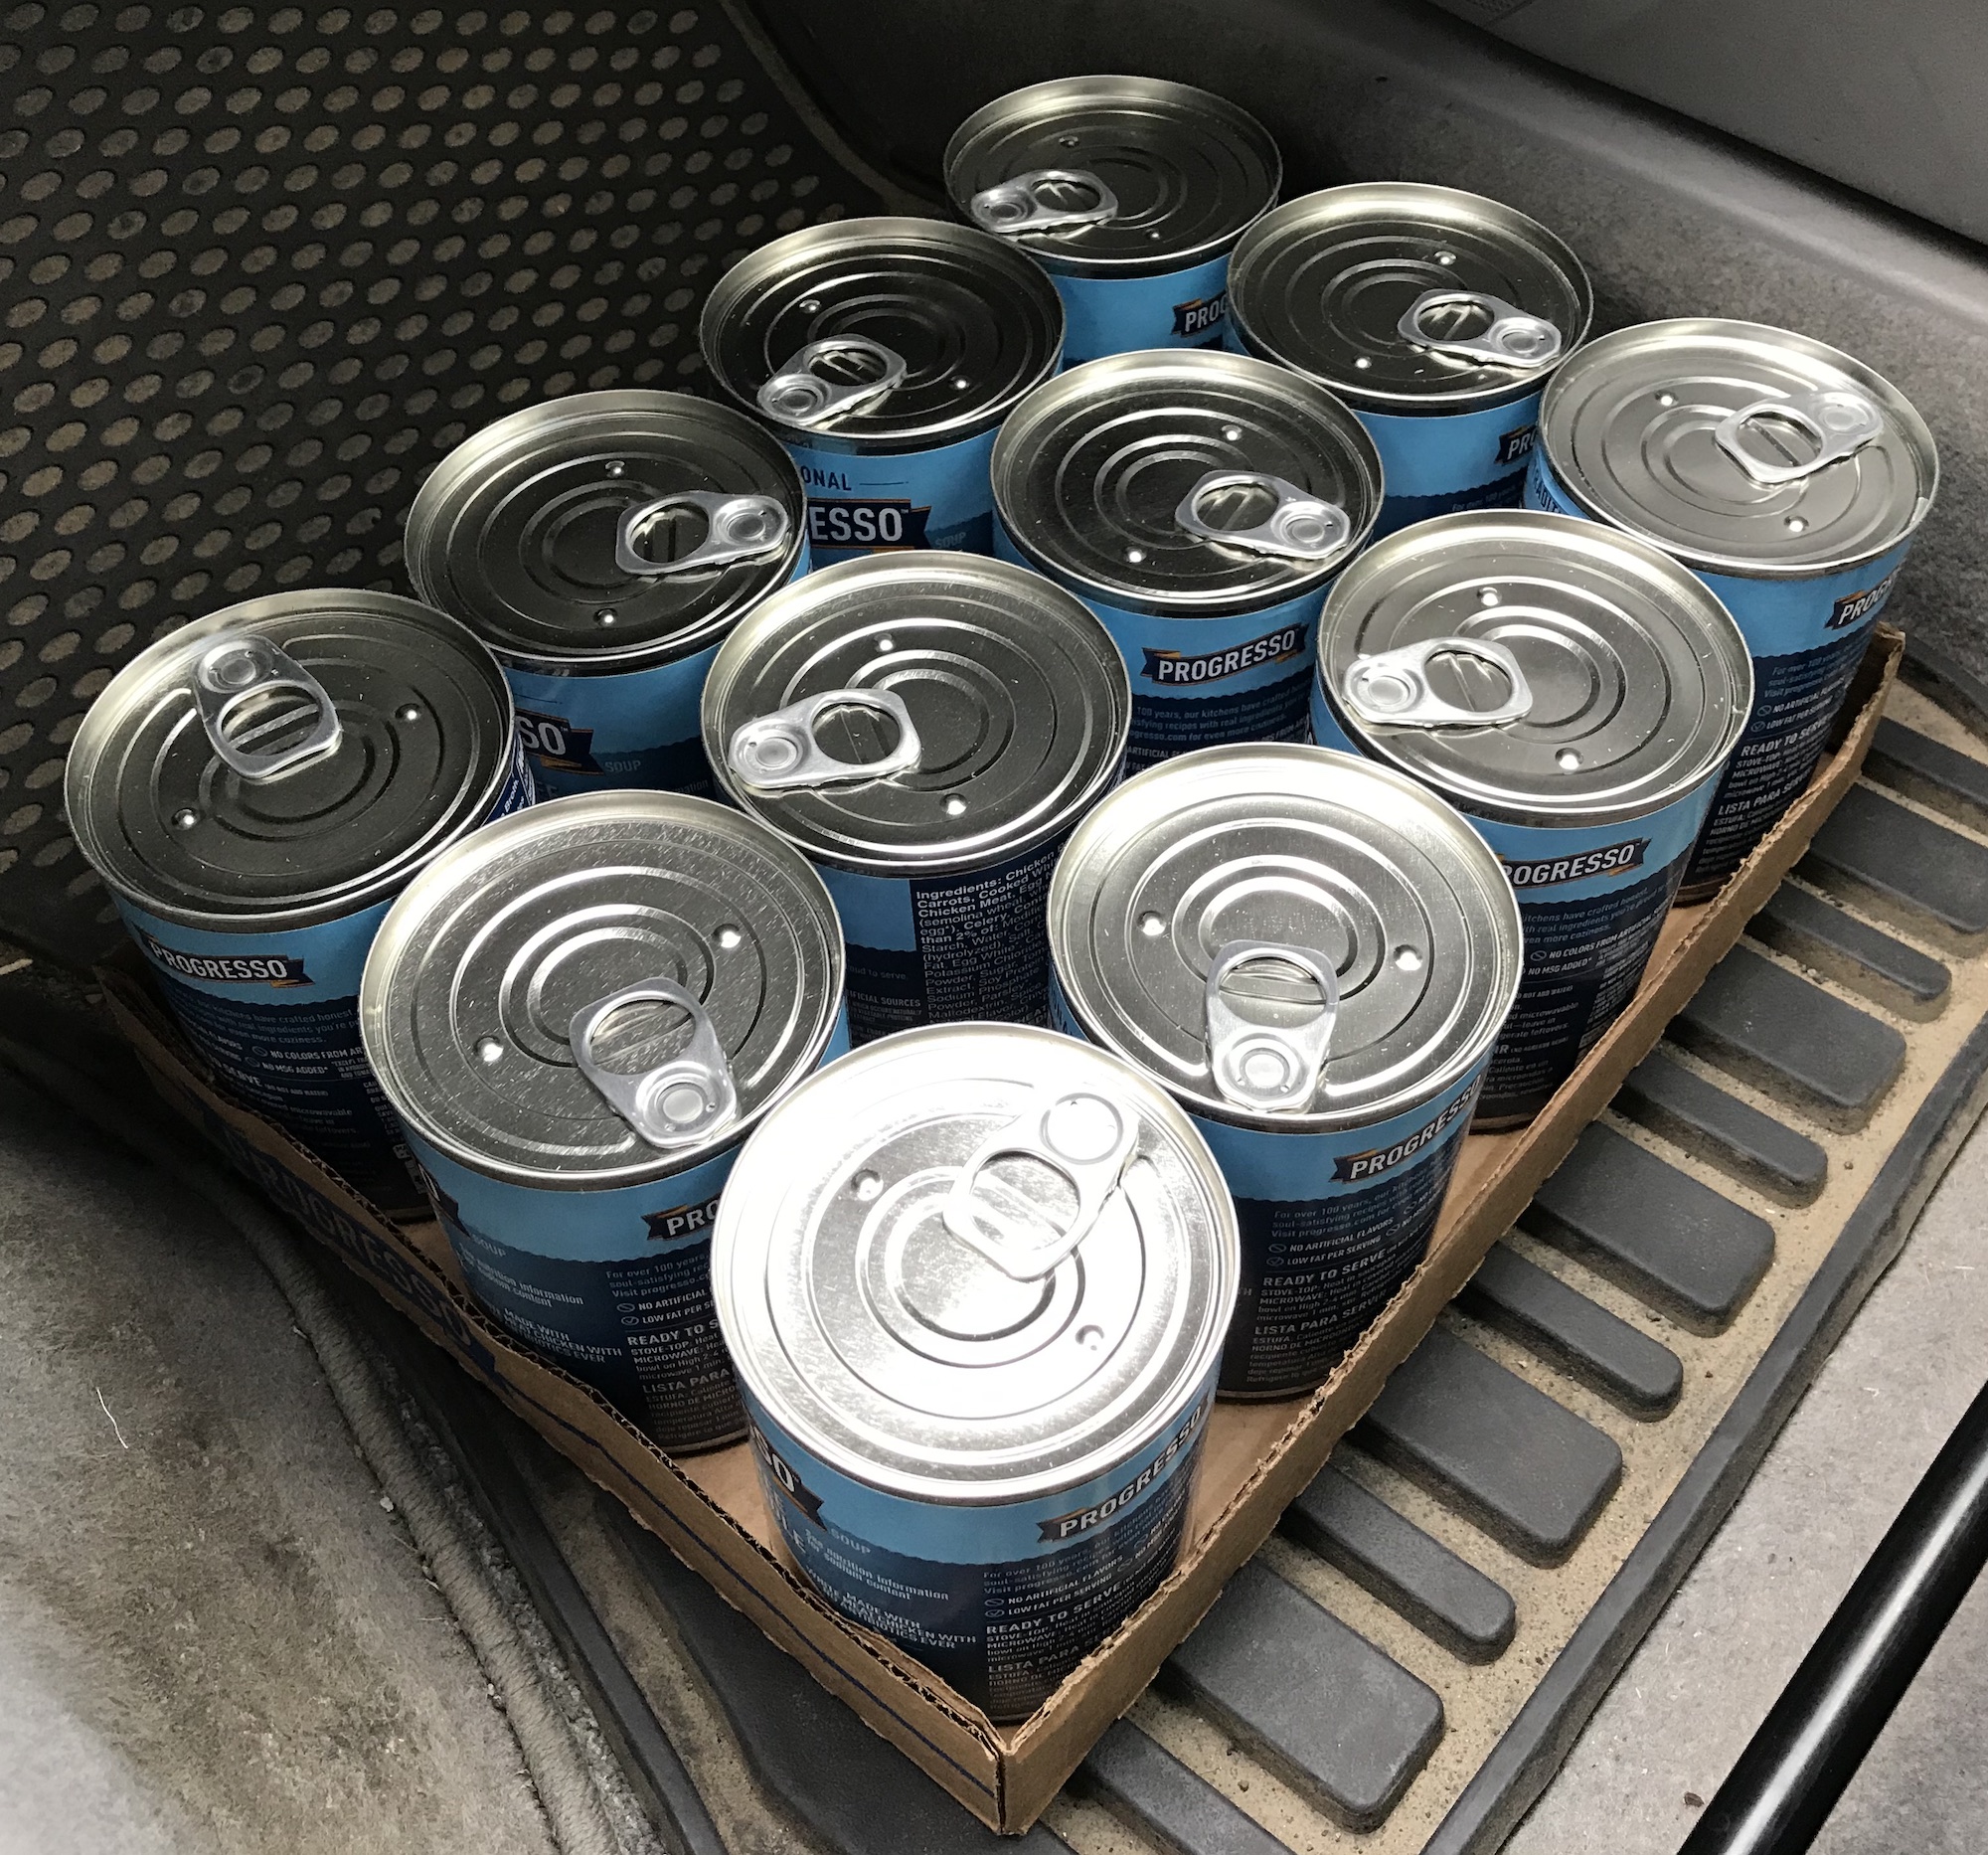
Walmart was my next destination and the less said about what I saw there the better. Given that Walmart was hyped (by who?) as the go-to destination for TFF one would imagine they would have something. But no; it was the usual barren wasteland of no Star Wars toys. This was depressing to a fellow with money burning a hole in his pocket so to alleviate the despair before I left for the mall I picked up $20 worth of soup:

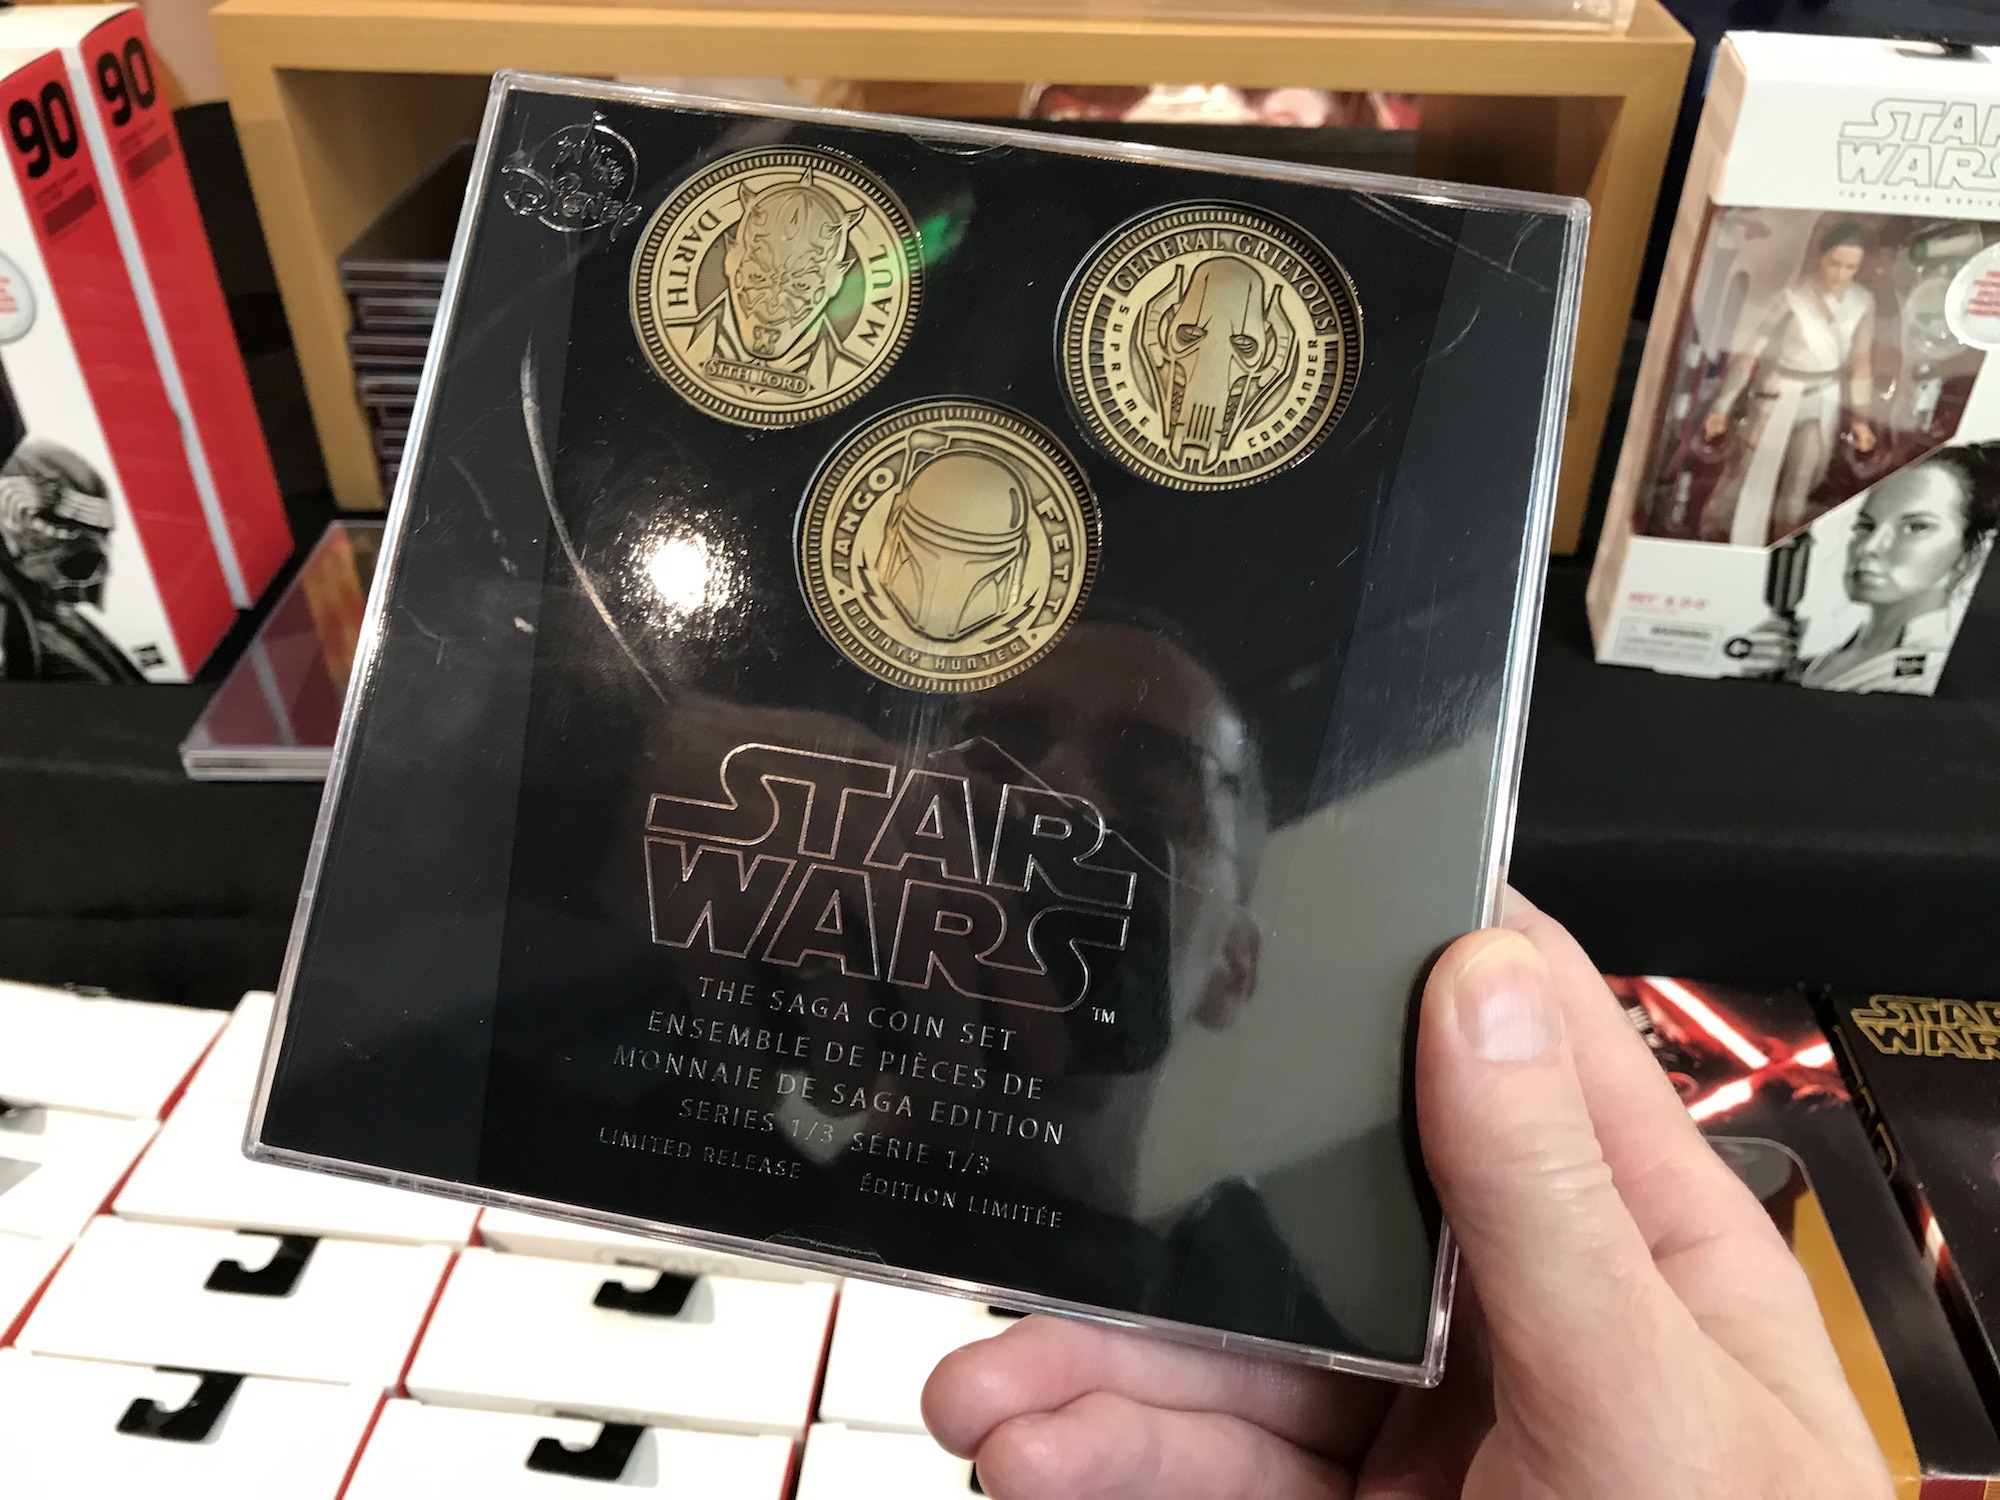
At the mall I skipped over to The Disney Store which – finally! – had a nice display. They had clothes and figures and hats and lightsabers and a few other things including these for a staggering $50 per set:

Fifty dollars for three medallions just like the ones that came free with POTF figures in 1983?!!? Who’s going to buy these??? And they had three sets! Madness I proclaimed loudly as I walked out empty-handed and beelined for the LEGO store.

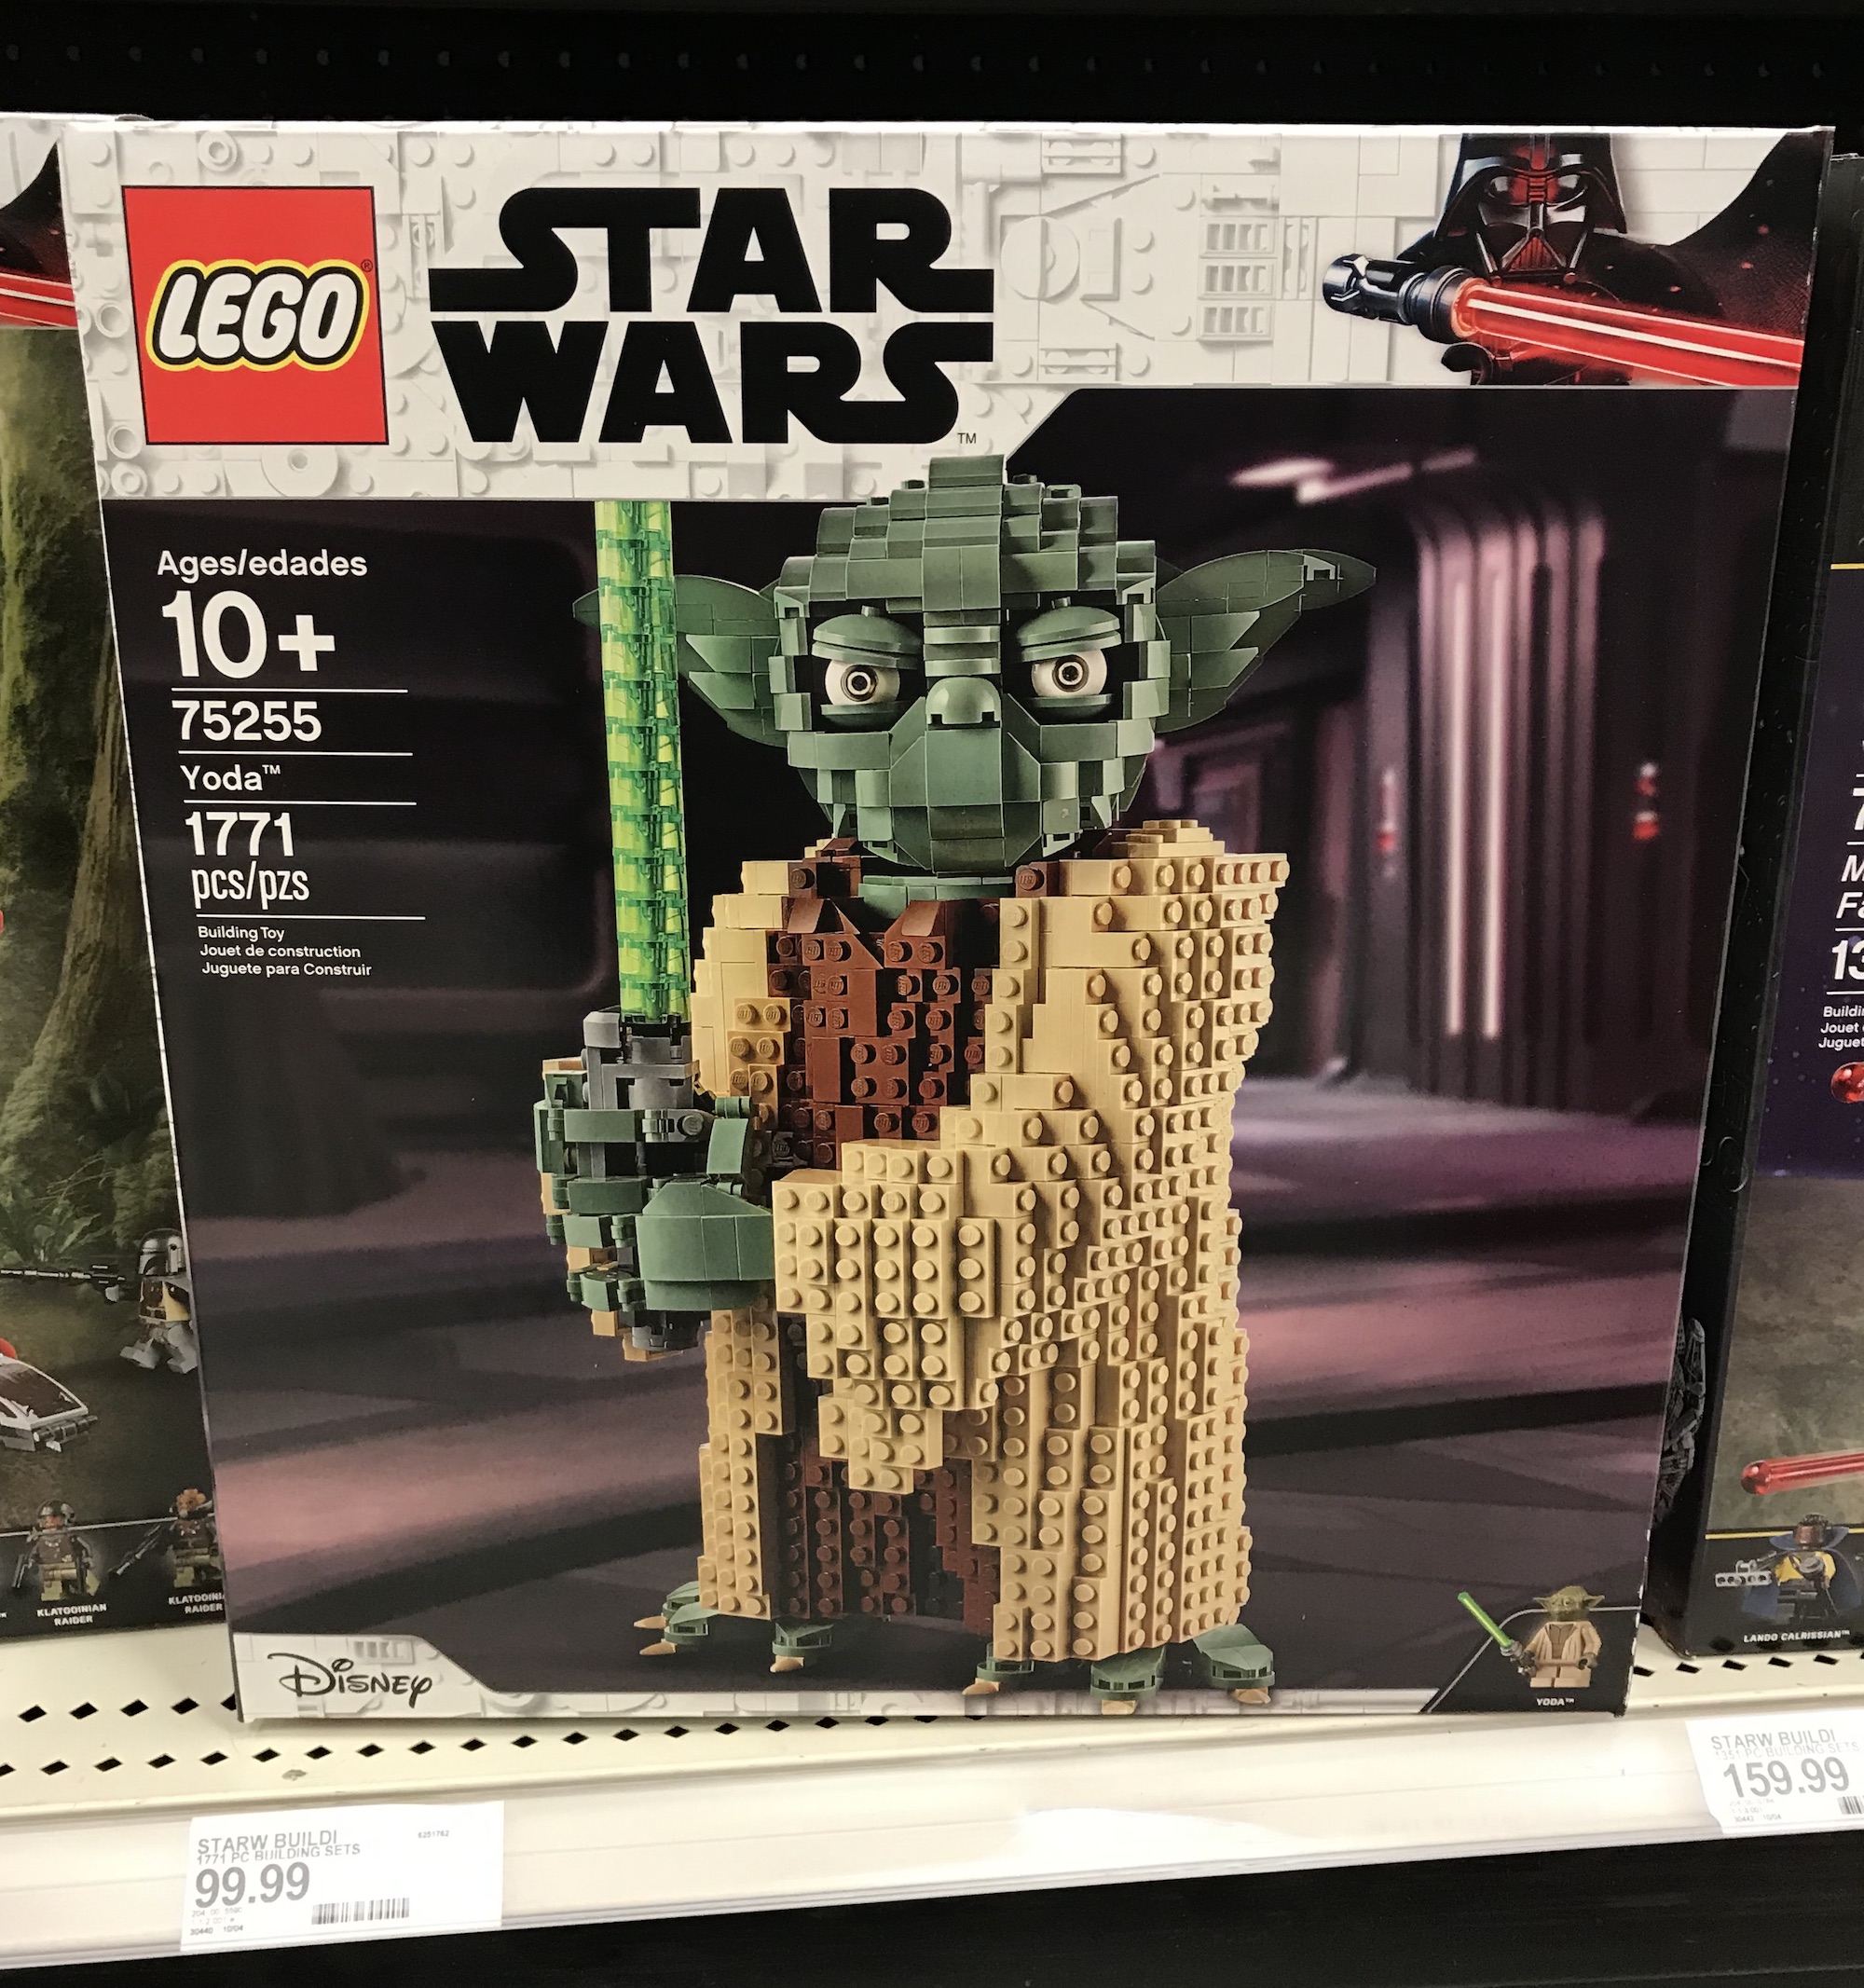
Now this is what I was looking for! They even have a TFF sign! But look: just look at that Star Destroyer kit!!! So what if it’s $700 and so big that there’s literally no-one alive that would have a place in their home to display it? It’s a beauty indeed and would be so much fun to build. That the sort of lunacy one expects to see on a day about Star Wars product. Oh and they had this too:
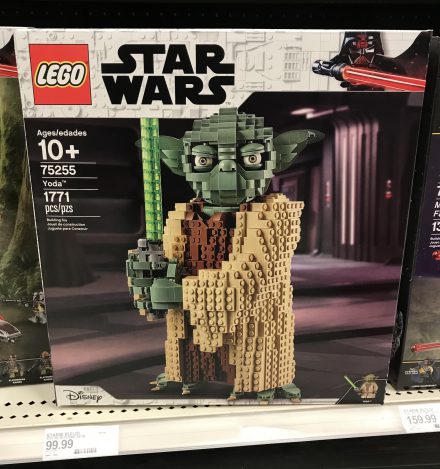
(Yes I know the photo was taken at Target, but they had it assembled at the LEGO store and it’s truly the stuff of nightmares.)
Anyway I bought nothing at LEGO, which means on Triple Force Friday after a couple of hours going to all the usual stores I left with… nothing!
So I went and dropped over a grand on an iPhone 11 Pro Max so the trip wasn’t a total waste 🙂