Category: Toys

Another Robot Dinosaur

It was time once again to reach to my giant pile of unmade plastic model kits and remove another for assembly. The lucky kit this time was:

IMG_8538

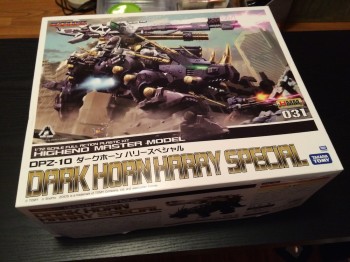
Another ZOID! I’d bought this kit about a year ago after falling in love with the design, but I was a bit daunted due to it’s size (easily the biggest model kit box I’d ever seen). But I’m no amateur! Here’s what I found inside:

IMG_8540

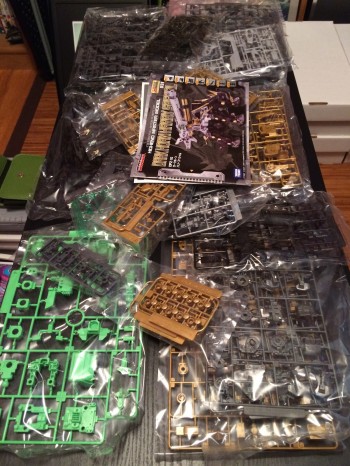
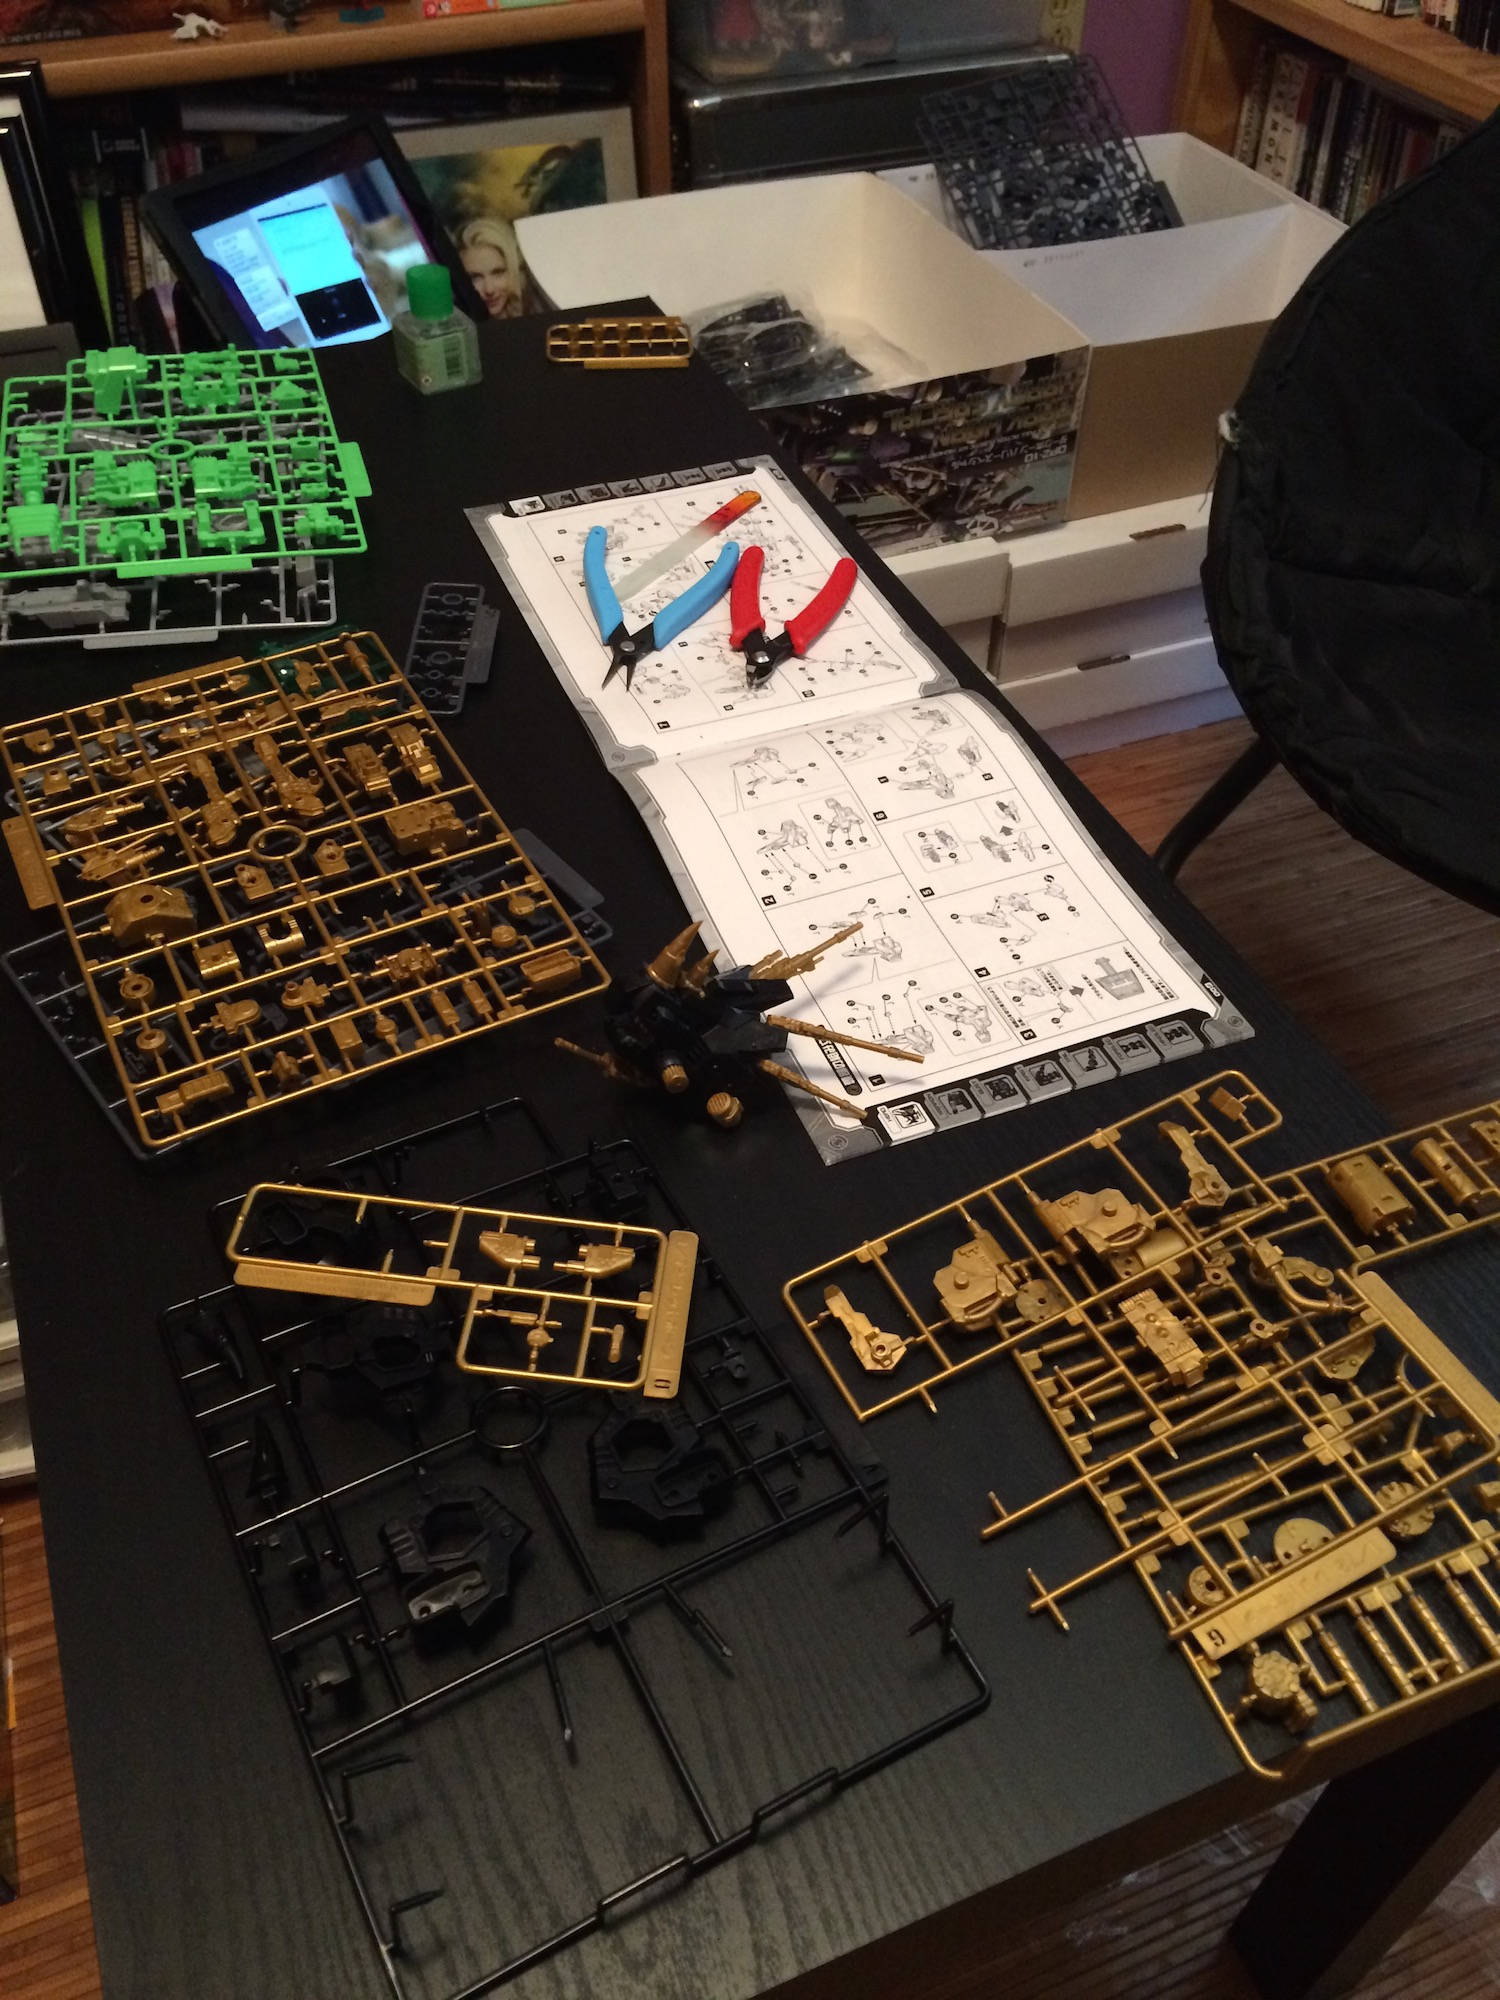
That so many pieces right there, somewhere over 700 divided amongst an astonishing 47 different runners in at least 9 different colours! This would be a fun build…

IMG_8598

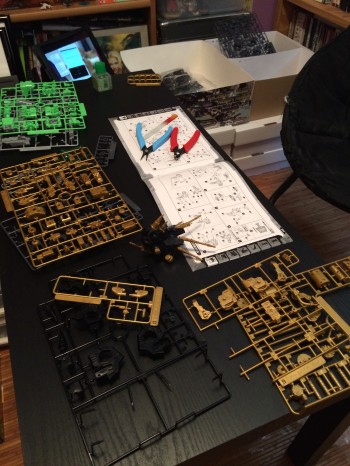
There’s an in-progress shot. I used the same old tools I always have, only this time kept a bottle of glue handy just in case. In theory I wouldn’t need it since this was a snap-together kit. The ipad you can see played mostly Amiga or ZX Spectrum longplays off Youtube while I assembled, which was done in approximately 2-3 hour sections over a period of about 6 weeks. As with most kits of this type assembly is done in sections: head, breast, torso, legs and lastly weapons.

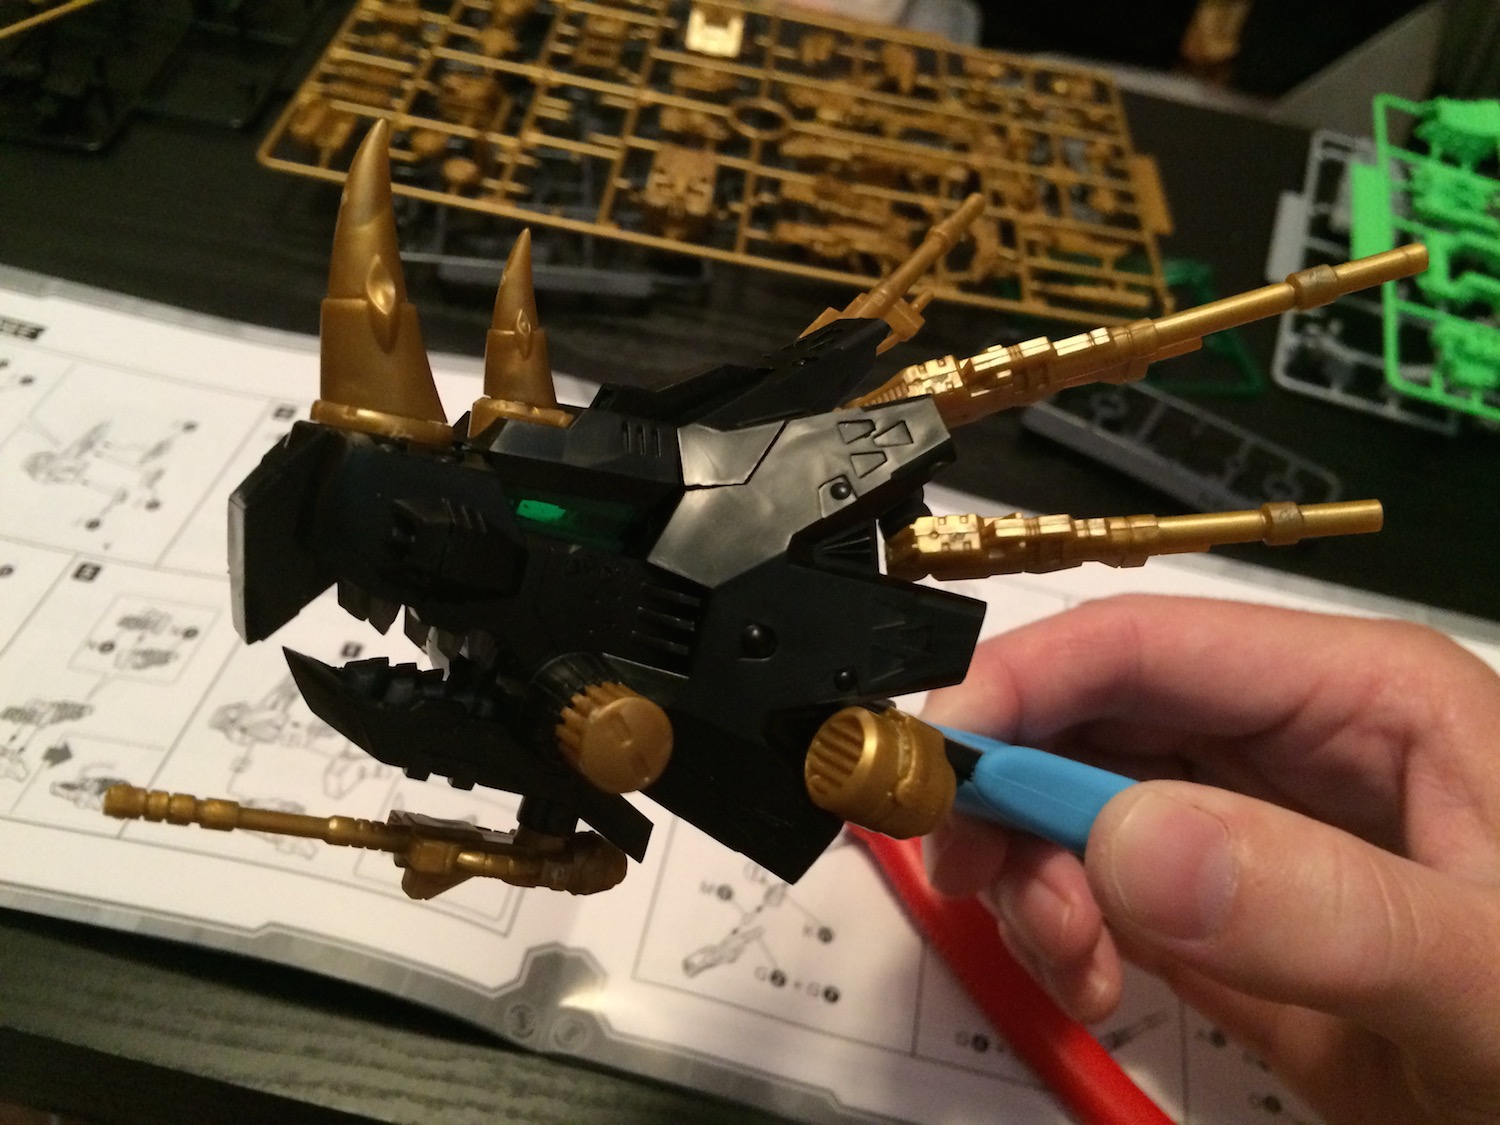
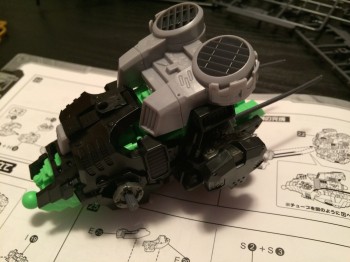
Here’s the completed head:

IMG_8597

Menacing isn’t it! The mouth opens and closes, the spines on the crest and lower gun are posable and the entire upper half of the head opens to reveal the cockpit (the driver looks out through the green glass eyes). Very quickly I learned that this was no beginners kit and I needed to take things slowly, and a few steps during the head construction were technically difficult. The whole thing took maybe 90 minutes and contained an amazing 71 individual pieces!

The breast and torso were next, and a real pain at times. The kit is designed to a very high level of precision, and there is little ‘wiggle room’ for the sections when they all come together. Joints are quite tight, and some even lock together when you put the pieces in. This means you need to pay very close attention during assembly since it can be challenging to take pieces apart if you make a mistake.

IMG_8654

I managed to avoid any major problems during assembly, but if you look closely at the completed breast section above, you’ll see two flexible pipes protruding out the back. These would eventually connect to the torso section once they are combined, but (since the instructions are all worded in Japanese) I did not notice they had to be trimmed from their original length to precisely 87 mm and had to do a bit of disassembly to fix this after the fact 🙂

IMG_8710

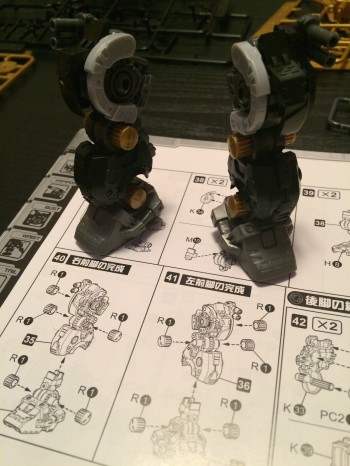
The front and rear legs are both made in pairs (left and right being reflections of each other) and were the most fun parts of the kit to assemble. Each are highly articulated and at the same time look very stocky. Each of the two legs shown in the above picture have 45 pieces in them.

IMG_8742

This particular ZOID is (apparently) a heavy weapons platform (almost literally) and the weapons are the last part of the assembly. From the left you see some sort of beam weapon (let’s call it a ‘linear wave motion cannon’), some sort of mass driver projectile weapon and a conventional chain gun. The mount on the lower right connects the weapons platform electronically to the cockpit. Often in kits like this the weapons are a bit of an afterthought, each consisting of a few pieces and mostly secondary to (and in some cases not even attached to) the main figure.

Not so here! Weapon assembly is a full quarter of the instructions, and they are just as complex and have just as many parts as the main kit sections. The wave motion cannon for instance (big grey thing, lower left) is articulated in three places, and contains an amazing 37 pieces.

Here is ‘Dark Horn Harry Special’ once he is all finished and assembled:

IMG_8748

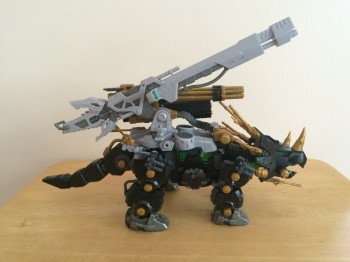
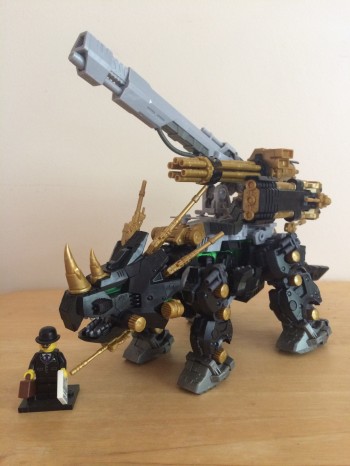
Another shot showing scale:

IMG_8753

All told I’d say it took me about 10-12 hours to assemble, and was one of the most finicky and difficult kits of its type I have ever made. 99.9% of the joints were snapped-together; I only ever used one single tiny drop of glue. Perhaps due to the challenge – and certainly the design – I immensely enjoyed making this kit, and think he looks great on my bookshelf where he will now live.

Next though I think I’ll move onto something a bit easier. Didn’t I have a HG Gundam somewhere in that big pile of unmade models…

The Fabulous Owlbear

First, read this post Adam did on his blog.

I’ve found a similar example. Here is the owlbear (an owl-bear hybrid monster) as illustrated in the first ever AD&D Monster Manual from 1978:

Owlbear

I have a copy of this book. It’s the 6th printing, from 1980, and was owned by KLS long before I met her. The owlbear in this version of the monster manual looks like this:

IMG_7069

Fabulous isn’t it! It’s the only monster in the book that has been coloured in, but we can only dream she had done more as a child 🙂

Speaking of the owlbear… what’s this picture?

Owlbear2

Interesting isn’t it? A few years ago it was revealed that some of the unusual monsters in AD&D were based on plastic toys. You can read the full story here (with more wonderful pictures). Based on the toy, and the supposition (which seems reasonable) that the toys were bootleg Ultraman monster toys, it’s obvious the owlbear is nothing more than… a kappa!

The kappa is a japanese water spirit which has a very rich mythology. Here’s an illustration done by Hokusai (famous for his The Great Wave Off Kanagawa) in the early 1800’s:

hokusai

You can see the resemblance to the toy.

So what of the Ultraman connection? Japanese sentai shows often base their monsters on mythology, and it’s almost certain there is an early Kappa-based foe in one of the first few Ultraman series. I did a search and could only find one before 1978, a kappa-influenced alien named Tepeto in an episode of Ultraseven from 1967:

tepeto01-us41

Not very owlbear-like is he?

So my guess is the original kappa designs (such as Hokusai’s) influenced the chinese toy which influenced the owlbear in AD&D.

What of the owlbear today? Here’s the latest illustration:

DND-next-owlbear

A bit literal isn’t it?


Lego Technician

I bought this kit several months ago, and it was time to make it:

volvo

A licensed Technic kit is a bit weird, but it’s another construction vehicle, and I’m a sucker for those. Although to be honest I would have preferred it without the ‘power functions’, which sadly have become more than just an option in recent years. More on that later.

IMG_6730

The box is suitable massive, but strangely empty when opened. I guess they make it bigger to make it seem like it has more pieces than it does! Unlike other kits, the bags aren’t labelled and you need to open them all before starting. If you don’t like sorting pieces in advance (and I don’t) this sort of packaging leads to longer build times due to the time digging through the pile to find a particular piece.

IMG_6764

The instruction book is massive – over 300 pages in total. As usual for Lego kits, it’s wonderful designed and makes the kit very easy to assemble. Things start off complex from the get go. I’m only a few pages in and you can see already how complicated the gearing for the wheels is. It also becomes quickly apparent just how large the finished kit is:

IMG_6855

That’s a shot from much later in assembly, showing the massive bulk of the main engine compartment. You can see how dense the construction is here, and you can see how the ‘power function’ elements (such as the motors) are structural. Even if you wanted to build the kit without them, you would be in for some serious customization and deviation from the manual. I’m not a big fan of this approach.

It’s an extremely sturdily build model, and I know if I’m ever going to take it apart it’ll be a hell of a job. Good thing I didn’t make any mistakes during construction…

IMG_6859

…except that I did! It’s hard to see in the photo, but I used the incorrect axle on one rear wheel, all the way back at the start of assembly. I didn’t notice this until the 11.99th hour (long after the above shot was taken) and it was a real chore disassembling half the underside of the rear wheels to fix the problem. Had I made an error somewhere internal in the model, I may have had to put it away somewhere for a while out of frustration!

All told the construction took me maybe 6 or 7 hours over a few weeks. Here’s the gigantic (and heavy!) finished kit:

IMG_6864

A better shot:

IMG_6866

And one for scale:

IMG_6872

Since many of you know just how big Yossie is, you can clearly see that this is a monster of a Technic kit. It’s heavy and long enough that you need two hands to carry it!

And how does it work? Here’s a quick video I shot of the ‘power functions’:

A bit slow perhaps, but impressive given the size of the model. I don’t show it too well in the video, but it moves along quite speedily for it’s size!

Verdict: massive, impressive, complex and fun-to-build technic kit that I believe would have been even better without the motors.