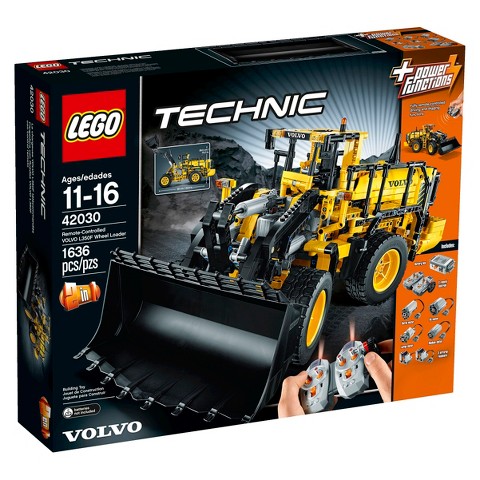
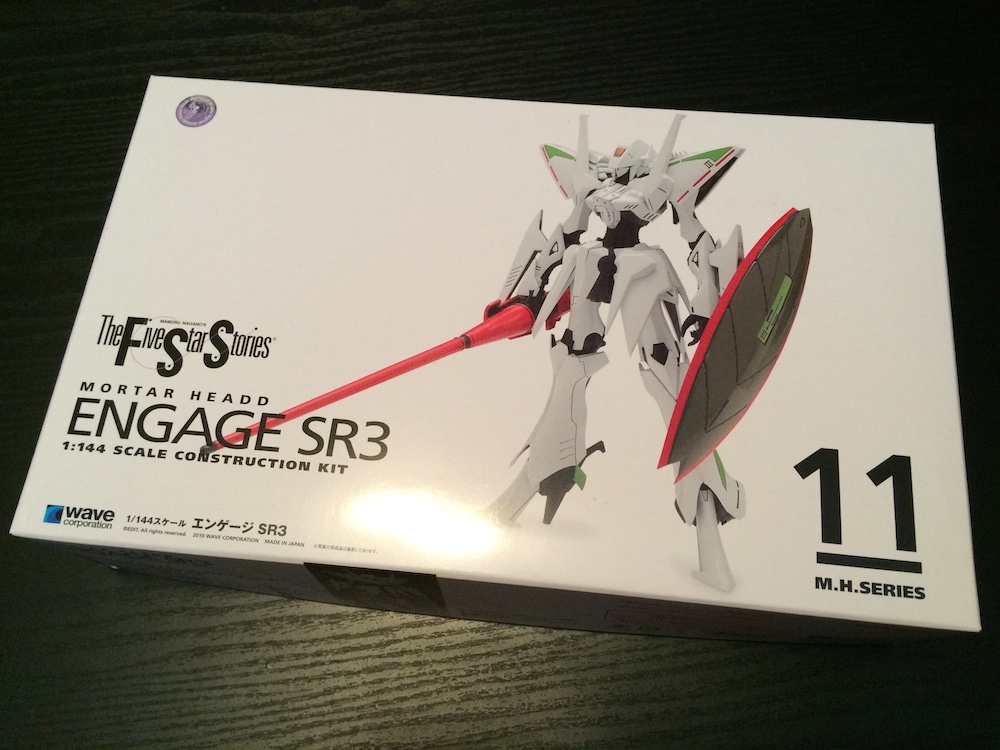
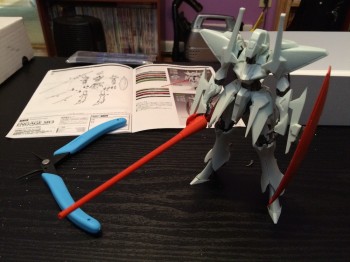
I received this model kit for Christmas from my brother:
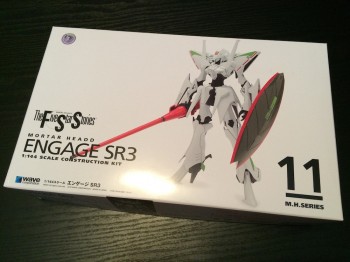
I’d always been a fan of the design of the mecha in this series, but this was the first time I would build a kit. It’s made by a company called Wave, who I’ve never made a kit from before. I planned to do the best I could, since I wanted to get it looking as much like the photo on the packaging as possible.
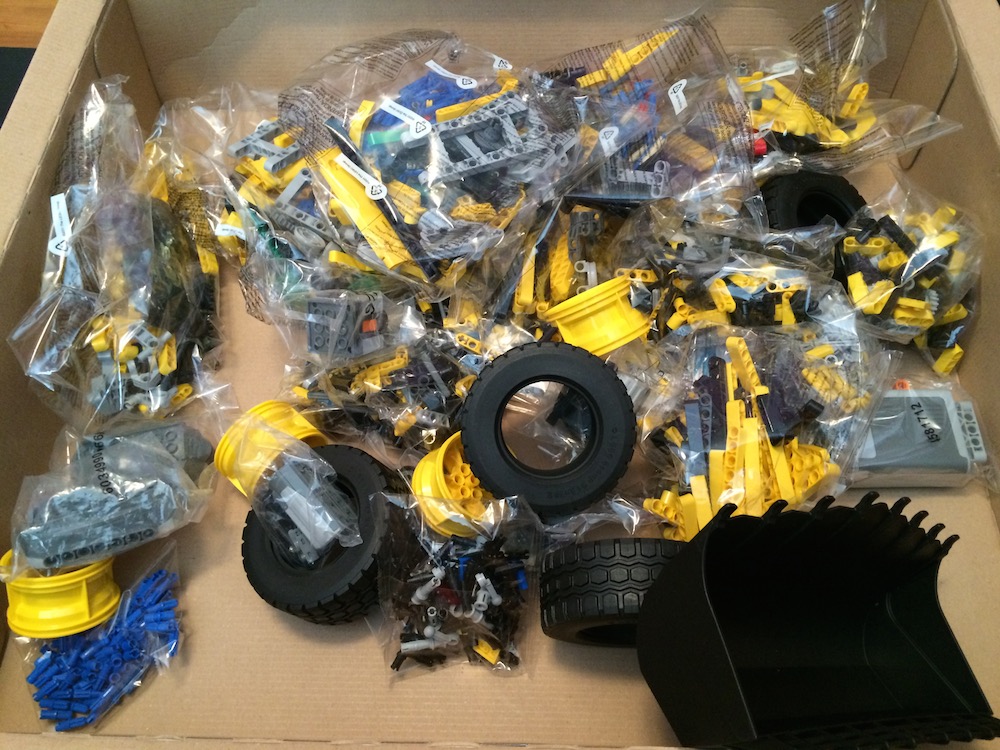
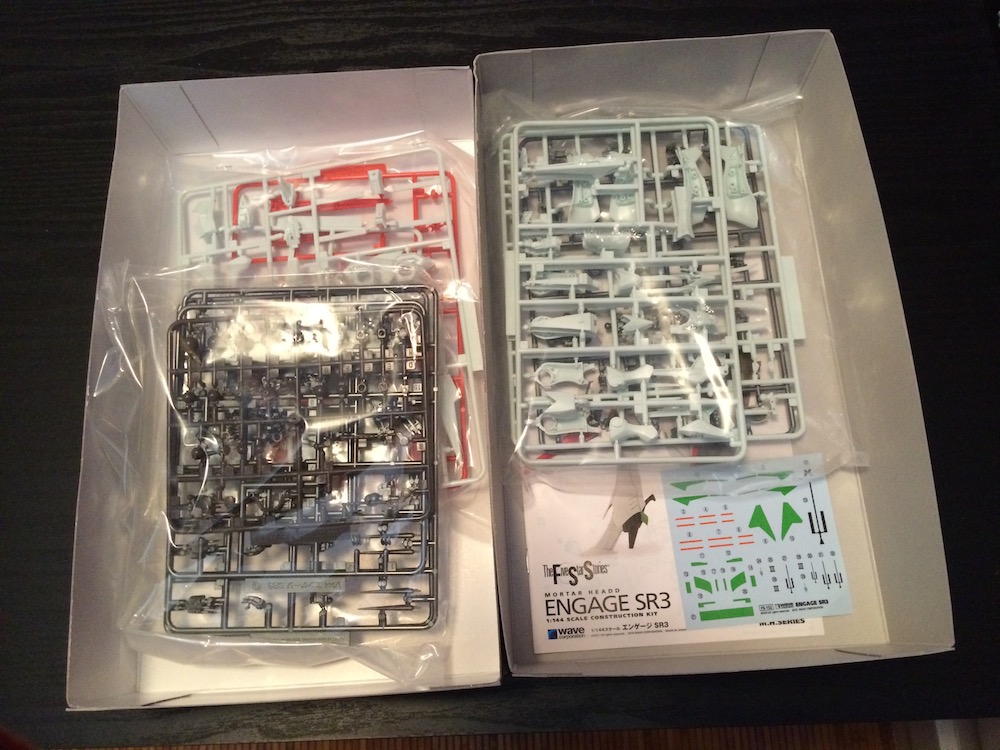
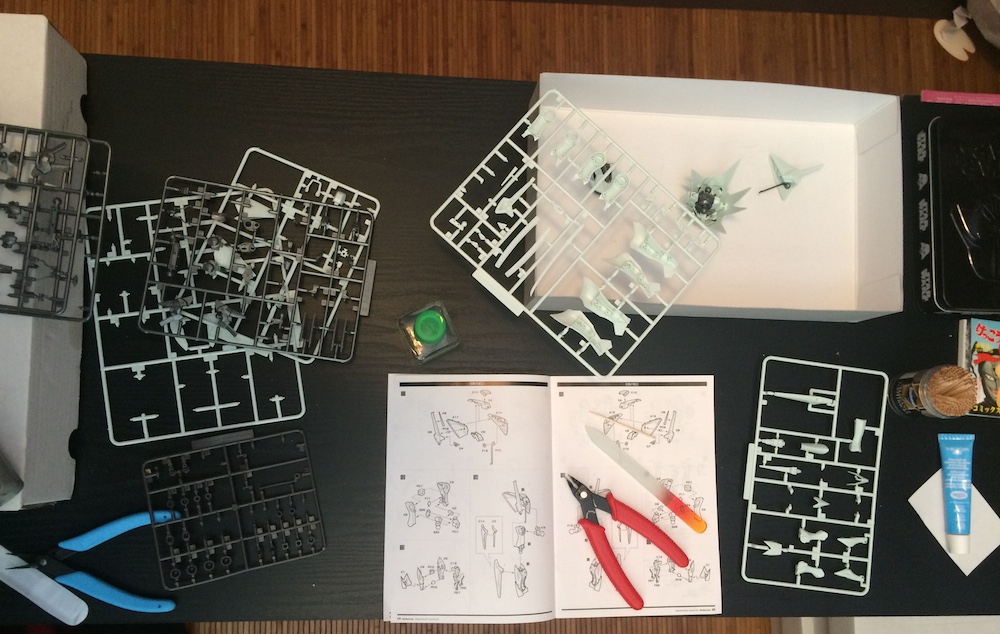
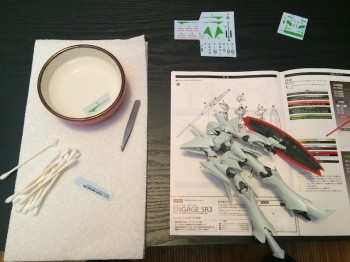
Here’s the contents of the box:

Two things stood out: firstly it had water-applied decals (yikes!) and secondly this was not a snap-together kit. The latter was unusual, since the kits I’ve made by Bandai or Kotobukiya are snap-together and have been for many years. I had thought that kits that needed gluing were restricted to military-style models, and this is certainly the first mecha kit I’ve made that has needed glue (in 15 or so years).
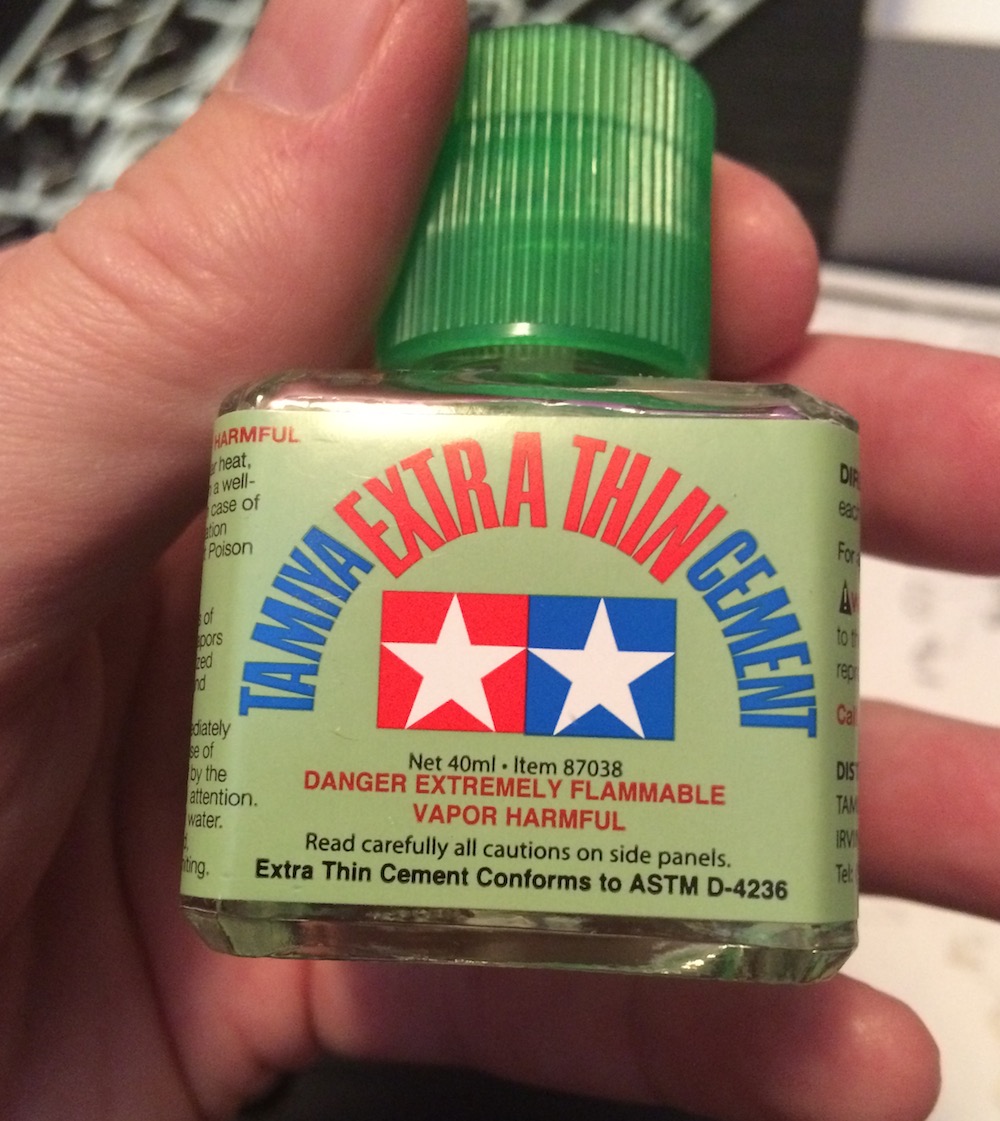
I briefly started with some crappy glue I just happened to have on hand before buying this stuff:

It’s very fluid – like water – and does an extremely good job. Recommended if you want to make a plastic model kit.
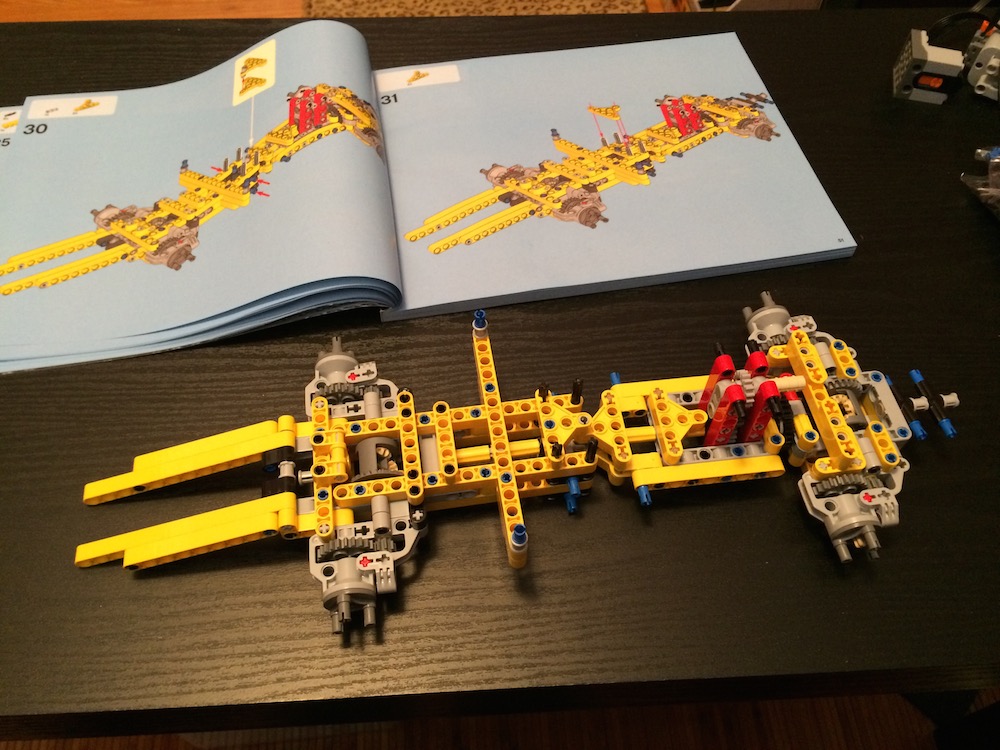
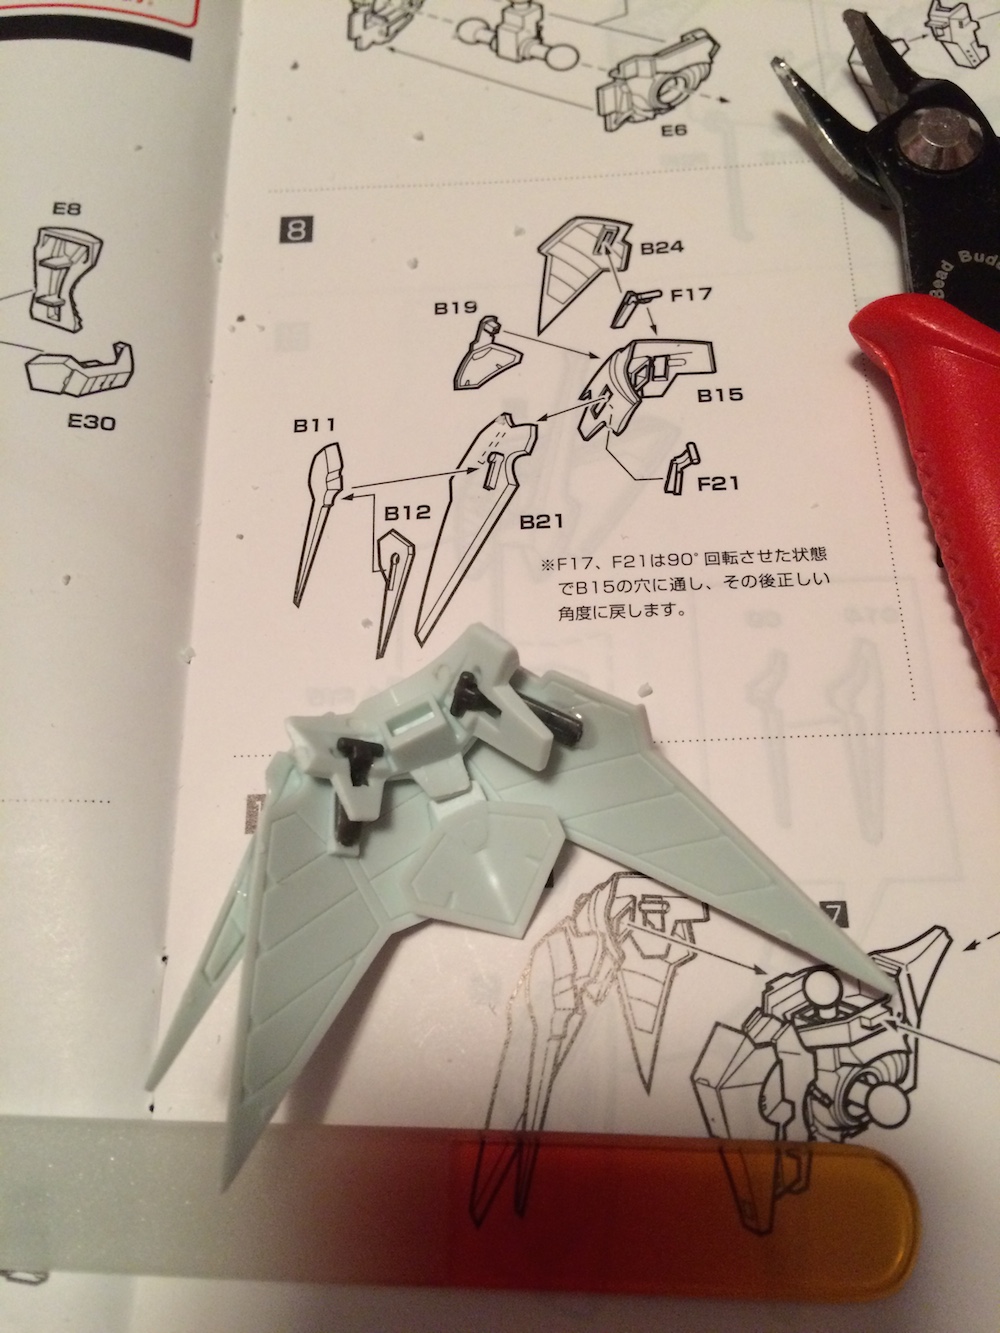
The Mortar Headd is assembled in 7 stages which will be put together at the end. You start with the body and waist, and very quickly I found that this was no beginners model. Parts were designed to be movable even after assembly, and very often the assembly itself was fiddly (even irritating) and required very precise glue application:
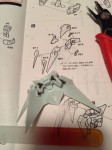

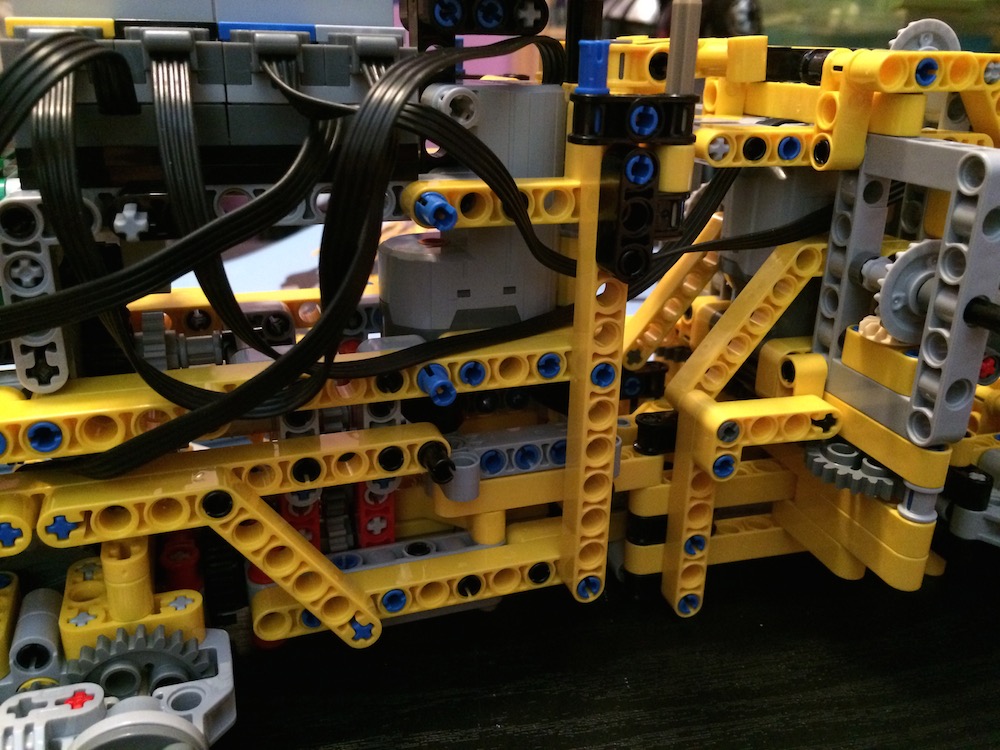
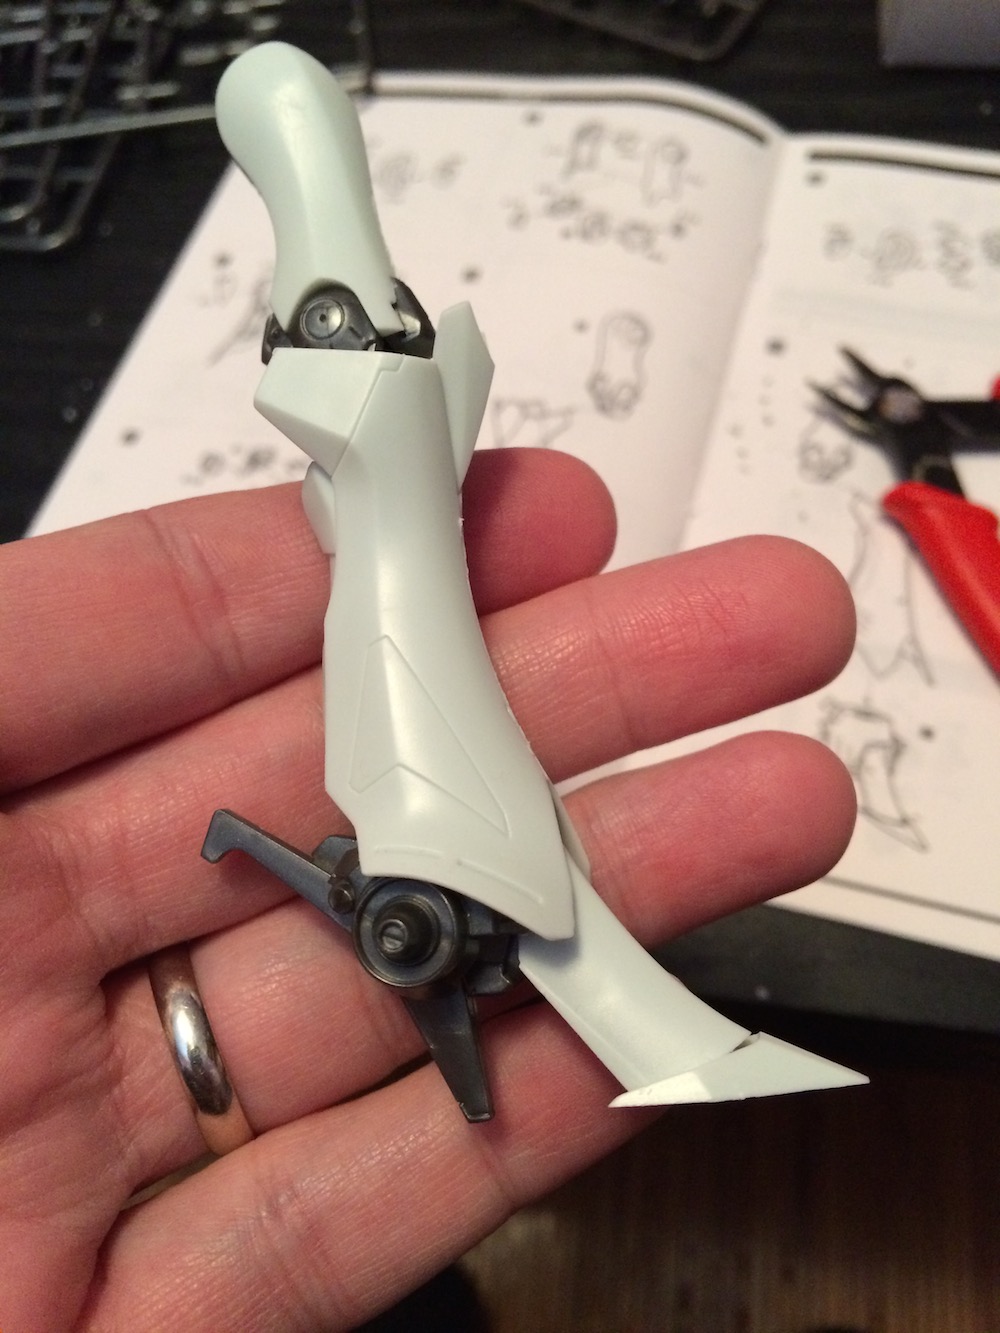
It was also apparent that they didn’t go together as perfectly as it seemed they should. I’m not sure if this was a molding or design issue, but sometimes there were hairline gaps between pieces (even after gluing) or they didn’t match together quite right. Some of the piece design was questionable as well and seemed only to increase the piece count. For instant there were cases where tabs (to insert into other pieces) were glued on separately rather than molded, or when obvious single pieces had been split into two for no apparent reason. This leg for example has about 40 individual pieces in it and was a real pain to assemble:

Before I get to the end comments, I invite you to speculate as to how easily this kit may stand given the design of those feet? 🙂

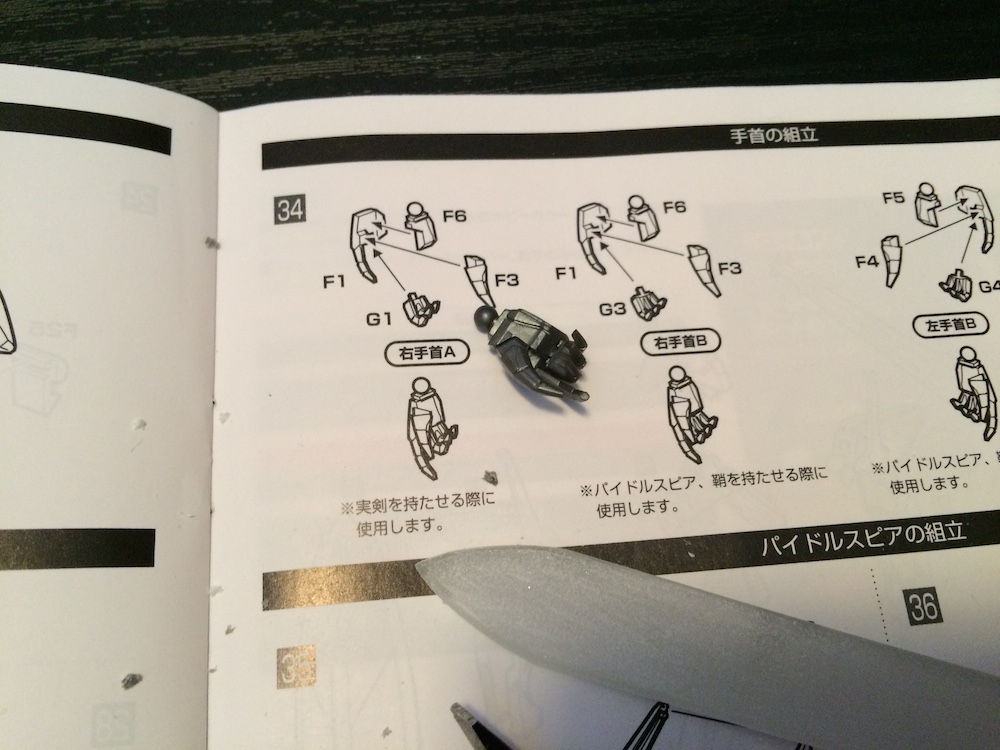
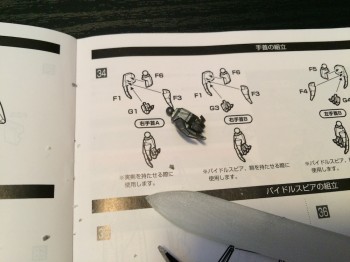
The hands were particularly bothersome. You are given a choice of eight different styles (per hand) with many different pieces from which to assemble them. Unlike most other kits of this type, rather than simply make one articulated hand you’re supposed to choose which weapon or position you want the kit to have and then pick the appropriate hand for it. This would be ok in theory if
1) The hands were easy to switch (which they absolutely aren’t), and
2) The hands actually held the weapons they are supposed to (again, they don’t)
So one of the final steps – making and fitting the hands – ends up being one of the most frustrating.
Building the kit took many hours. This was because the pieces were tiny, needed a lot of cleaning up (the connections to the runners were often positioned poorly) and because the glue – while very good – had particularly strong fumes which necessitated working in small periods 🙂
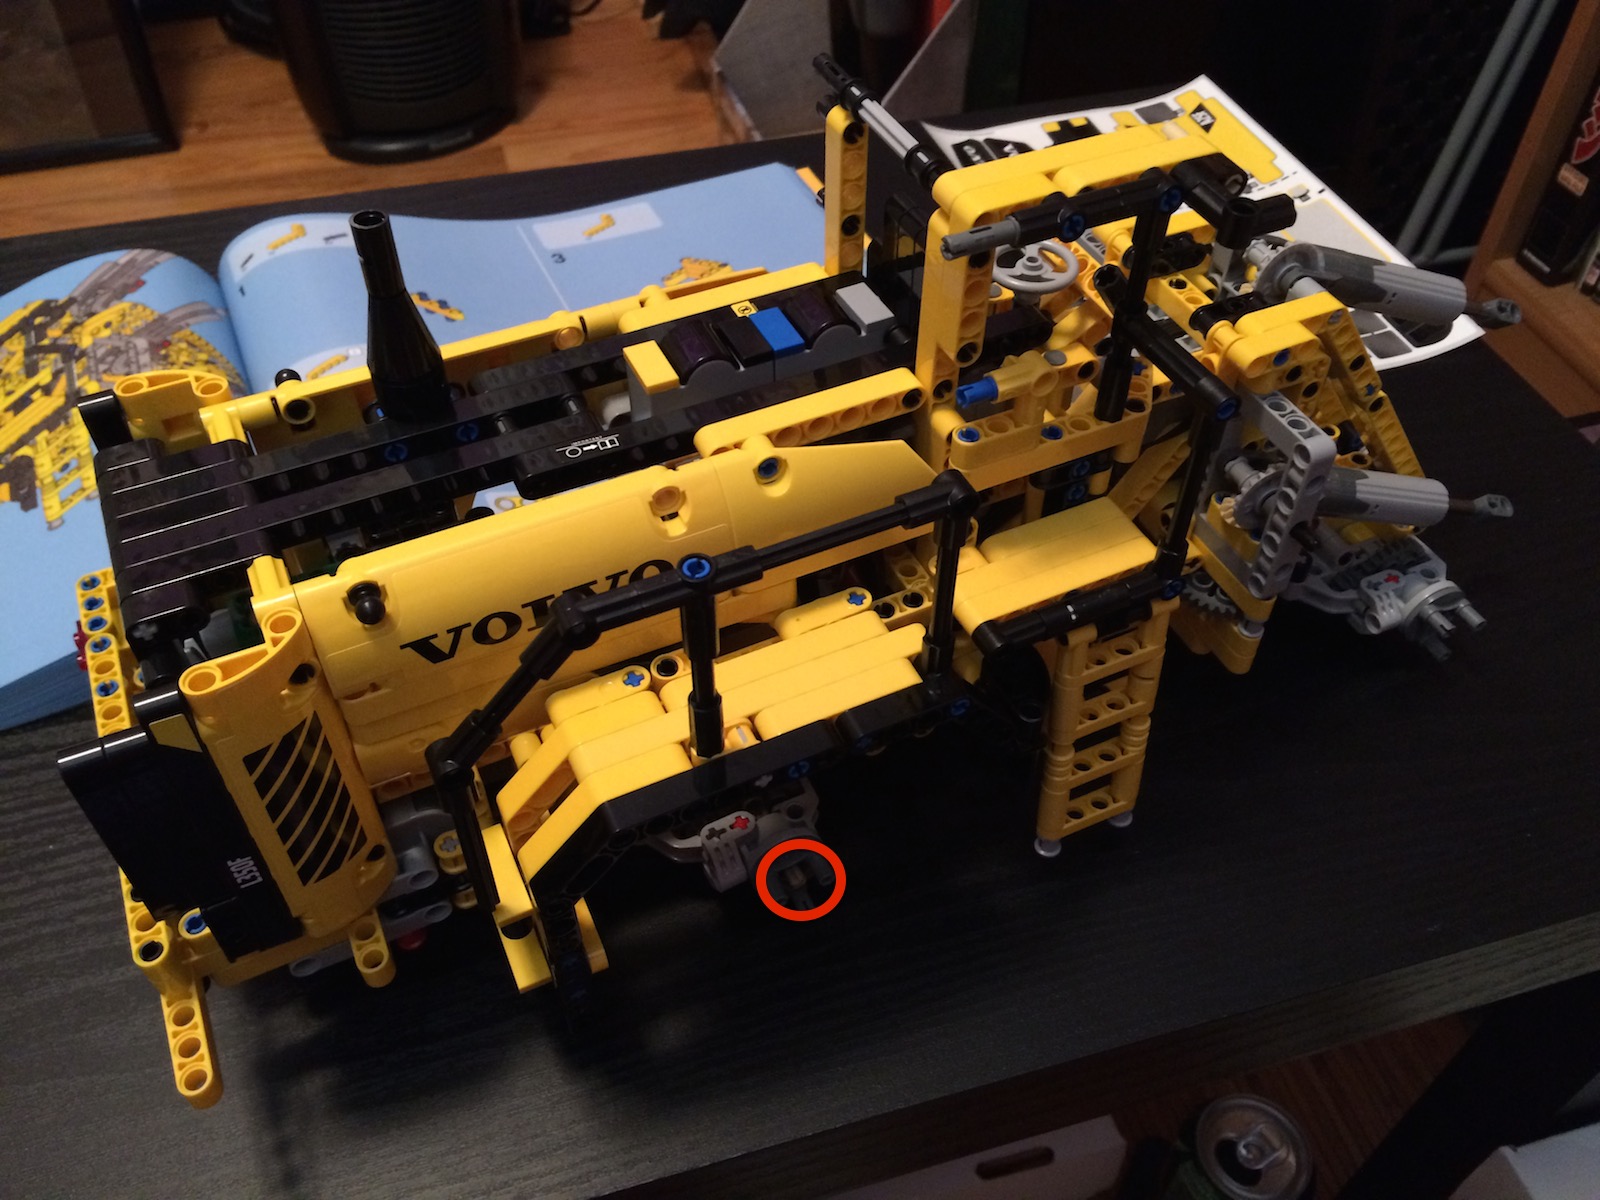
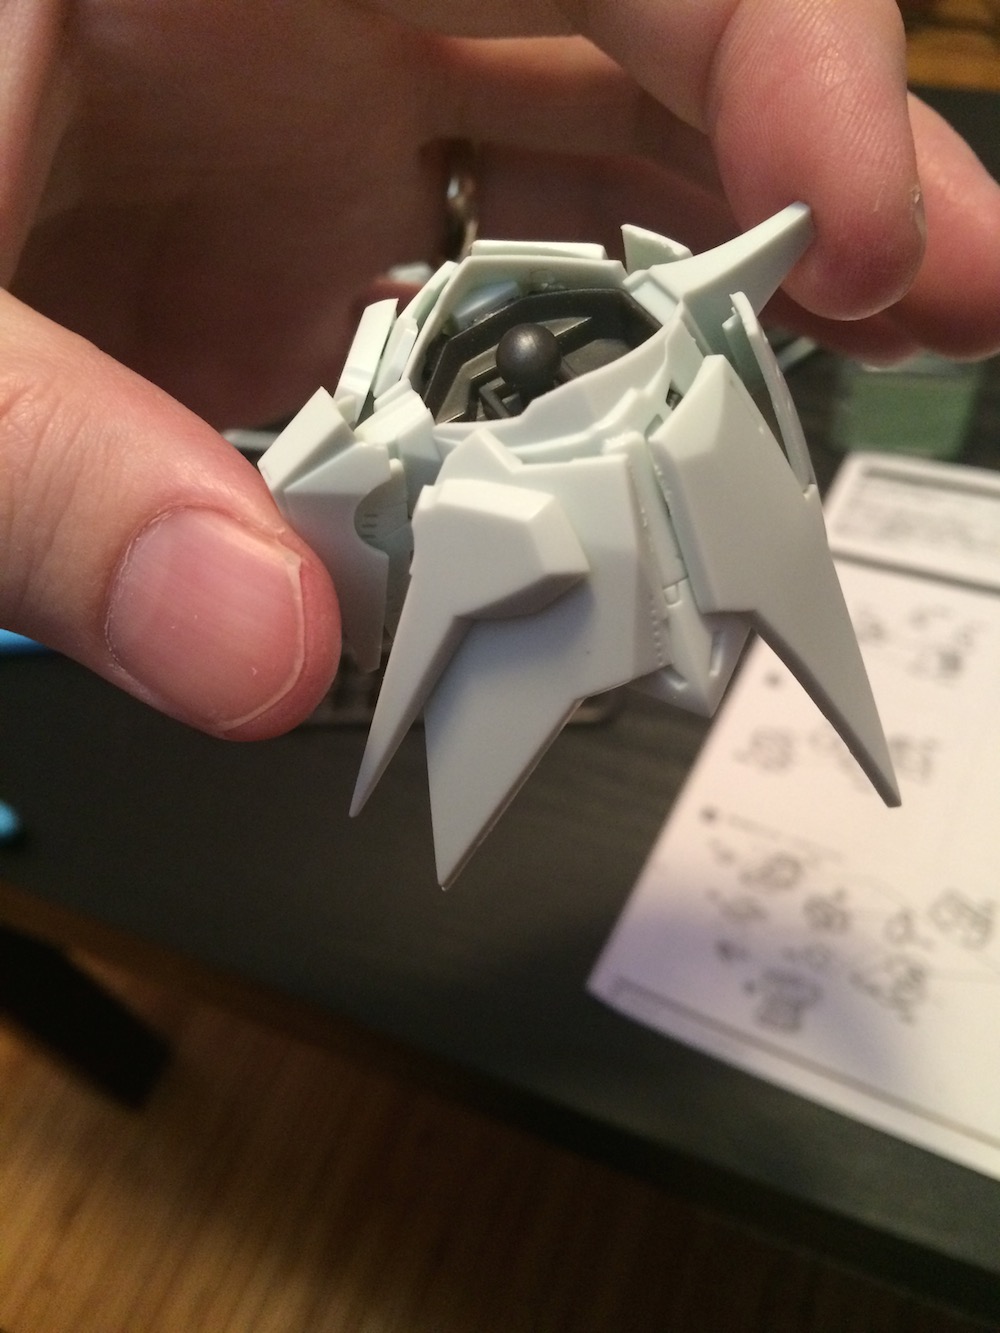
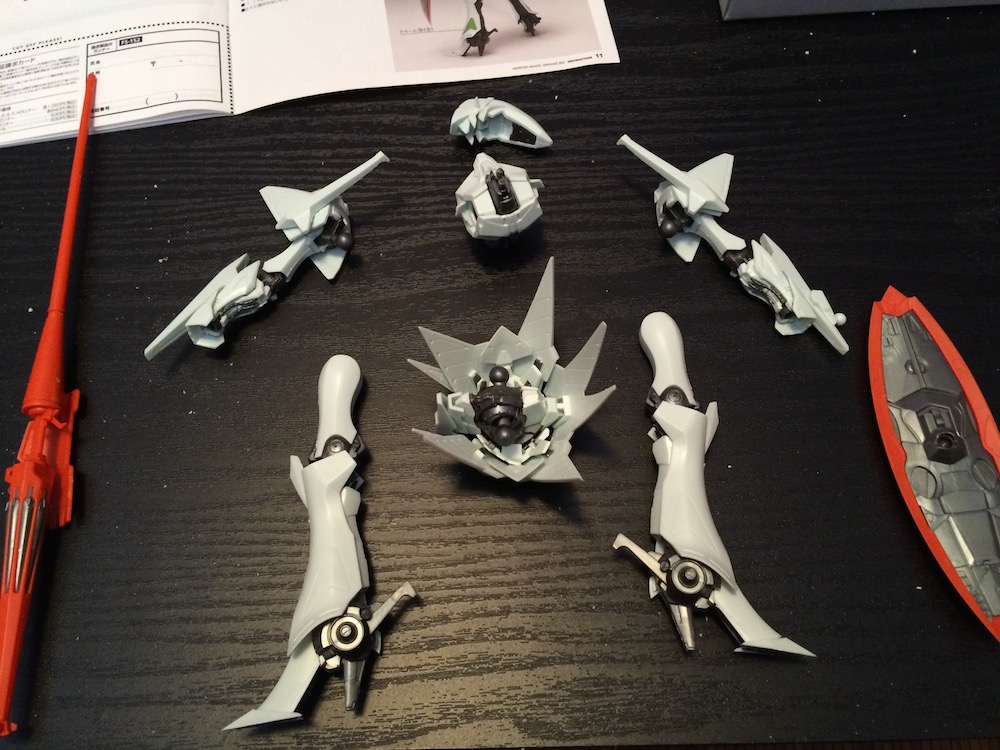
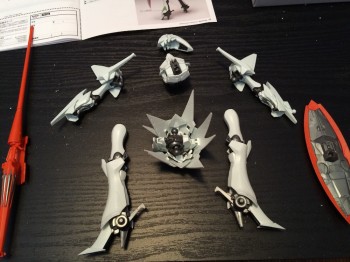
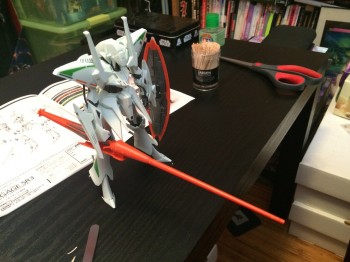
But eventually the pieces were all together, and it was time to assemble the final product. Here’s a shot pre=assembly:
And here he is about thirty very frustrating minutes later:
During assembly the head, hands and part of the waist broke. I was able to fix the head and waist, but the thumb on the hand broke cleanly off (not along the glue line) so he ended up thumbless. All these breaks occurred because of the force required to attach the limbs via ball-and-socket joints. Again, I attribute this to poor design. It would have been vastly better (a la the Gundam model) to built a skeleton first them put the armor on afterwards.
You can see he’s still unfinished. It was time for those pesky water-applied decals:
Putting them on wasn’t so bad, but it turns out they aren’t quite the same technology as I remember from my youth. To be specific, there is no adhesive in the decal binder anymore, and surface tension is not enough to hold them on to the model when the water dries. You are supposed to apply a binding agent both before and afterwards, which ‘melts’ the decal plastic onto the kit. I had no idea of this, and was quite surprised when they all started flaking off shortly after application!
But I snapped a few photos first. Here he is post-decal and with some (unimpressive) detailing using a Gundam marker. Even between these shots you may notice some decals have come off:
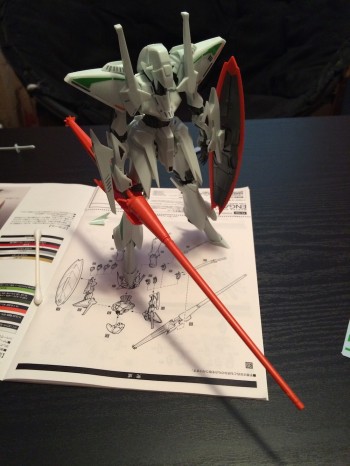
Don’t be fooled by him standing. It took forever to balance him and if I even thought at him the wrong way he fell over!
As you can see he’s nowhere near as impressive as the packaging, since he obviously requires a lot of detailed paintwork to look perfect. I’m happy enough with how he ended up though, given the frustrations and difficulties I had with the kit!
Last word: if you’re after a robot model kit, avoid Wave! Go with Kotobukiya (incredibly complex and detailed snap-together kits) or Bandai (slightly simpler but no less impressive snap-togethers), both of which produce easier-to-assemble models that are technically more impressive than this one.
If only Kotobukiya would get the FSS license…