Category: Toys

My Very Own Opera House

233370-sydney-opera-aerial

That’s the Sydney Opera House. It’s world famous. You all know it. Everyone knows it!

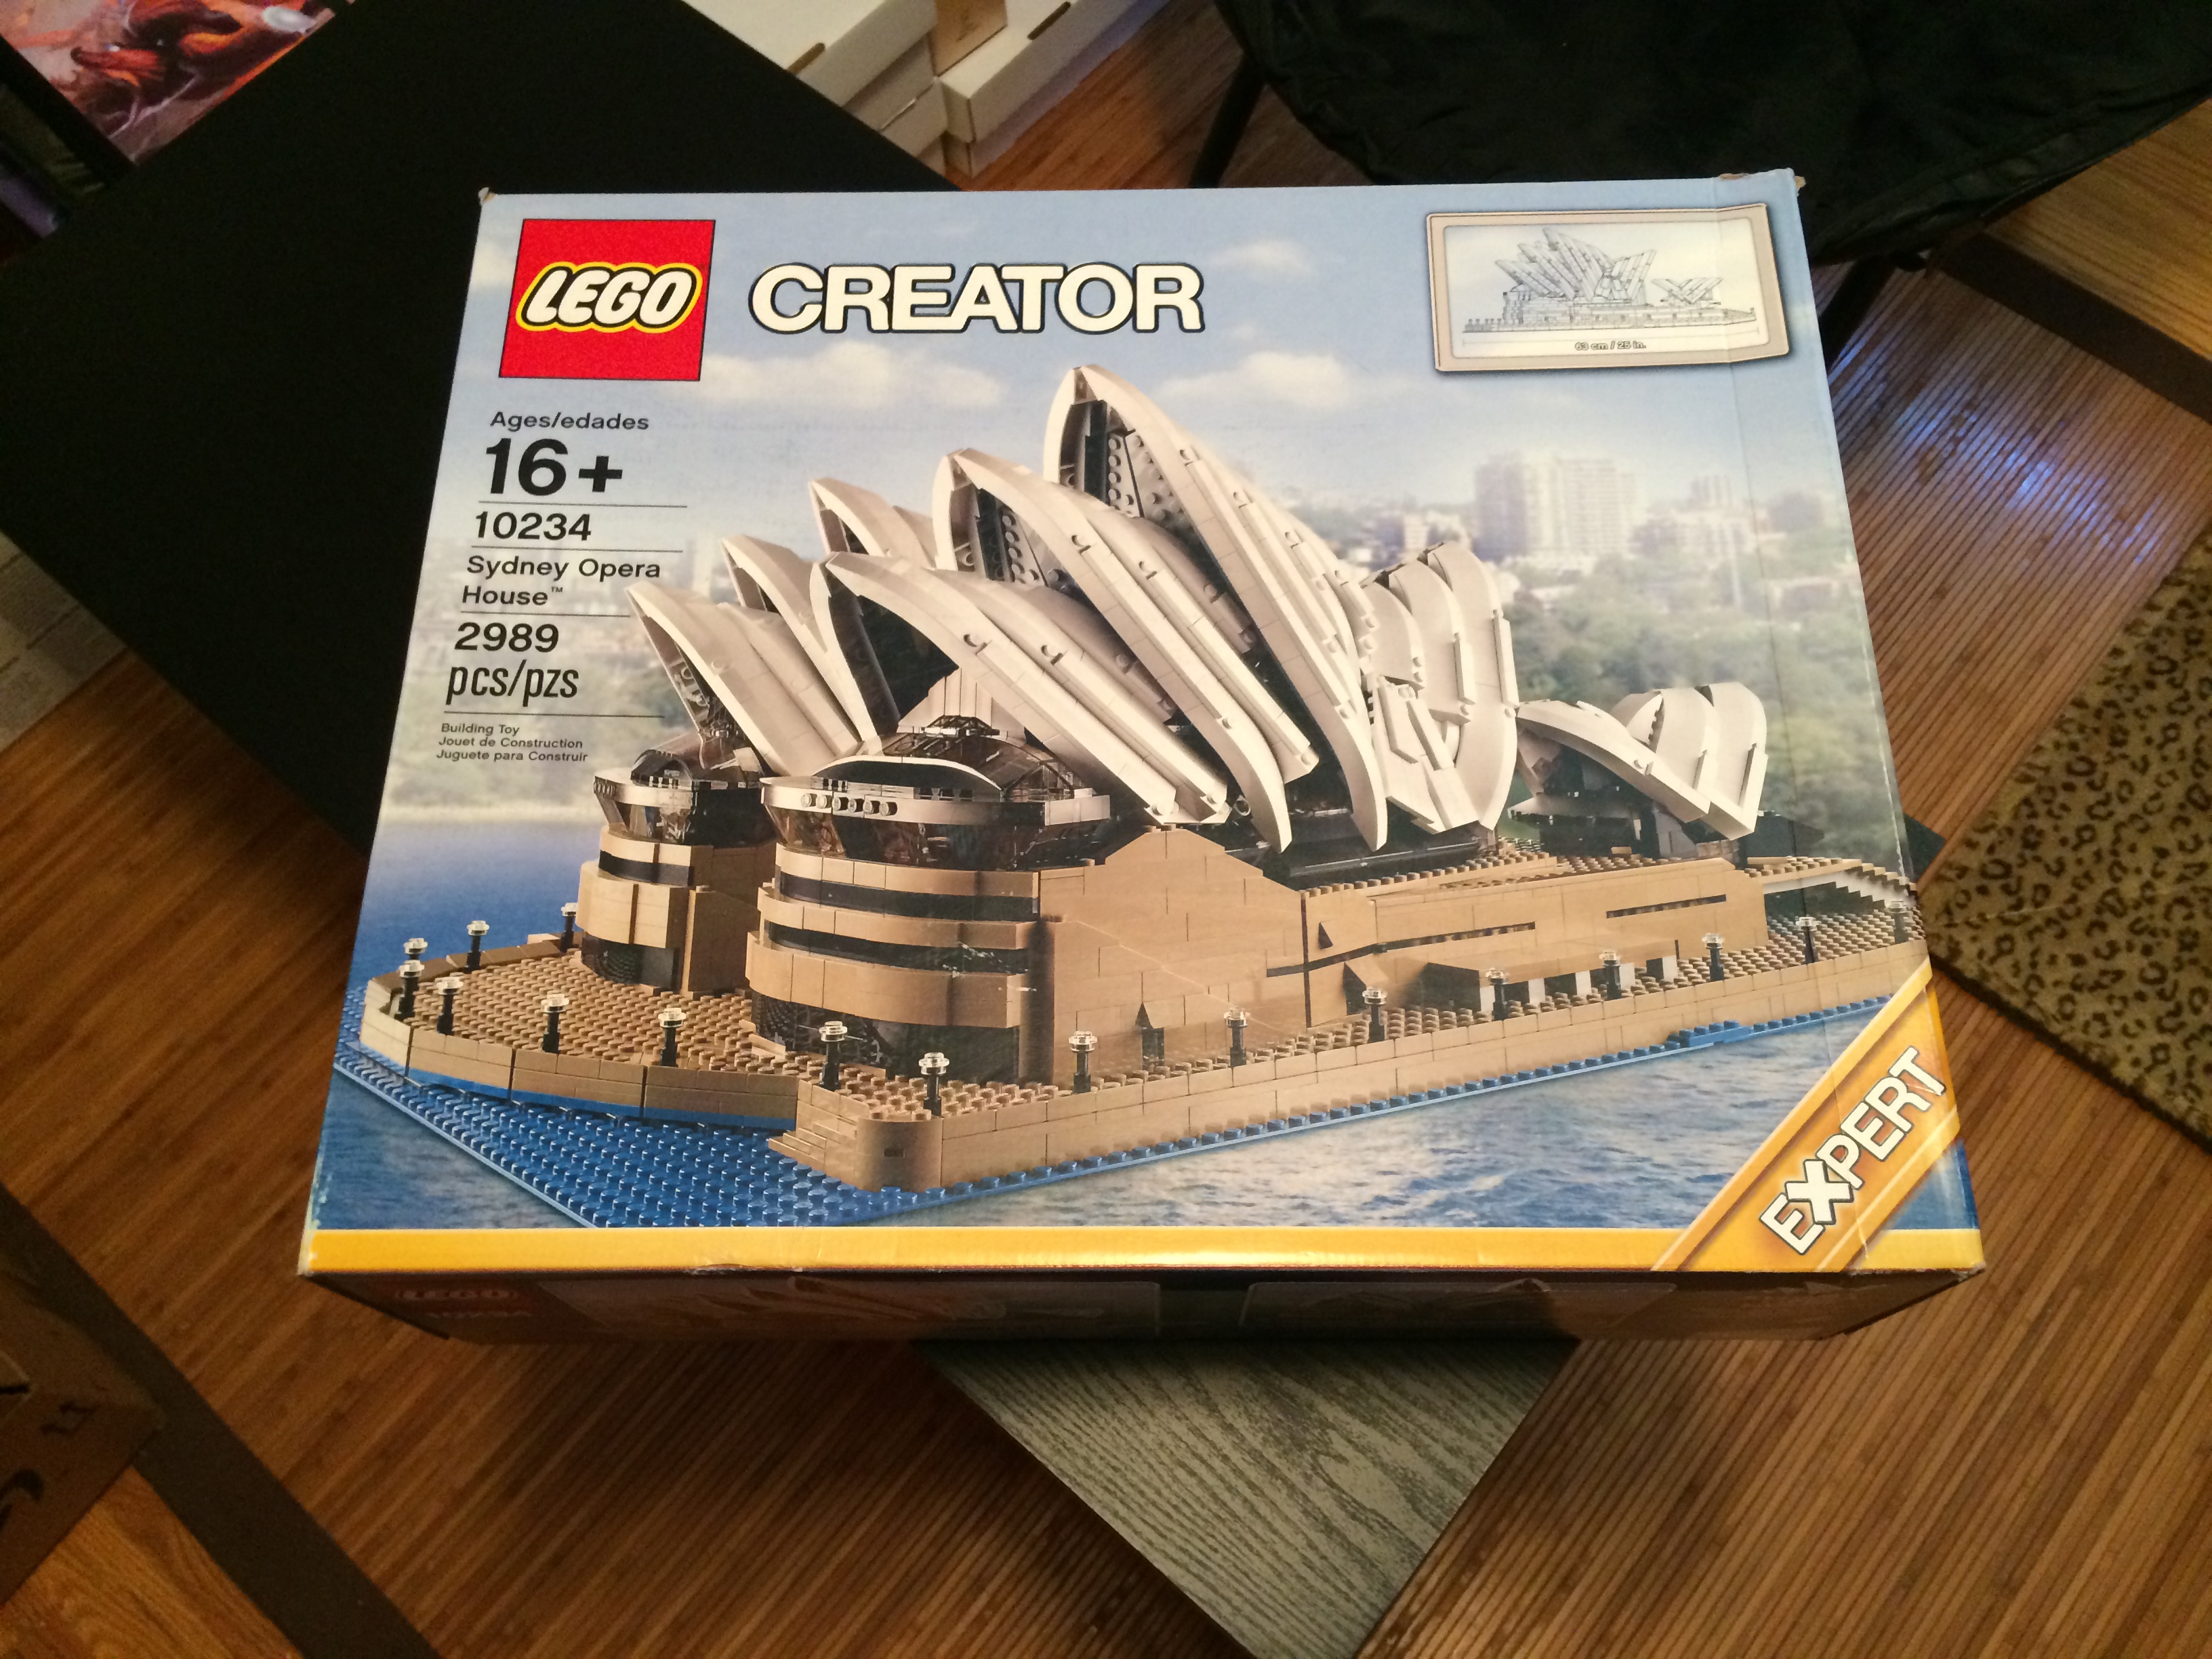
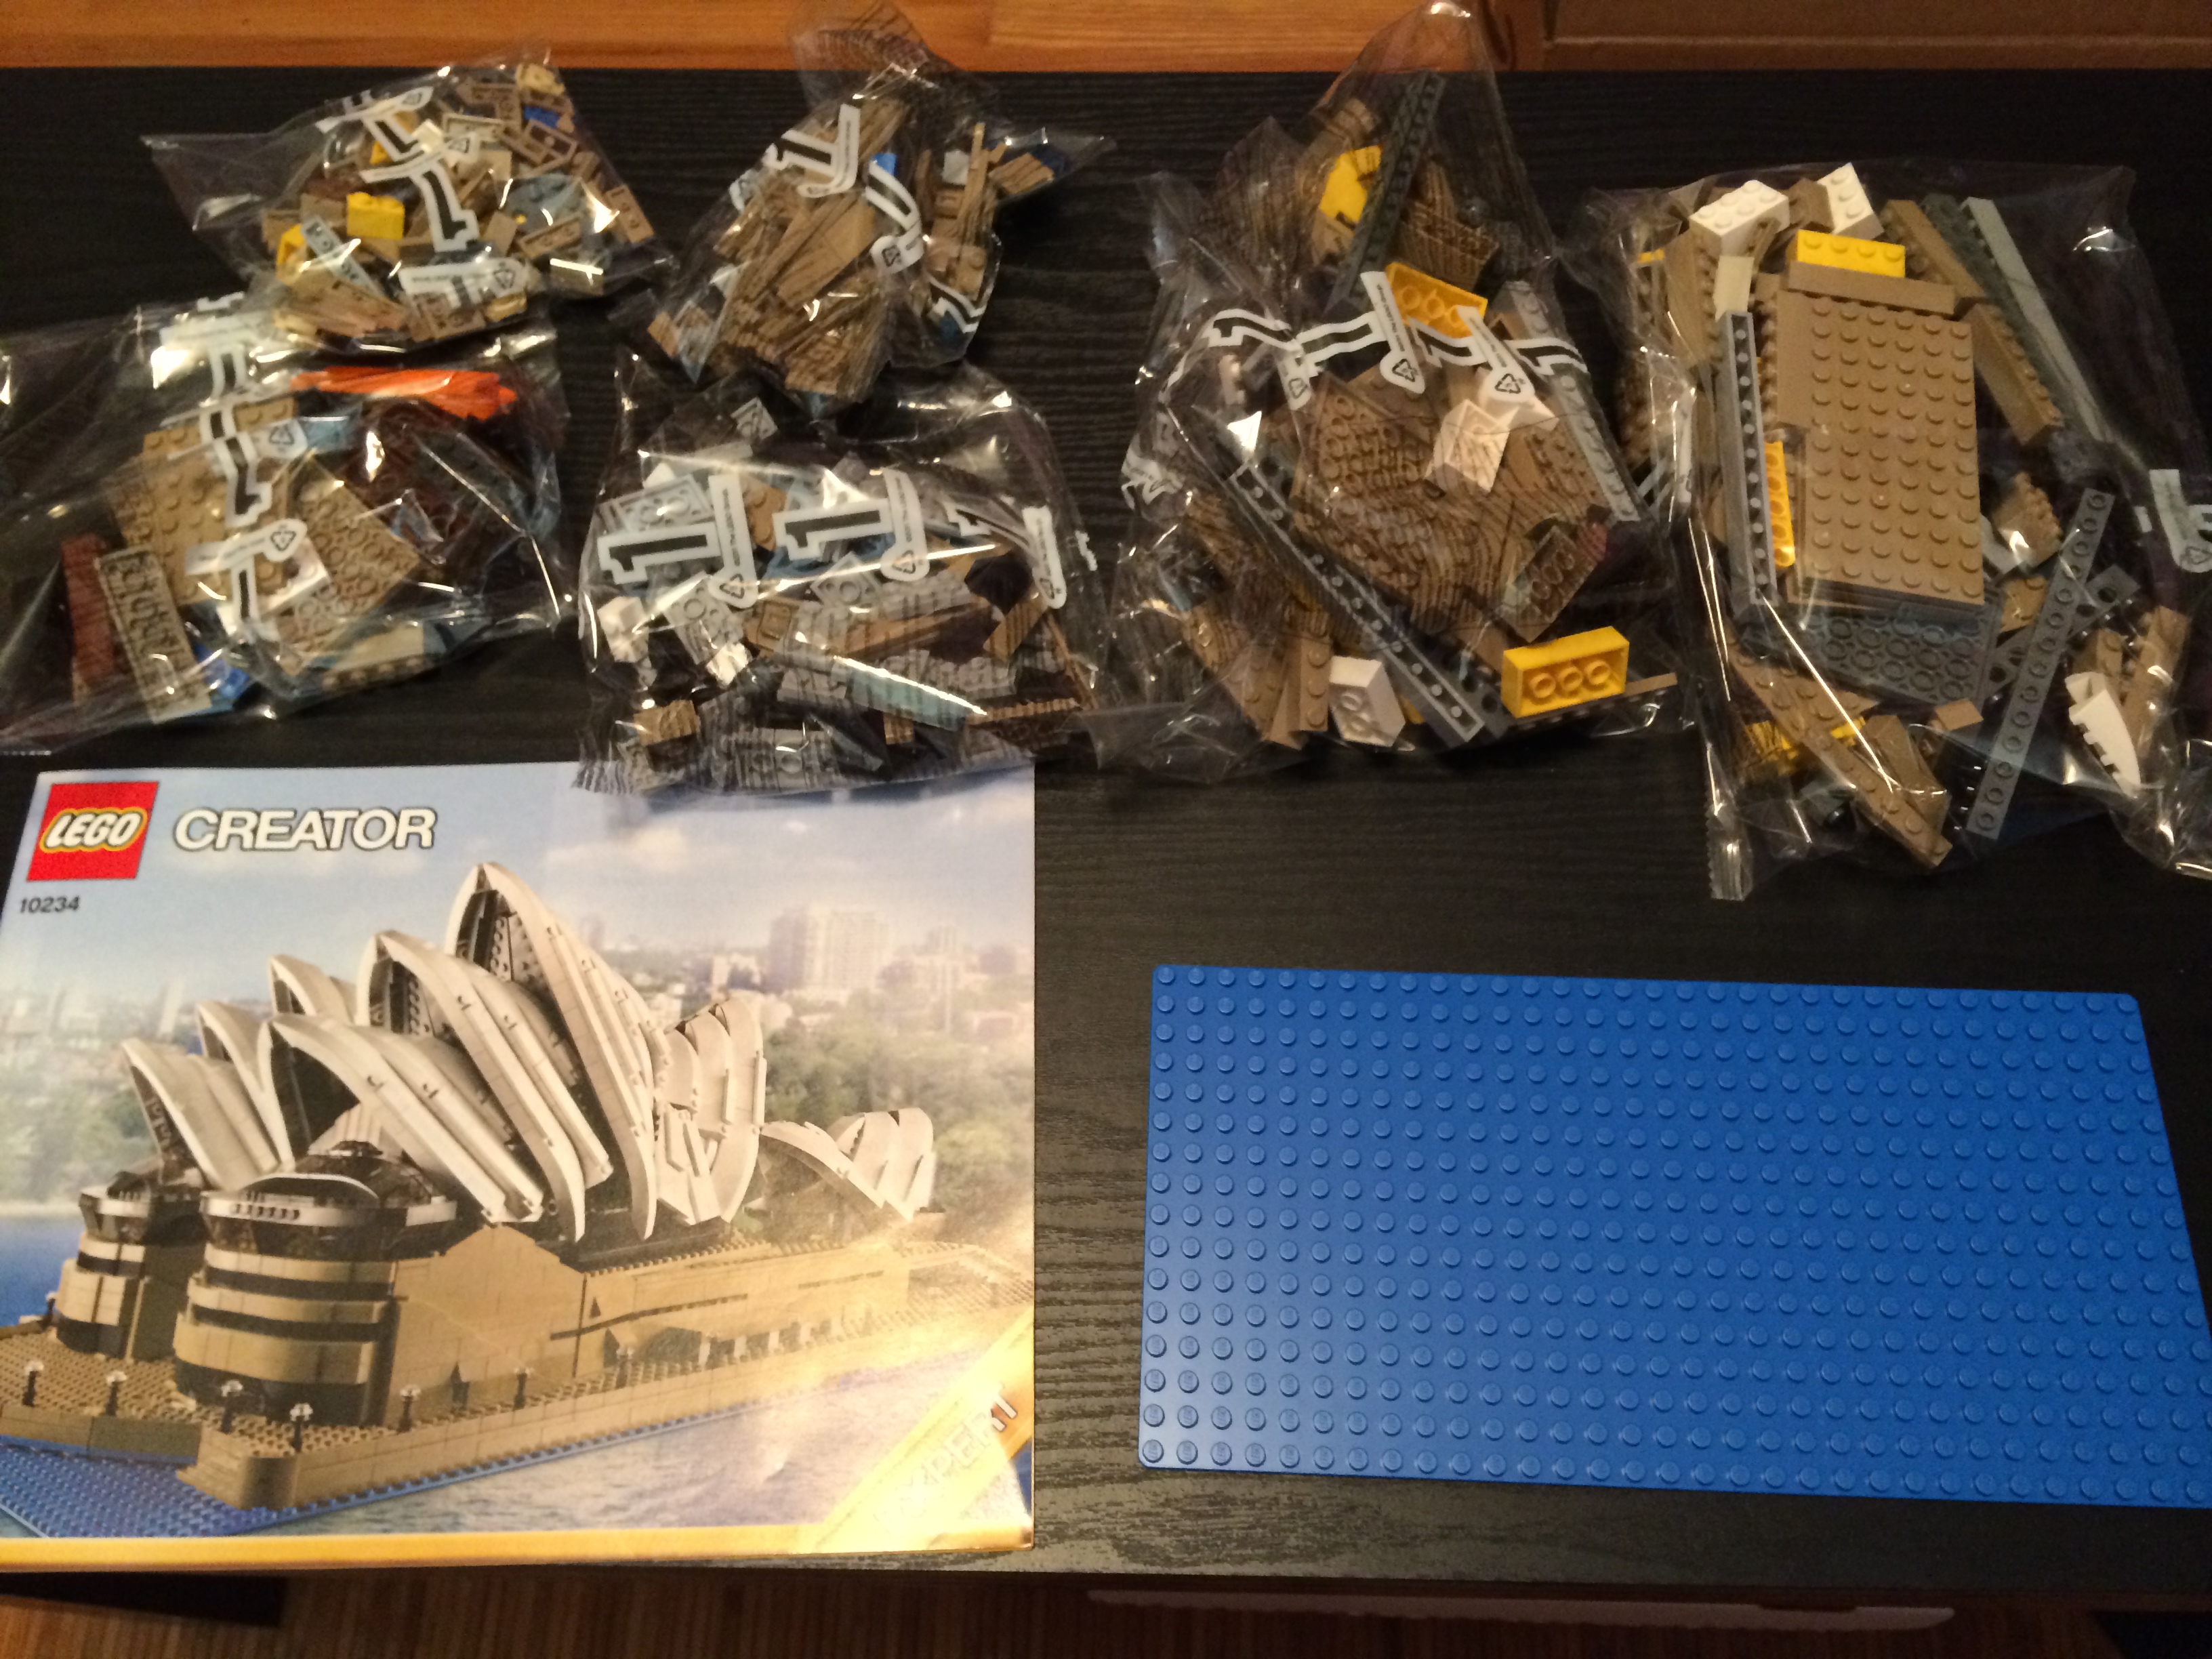
Thanks to the support of JBF and JAF, it was time to build my own. Here’s what it looked like in the box:

IMG_3188

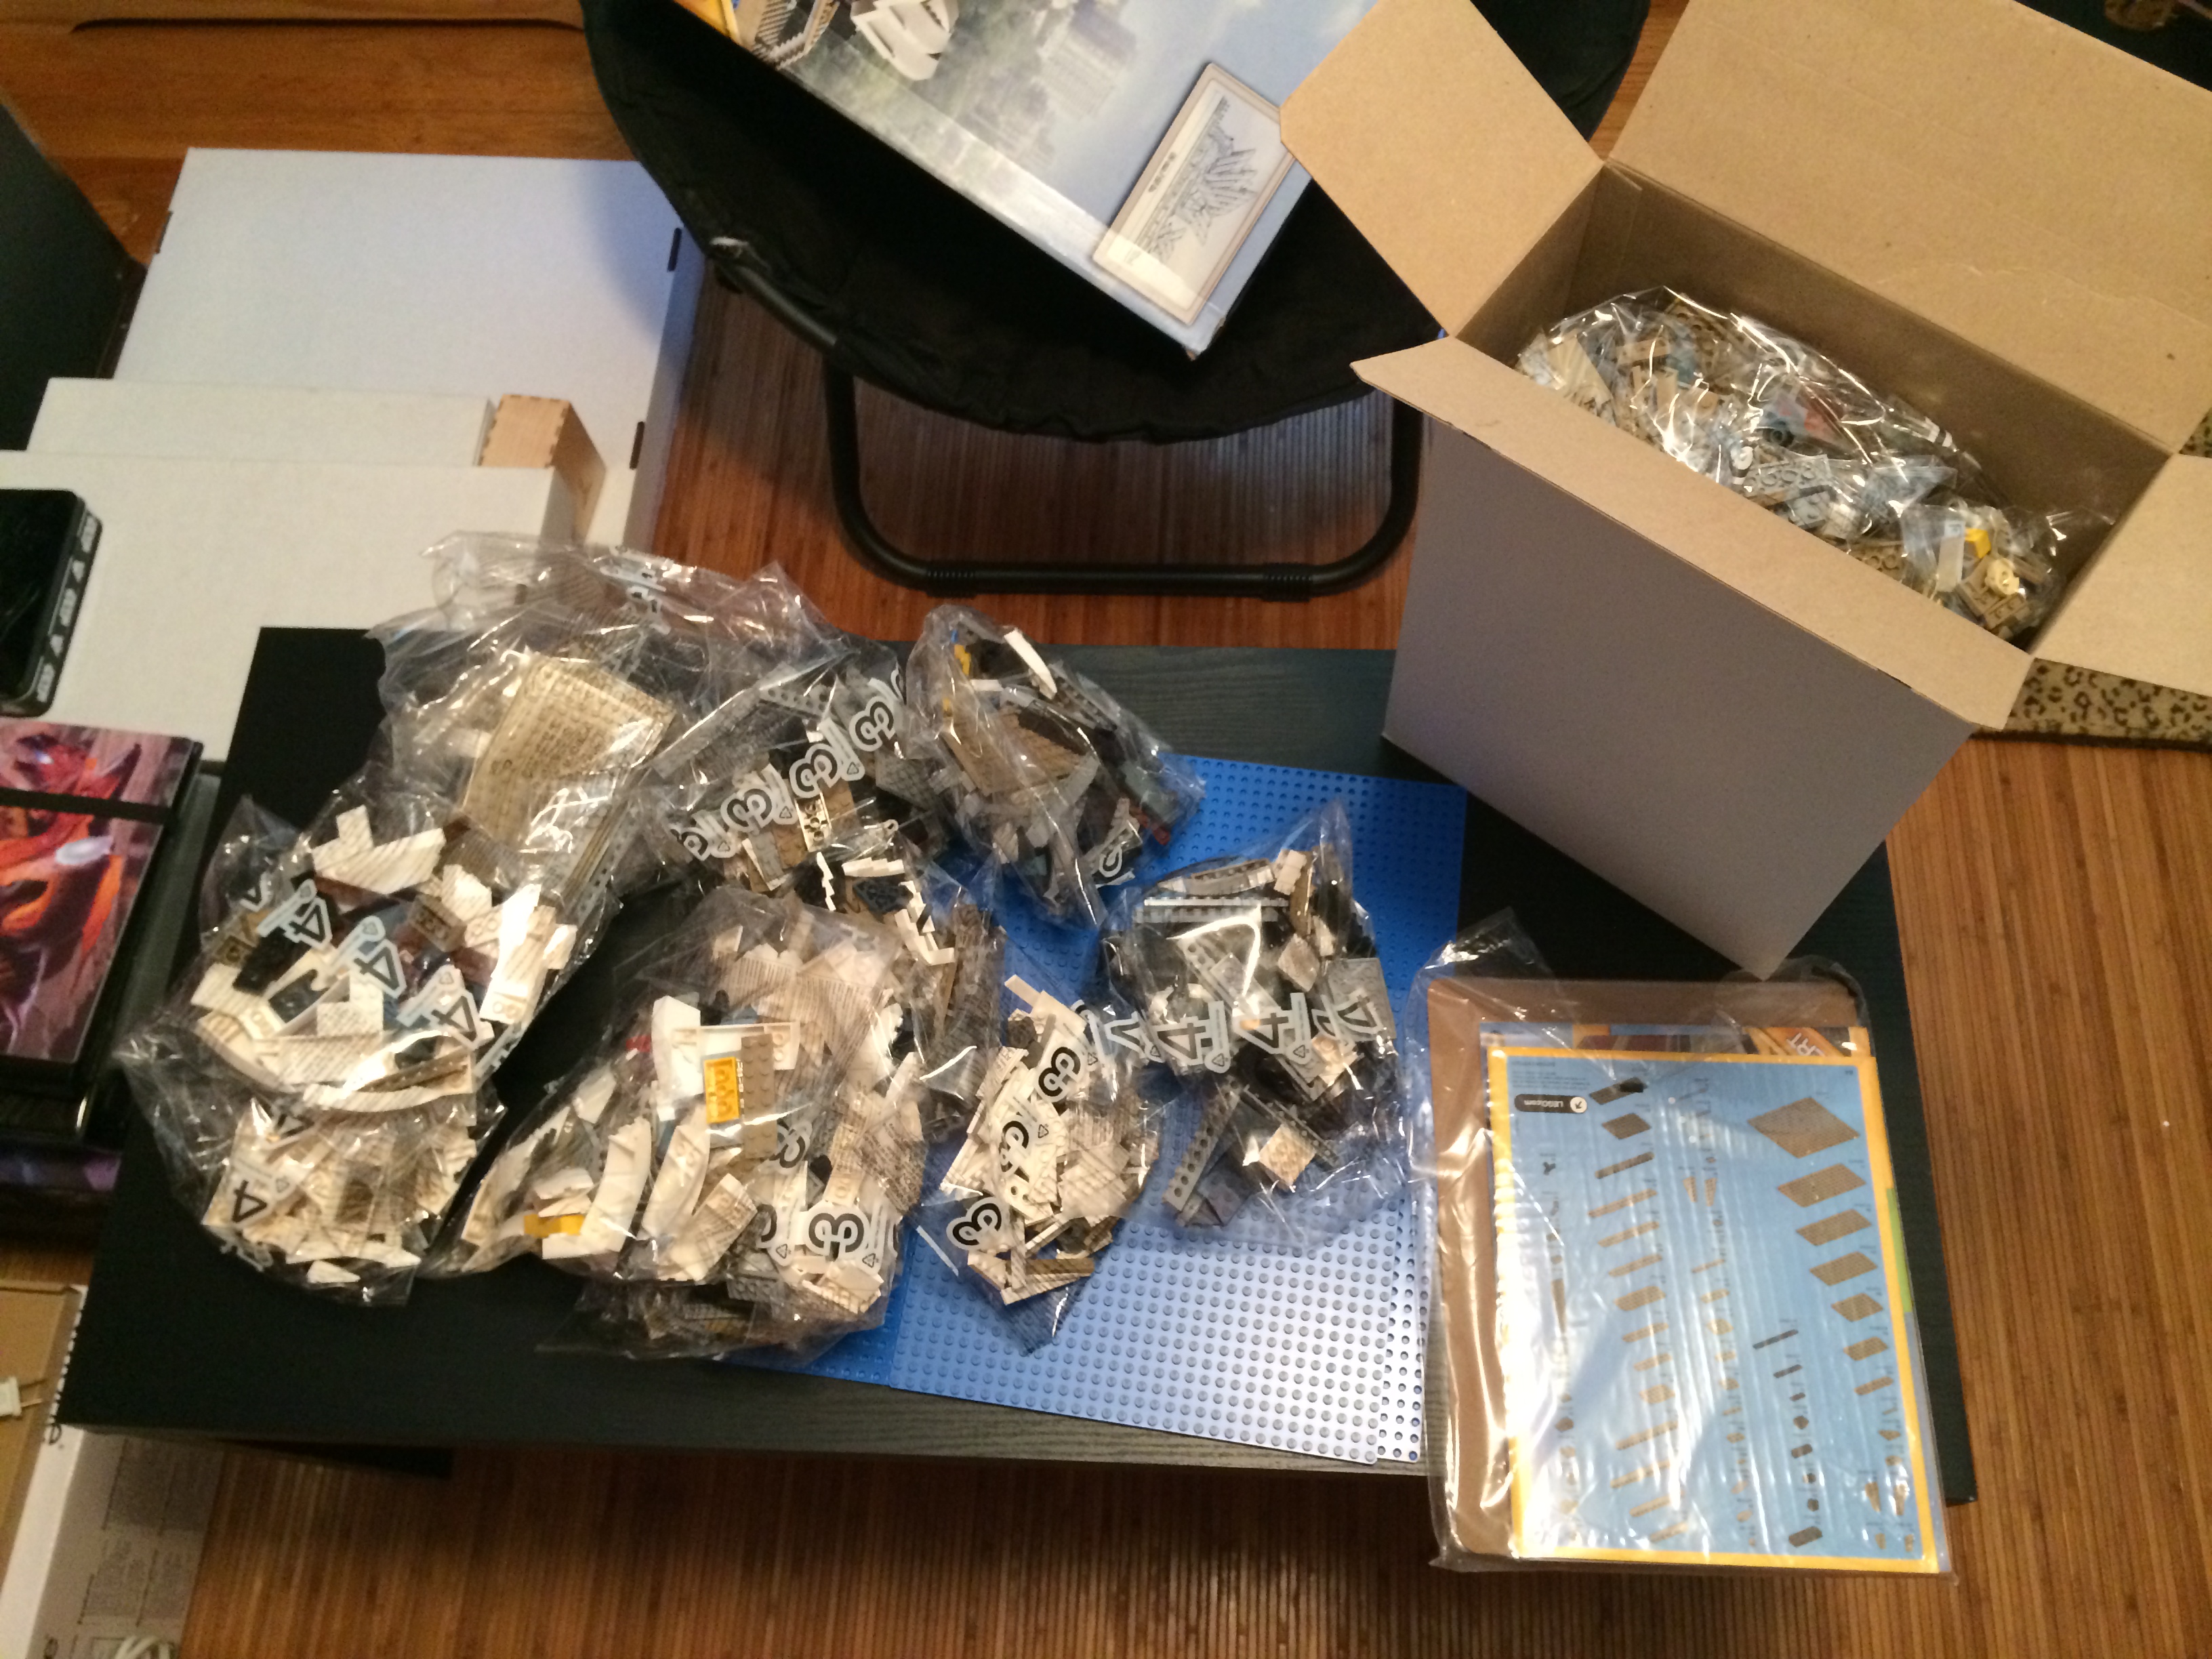
And what was inside:

IMG_3190

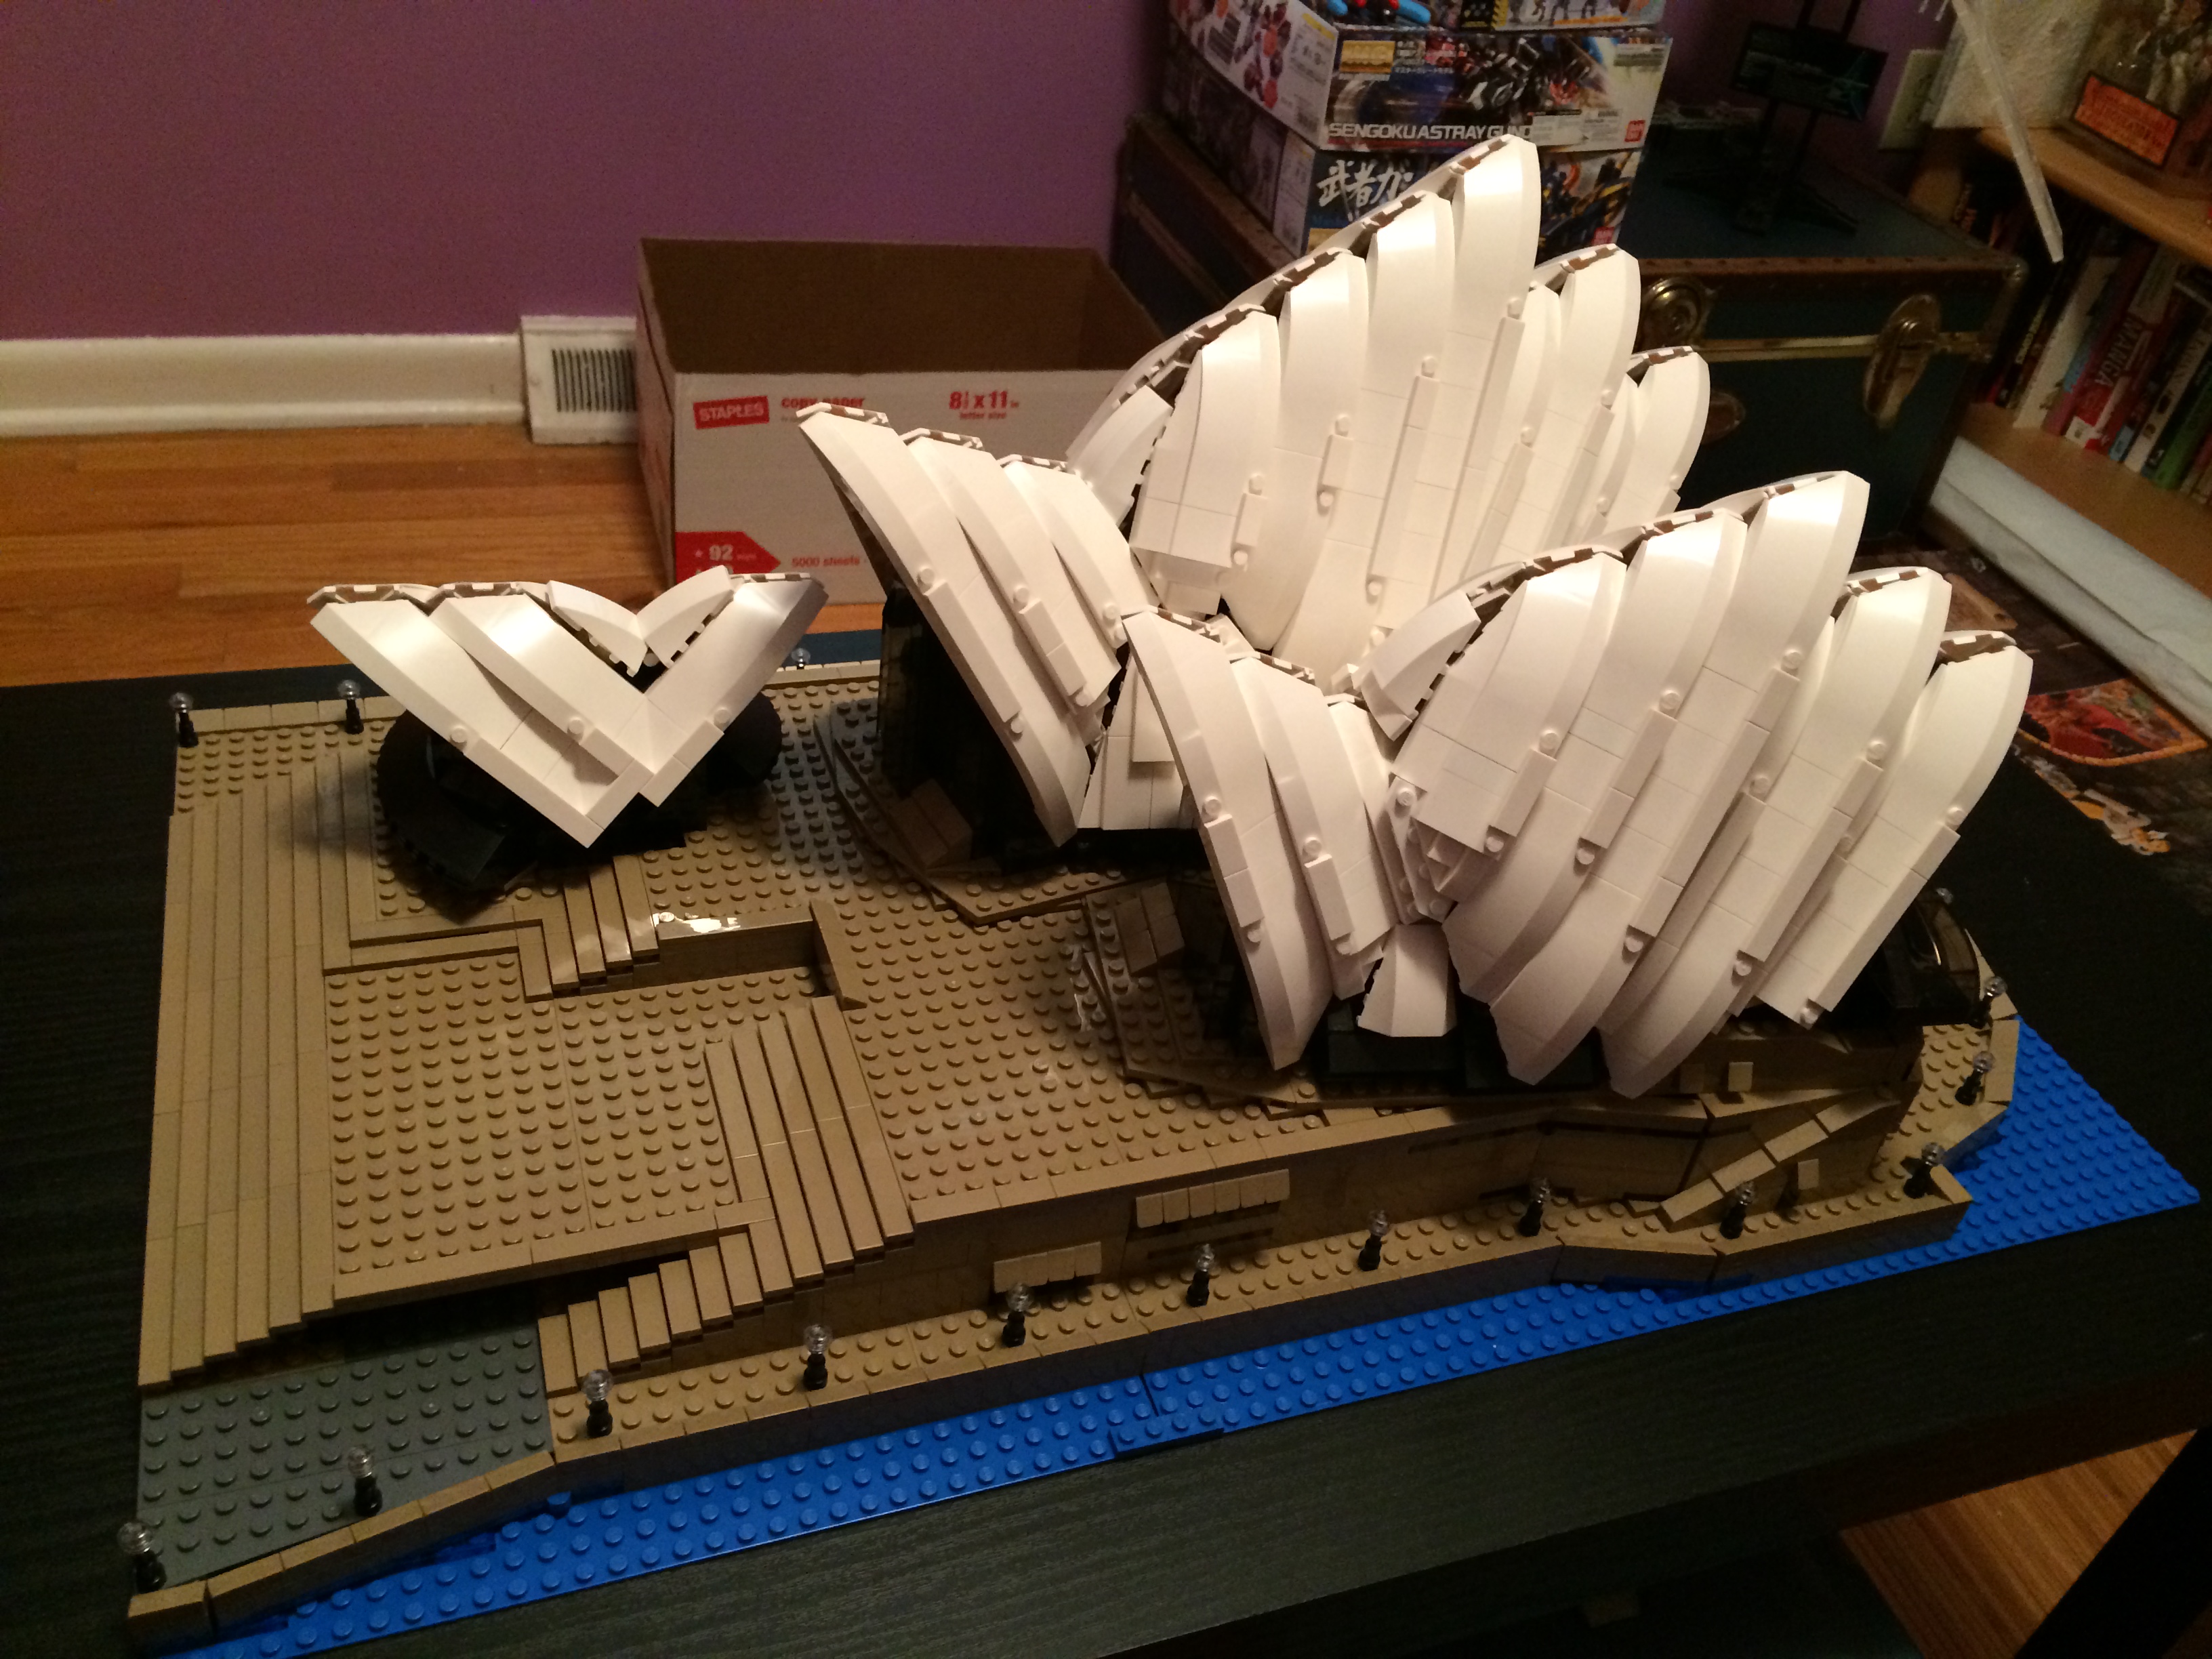
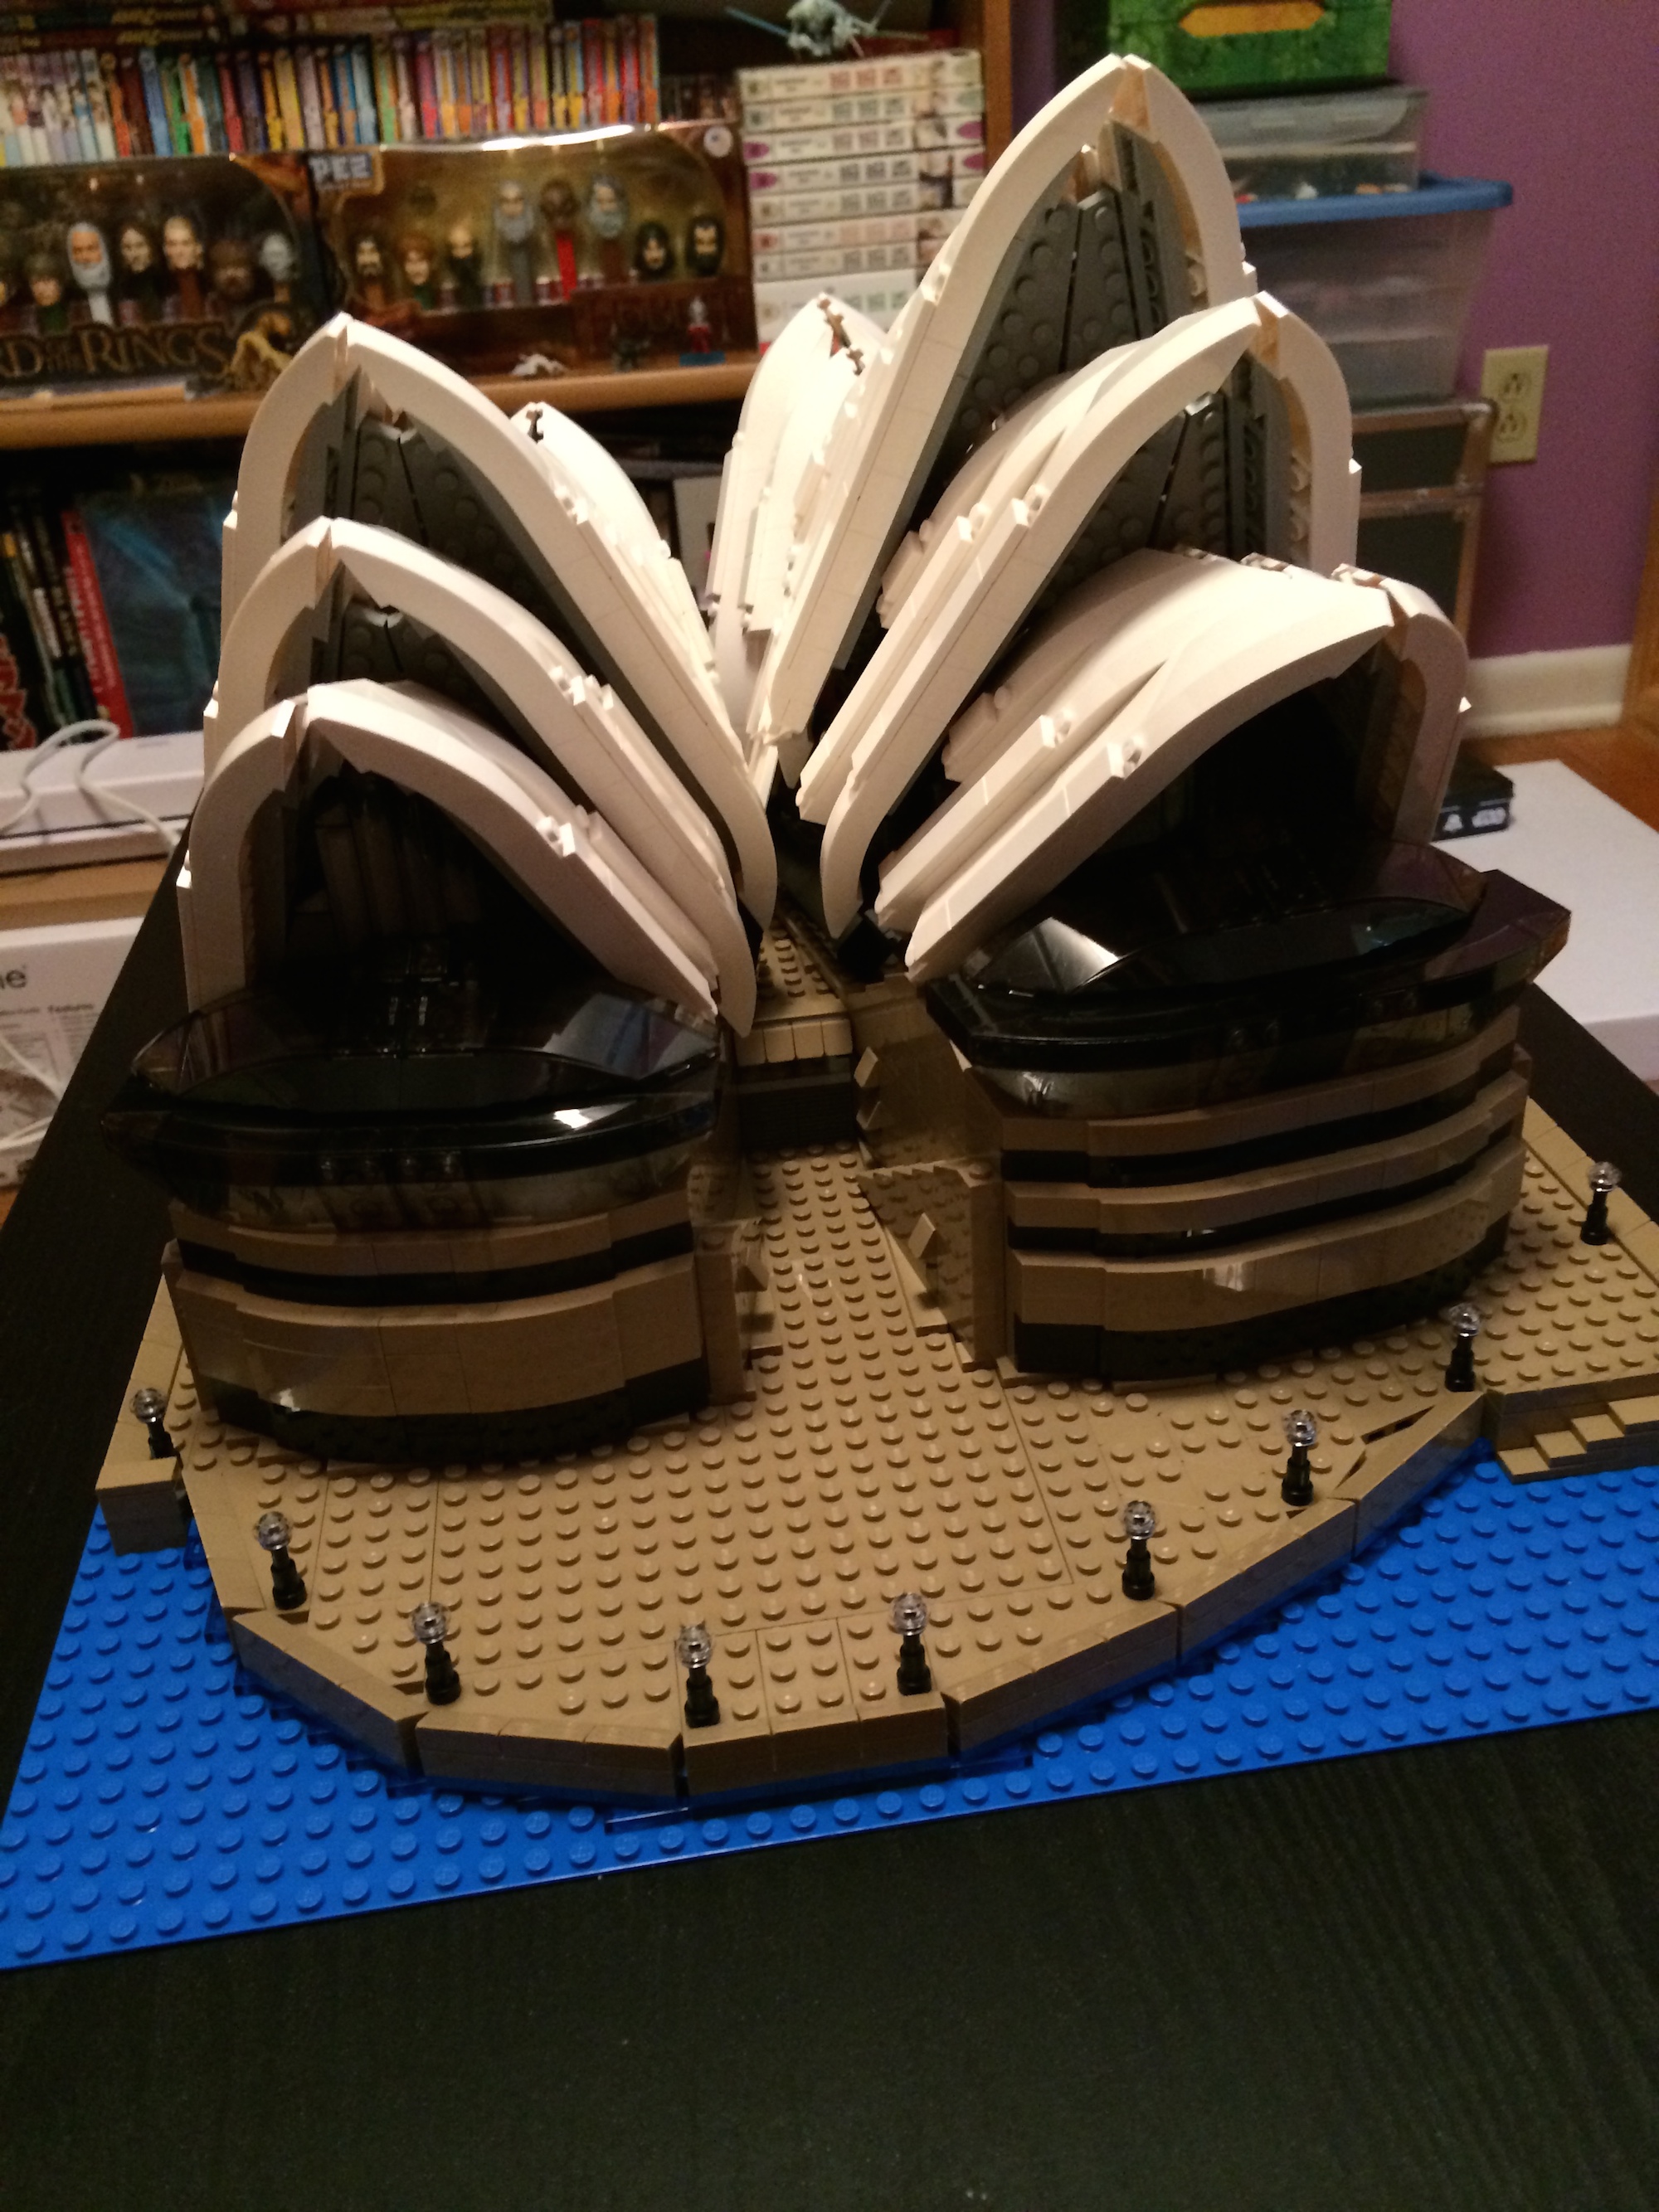
The real Opera House is constructed of millions of kilograms of steel and glass and concrete, not to mention (exactly) 1,056,006 ceramic tiles. My version is a bit smaller, composed of only 2989 pieces of plastic. It won’t be less grand though!

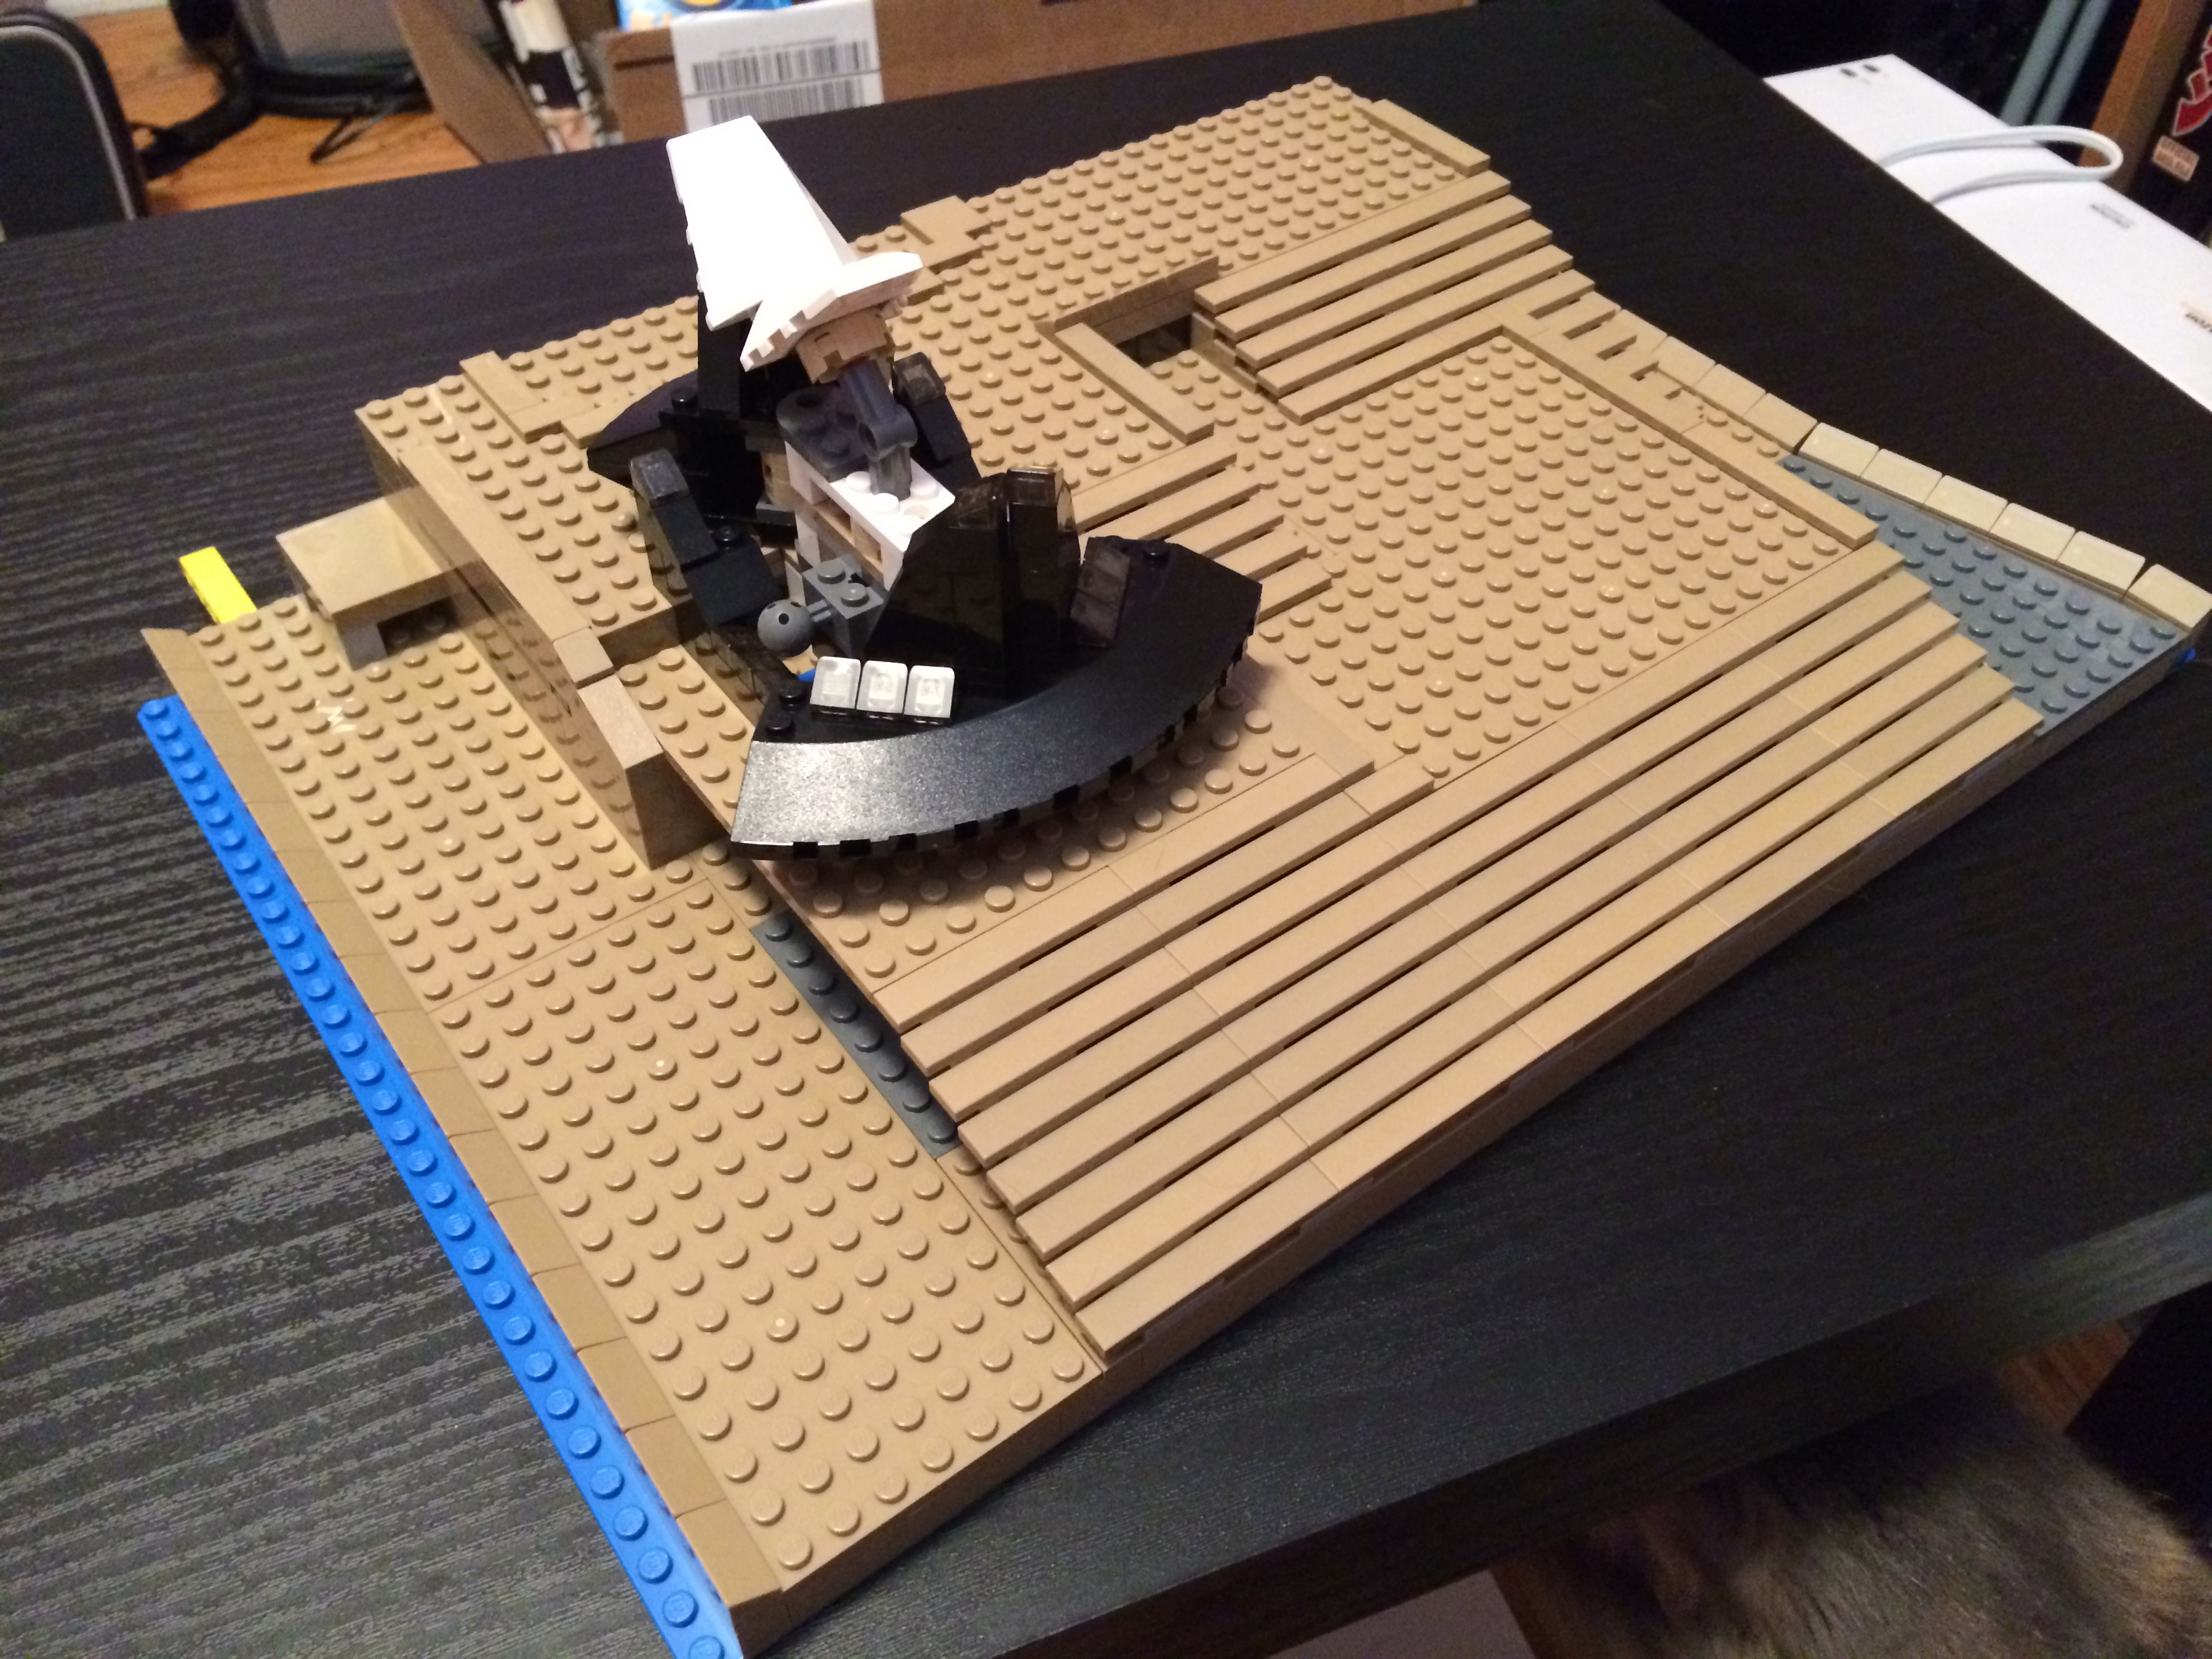
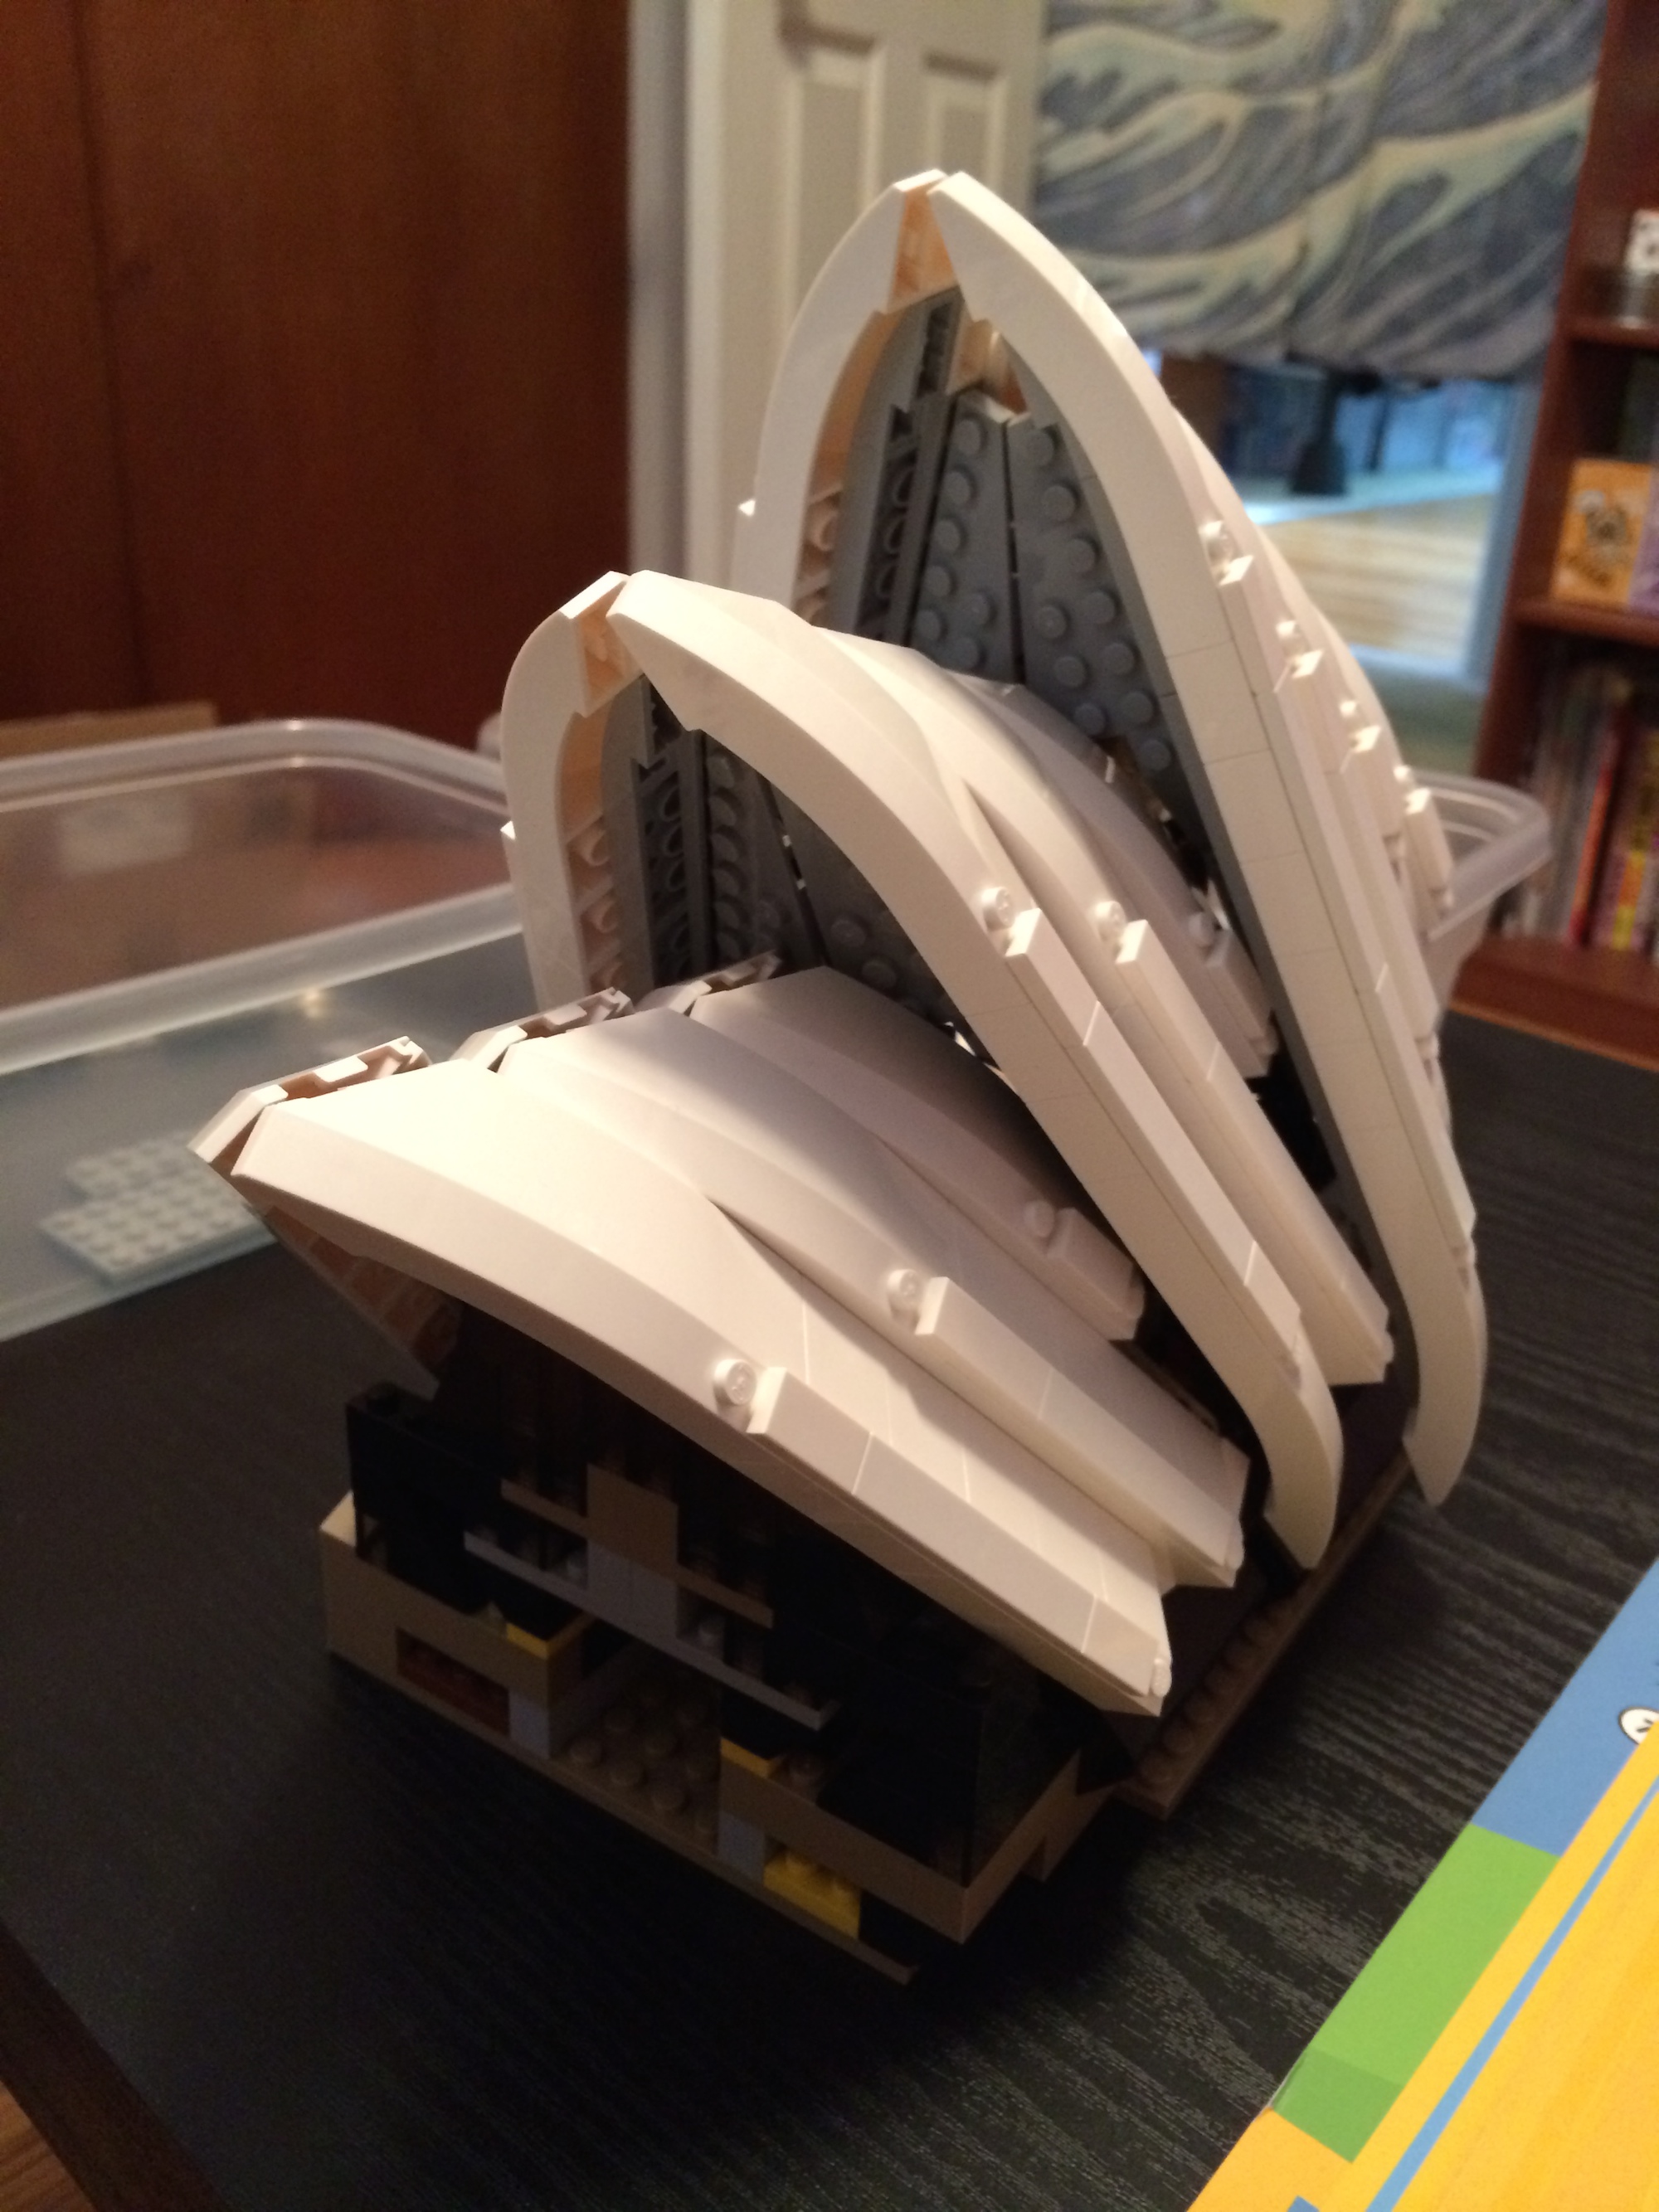
The original Opera House was built in three distinct stages: The base/podium, then the roof, then the interiors. My version was build in four stages: Stage 1, 2, 3 and 4. Here’s a shot of the beginning of construction of Stage 1:

IMG_3191

Here’s what Stage 1 looked like upon completion:

IMG_3573

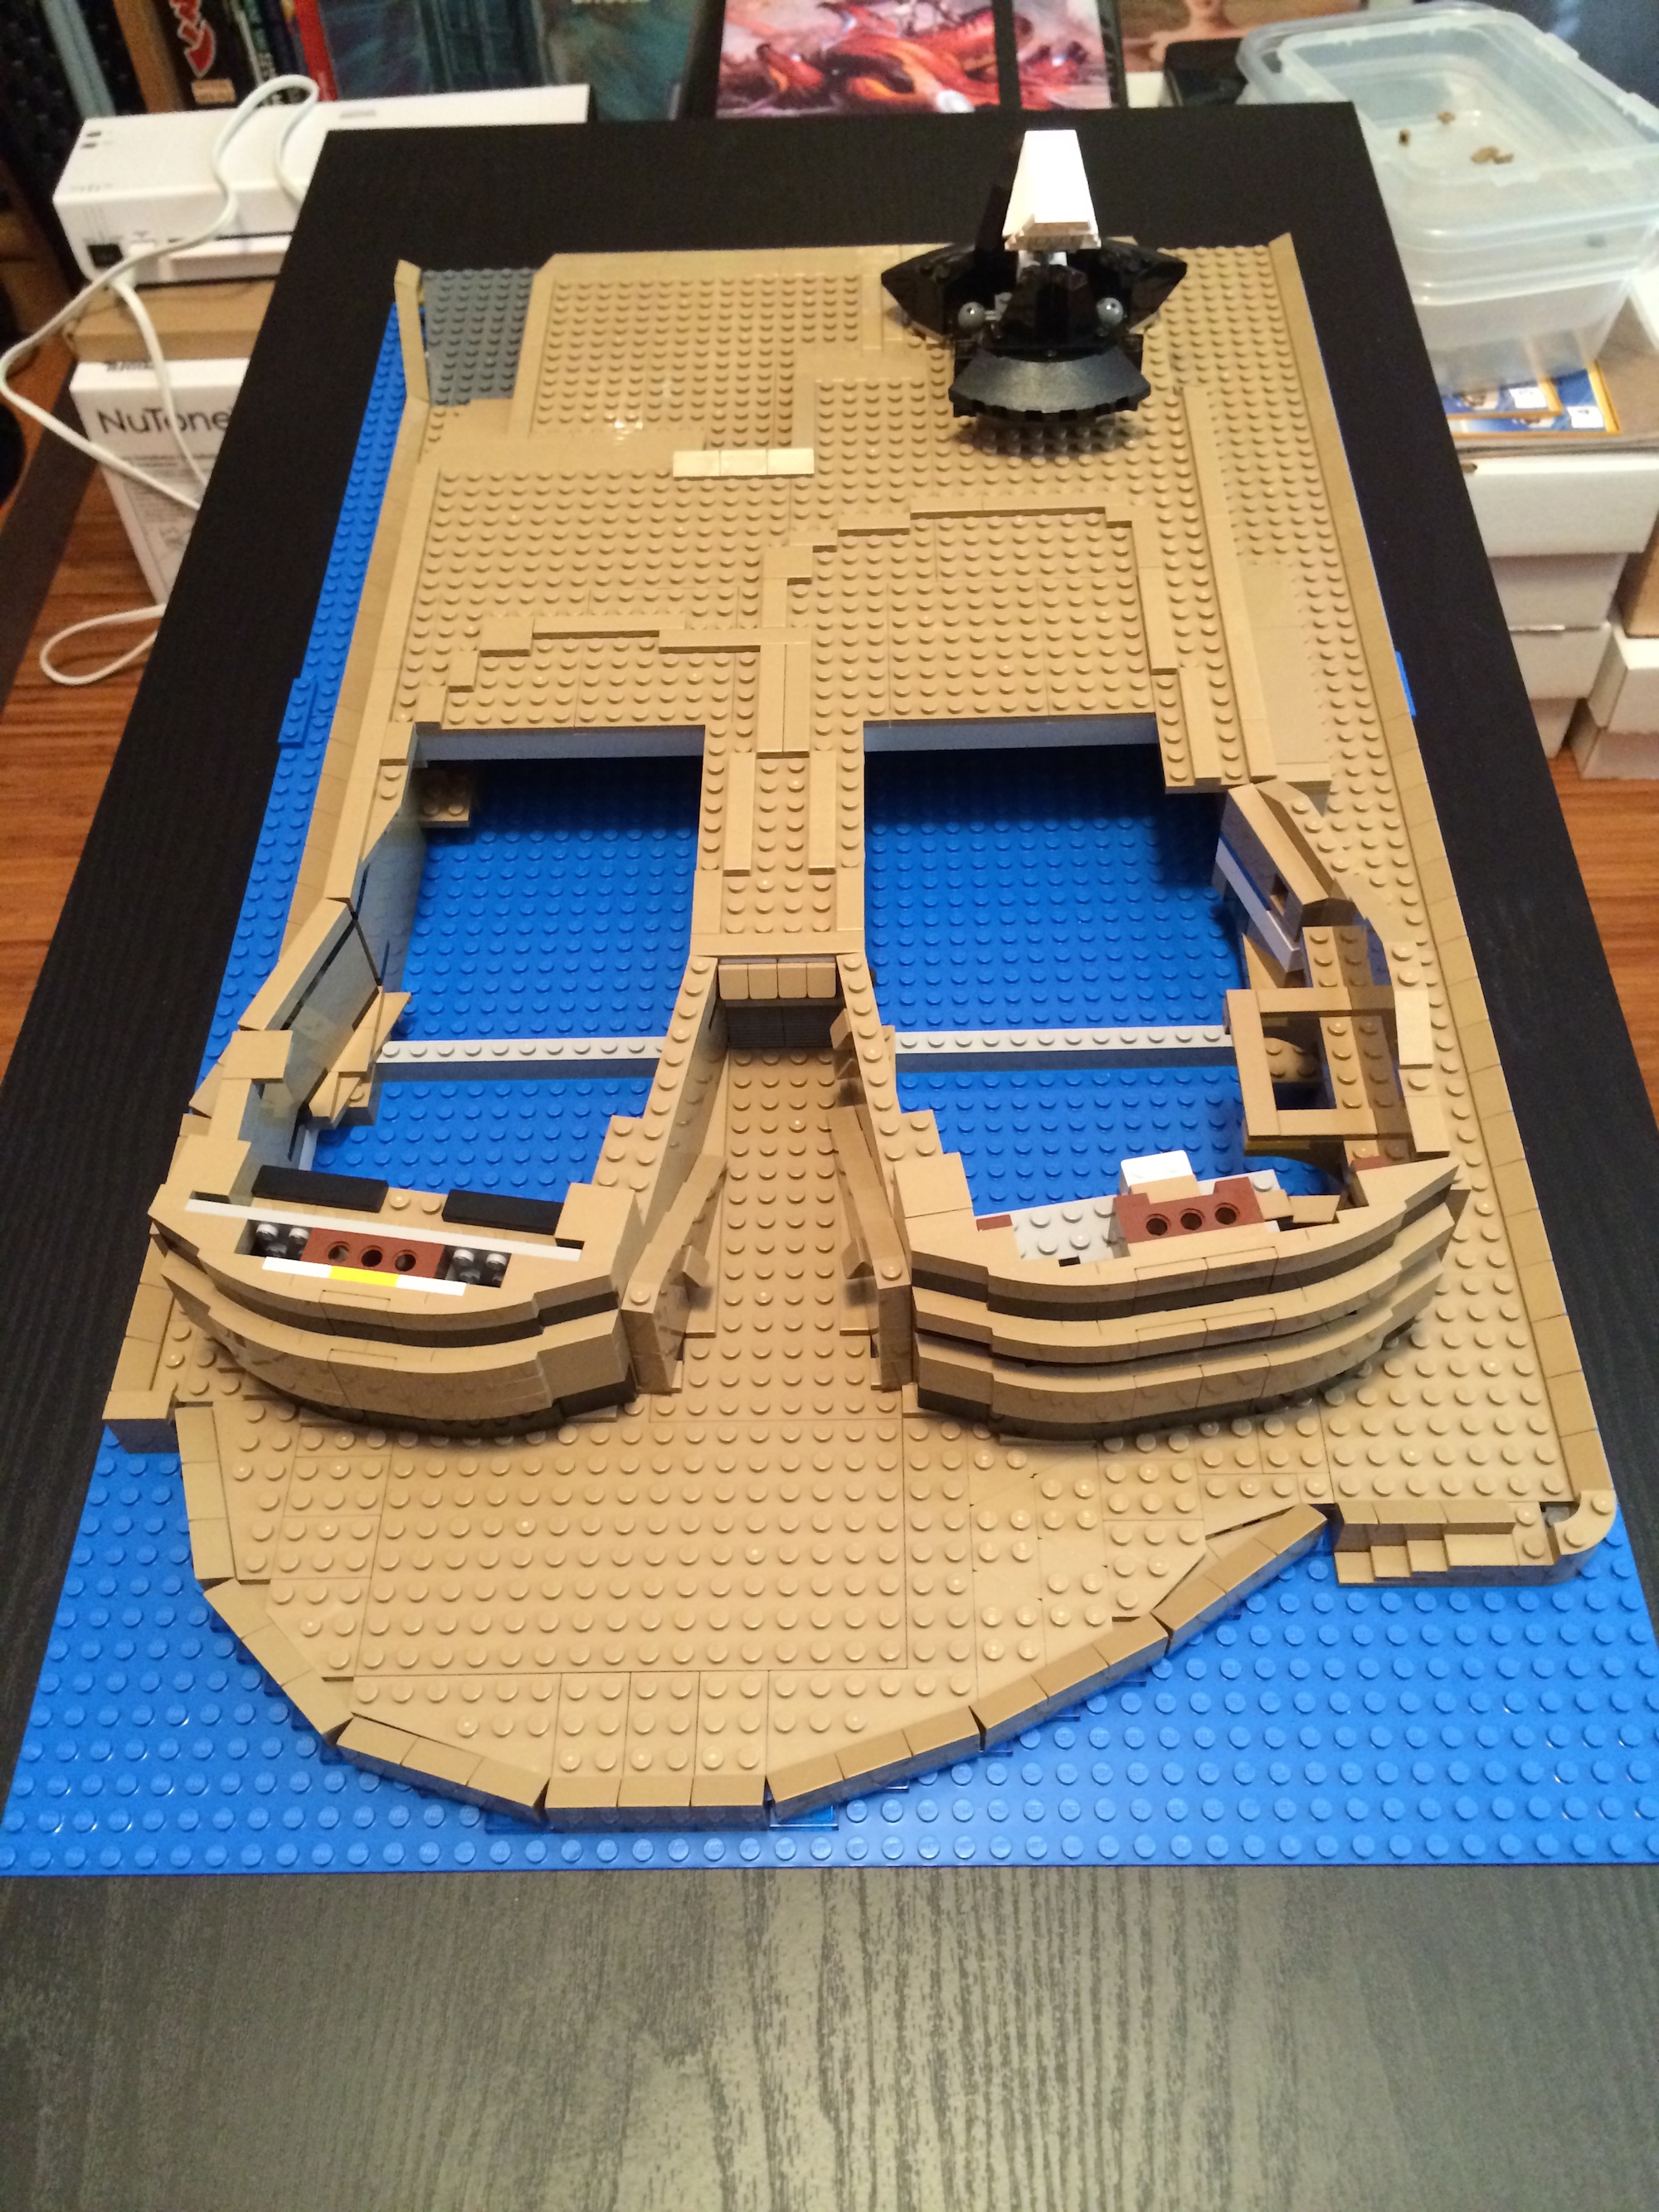
It may look simple enough, but there is some radical and unprecedented construction innovations in that piece of the podium, much like in the version in Sydney.

Here’s some in-progress shots:

IMG_3589

IMG_3810

IMG_3802

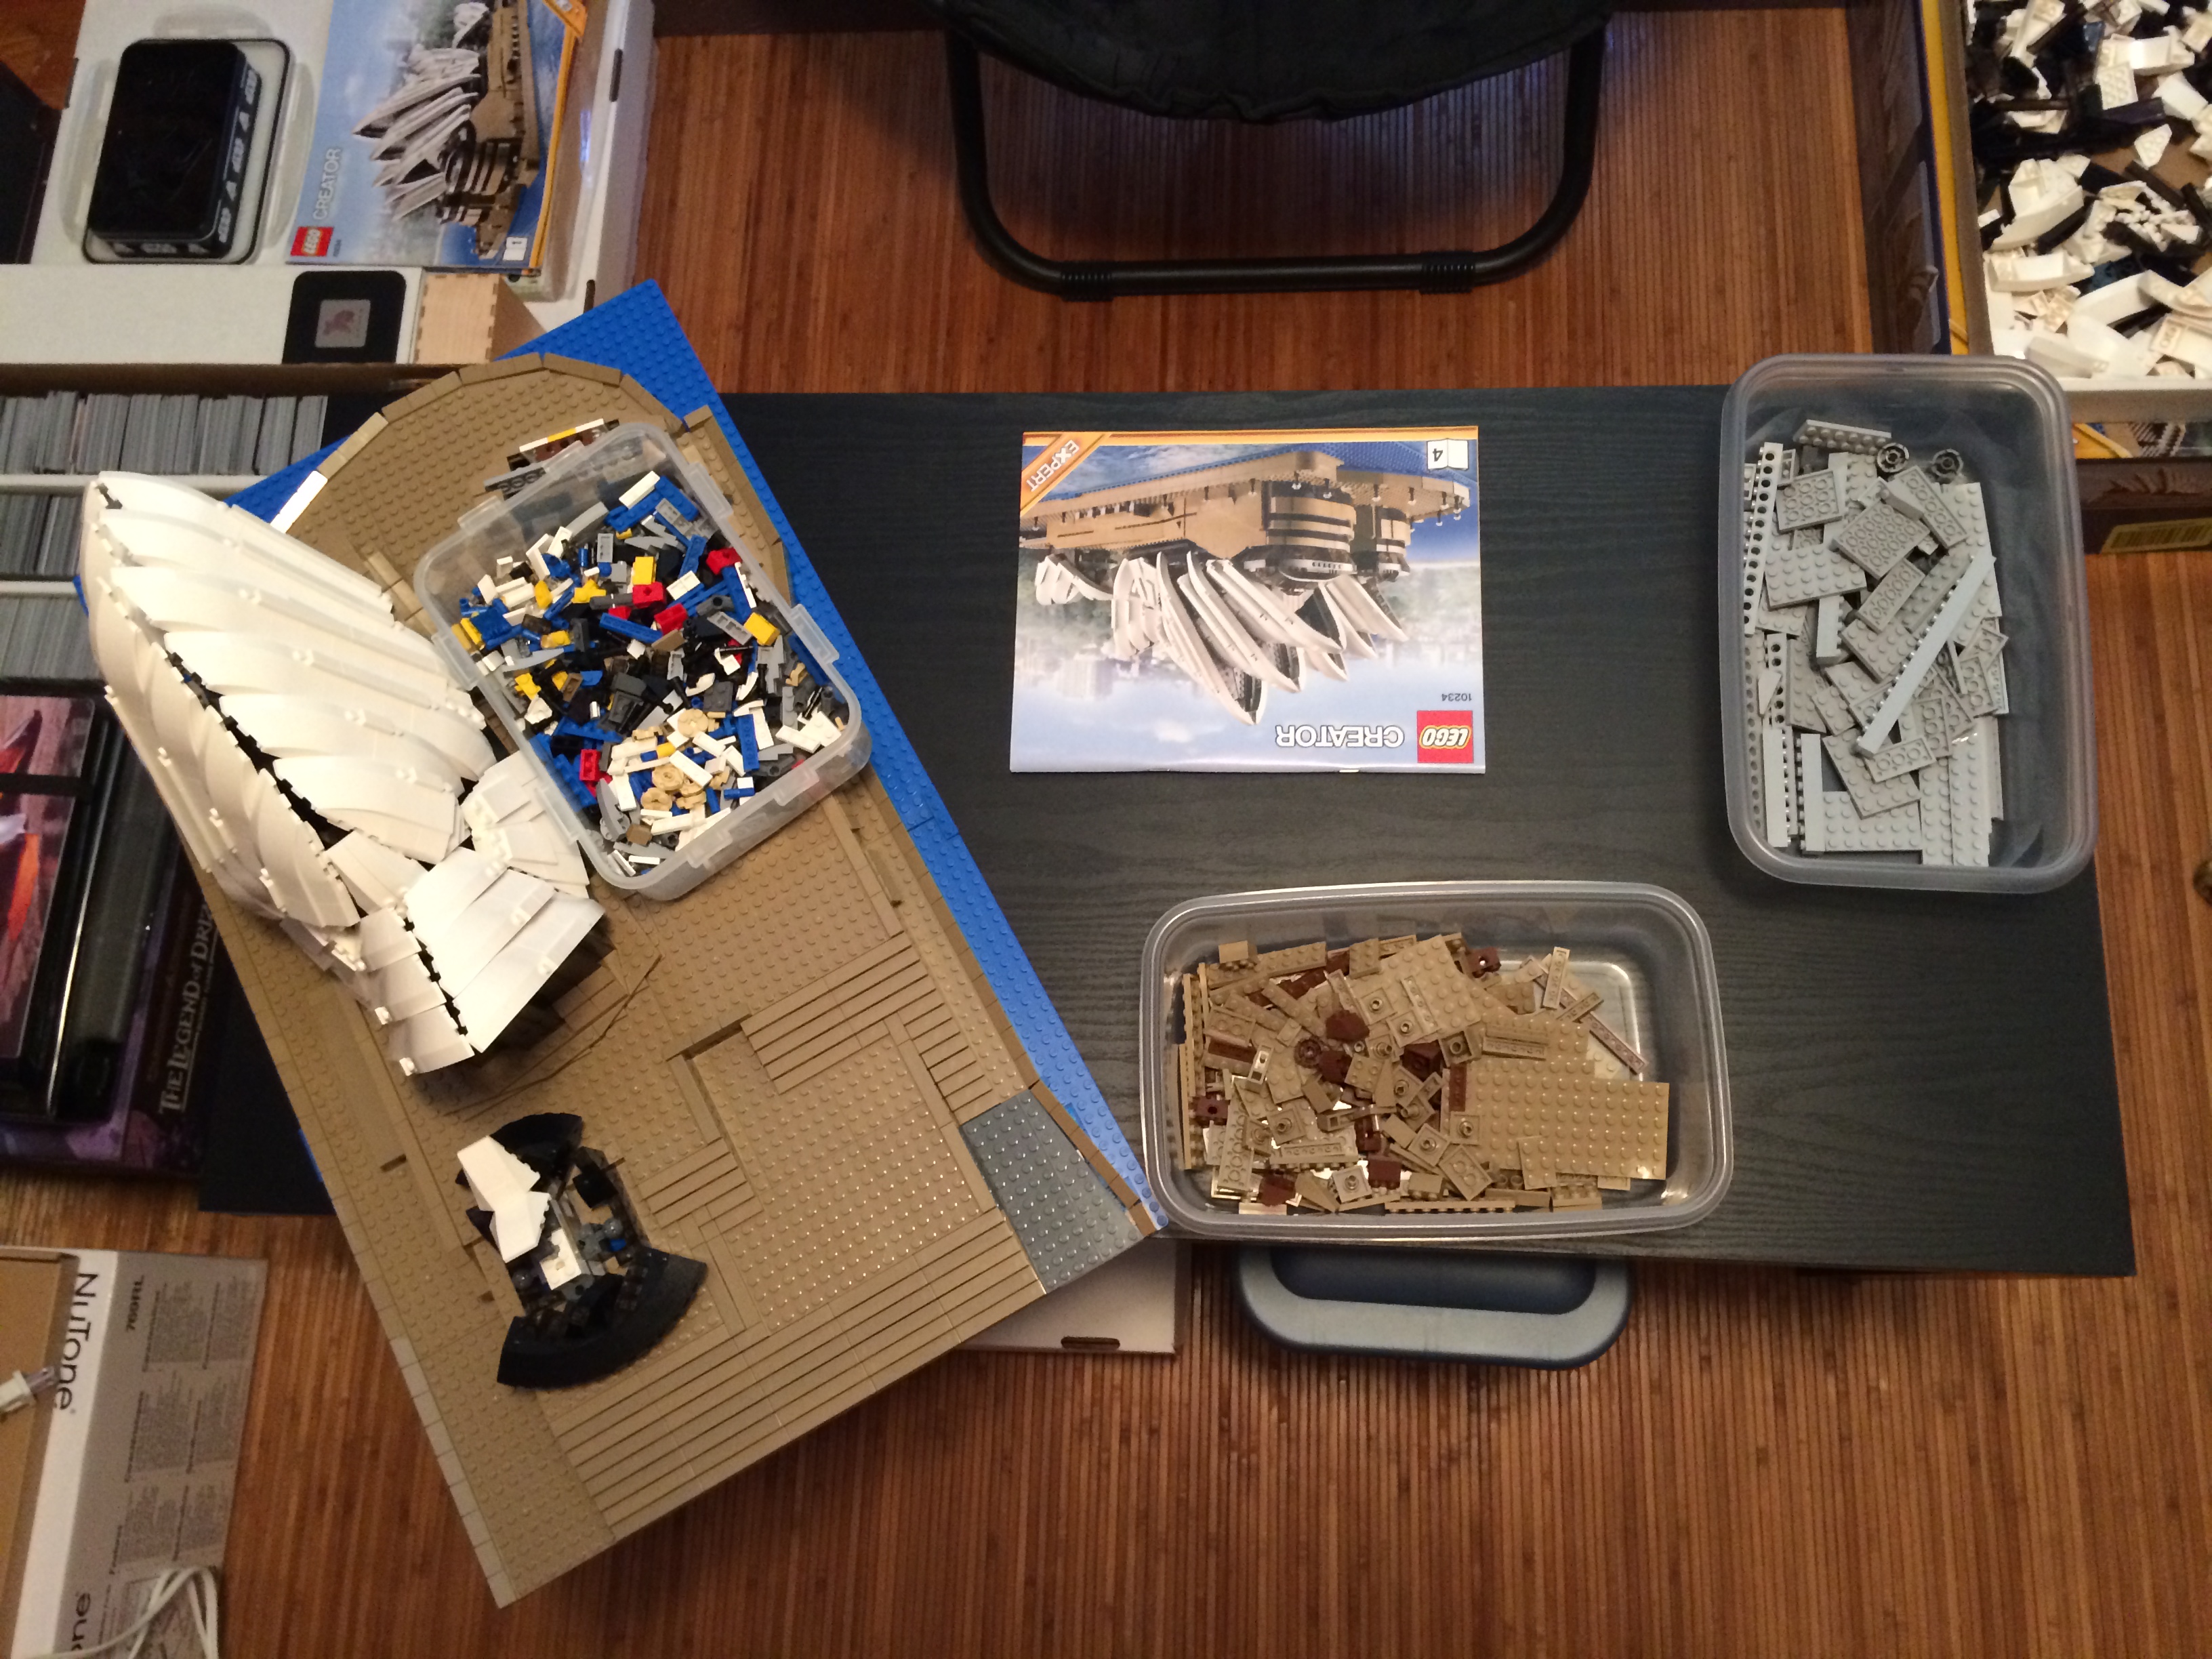
Construction of the real Opera House took 15 years and ended up horribly behind schedule (by ten years in fact) and over budget (by more than 14x the original estimate of $7 million). Construction of my opera house had it’s ups and downs as well, not the least of which being a lack of necessary parts. A quick call to a supplier (otherwise known as ‘LEGO customer service’) remedied that problem but resulted in a delay of over two weeks inserted into the middle of construction. All told, I’d estimate about 20-25 hours were needed to finish it.

IMG_3822

IMG_3824

The original Opera House is 180 meters long and 65 meters high. My version is about 60 cm long and 25 cm high! In fact, it’s about as long and tall as Yossie and weighs about as much as well!

I loved making this kit, probably the most of any Lego kit I have ever made. Given my love for the original building, I can’t imagine how Lego may top this one. Unless they make the Sydney Harbour Bridge!

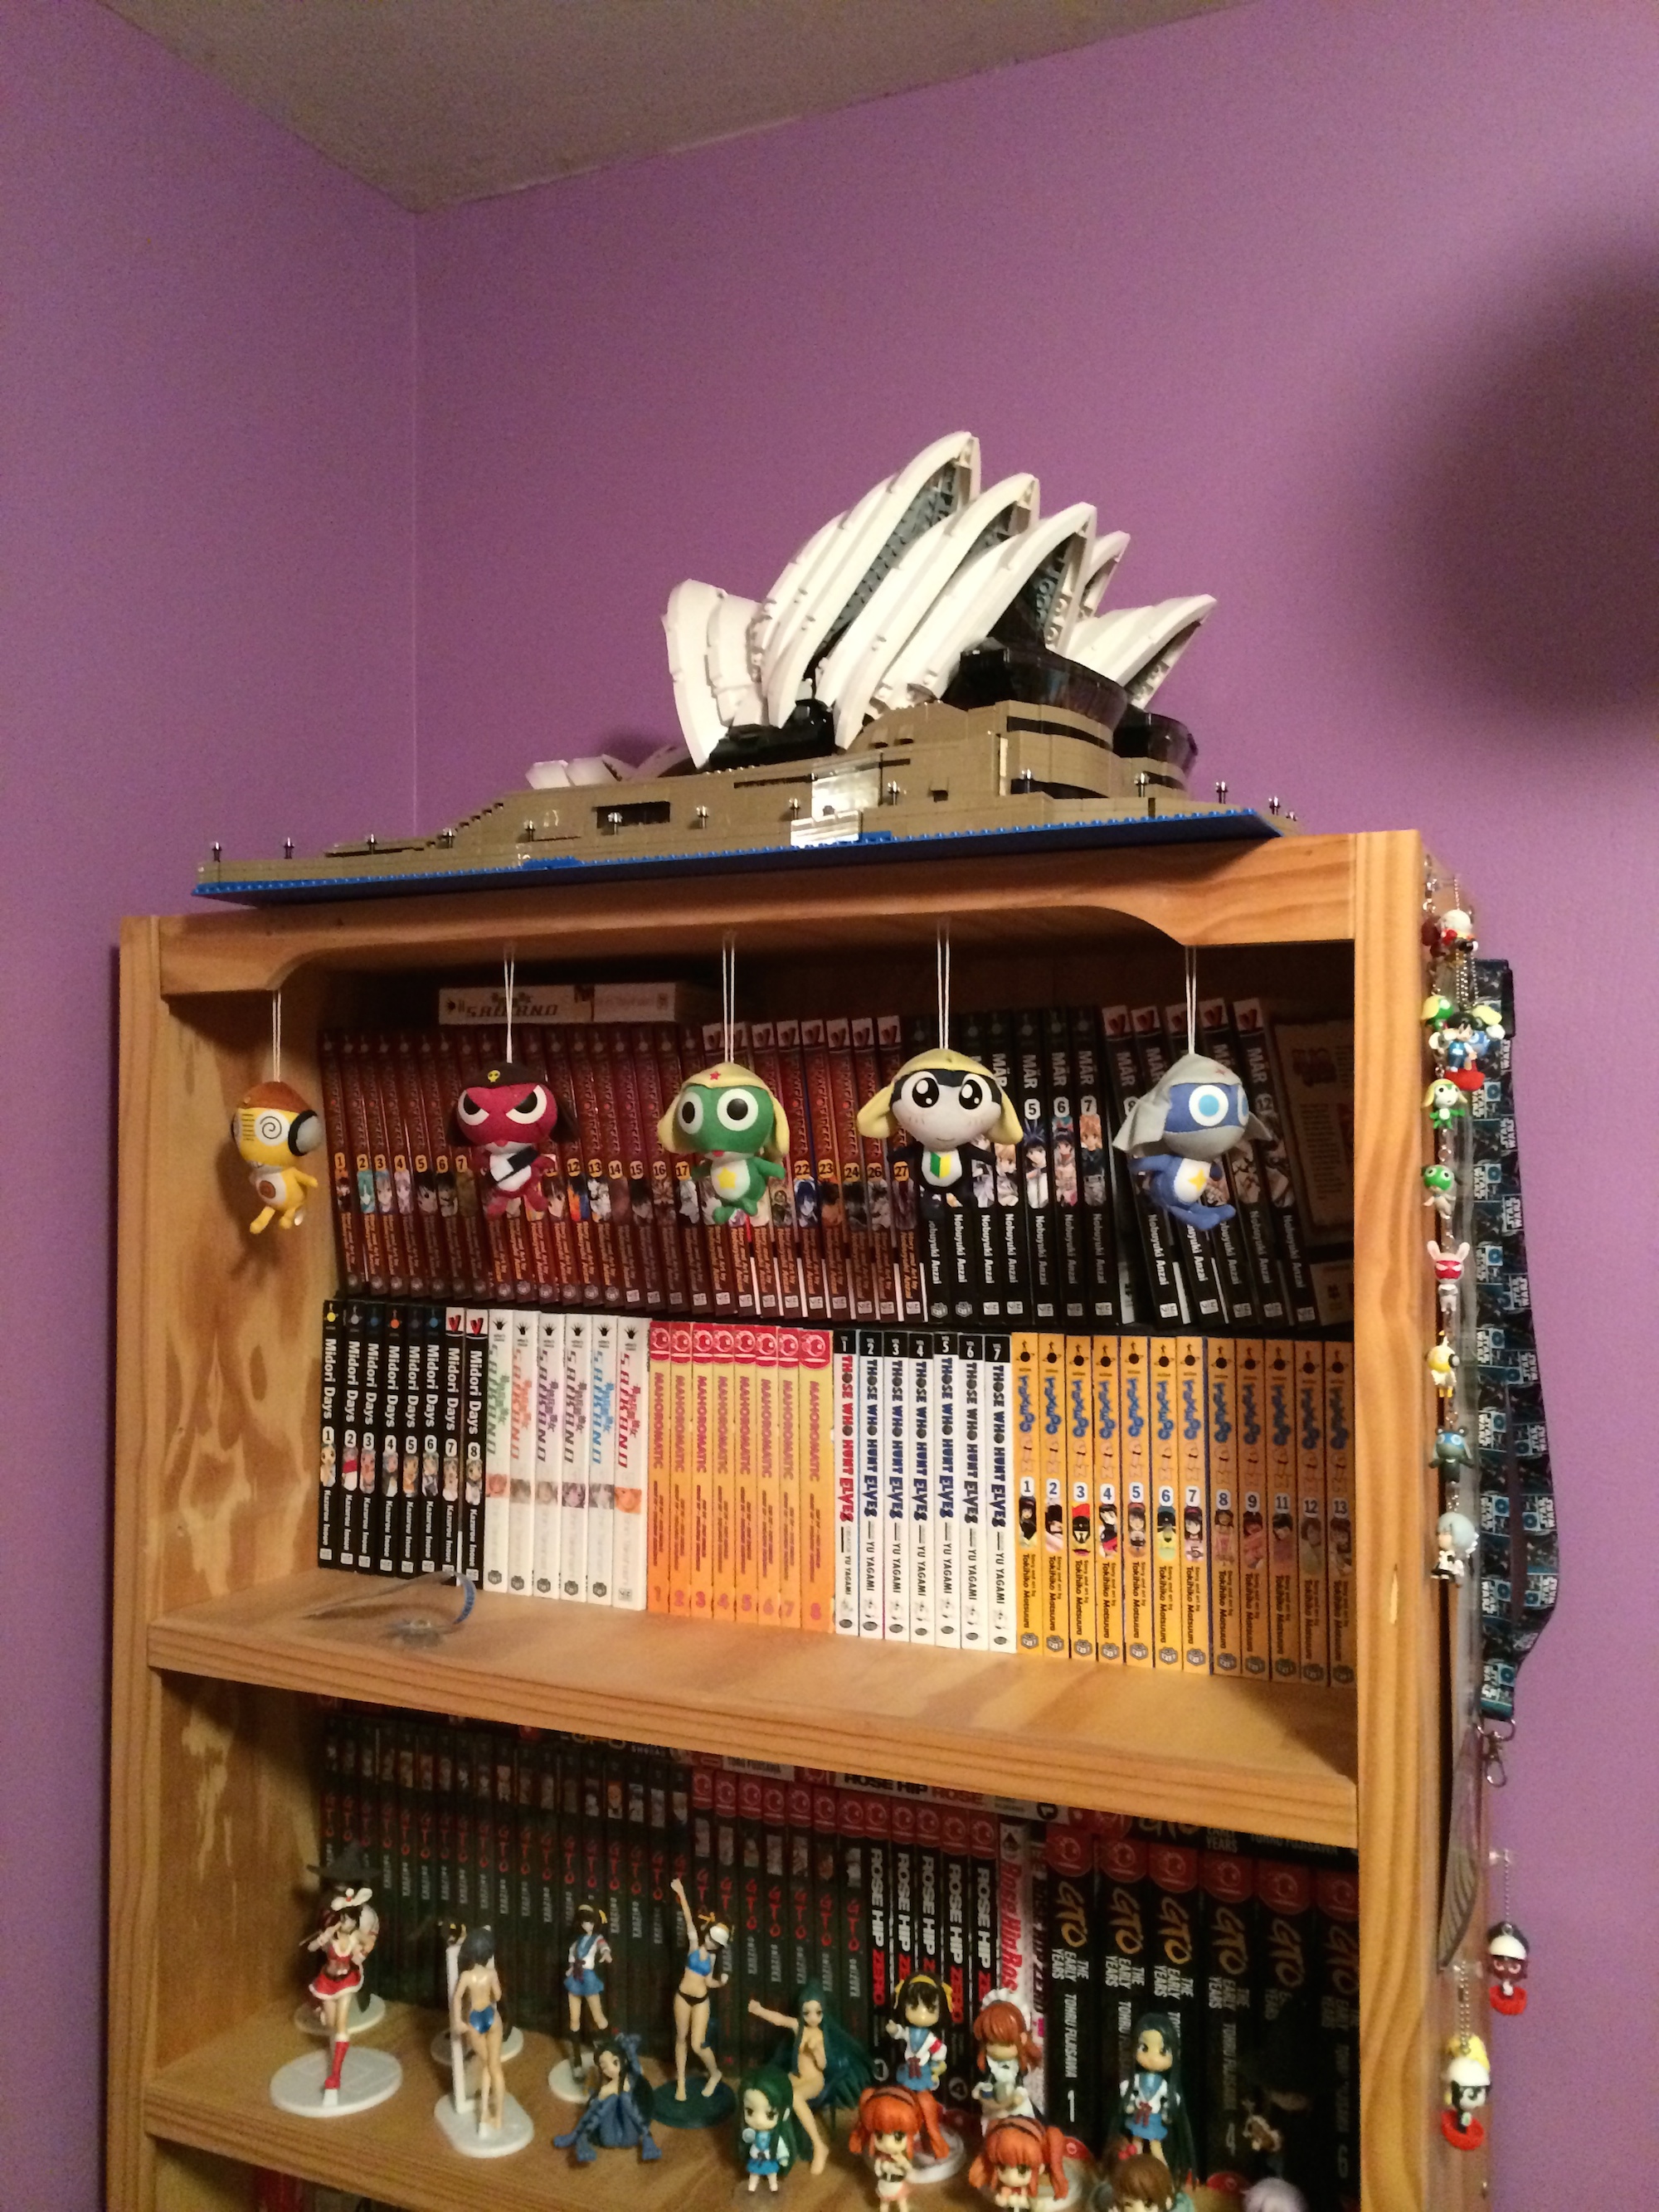
So how do I display such a massive piece? Well for now, like this:

IMG_3829

(Long Live) The Playstation Vita (Is Dead)

Earlier this year I purchased one of these:

large

It’s the Playstation Vita, which is their followup game system to the PSP. It actually came out quite some time ago (December 2011), but I held off buying one simply because there was nothing on it that tickled my fancy. The game that eventually lured me enough was TKX by Jeff Minter:

txk_14

There’s a lot to like about the Vita. It’s solidly built, has very nice controls (especially the dual sticks), is solid state only (which means no silly discs like the PSP) and has a beautiful screen. And when I say beautiful, I mean beautiful. To save costs Sony has actually downgraded the screen in newer models to an LED, but the first version (and the one I have) includes an OLED screen which is simply the brightest and highest resolution screen on anything I own. Yes it means the battery life is abysmal (maybe 2 hours) and the unit is quite heavy but I’d say the tradeoff is worth it for the great screen.

The problem with the Vita is, well it’s that it’s pretty much a dead system.

What does that mean? It means that here in America retail support for the system has floundered, and interest amongst consumers is at an all-time low. Few games are released for the system and those that are don’t have any sort of wide appeal. Furthermore, there are no games at all scheduled after November this year and Sony themselves have said they will release no games themselves. By this time next year I very much doubt this system will be in stores, if produced at all.

And yet these past few weeks I’ve been having more fun with my Vita than any of my other game systems! These ‘no wide appeal’ games infrequently coming out are mostly niche Japanese RPGs which mean they’re my game of choice and I’ve been snapping them up! Games like…

demon-gaze-008

Demon Gaze, an awesome Wizardry clone featuring a complex game system and fabulous graphics…

1080651065

Toukiden, the closest game every to capture the magic of Monster Hunter. The screenshot above shows how impressive the graphics of the Vita can be in an AAA game…

tumblr_meepdtyYUY1rxglnpo1_1280

Persona 4 Golden which I haven’t played yet (it’s next on my list) but if it’s anywhere near as good as Persona 3 on the PSP will be a gem!

There’s many more, and most of the remaining games are of this genre as well. Even if nothing else is released after November, I’ll still have a library that will take me a year or more to finish (assuming I ever stop playing Toukiden). For a dead system, that’s not so bad!

So what killed the Vita? It was an also-ran outside of Japan, where it seemed to immediately inherit the niche market from the PSP. Western exclusives were nonexistent and ports from PS3 games (such as Borderlands 2) were flawed. Obviously competition from the 3DS (especially Capcom’s choice to move Monster Hunter to 3DS) and tablets/phones hurt as well. But ultimately the blame can be laid squarely at the feet of Sony, who for many many years now have demonstrated they have no idea how to market a handheld outside of Japan.

Rest in Peace Vita. You may be a dead system and simply not know it yet, but I’m going to be playing you for a long time yet!

Liger Zero!

Over a month ago, I started building this:

IMG_1641

It’s my first ‘ZOIDS’ model kit, and was easily the most expensive kit I have ever bought. I knew getting into it that this was no toy, and that assembly may prove challenging, but then I’ve made challenging kits before and looked forward to it.

Here’s what the contents looked like before I started putting it together:

IMG_1643

IMG_1644

That’s a lot of pieces! In total there were 28 sprues in 6 colours. Much like the advanced Gundam kits, some of the plastic was flexible (mostly used for joints) and the kit is designed to be assembled without glue. There are 13 pages of instructions with 77 unique steps, and the kit is assembled in 4 distinct sections (head, body, legs, tail).

I started with the head and immediately noted a problem: the instructions are printed quite small. My eyesight is changing, and I’m finding I don’t need my glasses anymore for near vision. However I’m stubborn and don’t want to take them off so I struggled with working on this since I found it quickly hurt my eyes. (Many of you now I know are saying “Why didn’t he just remove his glasses???“)

So construction was completed in many steps of perhaps 2 hours each, spread over an entire month. It was challenging, but a lot of fun.

First to be completed was the head:

IMG_1938

The complexity of this kit is staggering. The head alone has 38 pieces in it, and 5 points of articulation. The mouth and cockpit open, and the jets on the side and frill on the top can be positioned. By the time I had finished this piece it was clear I was building a kit with an incredible level of detail.

IMG_1651

The two tools you see above were indispensable. The cutters to remove pieces from the plastic, and the file to smooth them down. Such is the precision in this kit that even submillimeter bumps are significant. If you make a Zoid, be sure to have the right tools.

For a month or so my work table looked like this:

IMG_2060

You can see by the above point I had also finished the body:

IMG_1939

That’s not a rigid piece. It can bend and elongate, and all the joints are articulated as well. Many dozens of pieces went into it, including the smallest one in the entire kit:

IMG_1653

That’s just absurd!

The legs took the most time of all the sections:

IMG_2147

Each leg contains a whopping 78 pieces! They are even more articulated than the rest of the kit and there are significant differences between the front and rear legs. Compared to all this the tail was simple, and then it was time to put it all together:

IMG_2148

Or, in a rather more dramatic pose:

IMG_2153

Looks great doesn’t he? The finished kit is about 20 cm long and stands 12 cm at the shoulder. According to the instructions, the actual Liger Zero is a mighty 84 meters in length and weighs 85 tonnes!

Such is the engineering of this model that painting is hardly required, and in fact the instructions seem to mention it only as an afterthought (they give the paint codes for the plastic used, rather than show a repainted version). However the armor is detachable and Kotobukiya actually sells (not inexpensive!) armor upgrade kits if you want to convert your Liger Zero into Liger Zero Panzer (green, with a back-mounted cannon) or other variants. Fascinating.

My next kit will be another Musha Gundam that I purchased in Japan last year. It will be another time consuming and precise build that may wait until next Summer. After that, who knows?