I went to another MTG prerelease yesterday, this time for the new set Battle For Zendikar. I did quite well at the last event, walking off with a bundle of boosters and tied at 3rd (or maybe even 2nd) place, so my hopes were high.
The first thing I noticed was the increased attendance. It was almost double last time, with about 30+ players. The average age was much higher than I’m used to as well! The last few events I had almost certainly been the oldest present, but yesterday there were maybe a half dozen guys older than me! The children were gone as well. All this was unusual.
Despite the higher attendance the event still was played using the new format, which was four rounds maximum (hooray!) and prizes for everyone (hooray). No matter how well I did, I’d walk off with something…
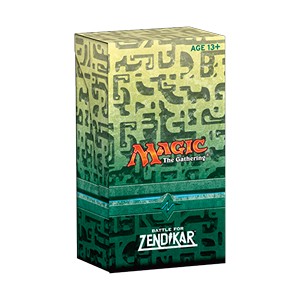
Everyone got one of the above, which was a deckbox containing 6 boosters, a random promo, a tiny instruction/guide book and a d20. Amusingly, the d20s were from older sets! Mine was from Origins and the guy sitting opposite me had one from one of the Tarkir expansions. This is unusual, since I’d imagine WOTC would have manufactured Zendikar dice for the fatpacks? Ah well, time to crack the packs…
It was about this time that I tweeted the following: “Haven’t even played a card yet and this MTG set seems tedious”
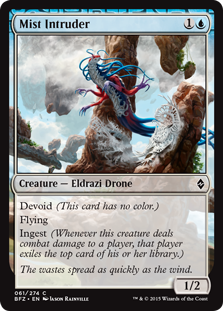
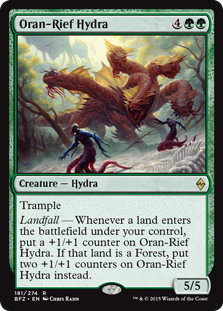
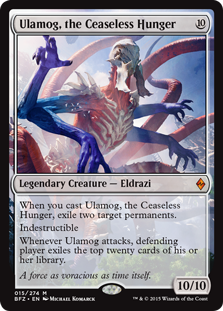
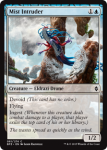
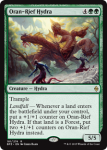
My card pool was all over the place, and I quickly realized the set had a lot going on, seemingly so much that it was hard to find a focus in the cards that I had drawn. There were a few standouts, including this beast:

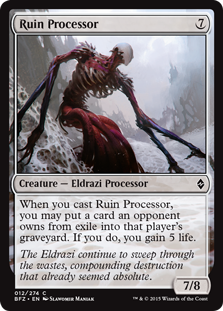
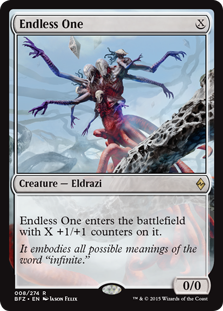
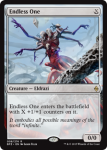
But the remainder of my green and red cards were ill-suited (especially red, which was mostly high cost allies) and I couldn’t support him. Black was particularly awful, white seemed underpowered and the deck ended up more or less making itself blue and green. To be specific, a deck based around fast mana generation and then dropping Eldrazi bombs. The combo can be summarized as this stuff:
Followed by this stuff:
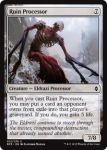
It seems like a long shot I know, especially in this format, but the deck was very focused and had a lot (too many I would learn) of Eldrazi Scion generators and a few Eldrazi fatties to follow them up. There were obvious weaknesses, including lack of removal or defense against fliers, but a few test draws gave me slender hope.
The first round went well. The very first game was actually a landslide for me, as I drew a nice starting hand, had 5 scions out in 4 turns and cast an 8/9 trampler (Eldrazi Devestator) on turn 5 or 6 after which he immediately conceded. I was completely mana-flooded on game 2 and he beat me easily. The last game was closer, but his R/W/G landfall deck seemed to fail him and I won again. Me 2-1 after round 1, looking good.
However there was a problem: the cards just weren’t fun.
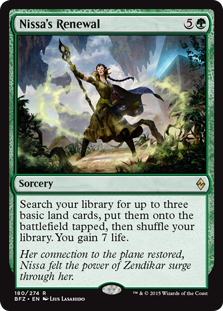
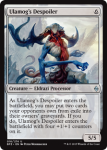
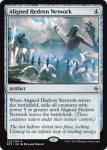
Florence had told me she had read a bad review of the set so I went in curious about why. Then during deck construction the room was full of people commenting how hard it was to make their decks and the seeming disparity between the cards even within rarity. For instance compare these pairs of cards:
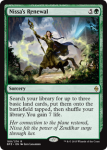
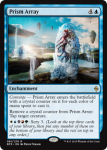
For each pair, which card would you prefer to have drawn? Now imagine a sealed pool, where you only have 6 rares, and two of them were Nyssa’s Renewal and Prism Array. That was me. (The last example I include just to illustrate how in the prerelease 2 10/10’s for 10 is so much better than 1 10/10.)
As a result my deck had zero rares in it, and from round two when I started facing off against winners this quickly became a problem.
The first game of the second round went quickly as my opponent used a suspiciously-well-matched series of vampire allies to smack me down handily. I won the second game by a thin margin, and then in the third game he won again using mostly automatic life drain/gain since he had three of these guys:

I haven’t seen luck like that since my deck in the last prerelease 🙂
So I won round 1, lost round 2, and was at a total of 3-3 after the second round. This put me tied at third with something like 18 people! My opponents had been friendly and demonstrated good sportsmanship, the environment at the event was welcoming and there was even free food (which I ignored, as I do). But I wasn’t having fun because the set hadn’t won me over and was even irritating me. Between rounds I was talking with the guy who had beaten me and he was very down on the set, saying there were very few cards viable for constructed and that the wider community wasn’t enthusiastic. It will sell well though, due to the presence of full-art lands in both boosters and fat packs. This has apparently already led to sell-outs worldwide of the fat packs in particular, which makes me think I should have pre-ordered…
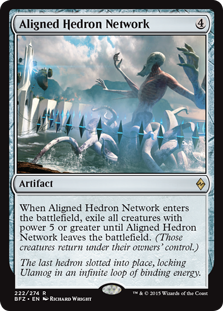
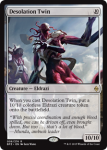
It was time for round three. To cut to the end, I lost 0-2 against a guy using a deck amusingly similar to mine, only where my cards were ‘ok’ his were ‘amazing’. For instance in our first game, which had been going for seemingly hours and involved dozens of scions on the table, I ended up with a sure-fire victory combo of the two Eldrazi shown earlier (one buffed with the tokens) both out at the same time. Then he played these two cards in order:
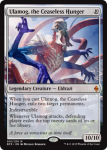
I could only chuckle, congratulate him for pulling off a dream combo including the set’s mascot creature, and instantly concede 🙂
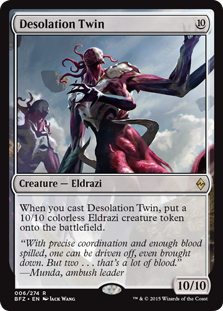
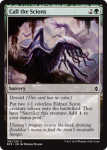
But his tricks were far from over, since he actually cast Desolation Twin in game two (two 10/10’s) and he had somehow also got his hand on the required token:
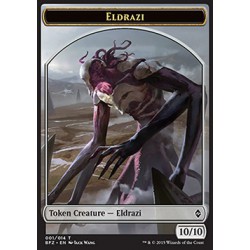
Well played, person whose name I don’t know with the super deck that may have gone on to win the tournament!
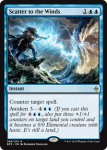
I left after that, bored enough of the set and of my deck that I didn’t even want to play the last round. My prize: a single booster. And in that booster: the blue rare counter spell that would have certainly been in my deck had I drawn it earlier 🙂
The problems I had with the set included:
– Too many cards with two many systems (eldrazi, ingest/exile, allies, landfall, awaken) to make a synergistic deck with only 6 boosters.
– Muddy, samey art on many cards. The eldrazi in particular all look the same. This was novel back in the original Eldrazi set when there were few of them, but there seem to be dozens now.
– Boring mechanics. Allies seem nerfed, and replacing ‘Annihilate’ with the mix of different Eldrazi mechanics is not as thematically interesting to me. Even the new landfall effects seem weaker. It’s as if WOTC said “Let’s reuse popular mechanics from the Zendikar block but not make them as powerful as they were then!”
– Very slow set for prerelease. The four-round format advantage was erased by how long the games took, and the fact that every single round went into extra time due to games not being over. A few of my games went well over 20 turns each.
I acknowledge that some of the above are only relevant in the prerelease format, but the art complaint is one I have had for a while in MTG. I think Wizards in-house art team while technically gifted all tends to produce the same style of art, which is hurting the game overall. I think it’s time for some new blood to mix things up a bit.
The particular problems with my deck yesterday were:
– Far too many scion generators and far too little to spend the mana on! I had about 12 cards that created scions but only 4 fatties, two of which had hard-to-use triggers that required exiled cards.
– Poor defense. 1/1 scions don’t help much against tramplers of power 4+
– Very few spells, especially for playing blue in a set including a few counterspells (I had none)
The positives about the new set:
– Full art lands. I’ll get me a fatpack somehow!
– New Eldrazi to put into an Eldrazi deck I’m going to bring to Oz to defeat any single deck AW throws at me! (Yes that’s a challenge!)
This is the first of the two-set block, the next being Oath Of The Gatewatch early next year. Given how ‘meh’ I am about this set so far, I would usually make some bold statement here about how I’ll be skipping the next prerelease. However I’ll actually be in Oz, specifically in Sydney, and I can’t easily imagine a scenario where AW and I won’t swagger into some unsuspecting game store and teach those wet behind the ears Aussie MTG-playing bogans how it’s done…
Look forward to that account mid January next year 🙂