Just a pre vacation test post because I’ll be using a new technique to blog from my phone.
Nothing to see here…

Or here…

“Life In The So-Called Space Age”
Just a pre vacation test post because I’ll be using a new technique to blog from my phone.
Nothing to see here…
Or here…
A few weeks back I went to a local convention and bought this:
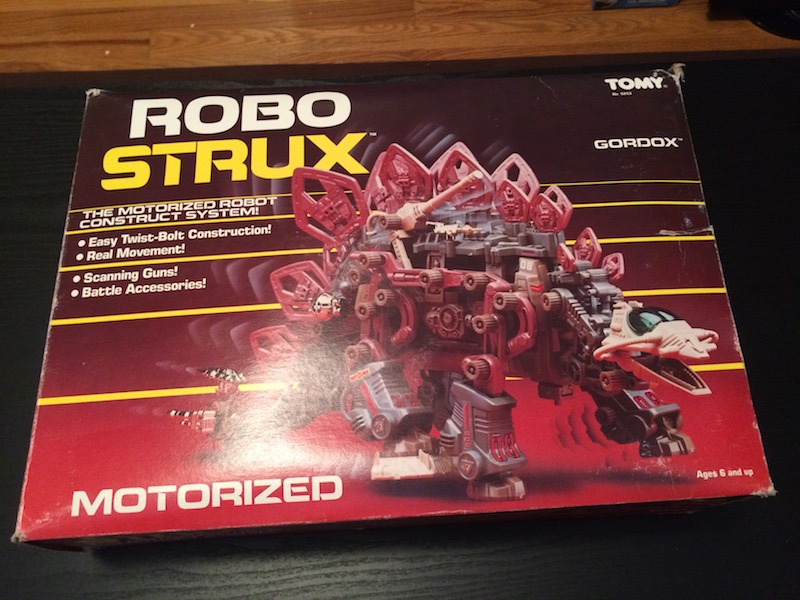
I’m sure I don’t have to explain why, but in case you’re having a senior moment…
This, my friends, is a Zoid. Specifically from the series called ‘Robo Strux’, which were the US Zoid rereleases from 1985. Zoids are robot animals (often dinosaurs or predatory cats) and I’ve always liked their design. As a child we were too poor for me to ever own one, but I’ve been remedying that in recent years! I was agog to see such an old one for sale at my local con, and my agog-level doubled when I discovered it was unmade. A quick ebay search told me his price (at which I first baulked) was low, so I snapped it up. I was a very happy man that day.
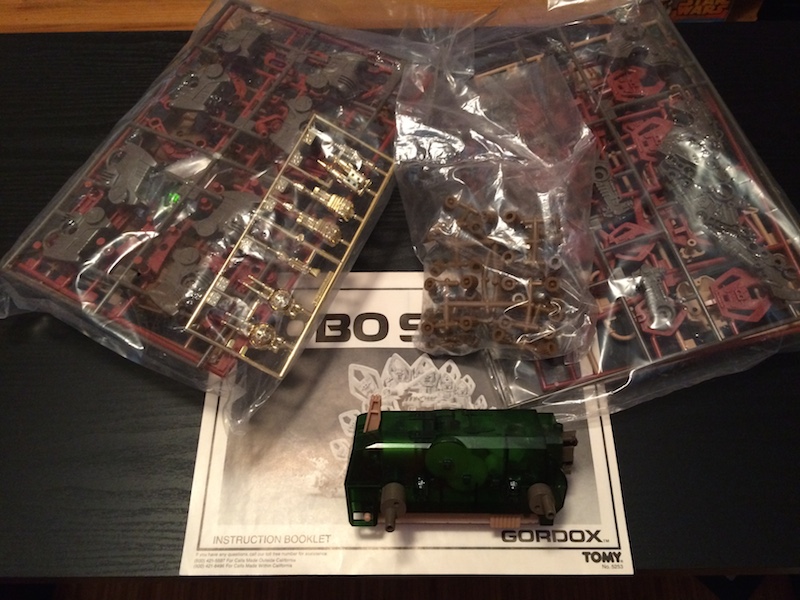
Unquestionably the value of this product was mostly due to the fact it was still unmade and almost complete (only the sticker sheet was missing). Were I a fanatical collector, I would have put it somewhere safe and been happy in the knowledge I owned it. But I bought it to make it, and this past weekend I did. Here’s what was inside the box:
And this was between the pages of the manual:
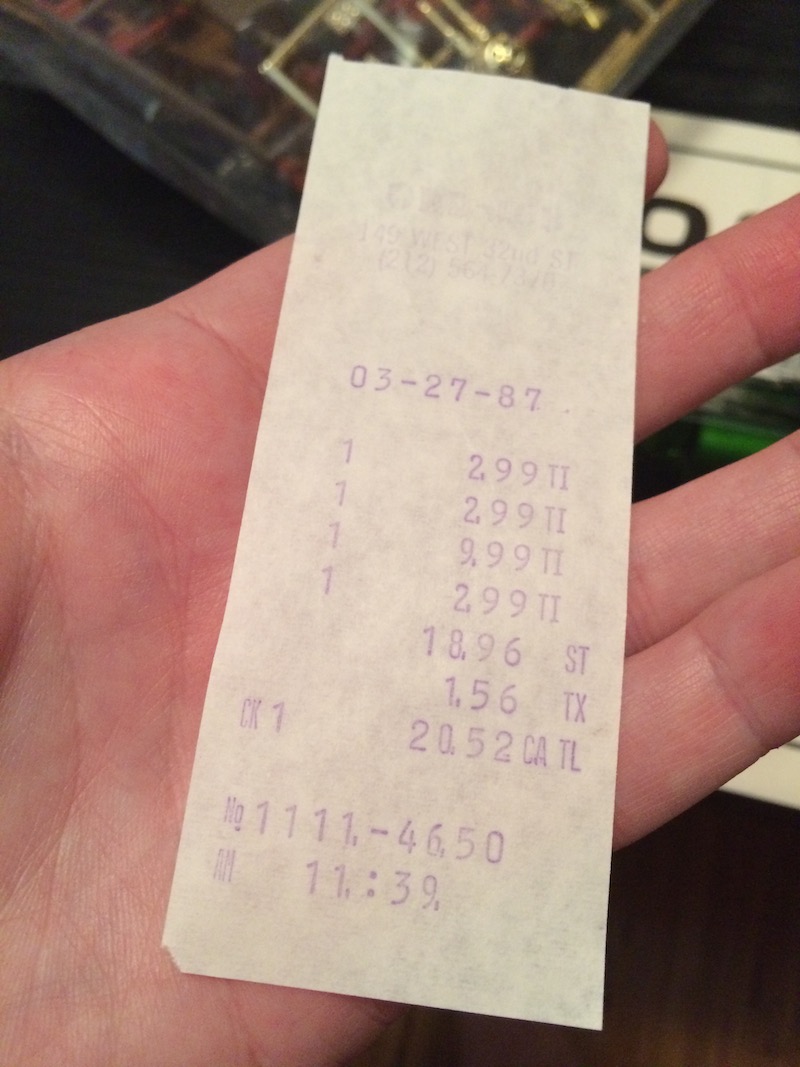
So it was purchased in NYC back in March 1987, almost certainly for $9.99. That’s about $21.50 in todays money. Which is much less than I paid 🙂
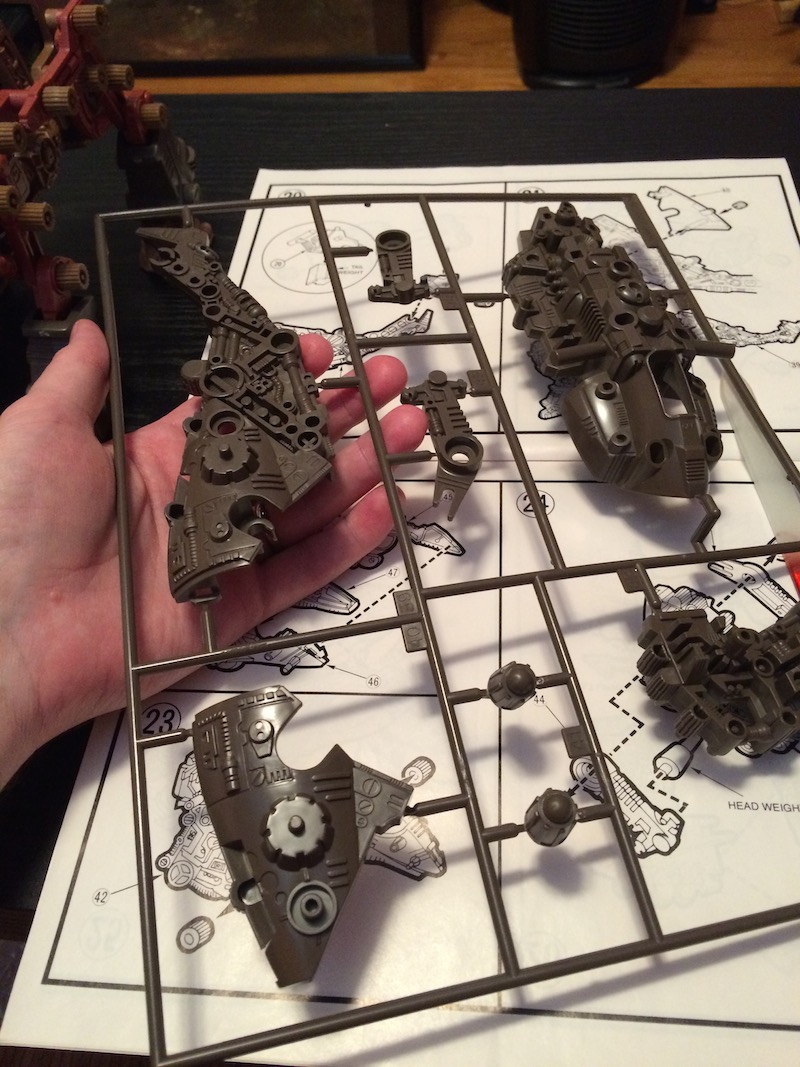
The basic construction of the kits is remarkably similar to today’s models. There were several runners, molded in 5 different colours. It was snap together, and very easy to assemble with only cutters and a file (to remove the flash). However since the model is motorized and the legs need to move, some pieces were loose against each other and held on by interesting rubber caps:
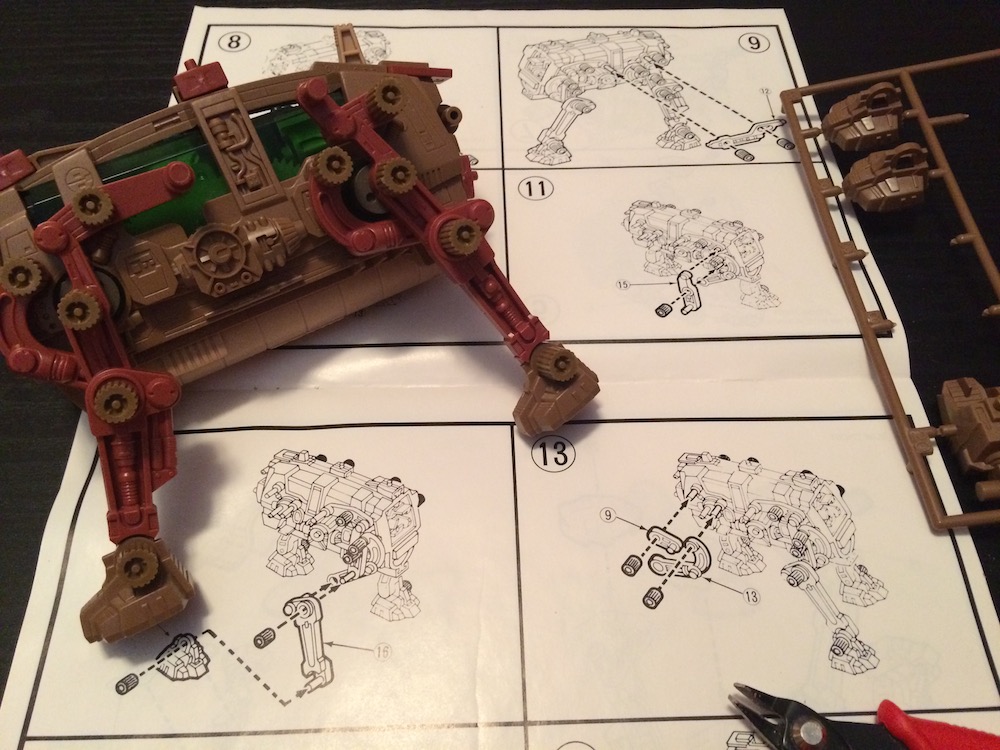
Even after 30 years, the rubber was still perfectly pliable.
As a kit designed for children, there weren’t nearly as many pieces as one of the ‘High Grade Master Model’ kits I’ve been buying recently, but there were still enough to make it interesting and fun. The design was very clever, especially of the legs. Here he is the first time he was able to stand up:
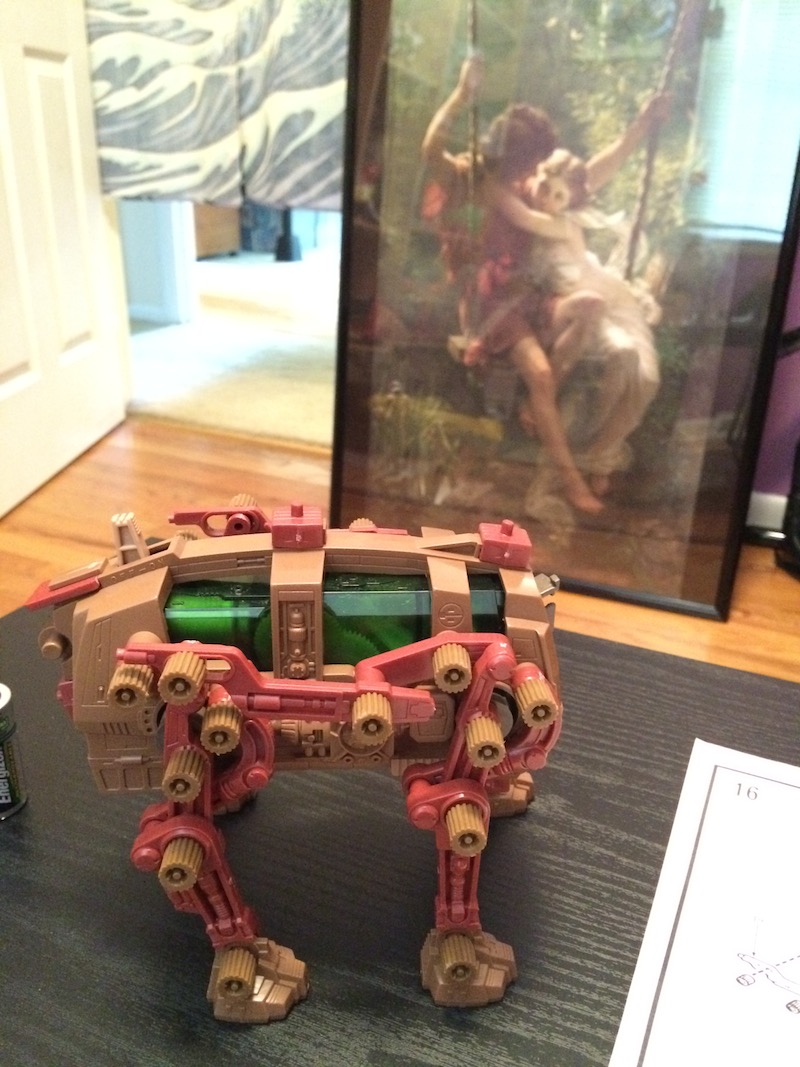
Assembly took me about an hour, and was great fun. I wish the dude at the con had had more of these buggers for sale!
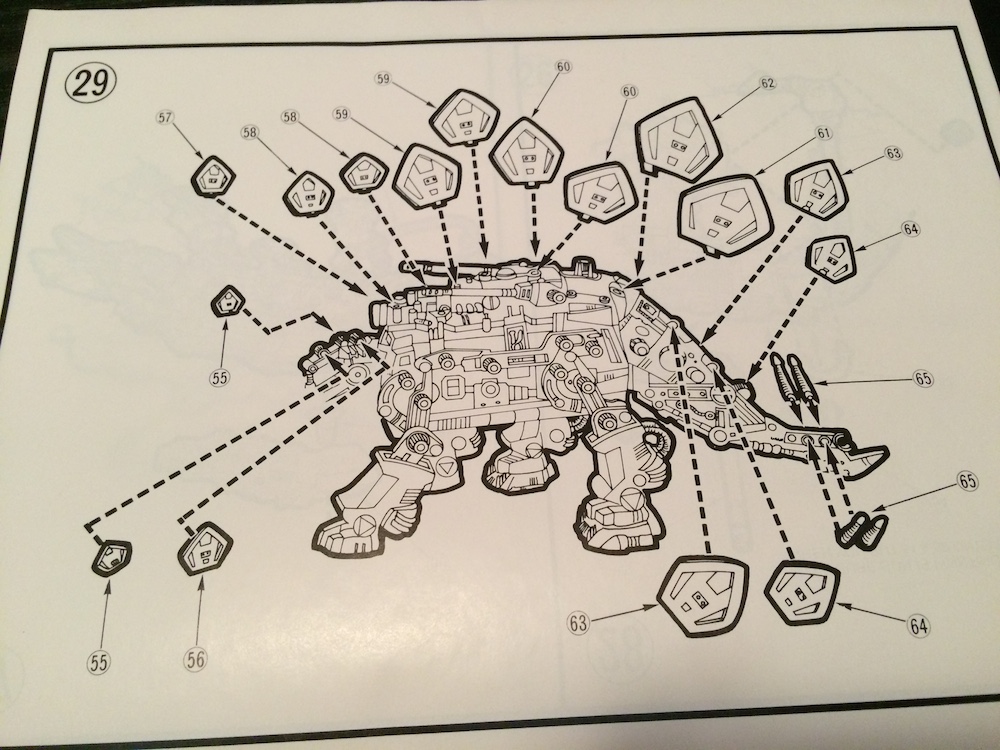
And here he is finished:
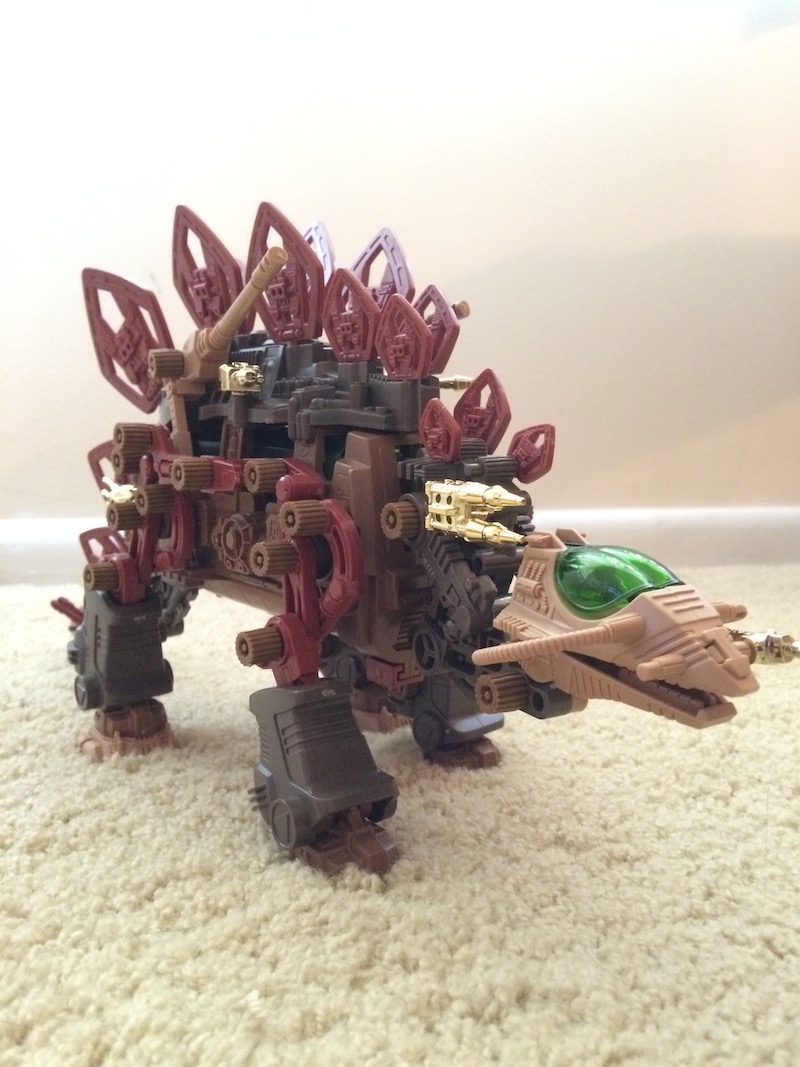
Oooh! Dangerous and mighty he looks, but Gordox (or more correctly Gordos) is apparently a specialized command unit more useful for his long-range sensor and communications than his offensive abilities.
He’s also a bit slow…
Isn’t he cute!
There are Perler Beads:
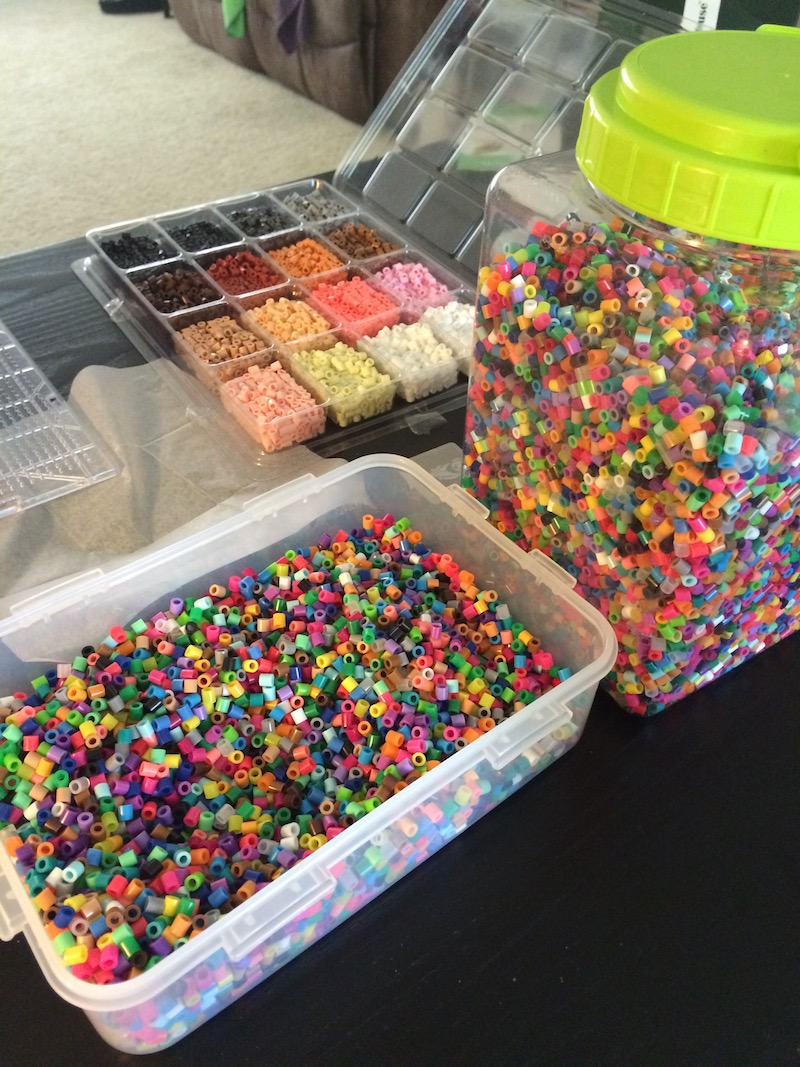
They are tiny little plastic cylindrical beads used for crafting. You create pictures using them, and then iron the beads, which melts them together to make the picture permanent. I learned of these through the internet, and decided to buy a sizeable portion of them for a very specific project. This past Saturday I dedicated the entire day to this undertaking.
But first I started with something small, to get used to using the beads:
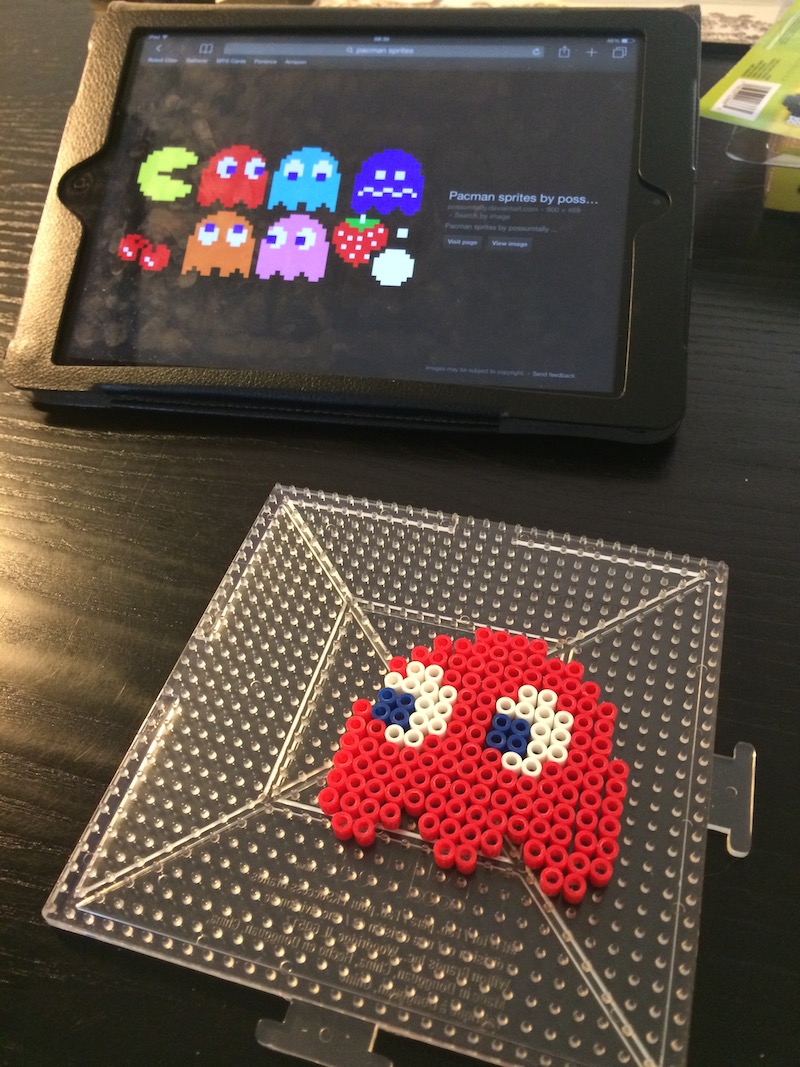
Yes sir, pixel art! Specifically a Pac Man ghost (very specifically ‘Blinky’). Of course I had to make his frenemy as well. Here they both are after the all important ironing to fuse the beads:
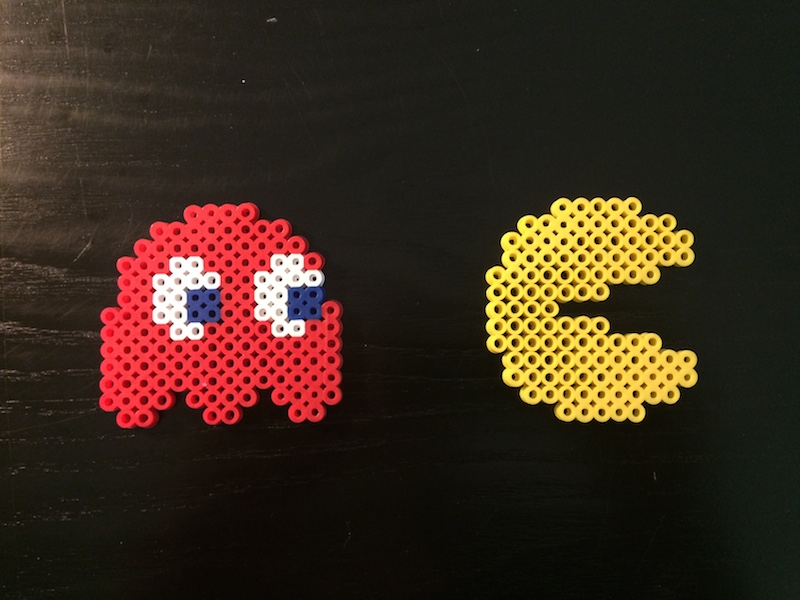
Not bad eh? All told, the above took maybe half an hour tops.
I was now a Perler Bead master, and it was time to move on to my intended project. I won’t spoil it just yet, but let’s see how quickly you can work out what I decided to make as you look through these ‘making of’ images:
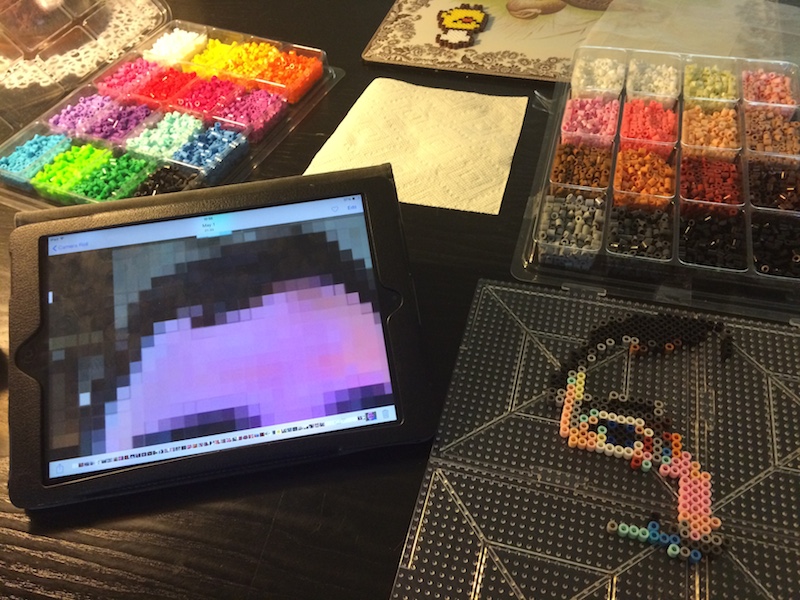
Hrm… interesting. I wonder what this is?
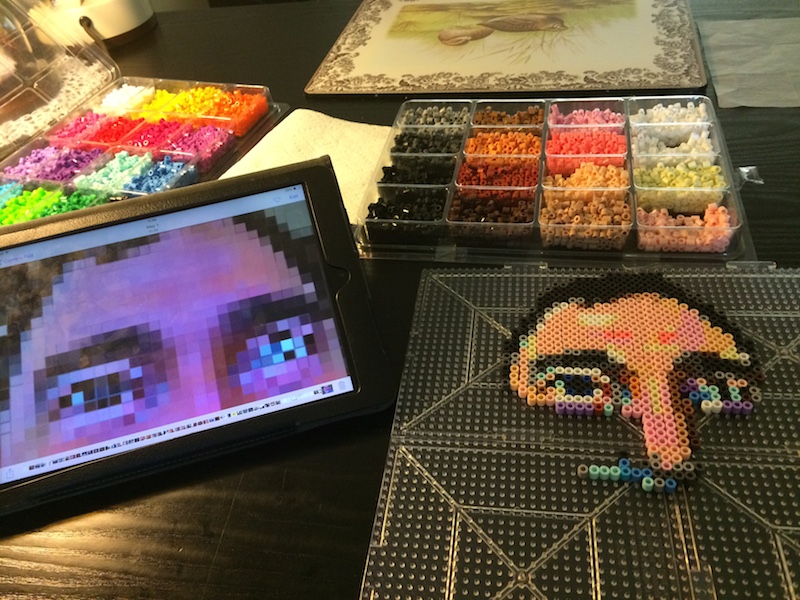
Looks like a piece of classical art no?
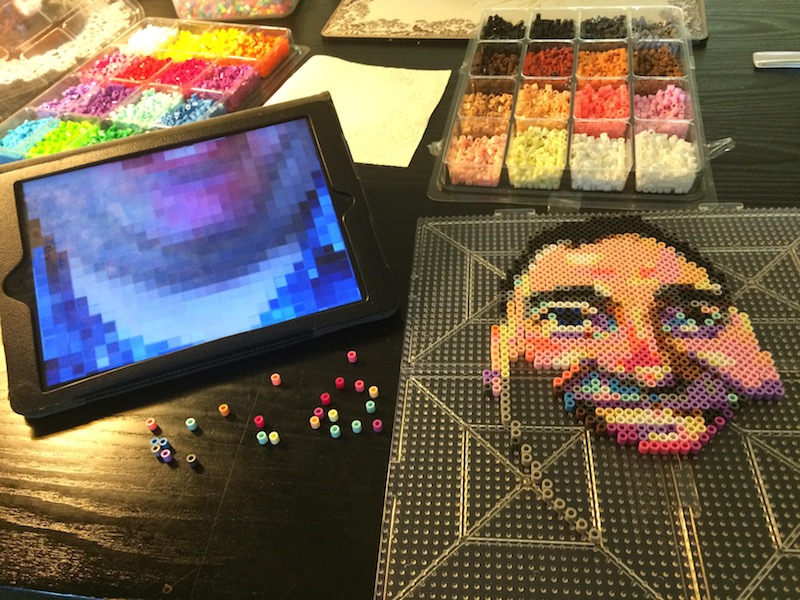
Oh my god! Could it be….?
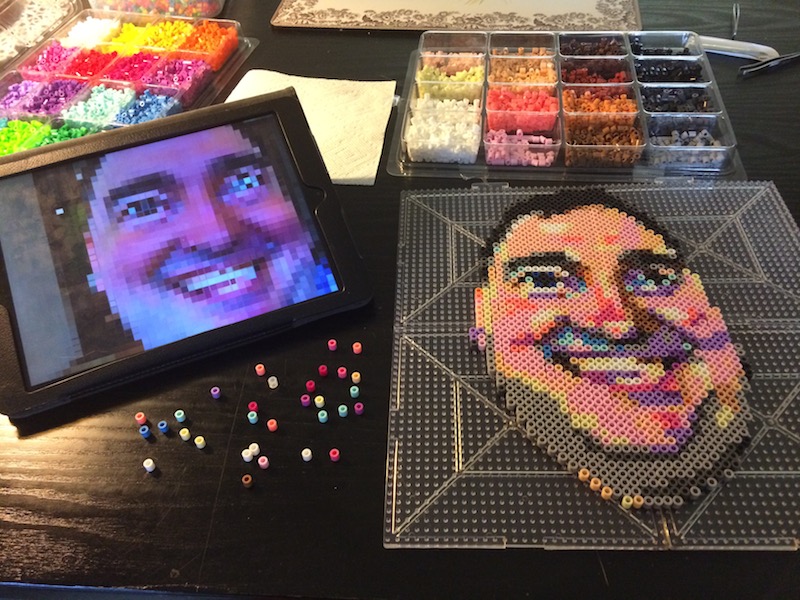
Oh my god! It’s Bernard! I’ve turned his likeness into pixel art!
But I wasn’t finished yet. Even though I’d been placing beads for about 4 hours by this point, there was still a lot of unused space around his head. This had to be remedied. Here’s the master at work:
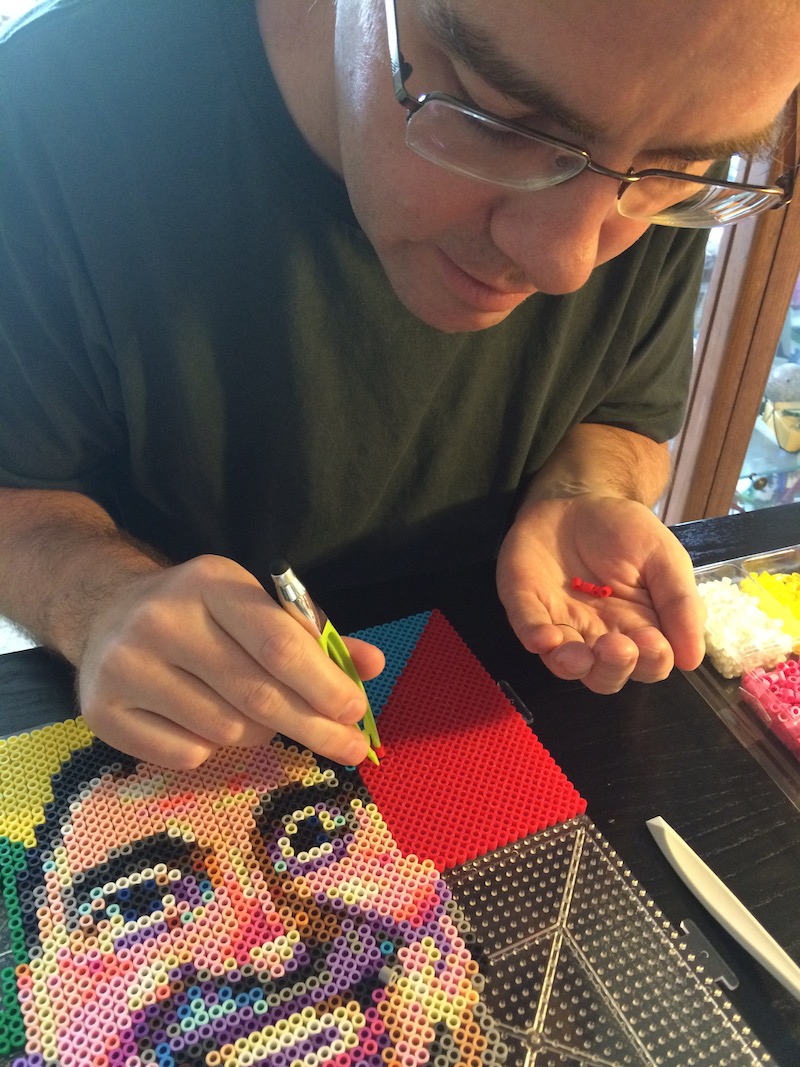
Look at that concentration! For over five and a half hours on Saturday I individually placed – using tweezers – a grand total of 3364 beads in over 23 colours to create my masterpiece. And here it is:
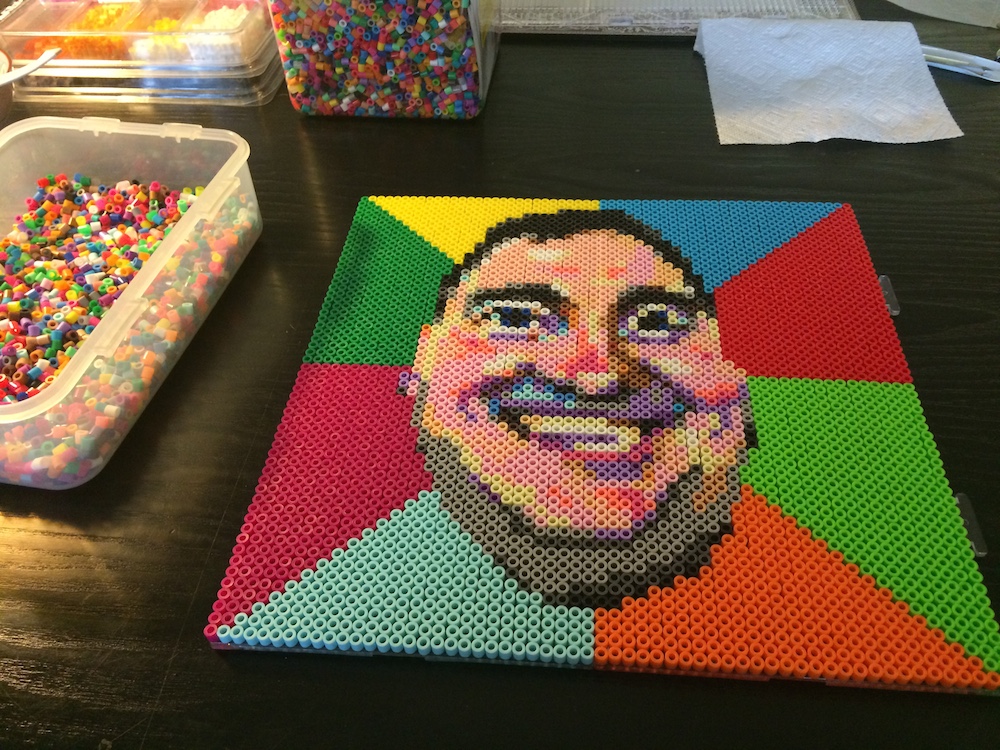
A detail clearly showing the beads:
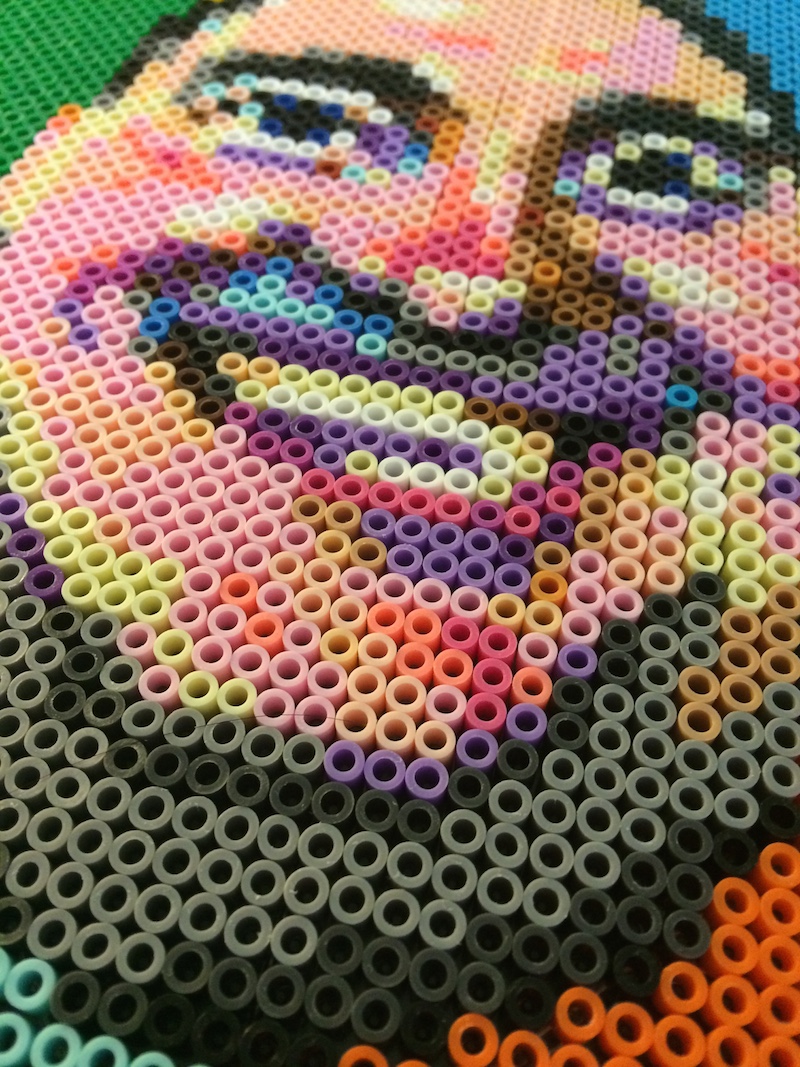
This was no small endeavour! In fact it ended up being much, much harder than I thought it was. For starters I did absolutely no pre-planning, and I certainly didn’t really consider the palette of the available beads. Instead I used a ghetto technique to resize the original photo down to 60×60 and then just used it as a guideline for bead placement. There was considerable deviating from the pixelated picture on my ipad, especially when it came down to establishing the all-important detail (such as the cheeks or nose shading).
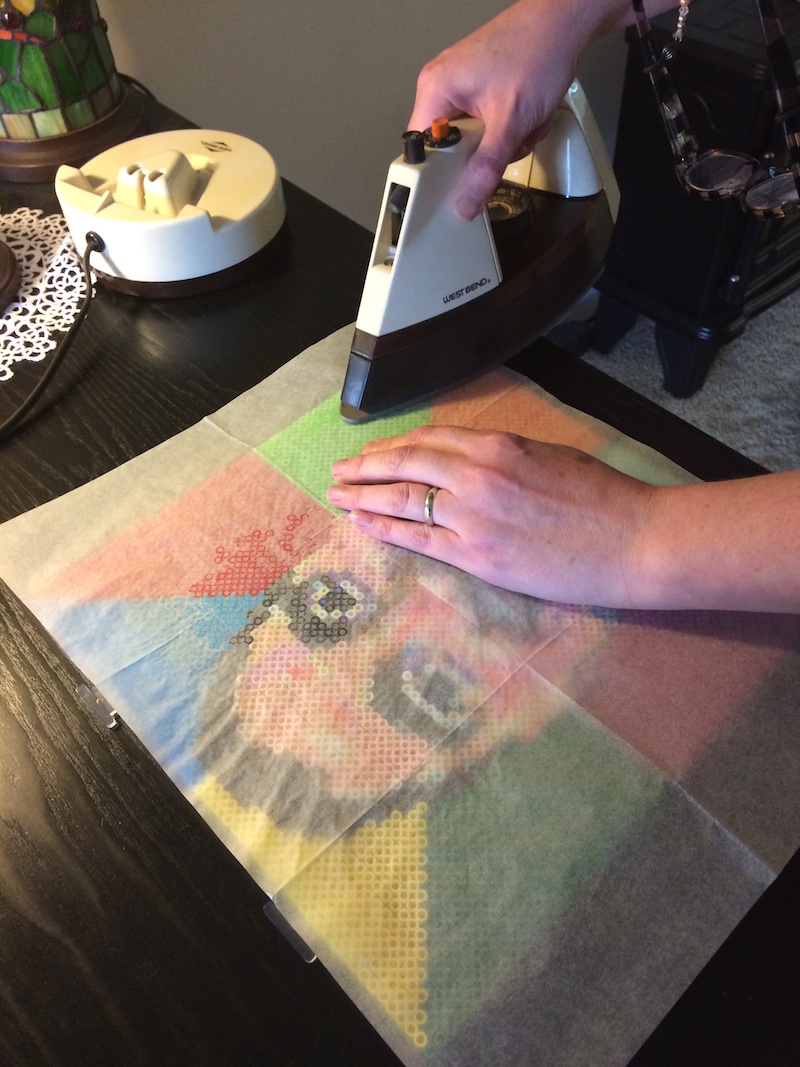
But then it transpired that placing the beads although time consuming wasn’t even the hardest part. Ironing them turned out to be much more challenging and took over 90 minutes in total (and more than a few stressful moments when it seemed like the whole thing would be ruined). The beads aren’t snapped onto the board in any way, they just sit there and can easily be dislodged with a bump:
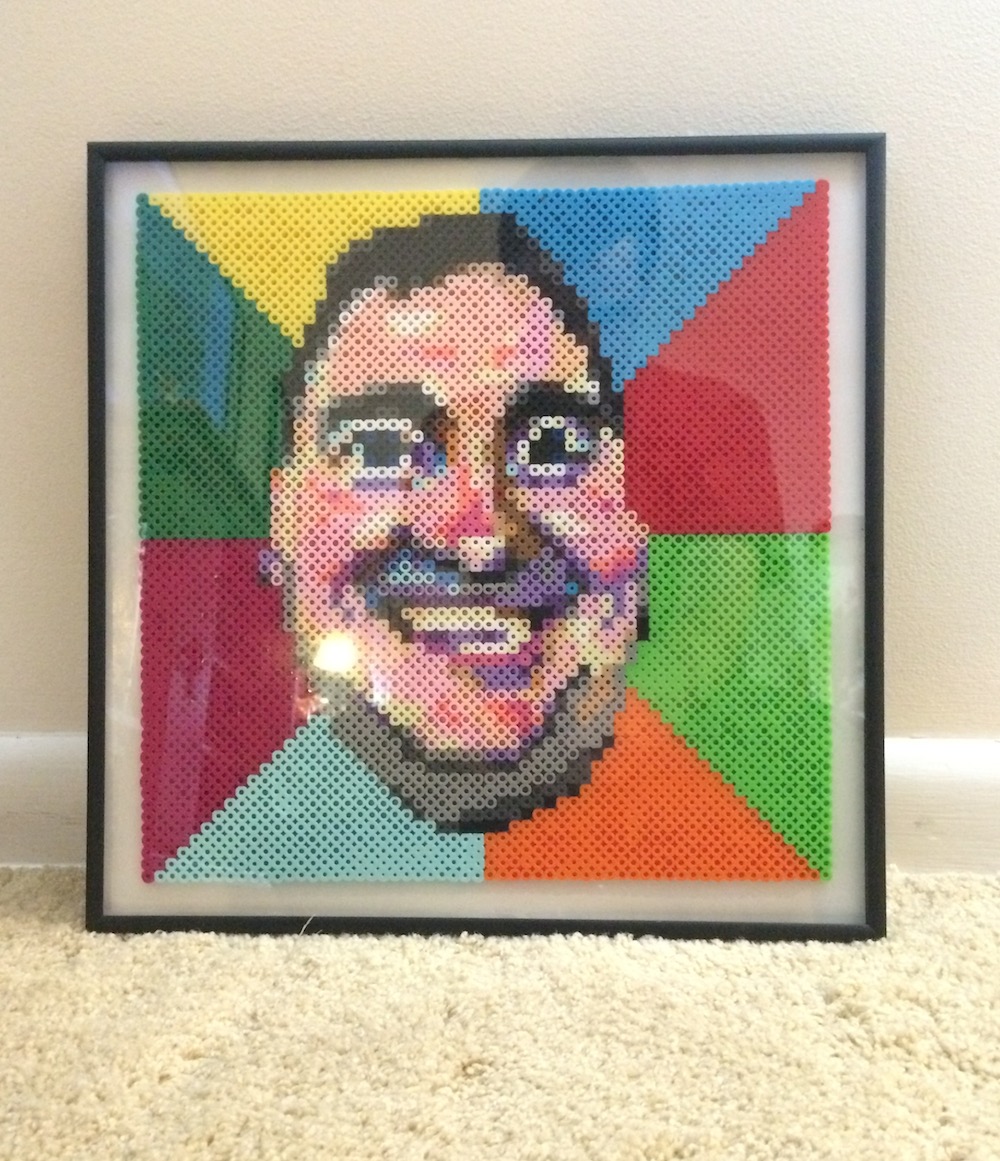
So, more than seven hours after I started, and in one sitting, I finished what can only be described as the greatest masterpiece I have ever created. And here it is:
Here’s the original – and famous – photograph that inspired it:

I think you’ll agree I did it justice?
Now and forever this will be displayed proudly in our house. It’s hanging in the hall next to Freddy Mercury, and defies any passer-by to not stop and appreciated it:
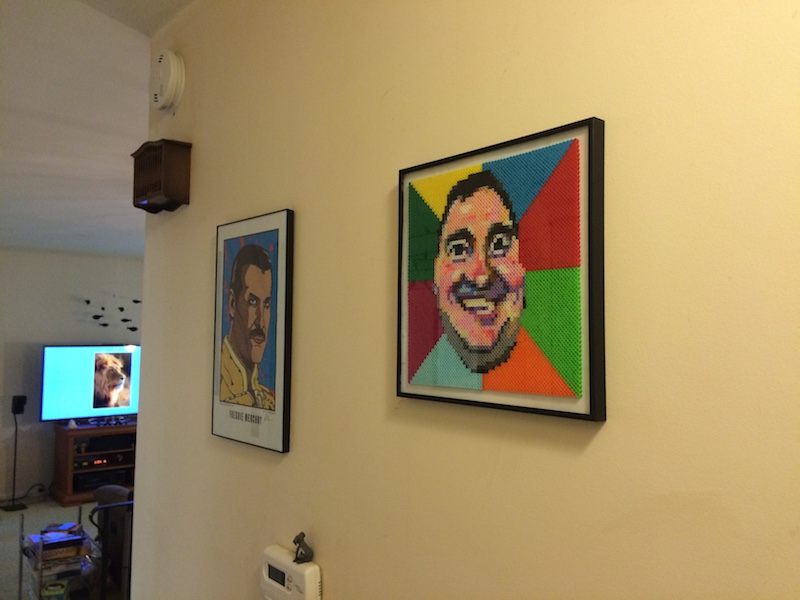
It has instantly become one of my prized possessions 🙂