Construction of the Lego Ultimate Collector’s Edition Death Star II kit is complete!
See here for my previous post on the beginning of construction (including what everything looked like before assembly).
Construction took a total time of about 16 hours, which was quite a bit less than I expected. This did not include setting up and putting away time – since I put this beast together in 7 sessions I had to put all the remaining pieces away between sessions lest Imperial Construction Engineer Yossie get ideas 🙂
Here’s a gallery of in-progress shots, marked with the approximate time taken up to that point:
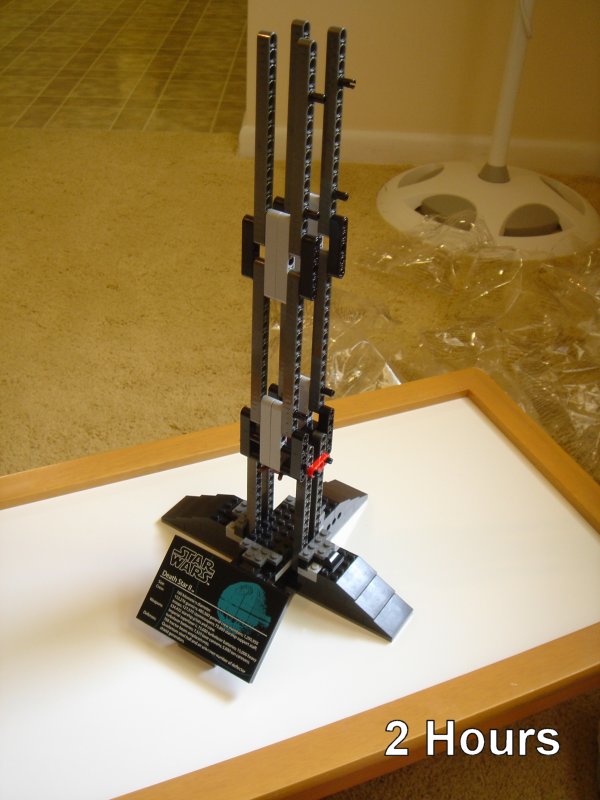
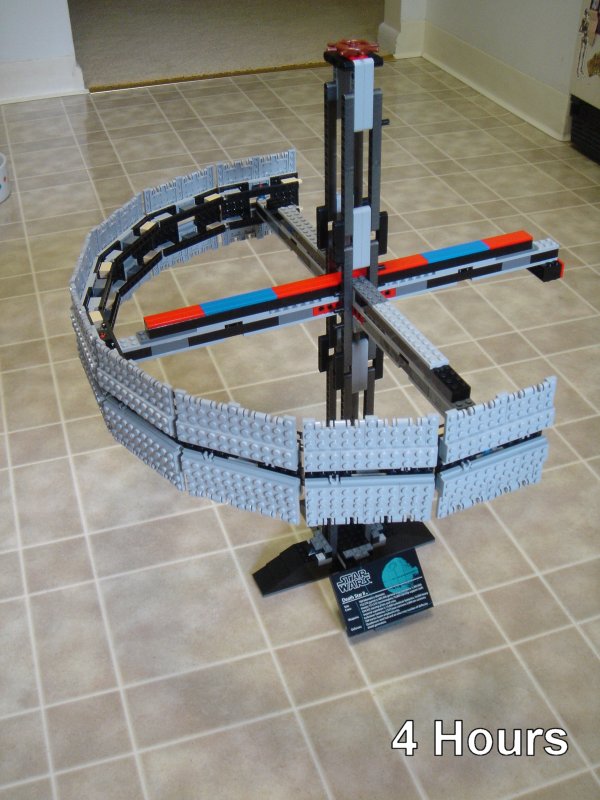
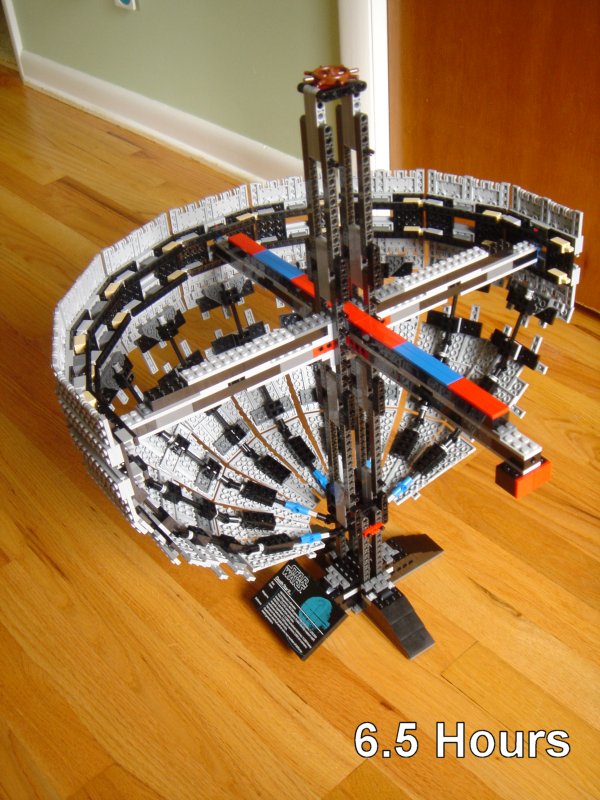
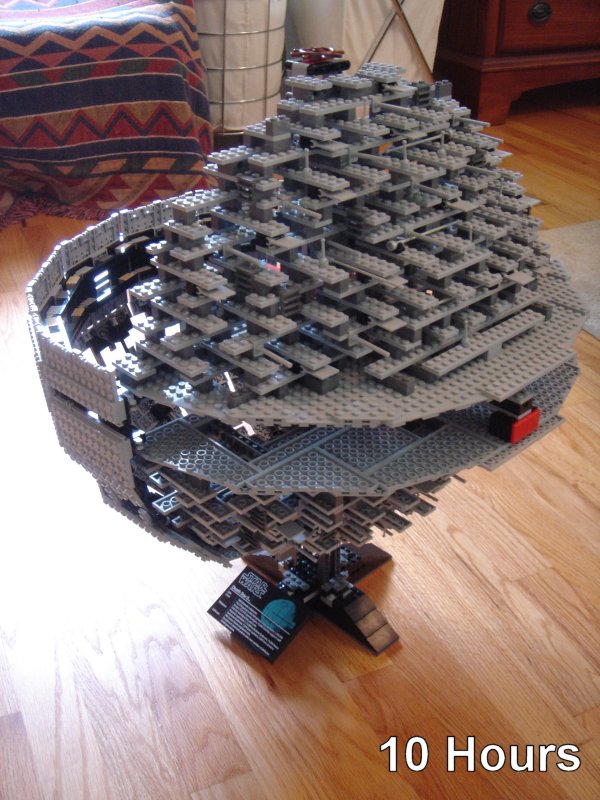
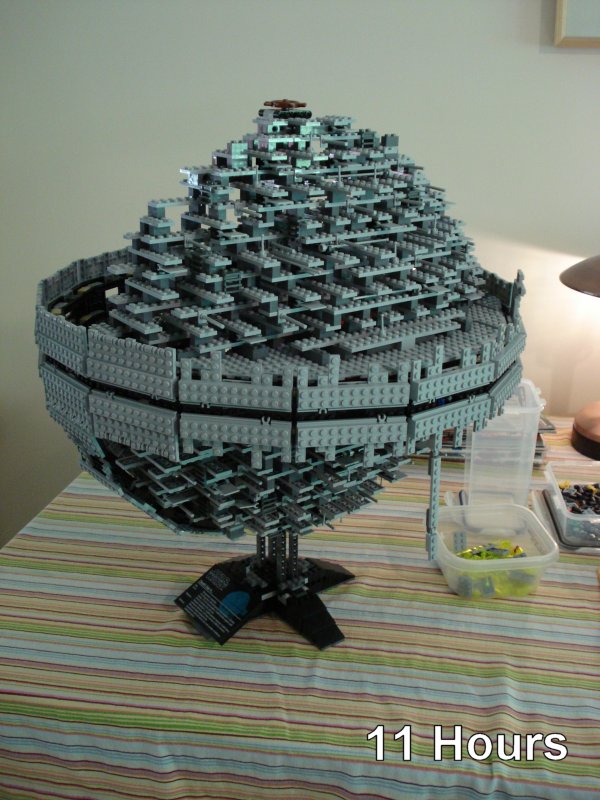
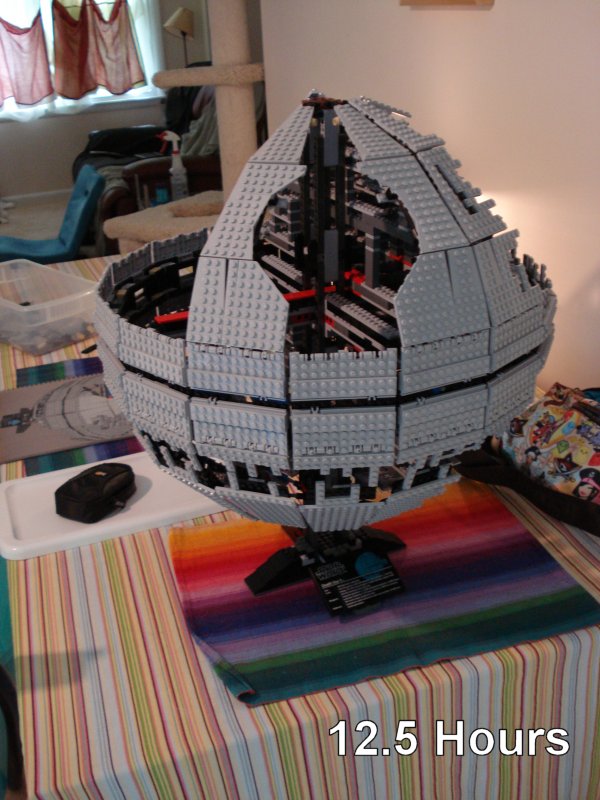
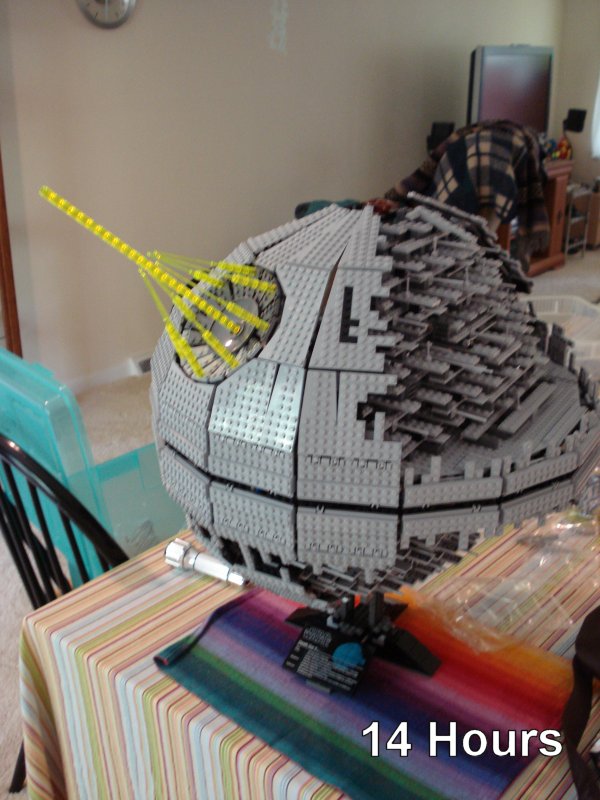
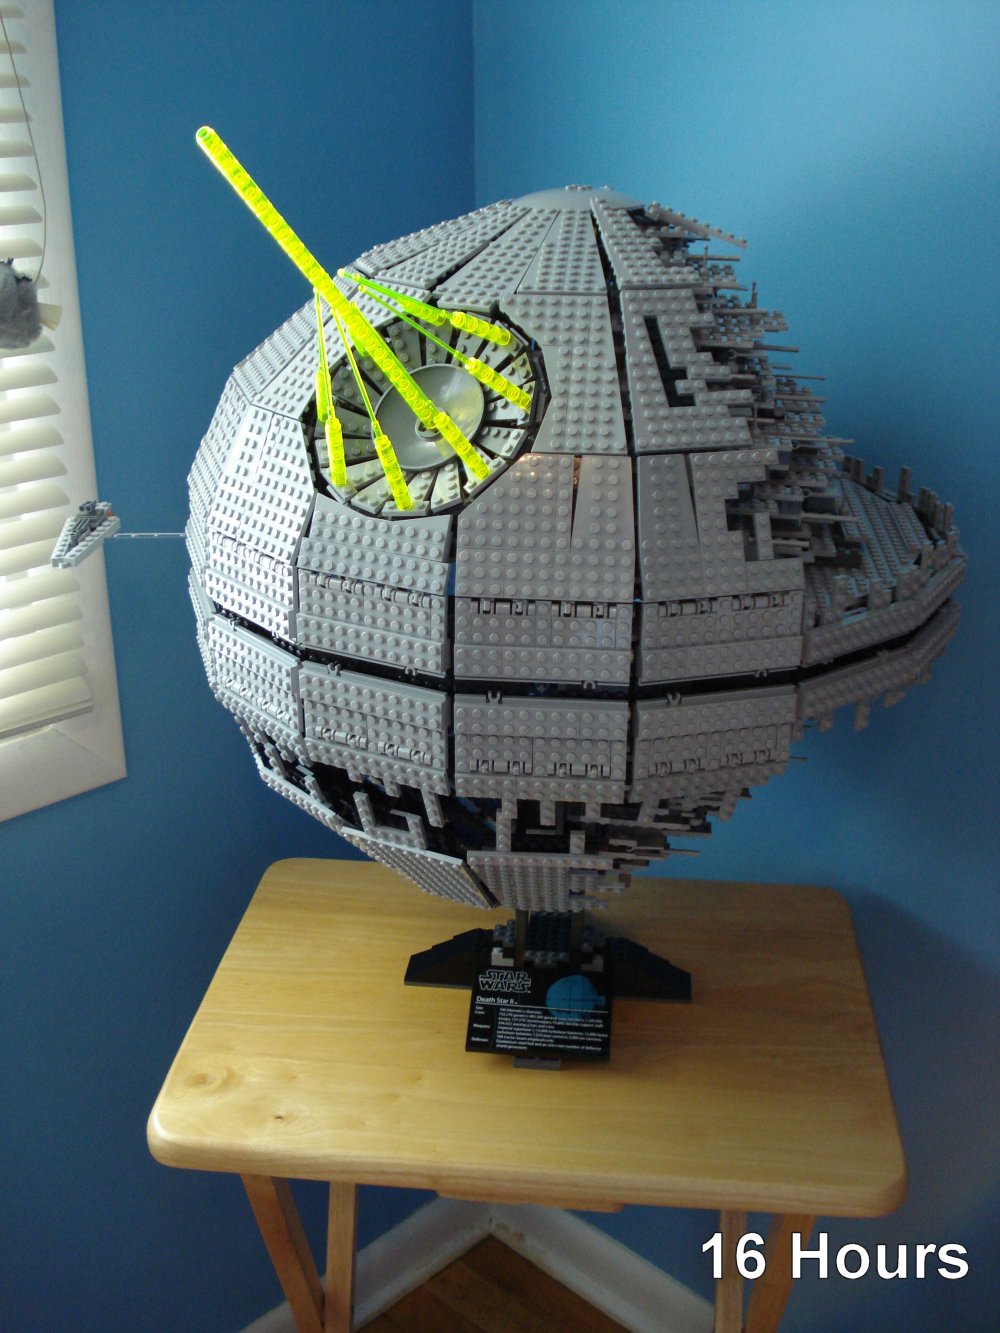
If you look carefully at the progress and the times, you may notice that some of what seem like small changes toward the end took about as much time as some dramatic additions during the middle. This was because the act of actually assembling some of the shell pieces was surprisingly difficult. The engineering of the kit is nothing less than astounding, but at the same time the tolerance of the connections is unforgiving, and many times I had to sit back and think just how I was going to slot two pieces together without removing other pieces.
By far the most difficult part of assembly was the cannon (the depressed ring section). Here are some detail shots for illustration:
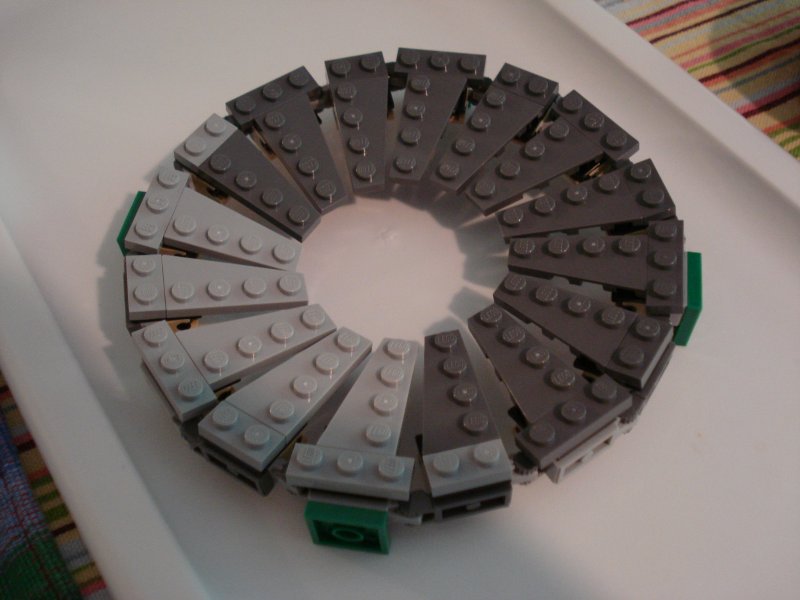
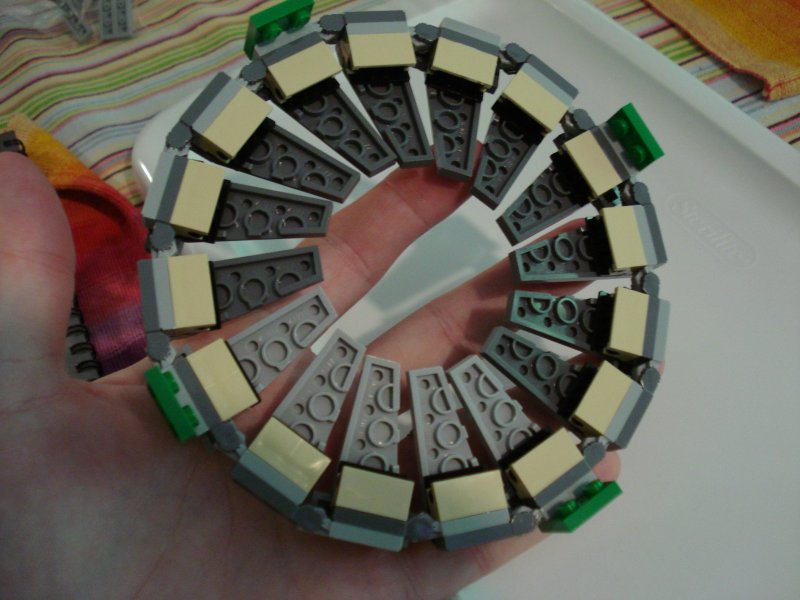
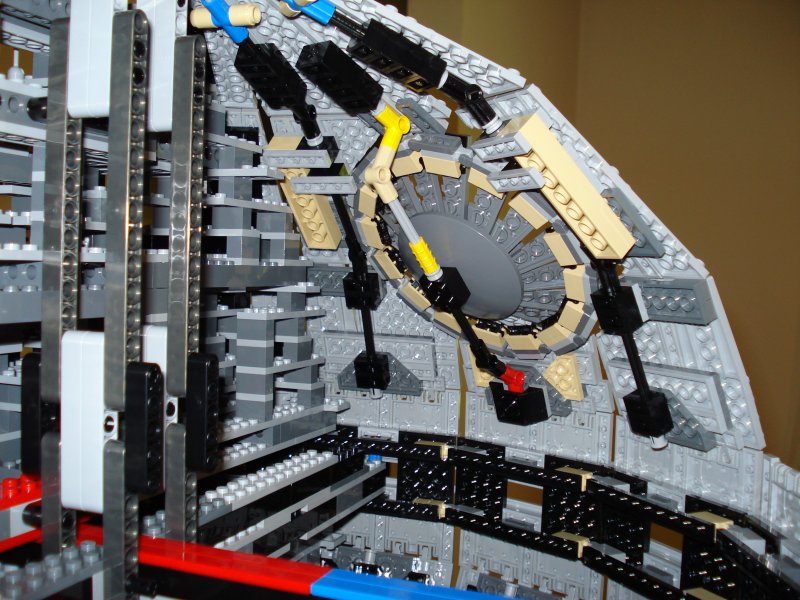
The ring itself ‘floats’ between 2 large dish pieces, which you can almost see in the interior detail shot. On the finished model, the ring can actually rotate (well, in theory). Getting the alignment of the triangular pieces exactly equal and correct with respect to the two dishes that would hold them in place via tension was very difficult – perhaps the hardest single lego construction step I have done in any kit.
Things got worse a few minutes later though…see this shot:
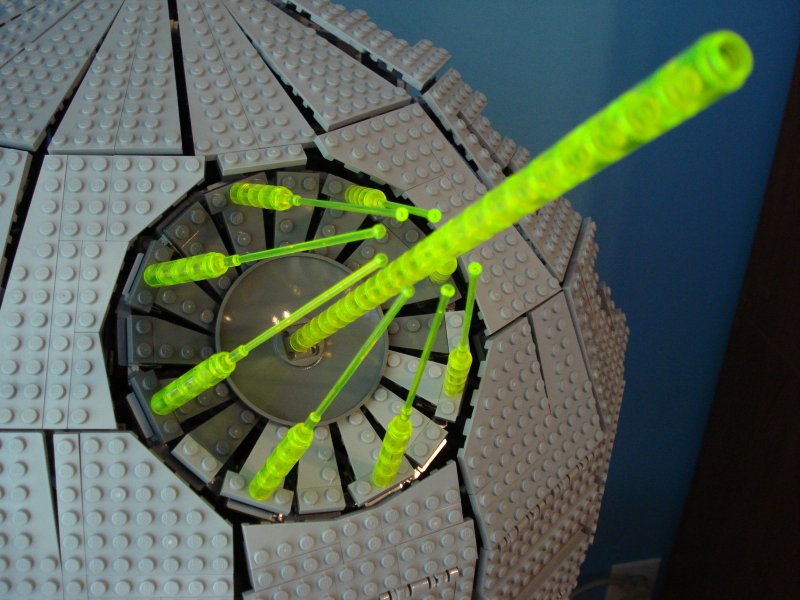
Putting the ‘lasers’ onto the ring meant firmly fixing pieces onto other pieces that themselves were held in place by (very tenuous) tension. It was maddeningly tough! When KLS came home, the first thing she did was touch the lasers…and my heart skipped a beat since I’d have to remove several ‘slices’ of the outer shell just to put them back in place if one broke off 🙂
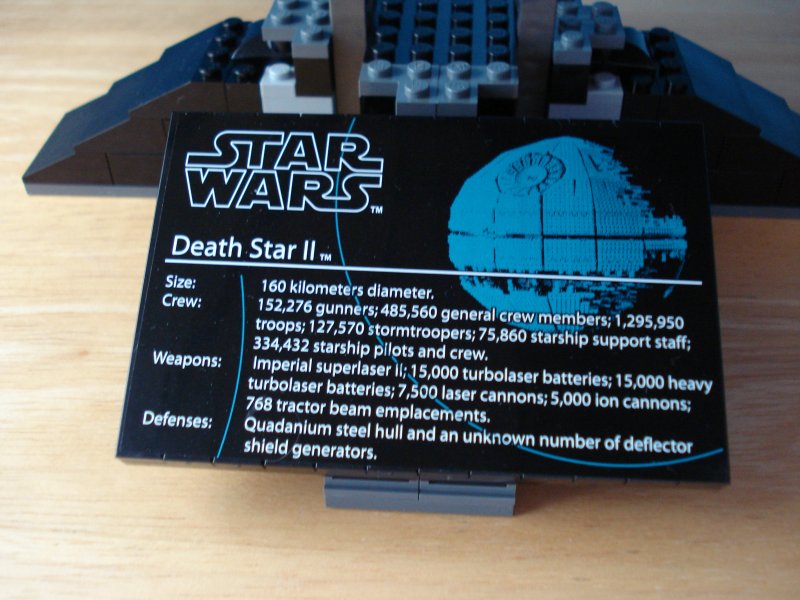
Here’s a shot of the plaque at the base, and a shot of the Death Star II from Return Of The Jedi for those unfamiliar with what it looked like in the film:

Comparing the ‘actual’ Death Star with the lego kit (see the 16 hour shot above) shows how close the likeness is!
The manual is 100 pages long and contains over 400 individual steps. Of the 3400+ individual pieces, the most common by far (460 total) is the dark grey 2×1 brick :

The most important piece, however, may be ‘technic angle connector #3’, which is used 45 times:

This connector appears to be a 22.5 degree bend and three are used in the construction of each shell ‘slice’. The extra 22.5 degrees required to complete the 90 turn comes from one turn of these gradiated interlocking pieces (note the pieces are light grey in this kit):


You can see what I am describing in the interior shot of the cannon above. What I am trying to describe here is that the nearly perfect spherical curve of the kit is obtained mostly by using existing rigid pieces with amazingly clever engineering. Everything notches together perfectly into a ‘ship’s wheel’ piece on each end to hold it together, pictures of which can be seen at this site.
Anyway, now it’s all complete – and looking absolutely brilliant – it has taken up permanent residency in our study (again, the final 16 hour shot). KLS thinks it is only a matter of time before Imperial Construction Engineer Yossie, in a fit of cattish madness, jumps up onto the table and becomes Imperial deConstruction Engineer Yossie. Here’s hoping that never happens, because not only would this be a beast to repair, it would also be a beast to break down.
For now, it will silently patrol the corner of this room 🙂