Most of you probably haven’t heard of Joe Dever, even though he was an author of over 50 books that sold more than 10 million copies combined in many languages. As the owner of more than 50 of his books (in several imprints), it was sad to hear that he passed away the other day at the age of 60.
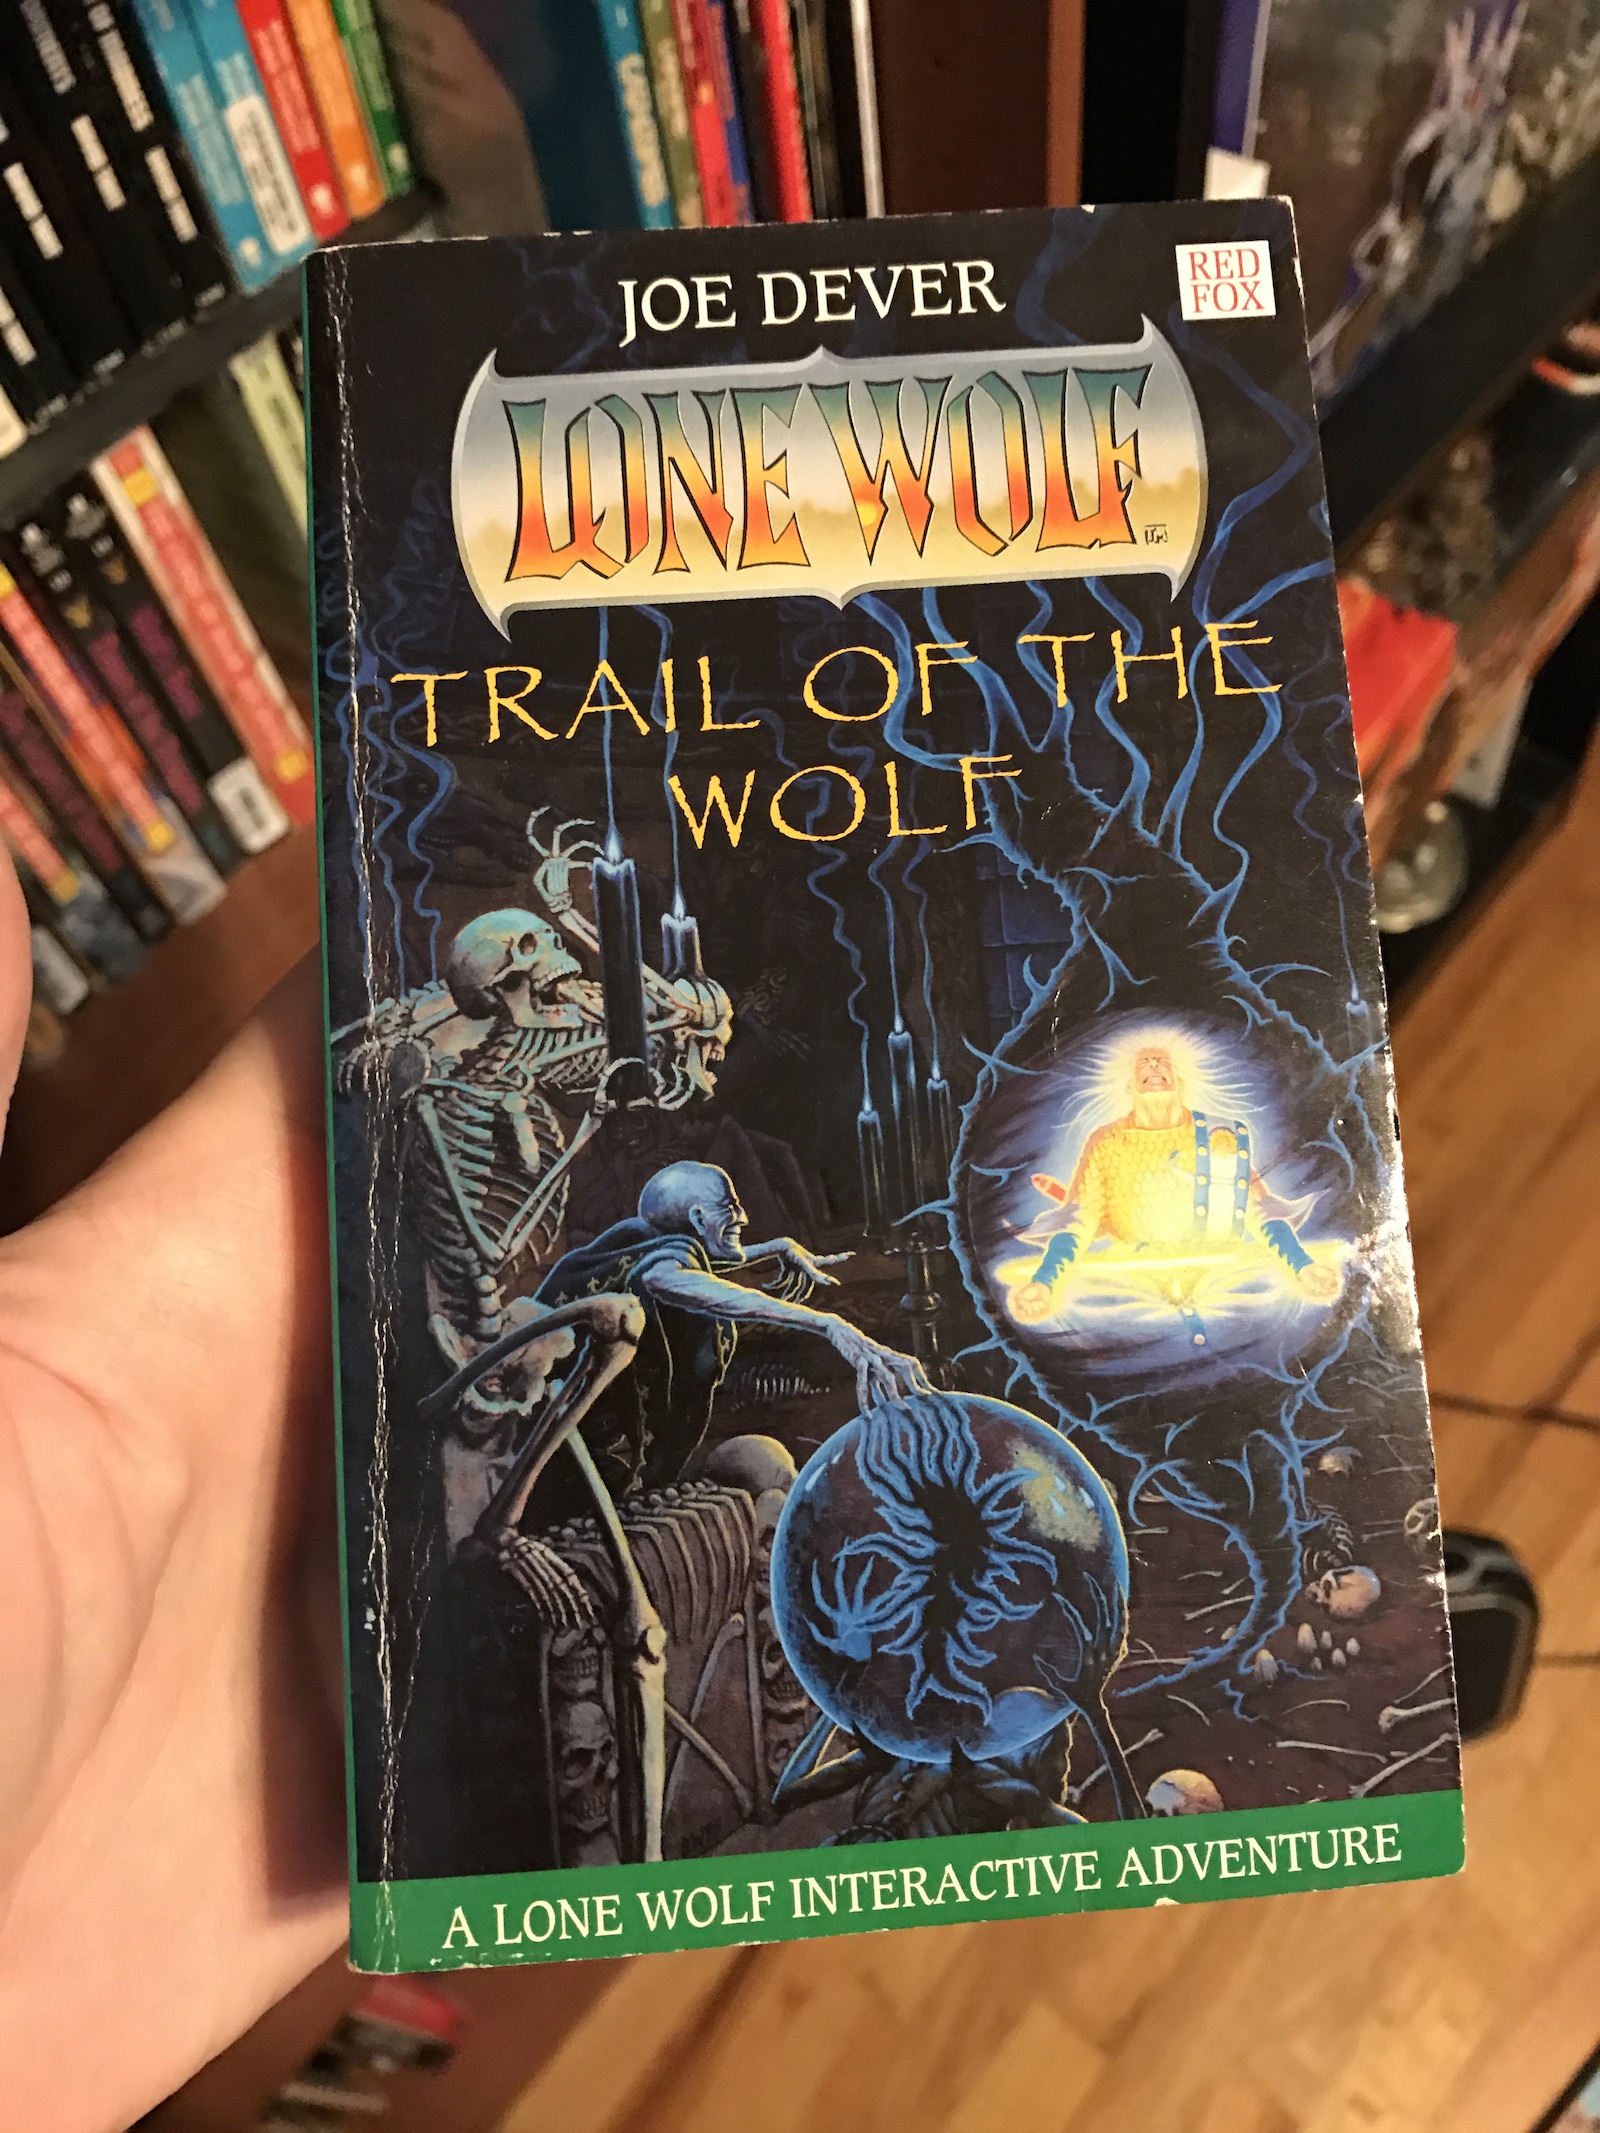
Starting in 1984 Joe Dever was the creator and sole author of the Lone Wolf series of gamebooks that continued for 29 installments and spun off into other gamebook series, novels, computer games, audio books, role-playing games and even a phone-based adventure game. It’s still going strong (more or less) with iOS games, reprints of the books and even a new installment which was released a few months ago. Lone Wolf was every bit as important as the Fighting Fantasy series, and is as much-loved today by it’s legions of fans.
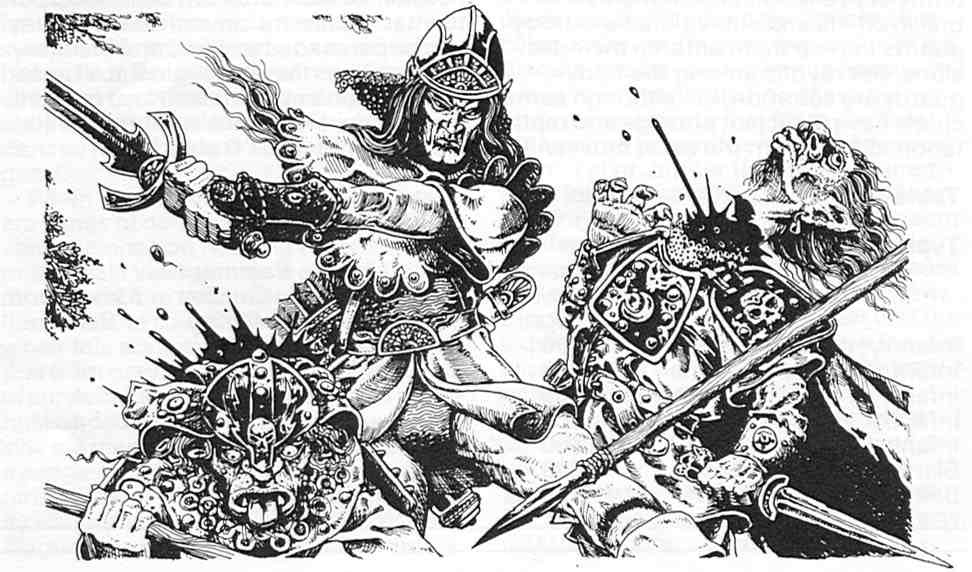
As a 12-year old already caught up in gamebook mania via the Fighting Fantasy series, I ate up the Lone Wolf books when they were first released. Unlike the FF books, they were all set in the same world and told a continuing narrative where you played the same character through each book. You could even use your old character sheet, which was remarkable in those days! The world of Lone Wolf, inhabited by the jedi-like Kai Lords (and more powerful Magnakai) and the evil Daaklords was exotic and dangerous and fascinating and illustrated by the wonderful art of Gary Chalk.
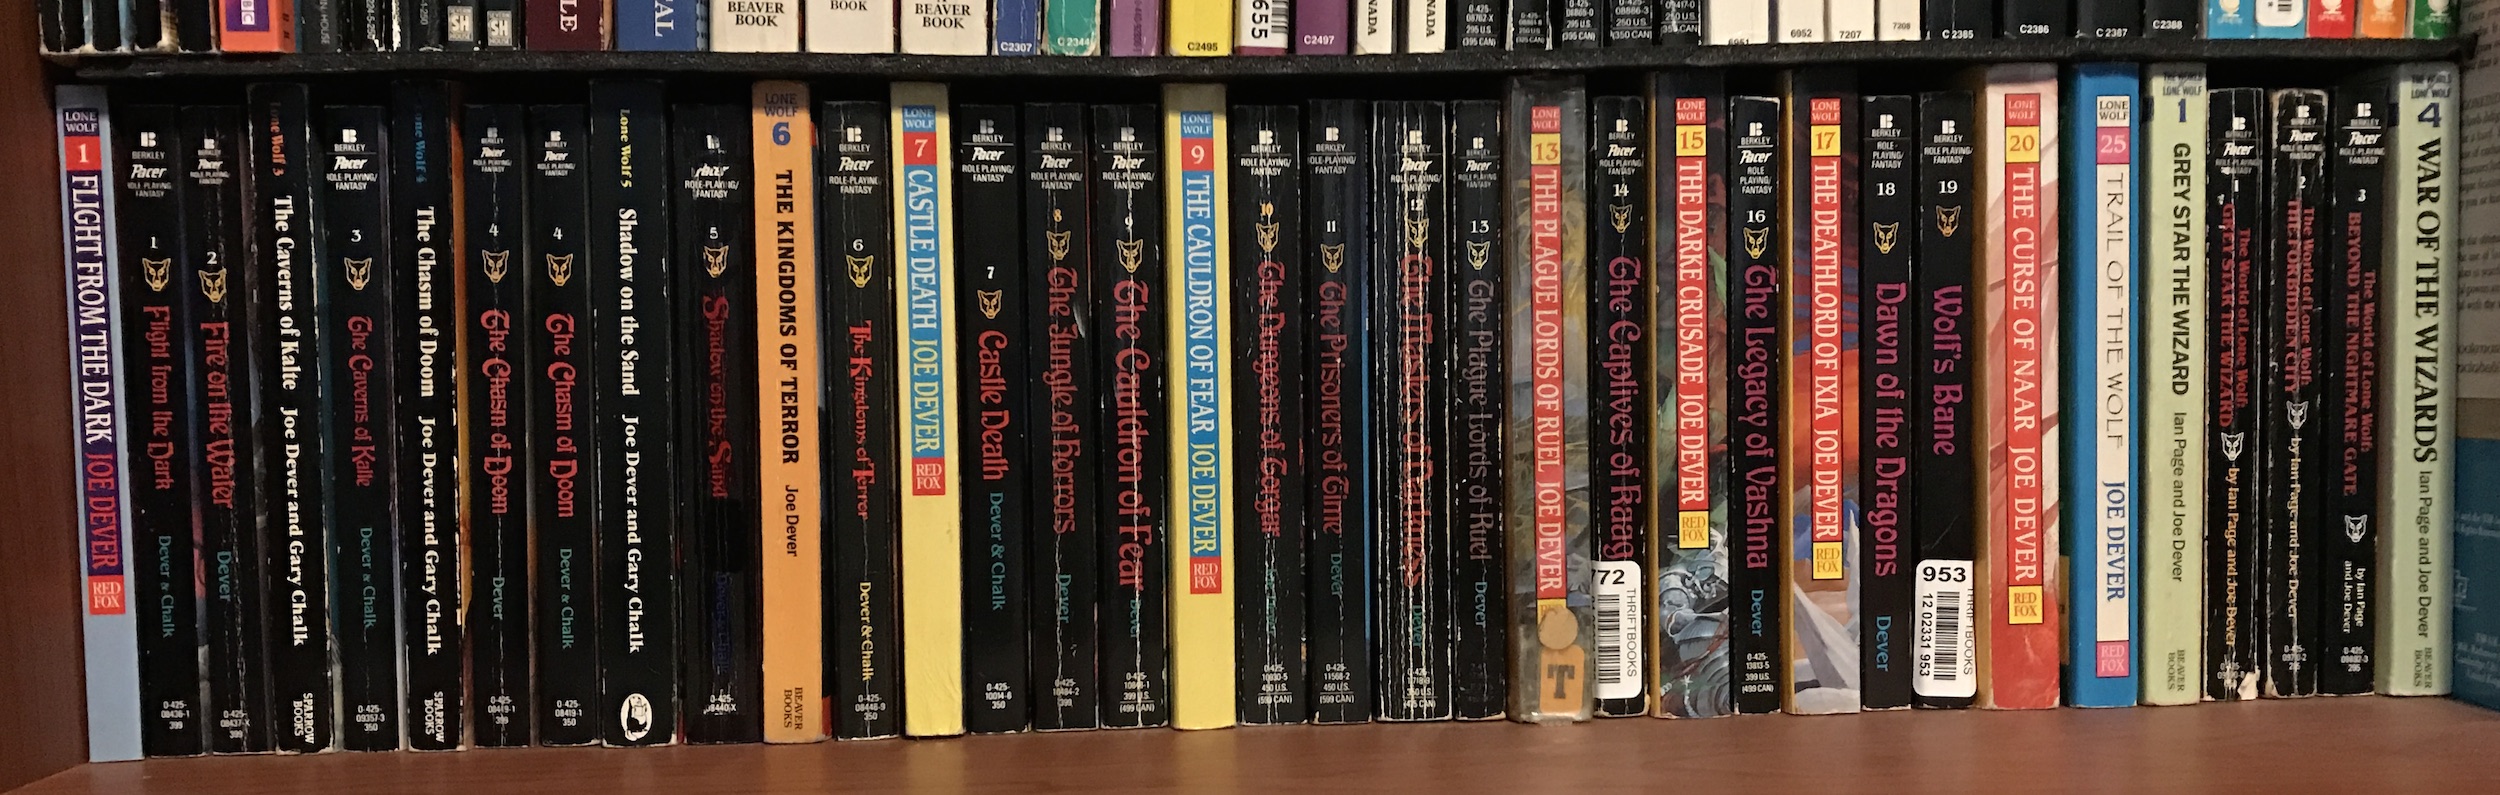
In those days I had no way of knowing when (or if!) a new book in the series would ever come out so it was a real treat when I went to the bookstore and found the latest one. I must have played through at least ten in the series before I grew out of them (as a youth at least). As an adult, when I fell back into gamebooks about a decade ago, it wasn’t long before I’d acquired most of the low-number Lone Wolf books. My collection grew to include a mishmash of USA, UK and Australian imprints and would soon expand to include Dever’s other gamebooks (Combat Command, Grey Star and the Mad-Max Freeway Warrior) as well as Long Wolf novels and the (long sought-after by myself) The Magnamund Companion Lone Wolf Atlas. All of these are now important parts of my collection.
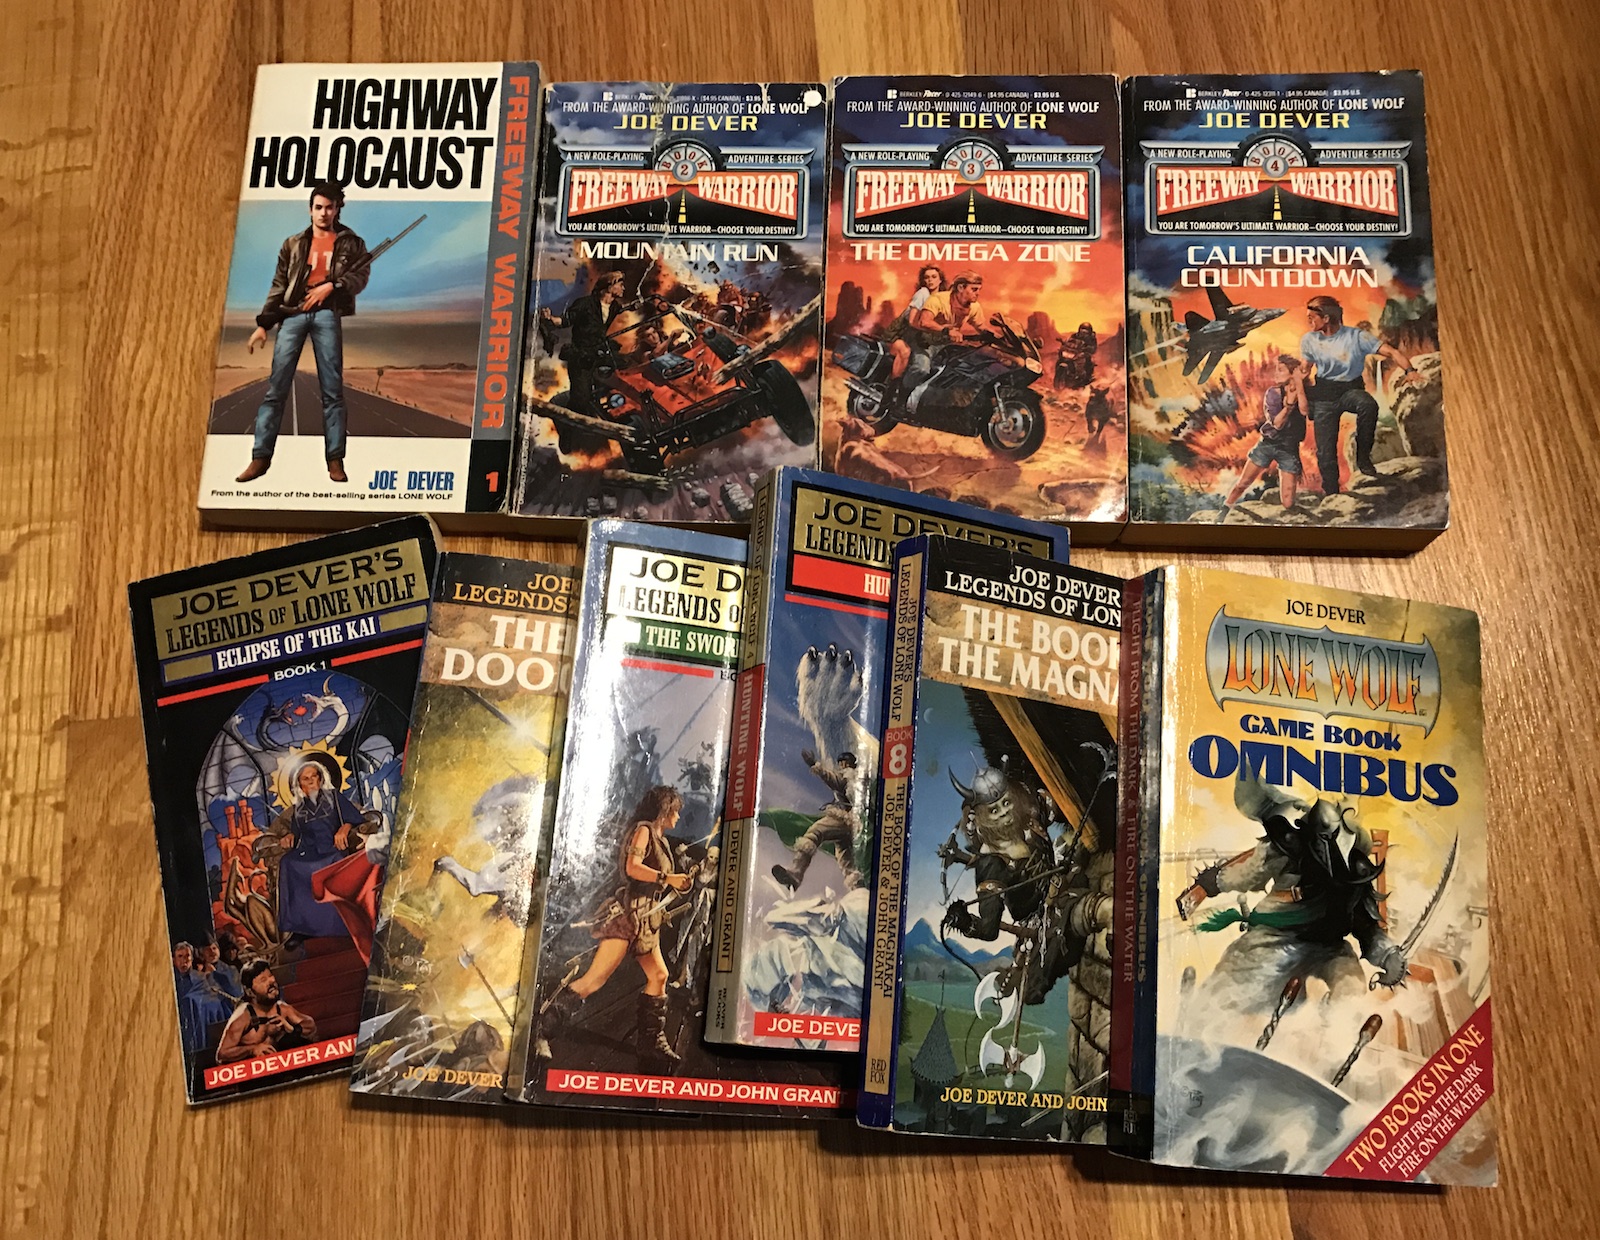
And yet to this day even in my expansive and encyclopedic gamebook collection there are a few books that remain elusive. And many of them are from the Lone Wolf series. I have books 1 through 20 (in some cases, multiple versions of each) and then book 25. This leaves 9 books out there to be one day found, with evocative titles like The Hunger Of Sejanoz and Vampirium. These books had small print runs, are quite rare, and very expensive (hundreds of dollars for some). One day I may own them.
I’ve read every Dever book I own and enjoyed them all. The gamebooks in particular are among the best written, and the quality of the Lone Wolf novels was a great surprise (since my expectations were influenced by the for-kids FF novels). The Lone Wolf books though are the keystones of his legacy, and I’m just one of millions that have enjoyed them now for over thirty years. Apparently Mr Dever was still writing new installments up until he fell ill. Even though those books will never be read, I believe the many works he left behind will keep readers entertained for many years to come.