I suppose one of the hallmarks of being a Star Wars fan is to have a favourite spaceship. For me, that has always been the shuttle Tydirium.
This was the imperial shuttle stolen by the good guys on used to sneak onto Endor to disable the shield in Return Of The Jedi. Another of the same ships was inserted into the special edition of The Empire Strikes Back as The Emperors personal shuttle.
I’ve always loved the design of the ship, and was therefore astounded when Lego released this product last Christmas:
Happily, I received the above for my birthday this year, and yesterday finally completed assembly.
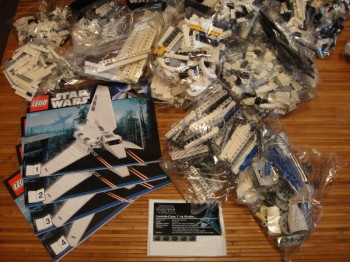
Here’s a shot of the contents of the box:
Observe the four instruction books, which are loosely separated into one for the body and cockpit, and one each for the two wings and sail. The pieces on the other hand are not sorted in any way (as they are in some Lego kits), which means almost all of those bags were opened within only a few pages of the first manual.
That’s 2503 pieces to sort through from virtually the very start! Believe me when I say that makes for a very slow assembly.
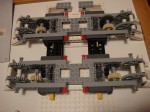
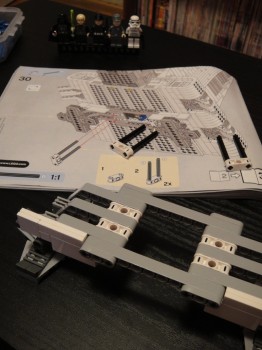
Construction starts with the body of the shuttle, which contains an elaborate mechanism to move the wings:
This was challenging. Not hard, just fiddly. Some of the gearing is most definitely at the Lego Technic level, and I’d say this portion alone is enough to make the kit overall not for beginners. Aligning the gears to be level and move in unison took a bit of fiddling, and the completion of the body + cockpit took quite a few hours in total over a few days.
I did have a friend helping…
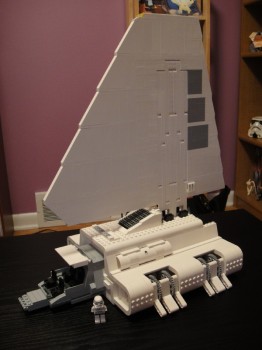
Next was the sail on top of the shuttle:
That shot should give you an idea of the sheer size of this model… but more on that later. When I was attaching the sail I dropped the kit and a large section broke off. Luckily the interior gearing was not damaged, else I may have had to start again from scratch. As it was I only had about 30 minutes of repairs 🙂
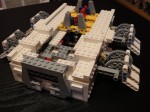
It would be difficult to attach the wings without the body off the ground, so the landing gear came next:
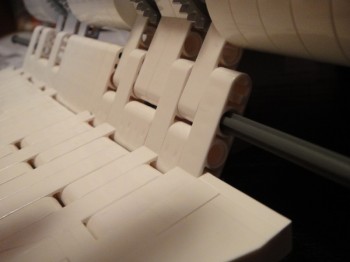
You can see (click on the image to enlarge) the mechanism for attaching the legs. Seems easy in principle doesn’t it? Well in my case it absolutely was not, and one of the pegs just wouldn’t go it without a lot of tinkering. There are two ways to display the finished kit – either on the legs shown above or on a stand with the wings swept down. I will likely go for the latter, but I’m not looking forward to removing the legs!
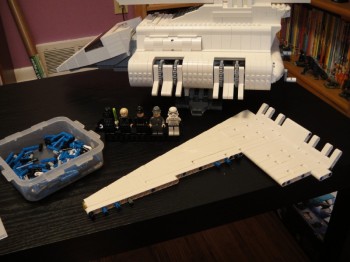
I was up to books 3 and 4 now; the wings. I’d say total build time up to this point was 7-10 hours (working at a slow pace to enjoy the process).
The wings may look fragile but they are rock hard, reinforced as they are throughout with crossbeams and ‘rivets’. This would be an extremely time-consuming kit to disassemble.
Attachment of the wings to the wing struts was the final frustration point, mostly because of the weight of the wing and the fiddly-ness of the attachment point (remember what I said about gears aligning?). Once the rods were inserted though, the wings are on there forever!
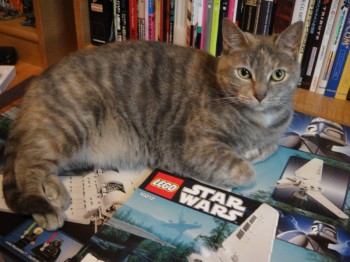
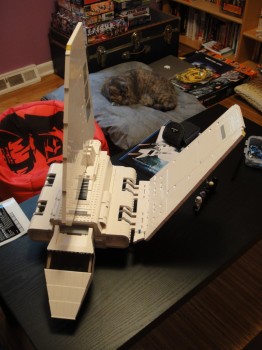
A 75% completed shot. By now (> 10 hours build time, over a few weeks) you can see that Sausage had found herself a sleep spot. 95% of the time I was building she was right where you see her in that photo. In the background (just above right from Yoss) you can see the next Lego kits on my ‘to build’ list, and above Yoss (on the chest) you can see a pile of jigsaws (one of which I will build this weekend) and Gundam kits.
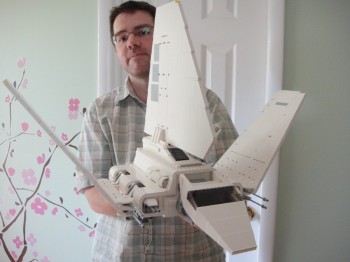
So the shuttle is now complete, and here’s what it looks like to scale:
No, that is not an illusion. Yes, it really is that big. And heavy. This is hands down the biggest Lego model I own (even including the Death Star) and probably the heaviest as well. But I love it! It was enormously entertaining to build and looks absolutely amazing. Even though I don’t know right now where I’ll put it, you can bet I already treasure it 🙂


