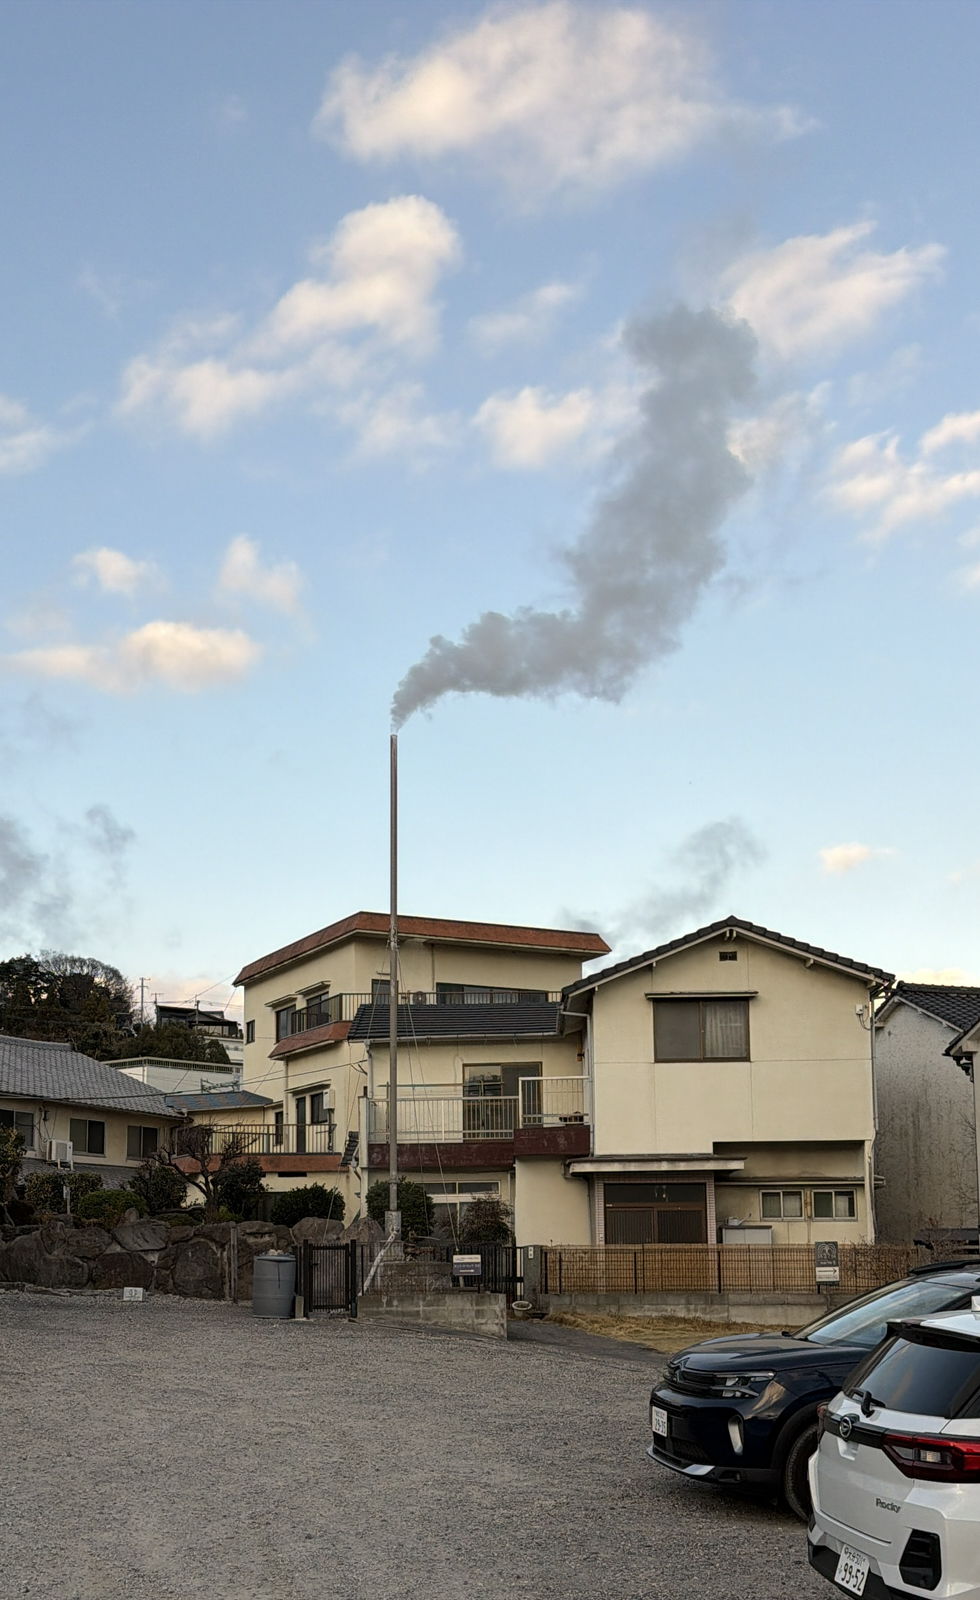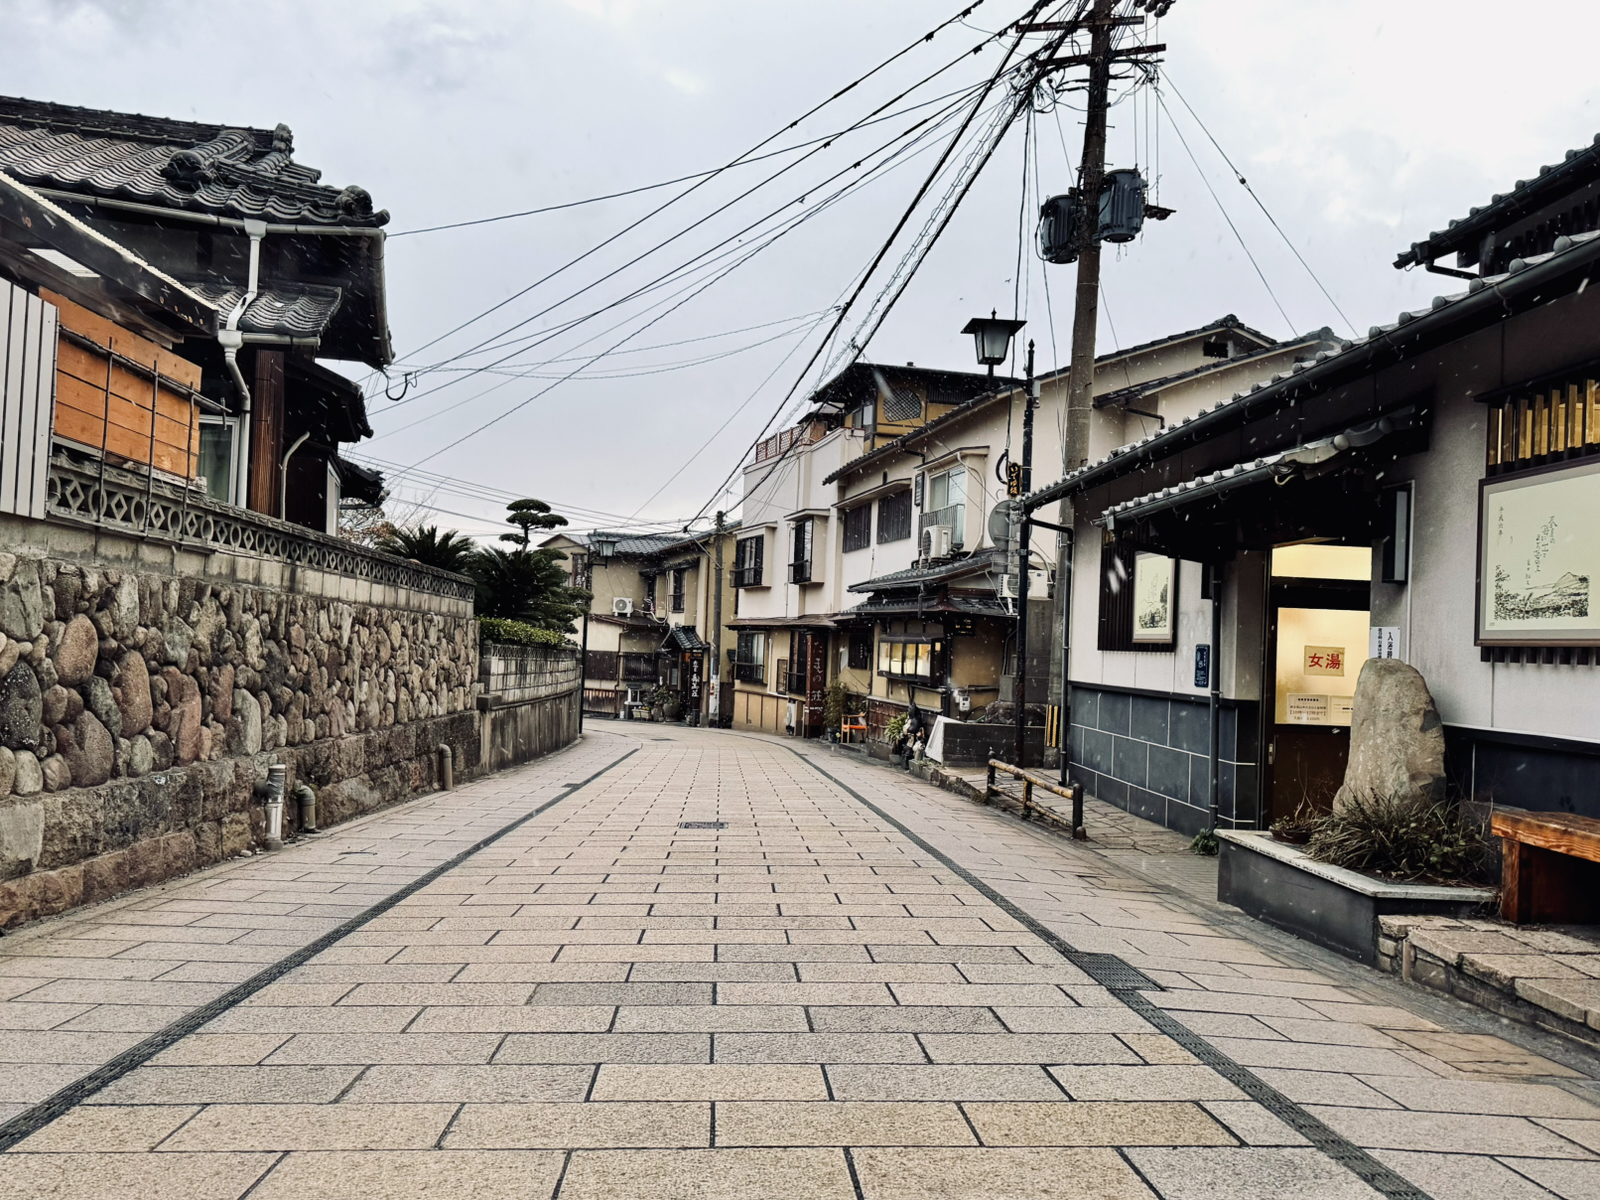
It was snowing when I headed out for a McBreakfast this morning. Let’s skip over the fact that I’d paid $$$ for the high-end hotel breakfast and enjoy the nice photo of the street outside the hotel. It was snowing as I walked, and it only got worse as I sat inside and ate.
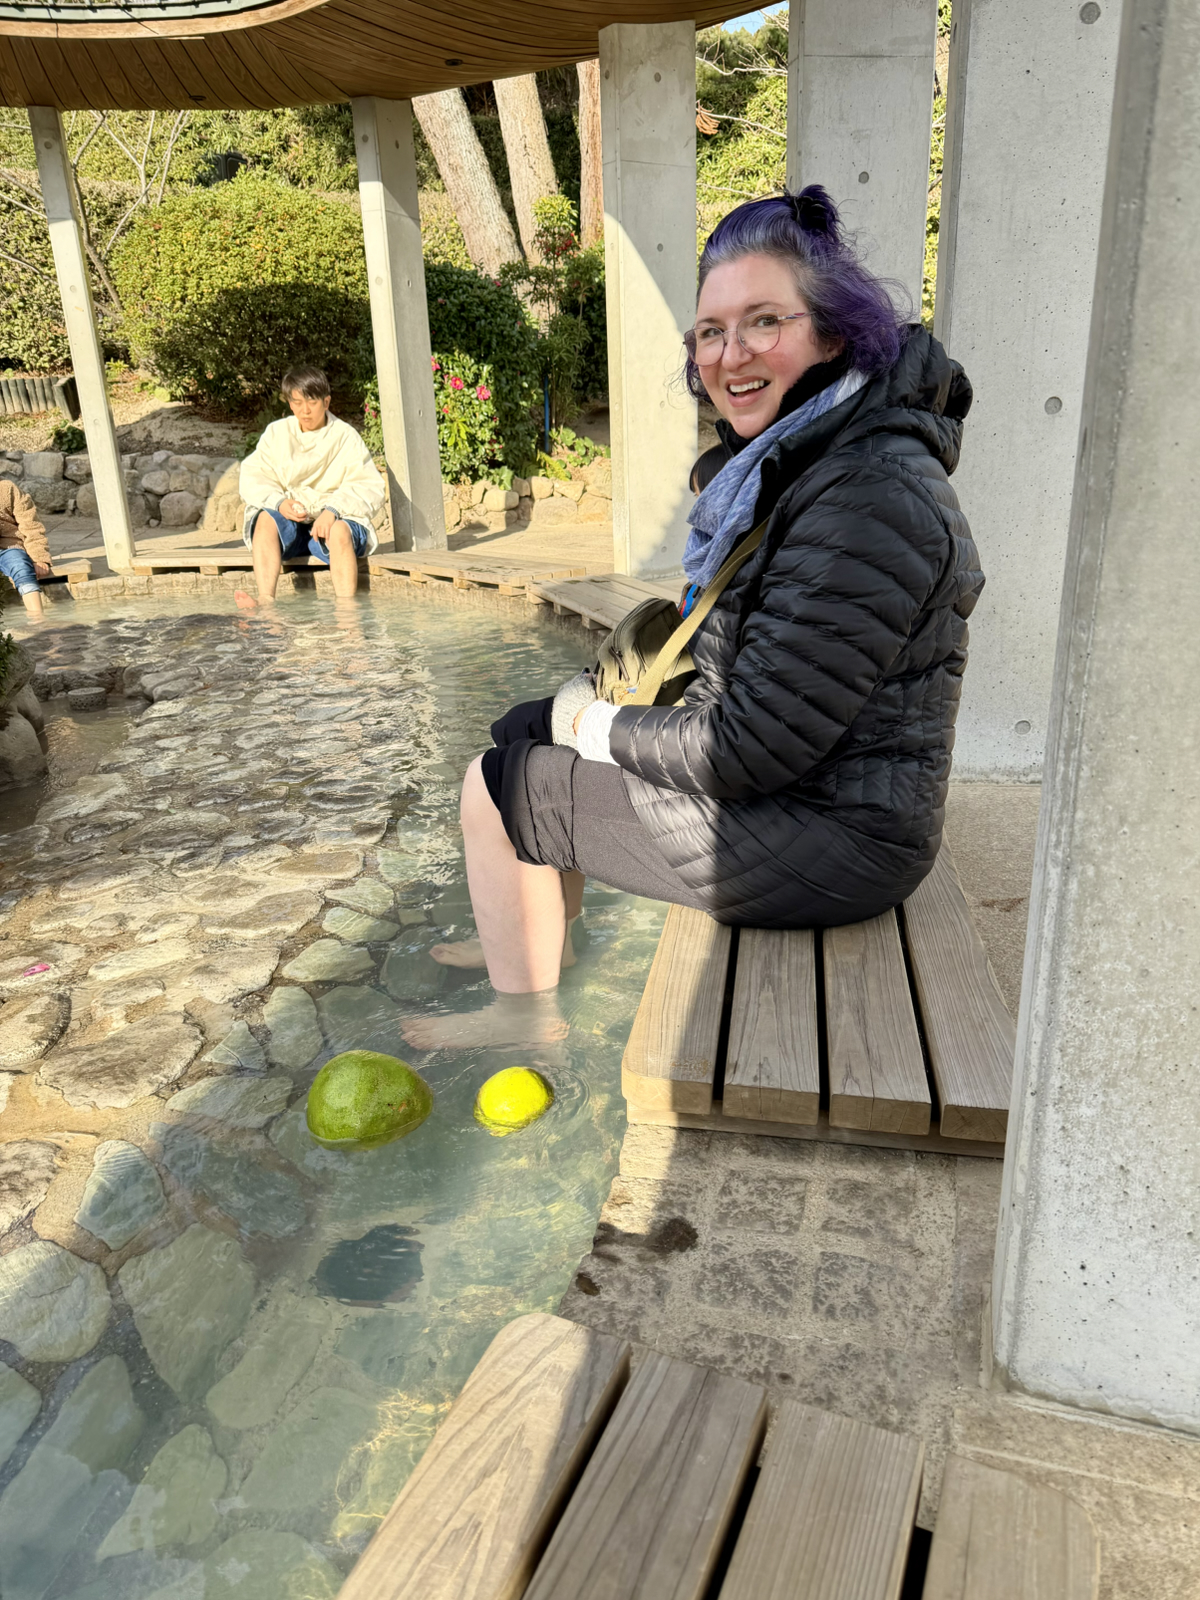
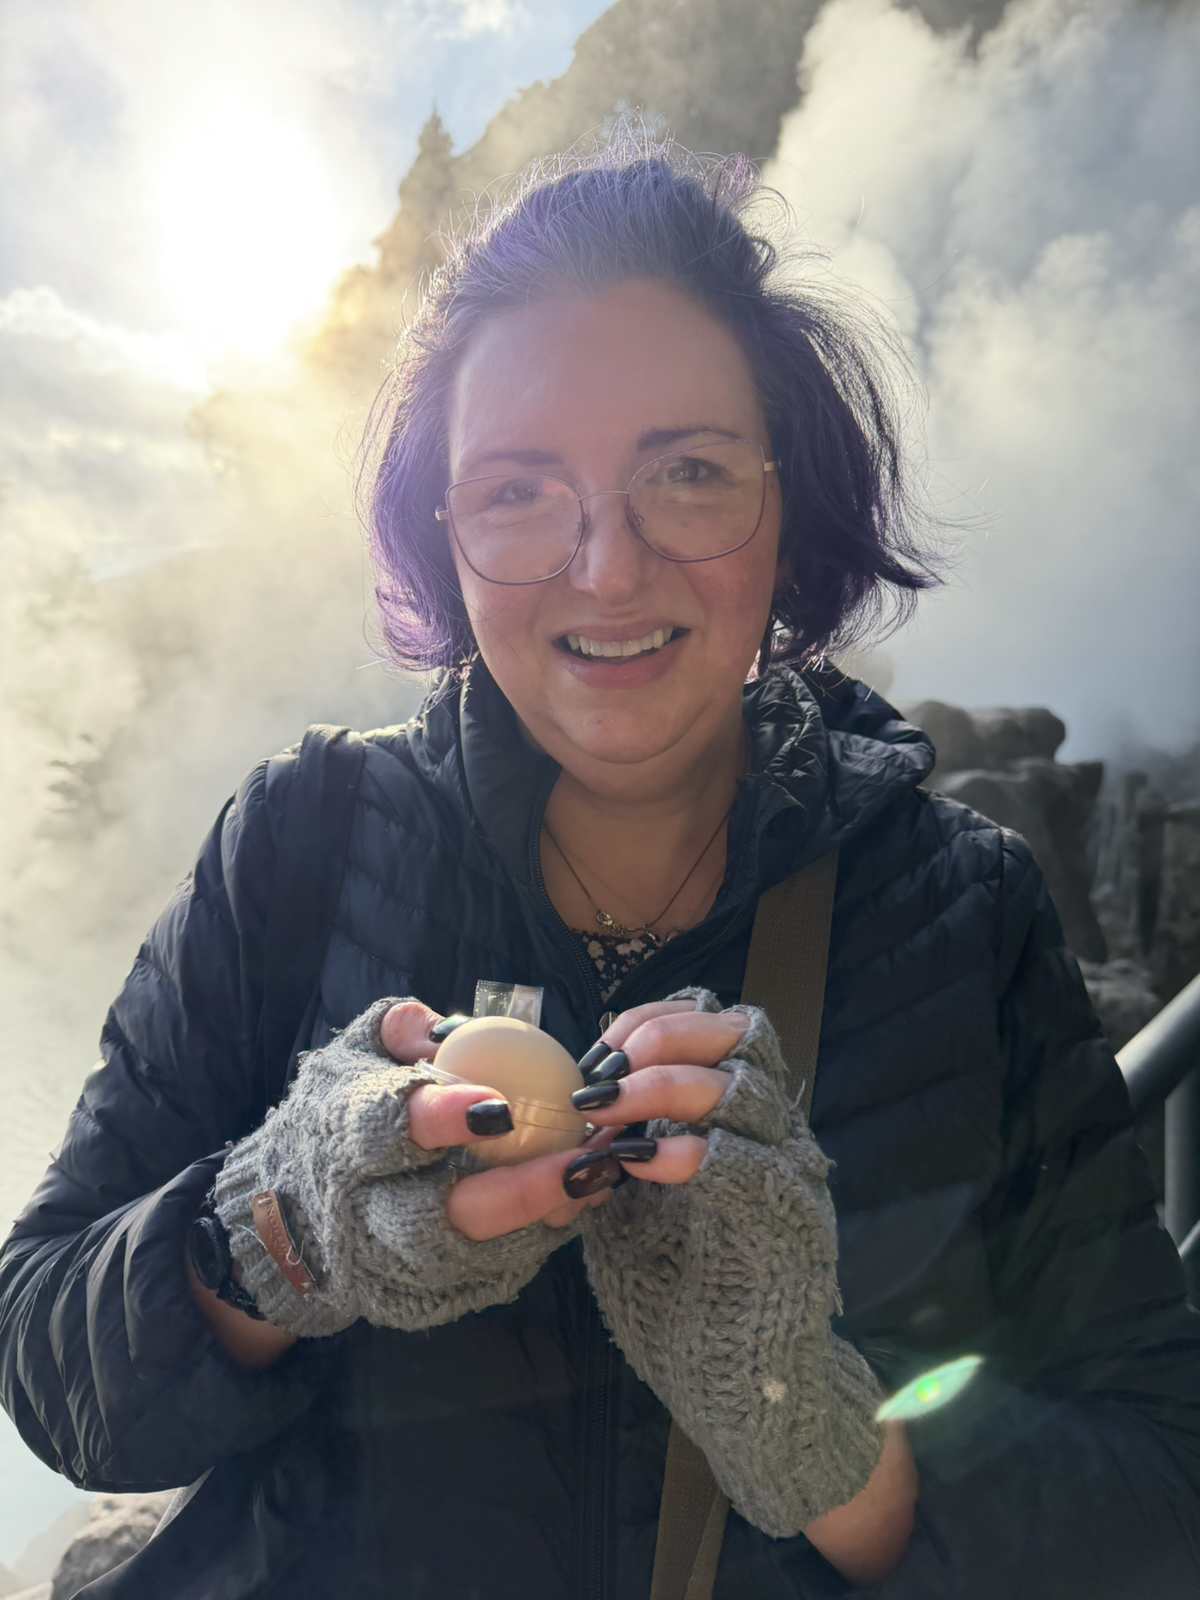
Kristin incidentally was enjoying the high-end hotel breakfast we’d paid for two of. She said the lemon jelly was particularly good!

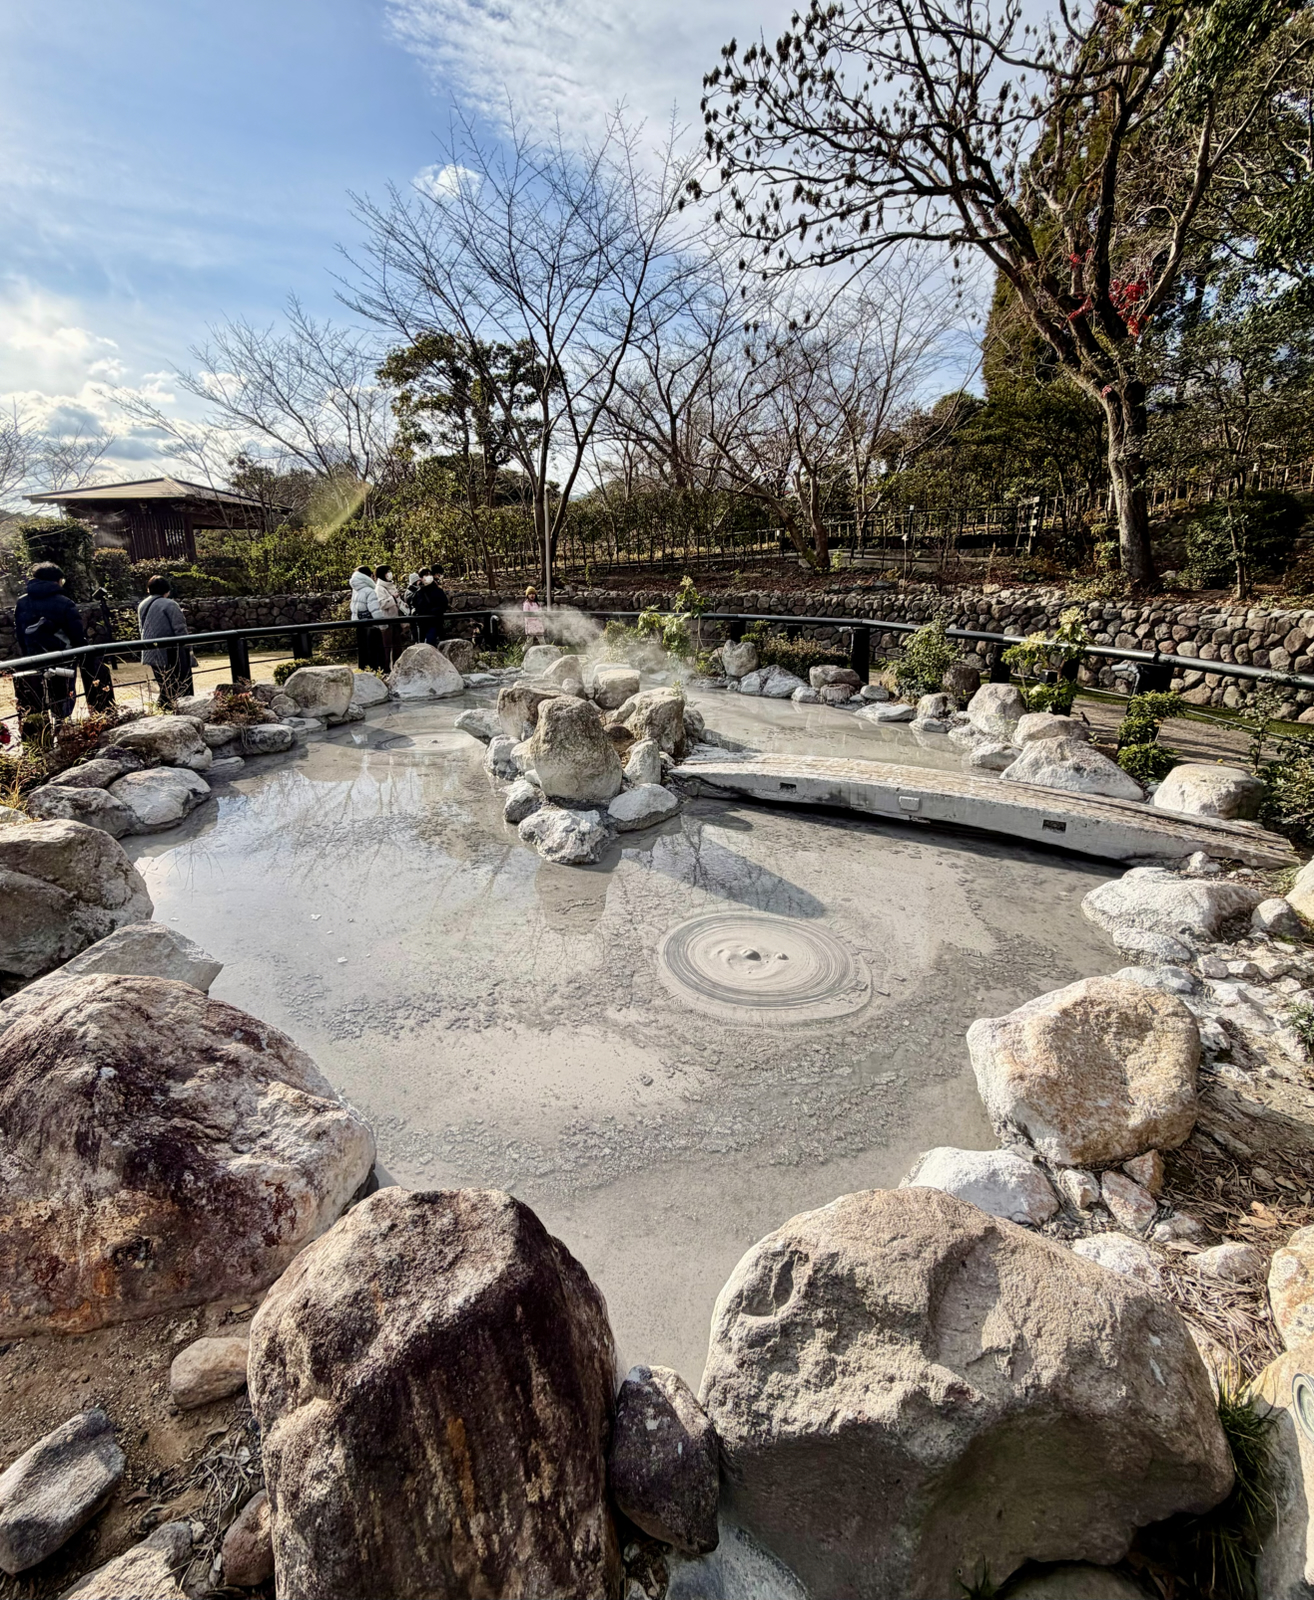
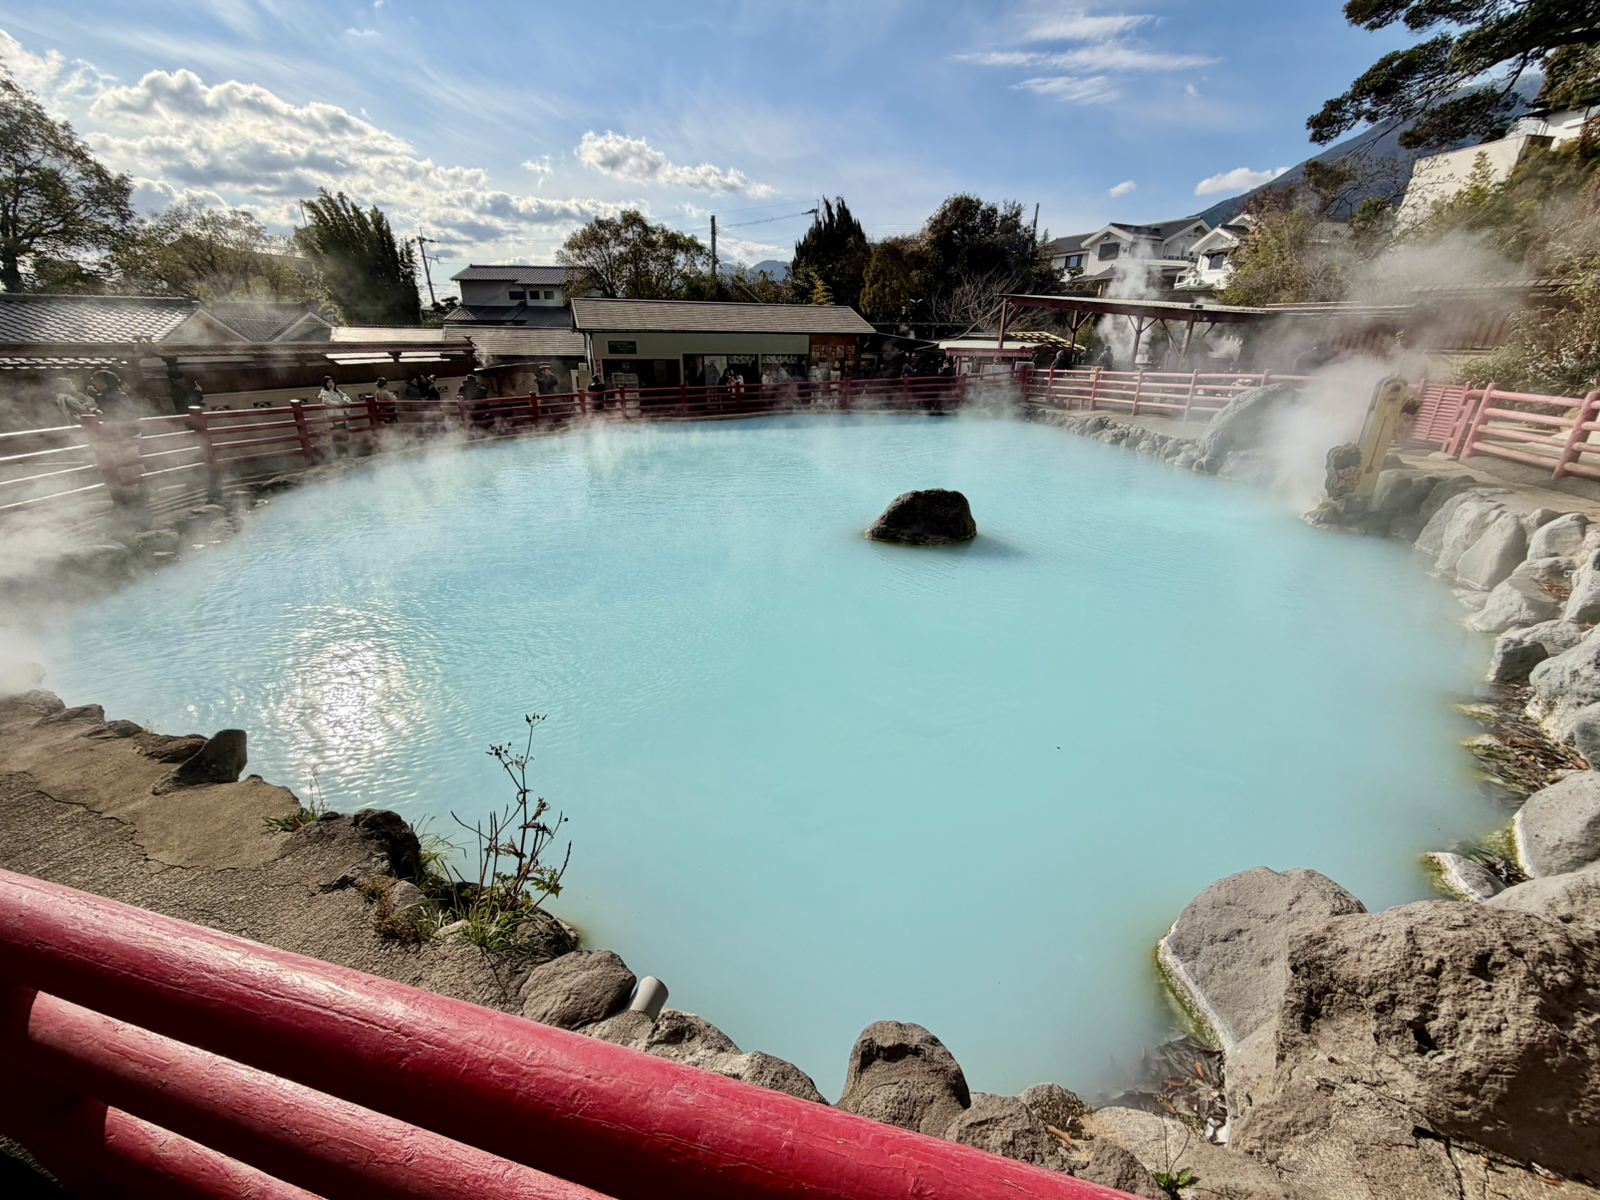
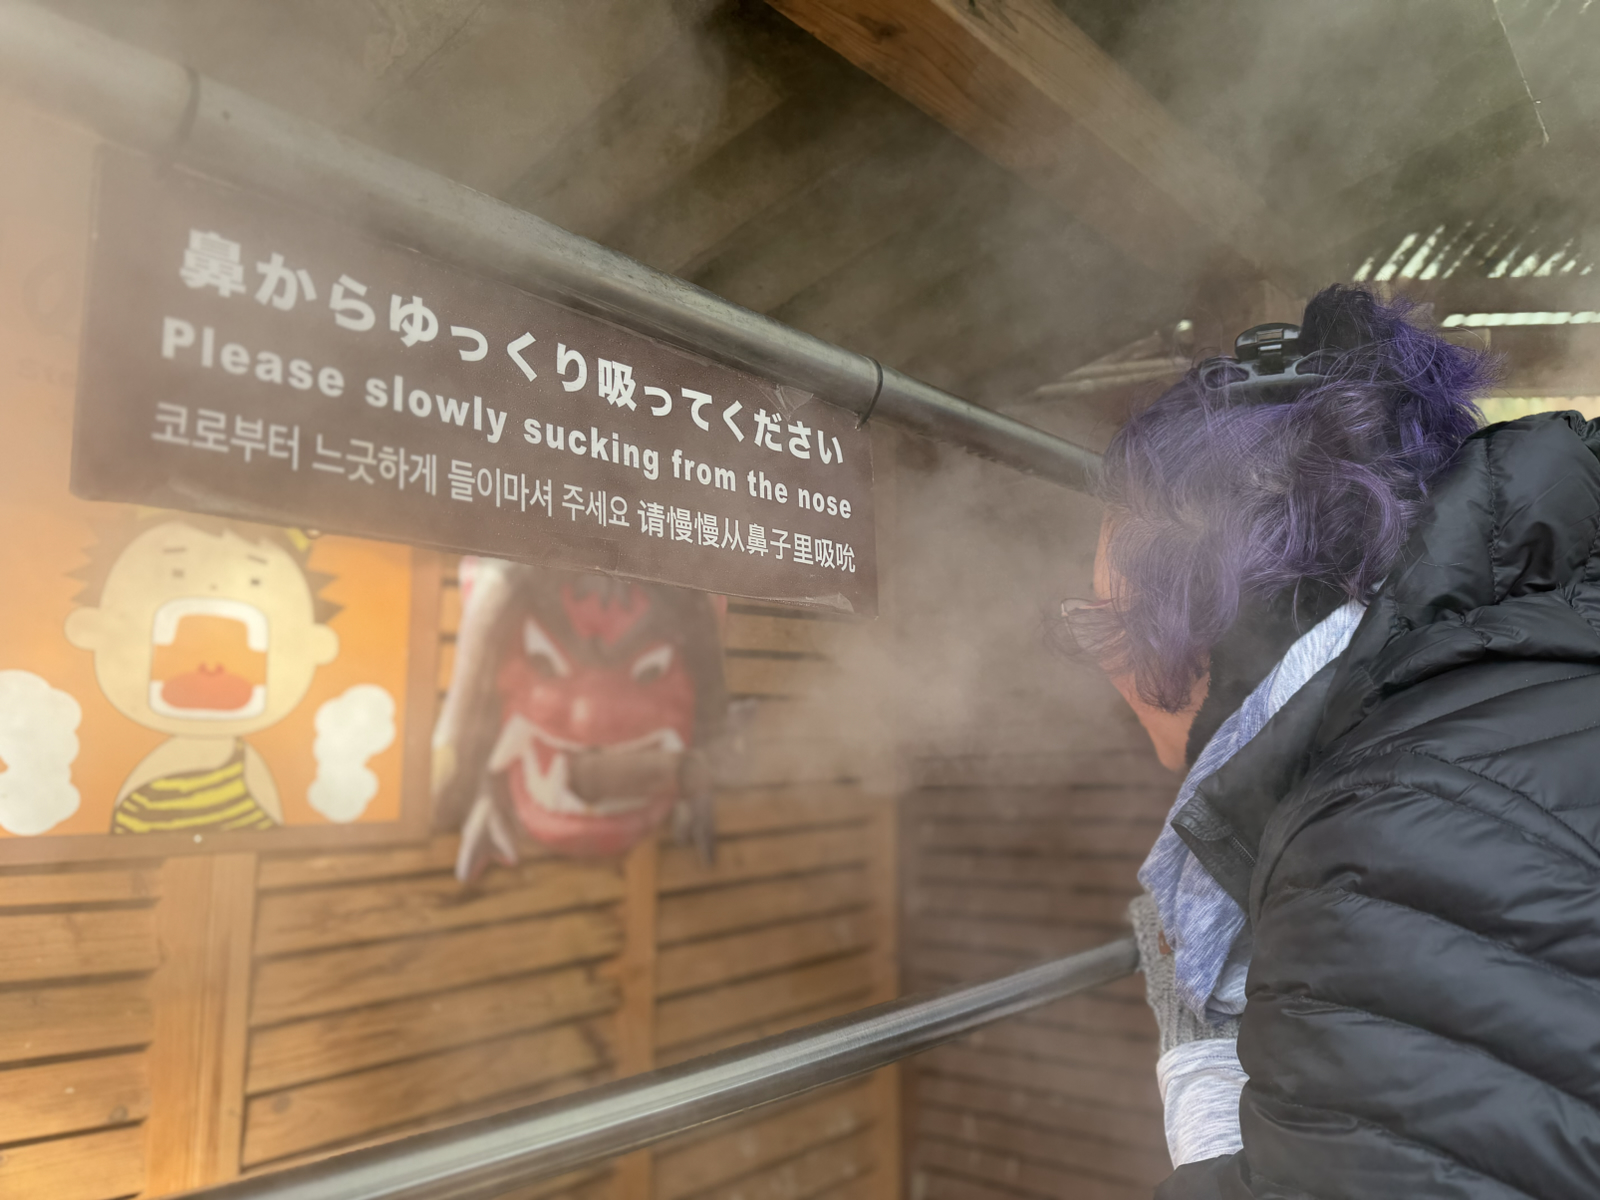
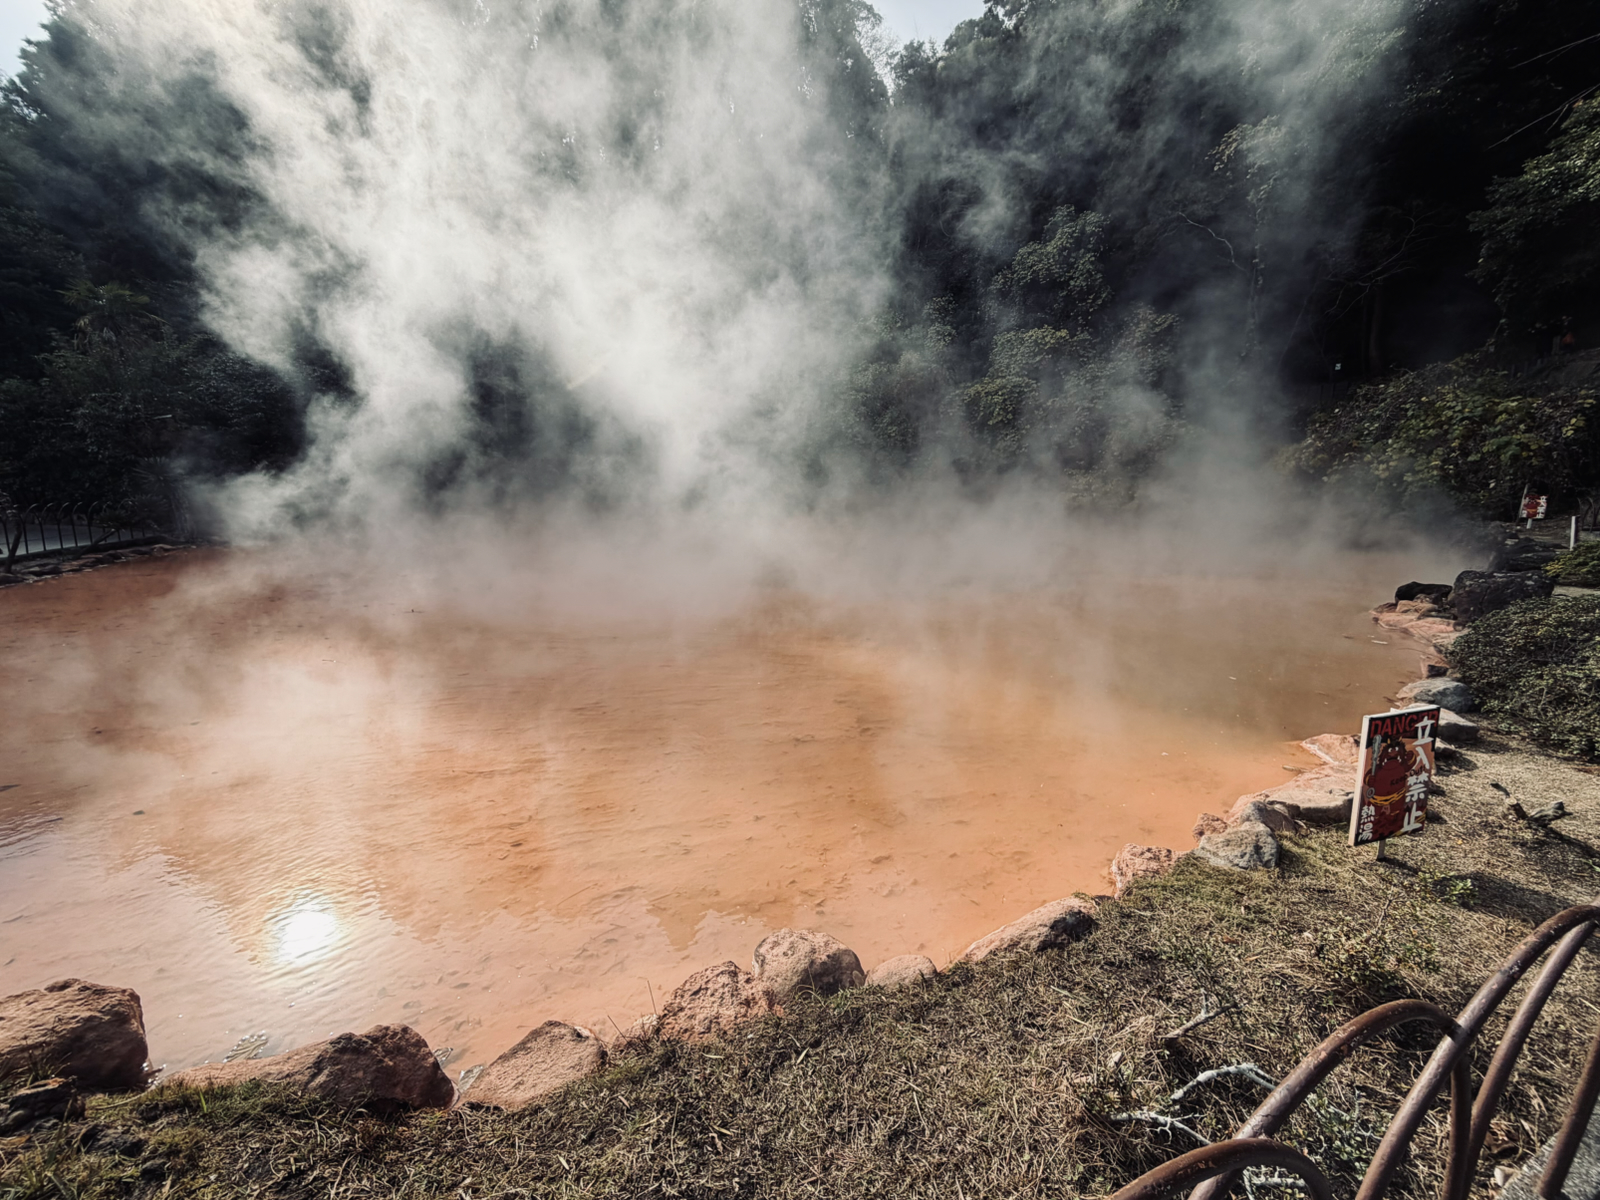
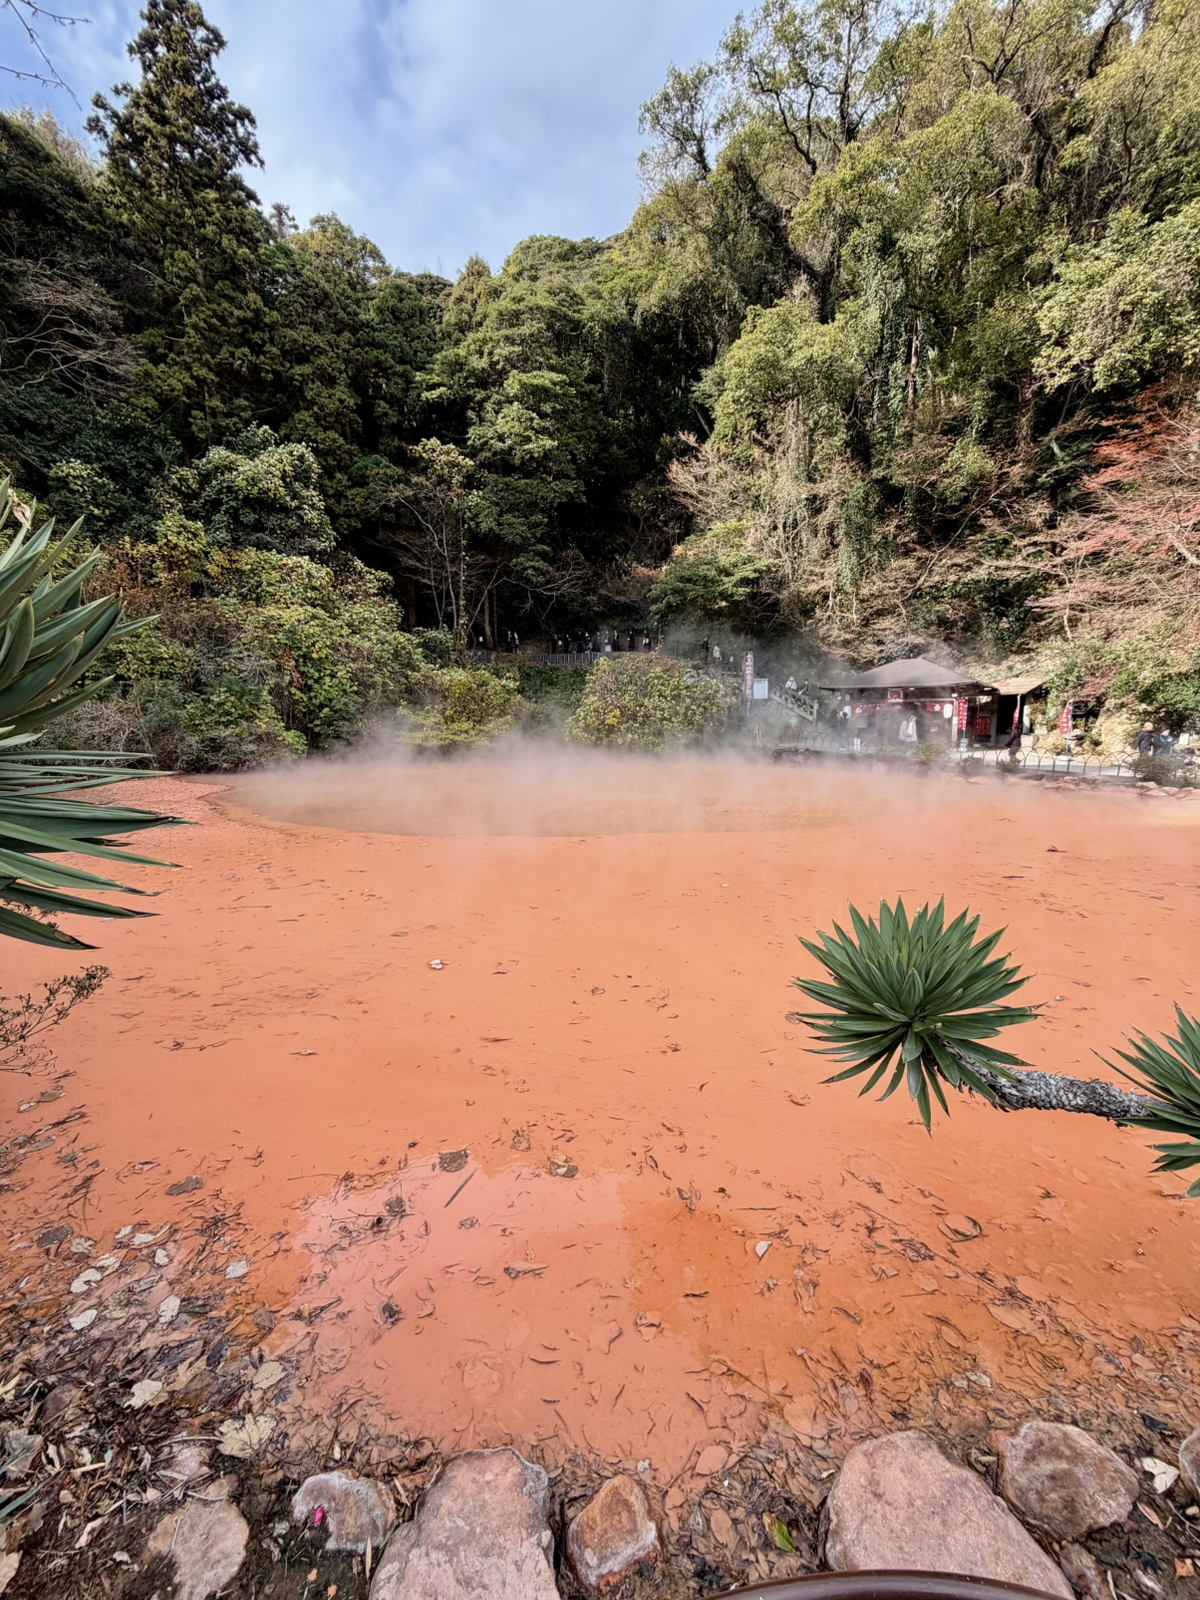
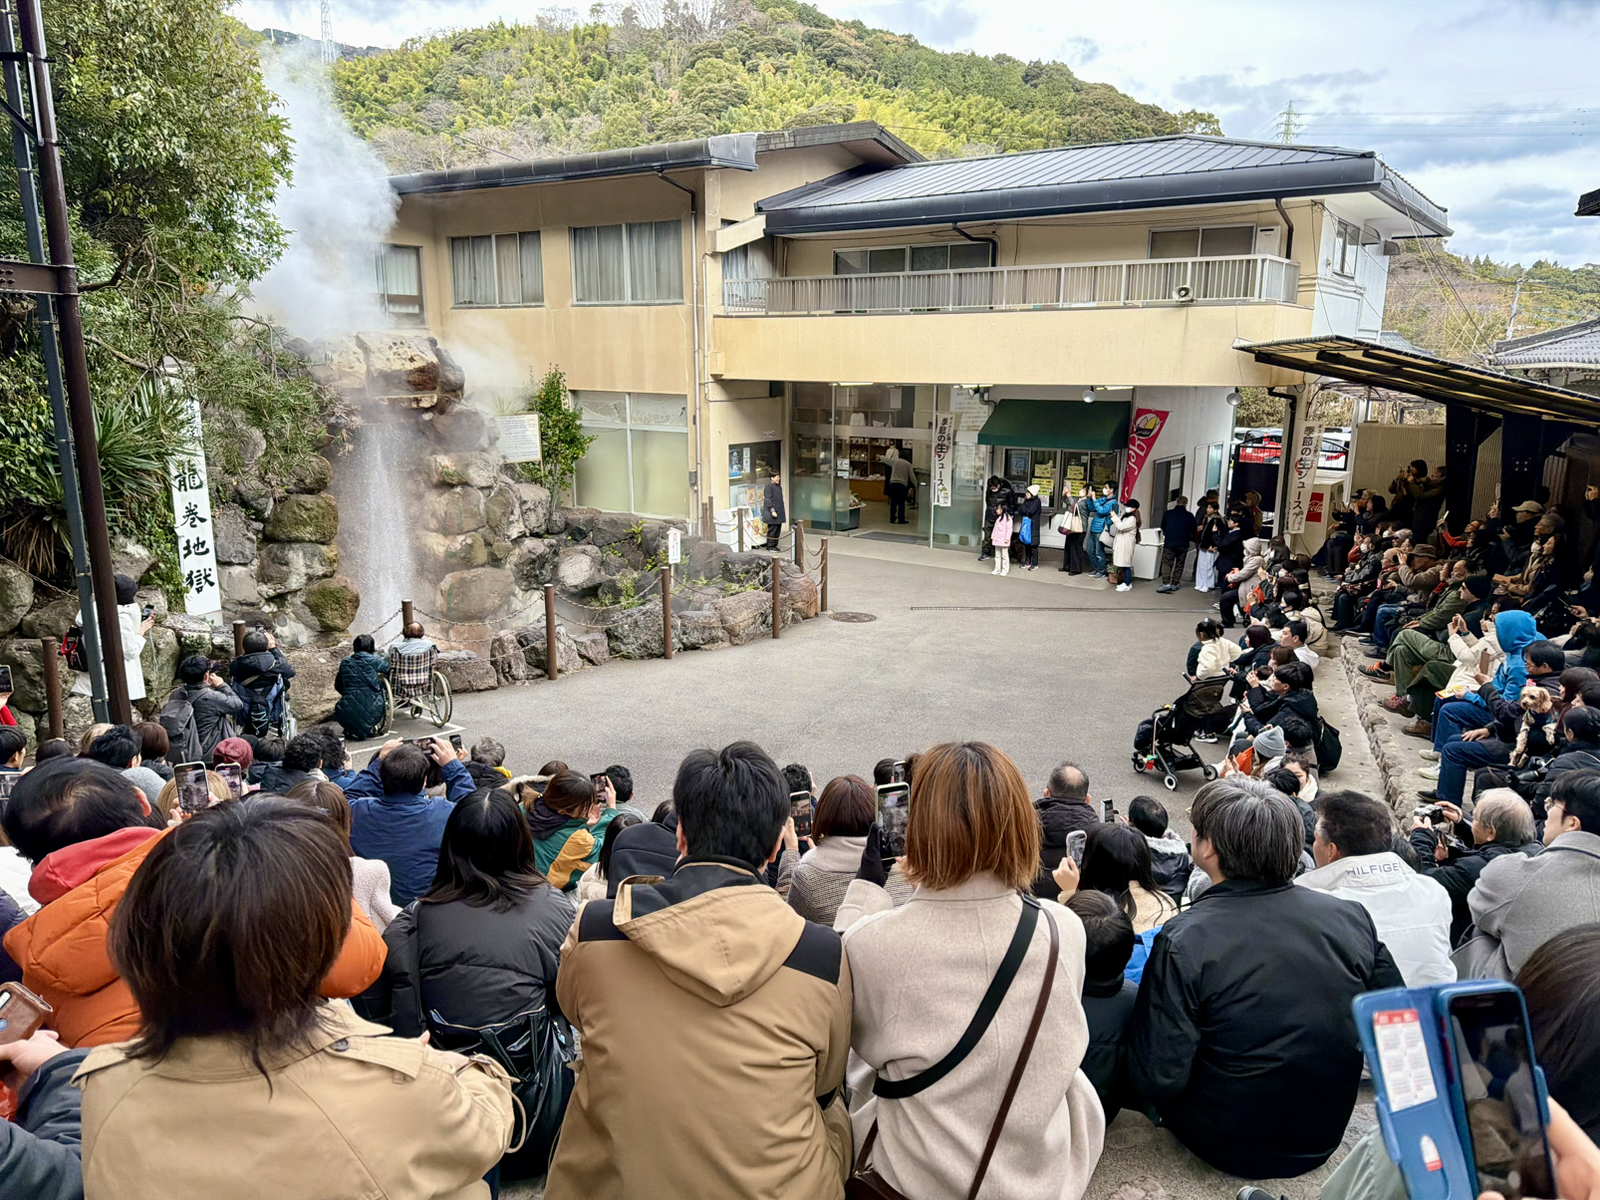
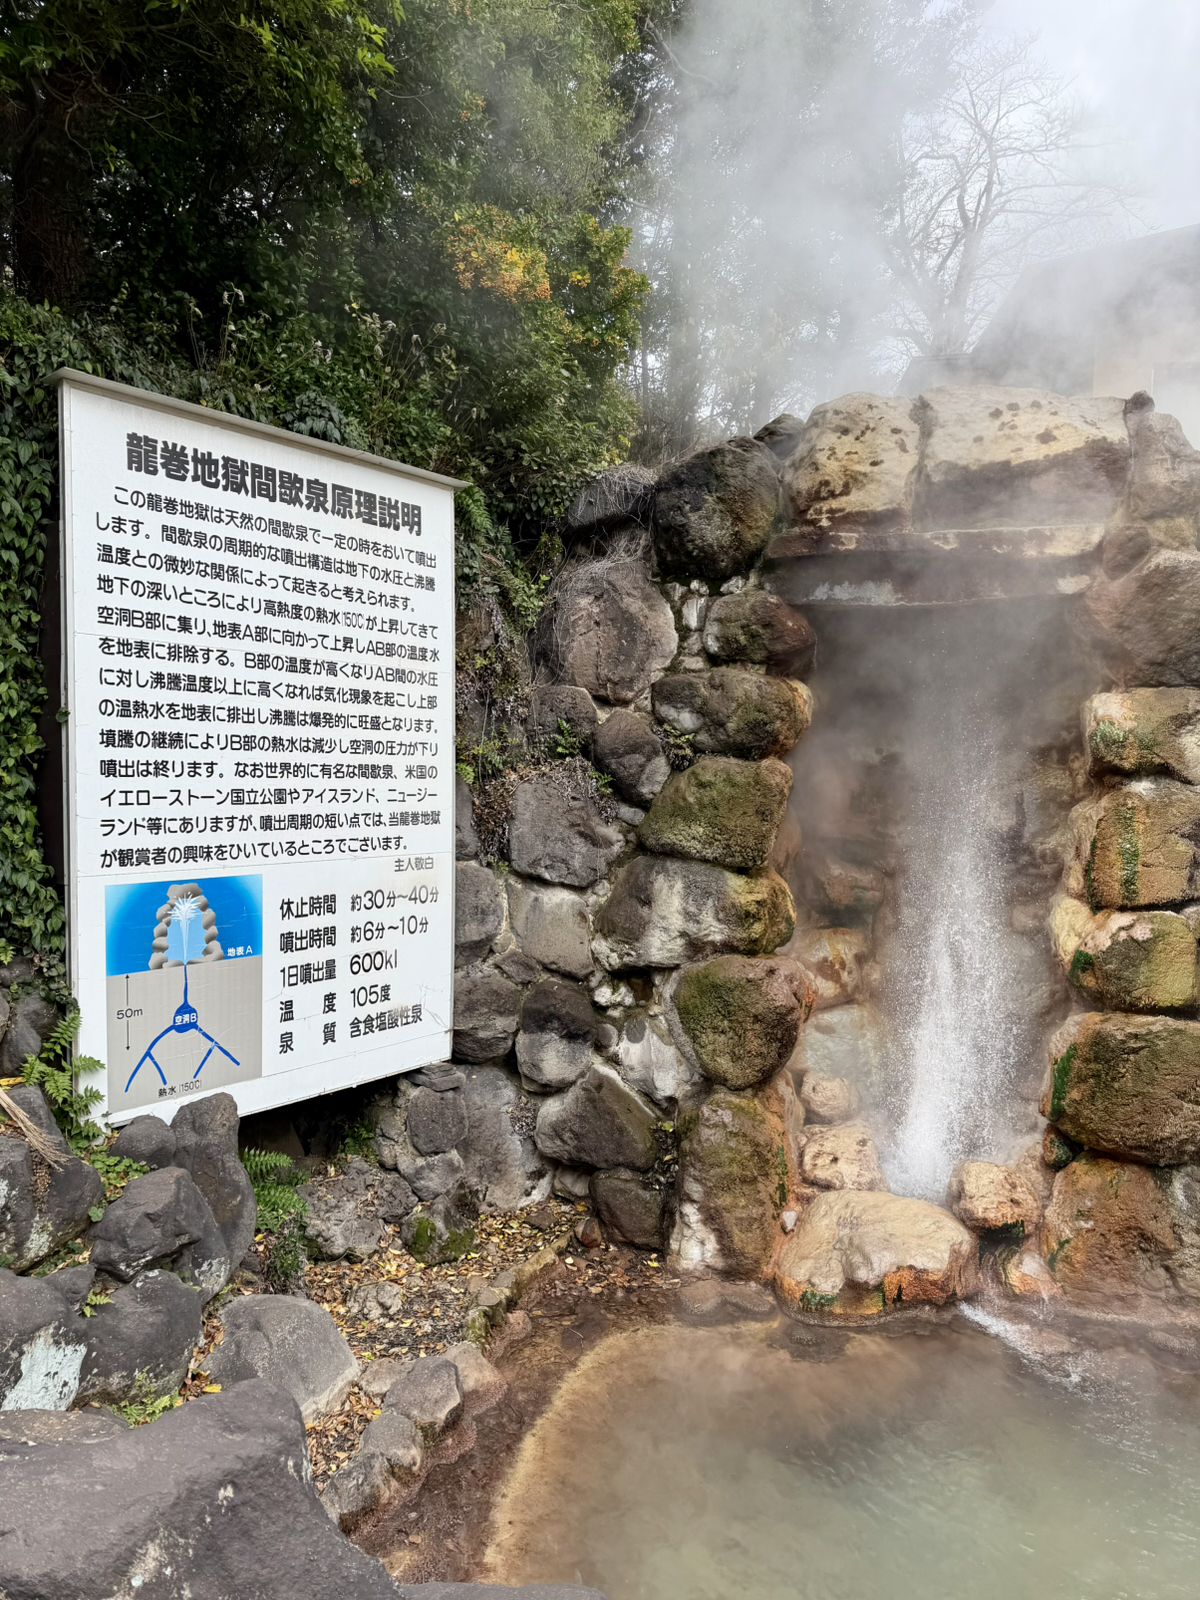
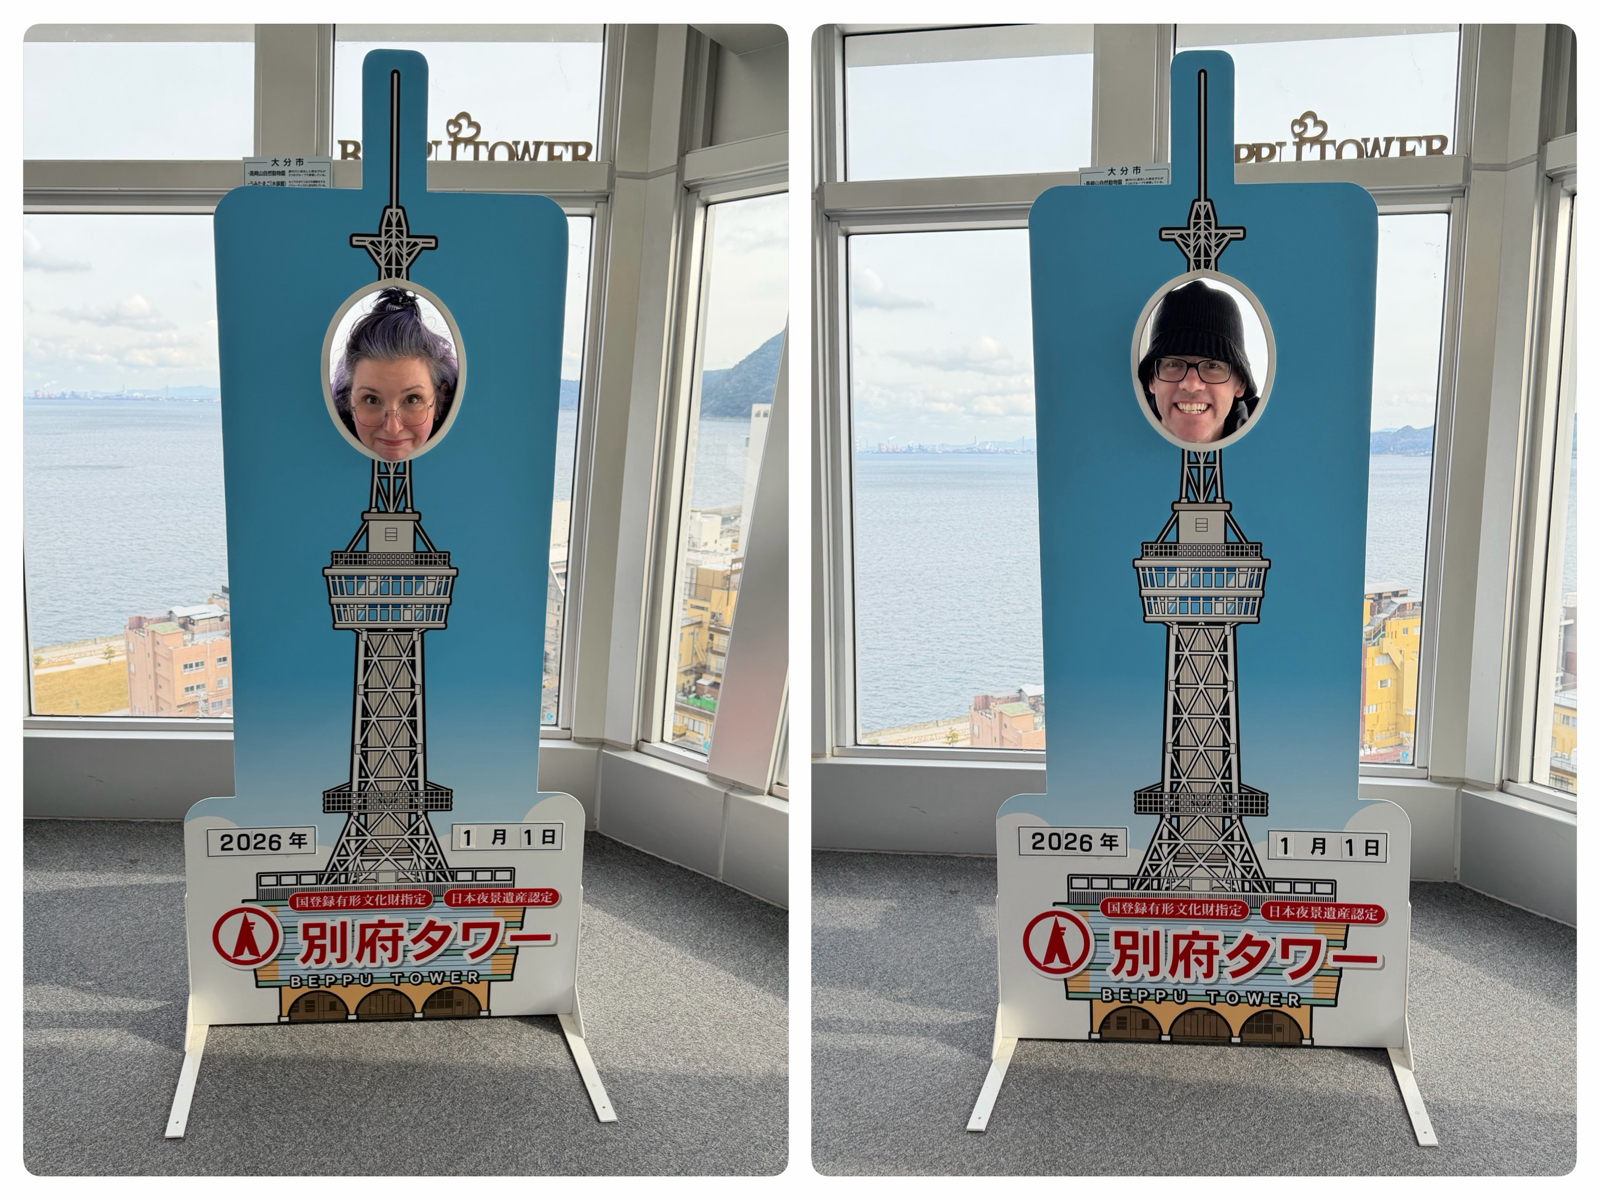
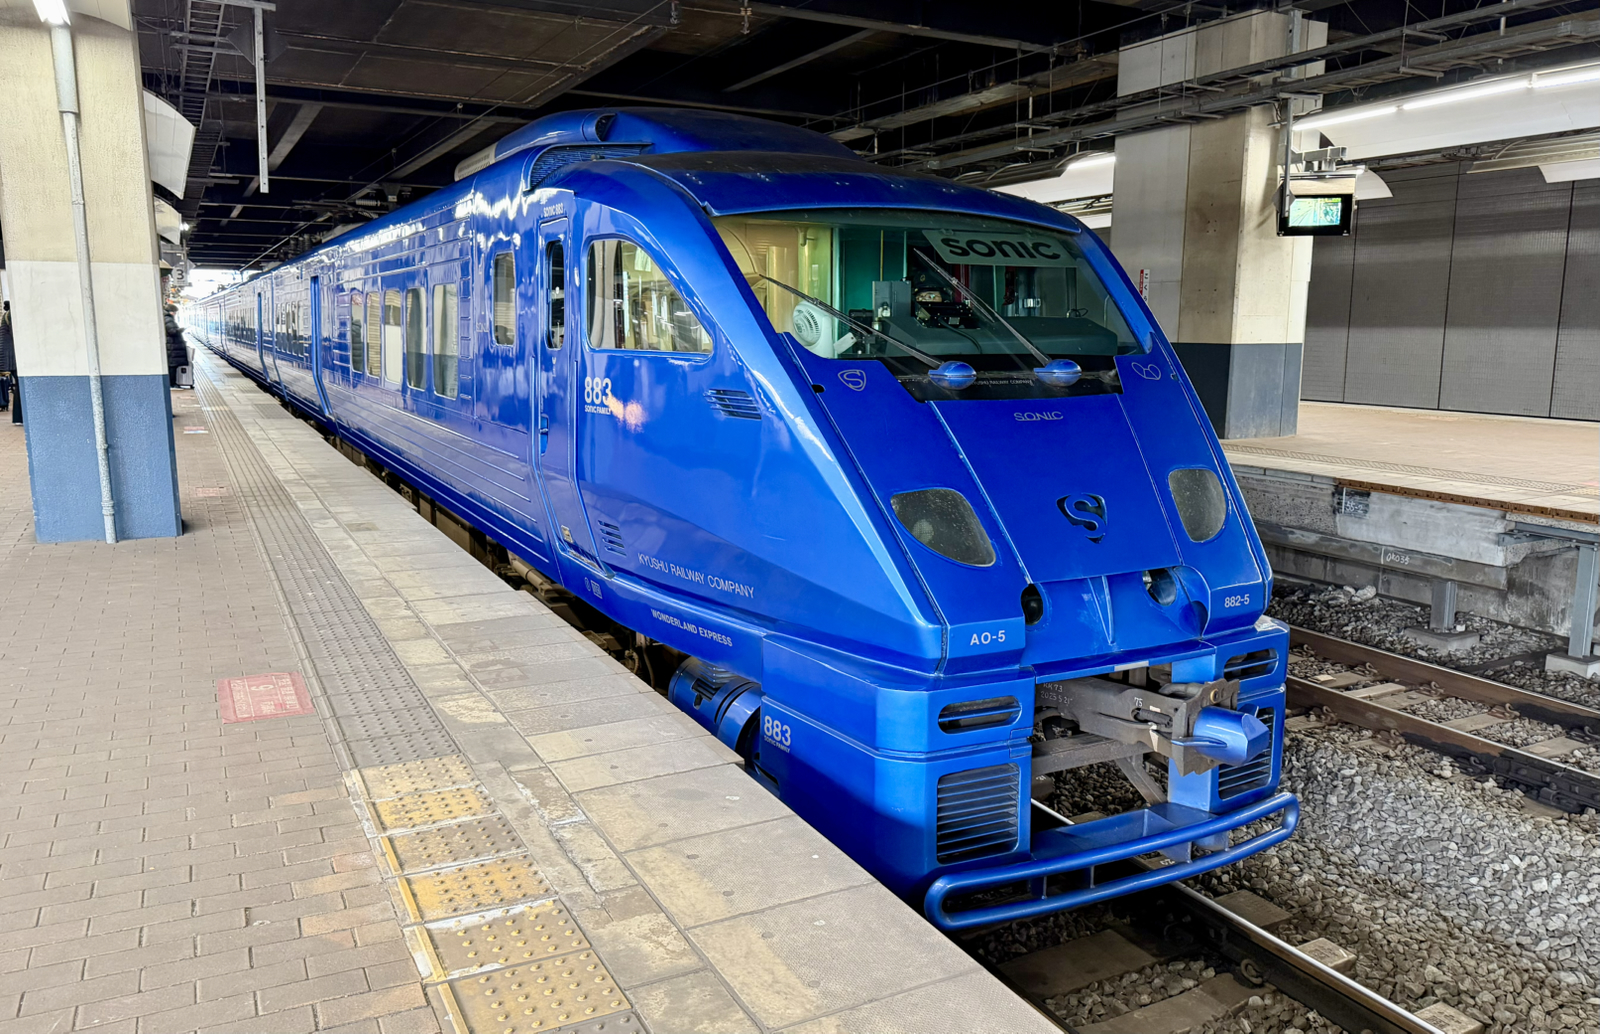
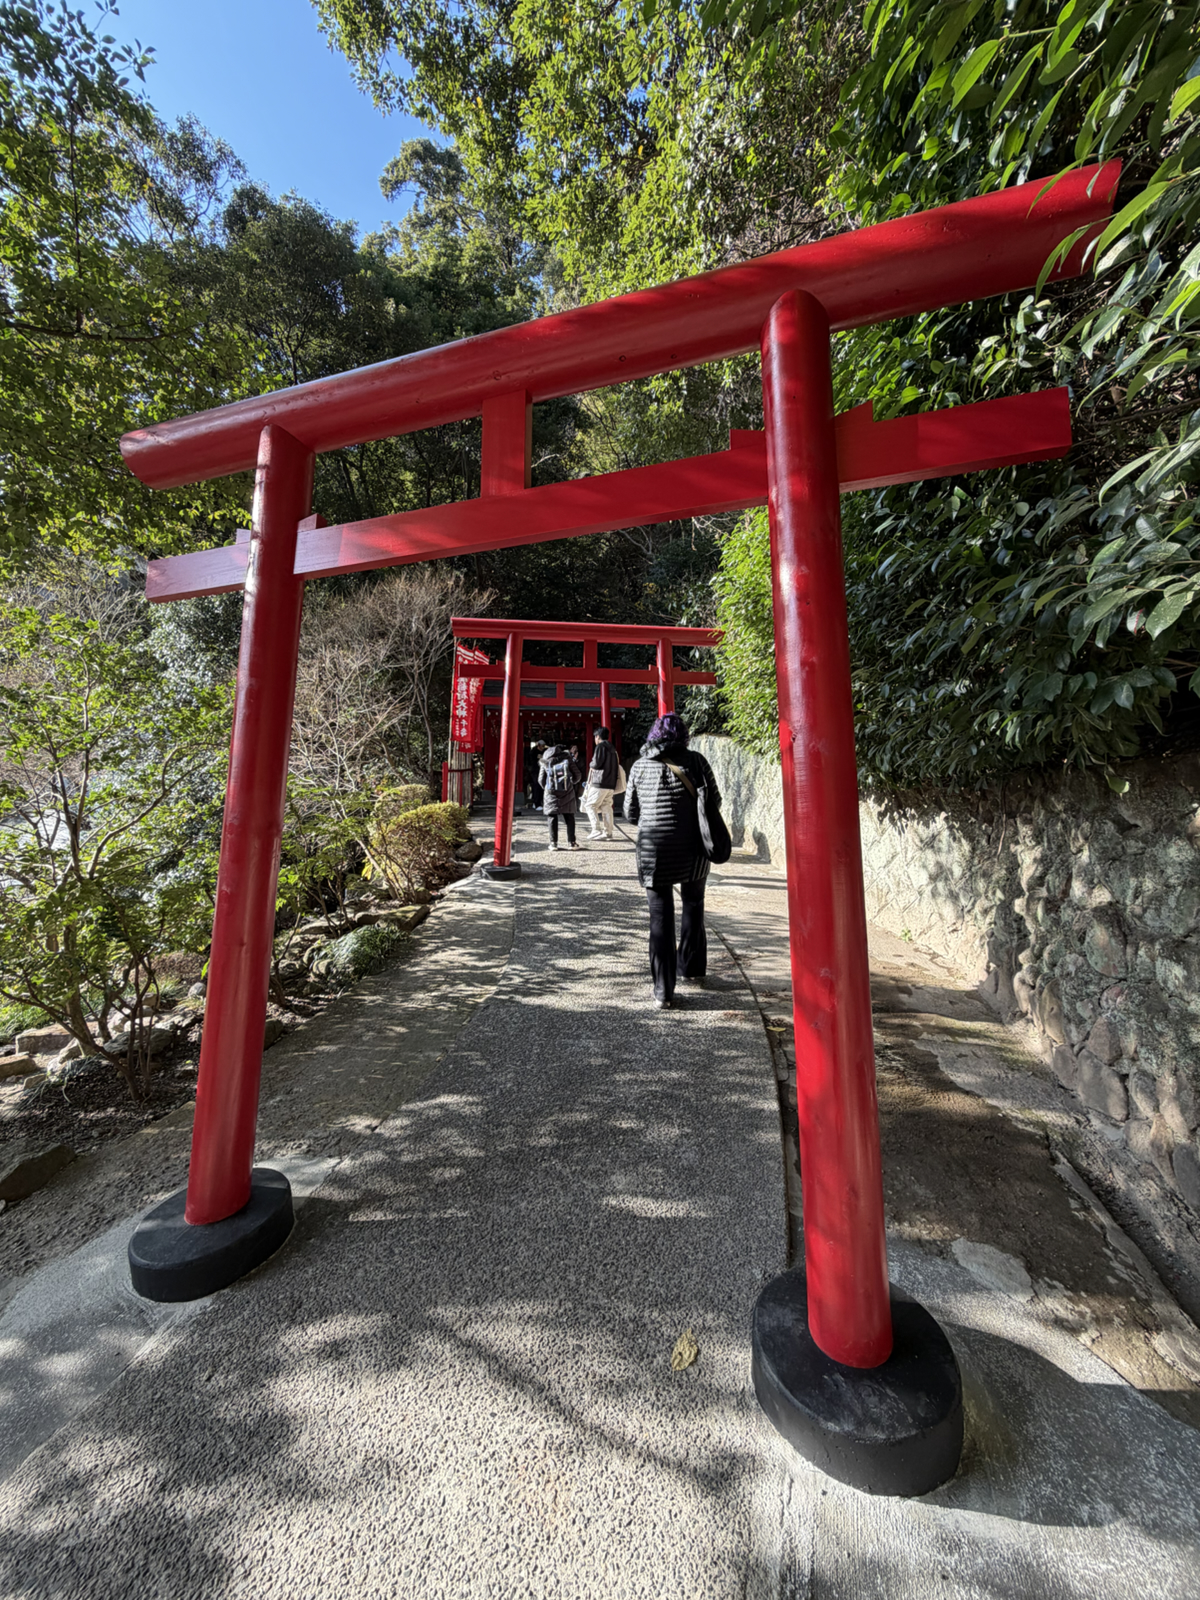
The ryokan we stayed in was lovely, with a very cozy room and nice hot baths. But it’s time to move on once again and after we checked out we headed for a nature park I’d discovered when we arrived a couple of days ago: Takasakiyama Natural Zoo.
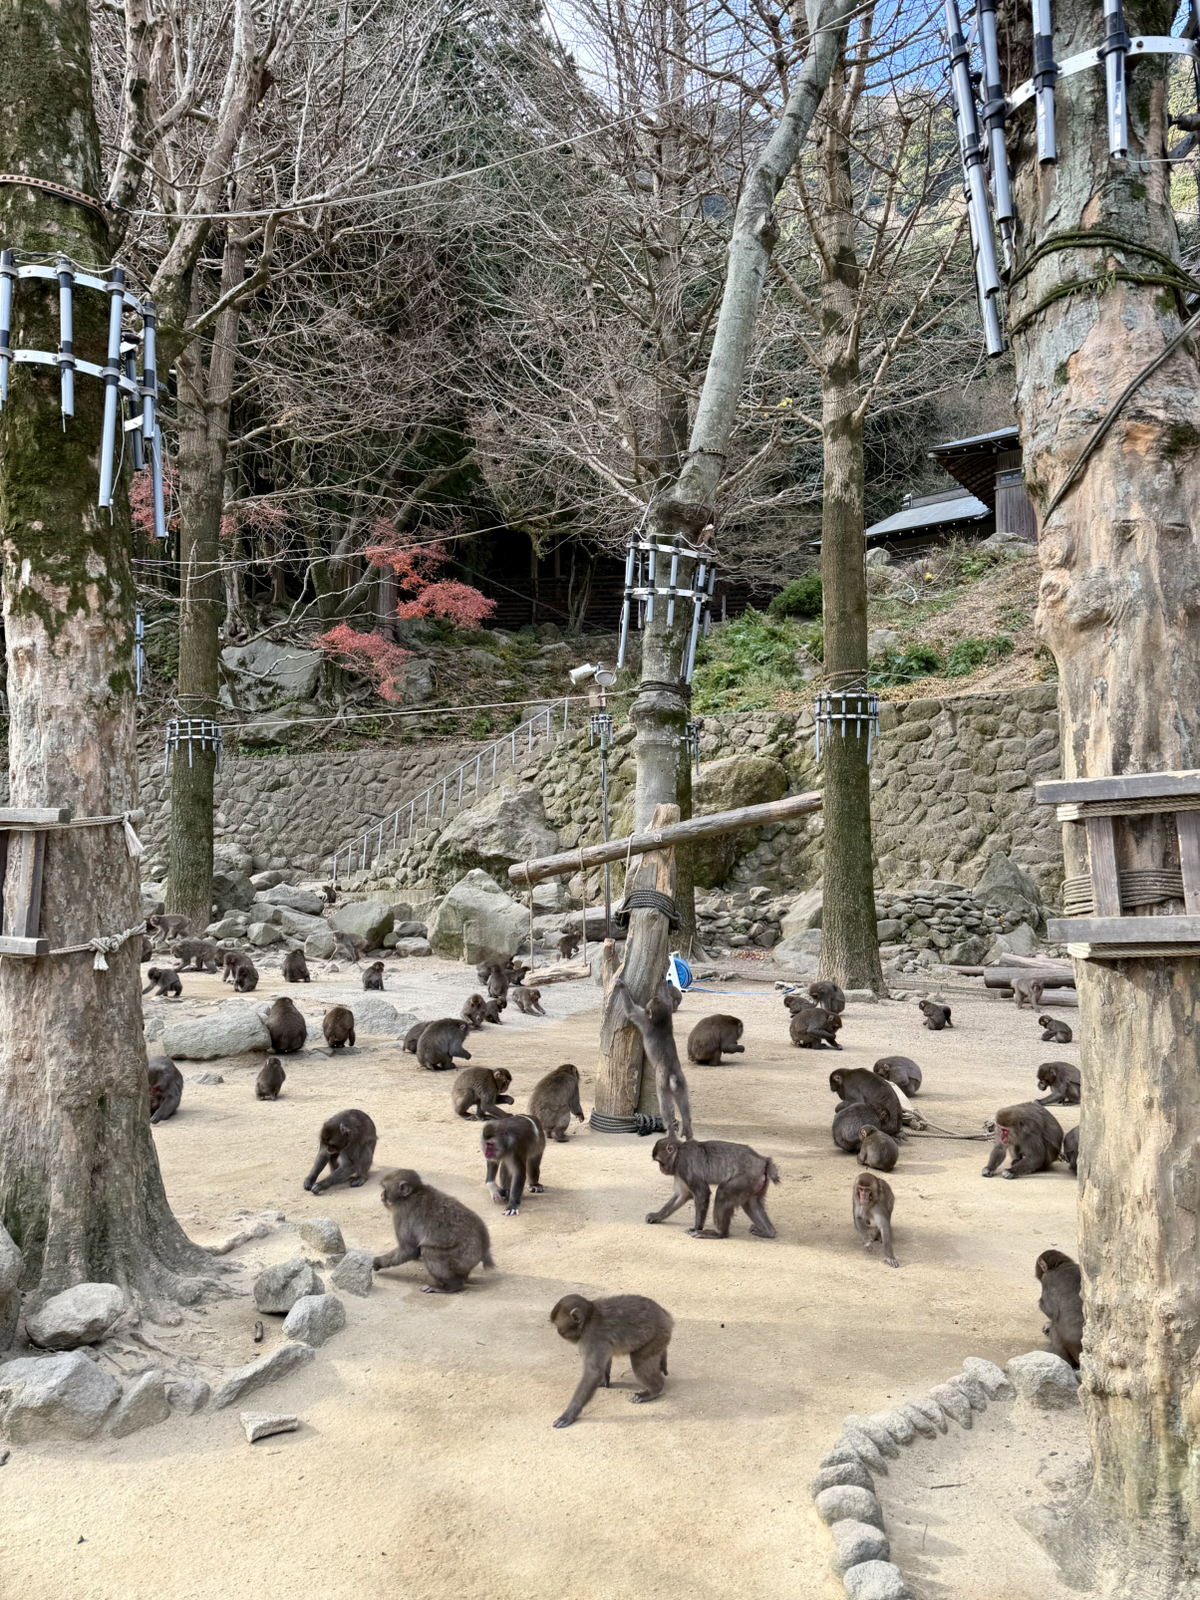
Let’s cut right to the chase: this is a place with 760 wild – no cages or fences – monkeys. They live on the mountain and come down for food and to eat look at tourists.

They mostly ignored us and groomed themselves or squabbled or just ran around. They were everywhere, and it felt like half of them were babies. I was amazed how close they came to us, almost as if they didn’t even see us.
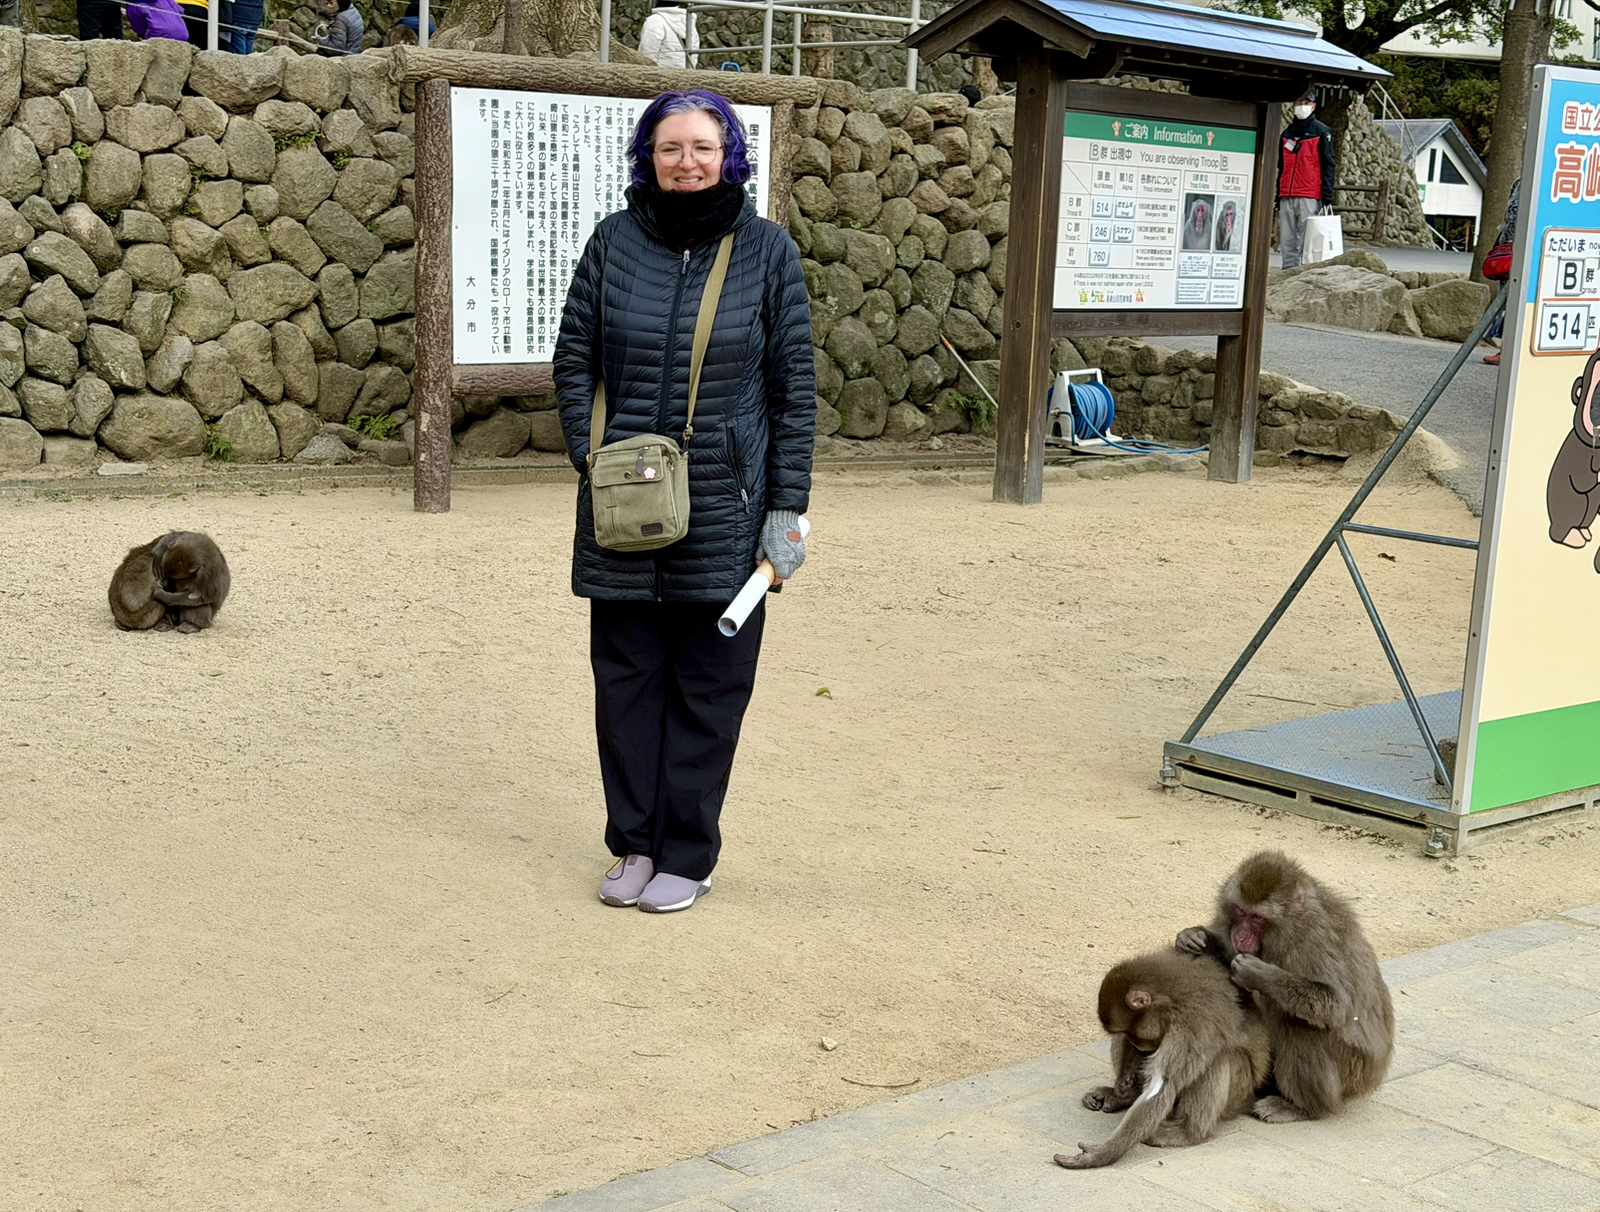
They’re Japanese macaques, and they were fairly small, with the biggest only being about as big as a medium sized dog. We were told not to make eye contact or try to touch them since if you do they might kill you jump on you!
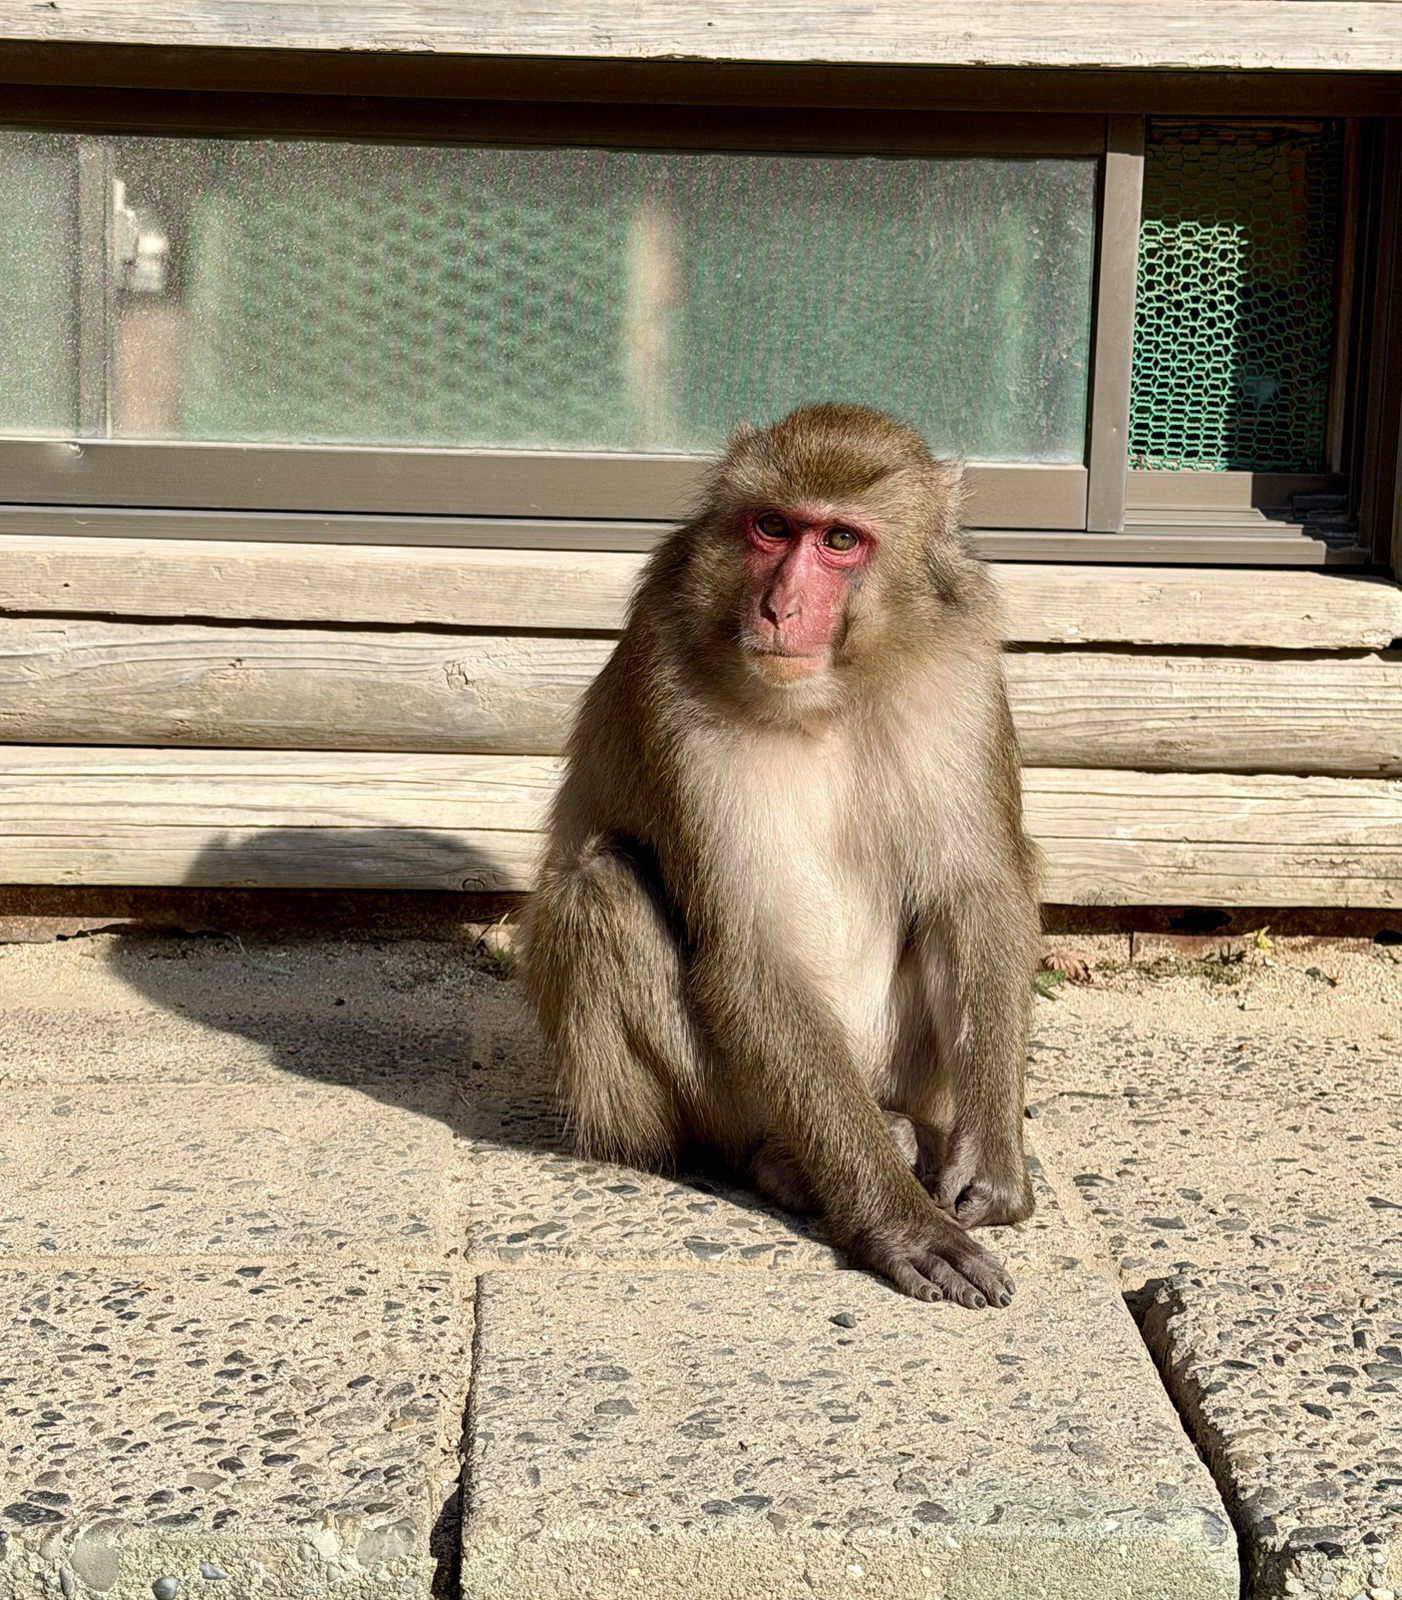
They were cute little buggers, with expressive and wizened faces. I think the one above looks a bit like Jim.
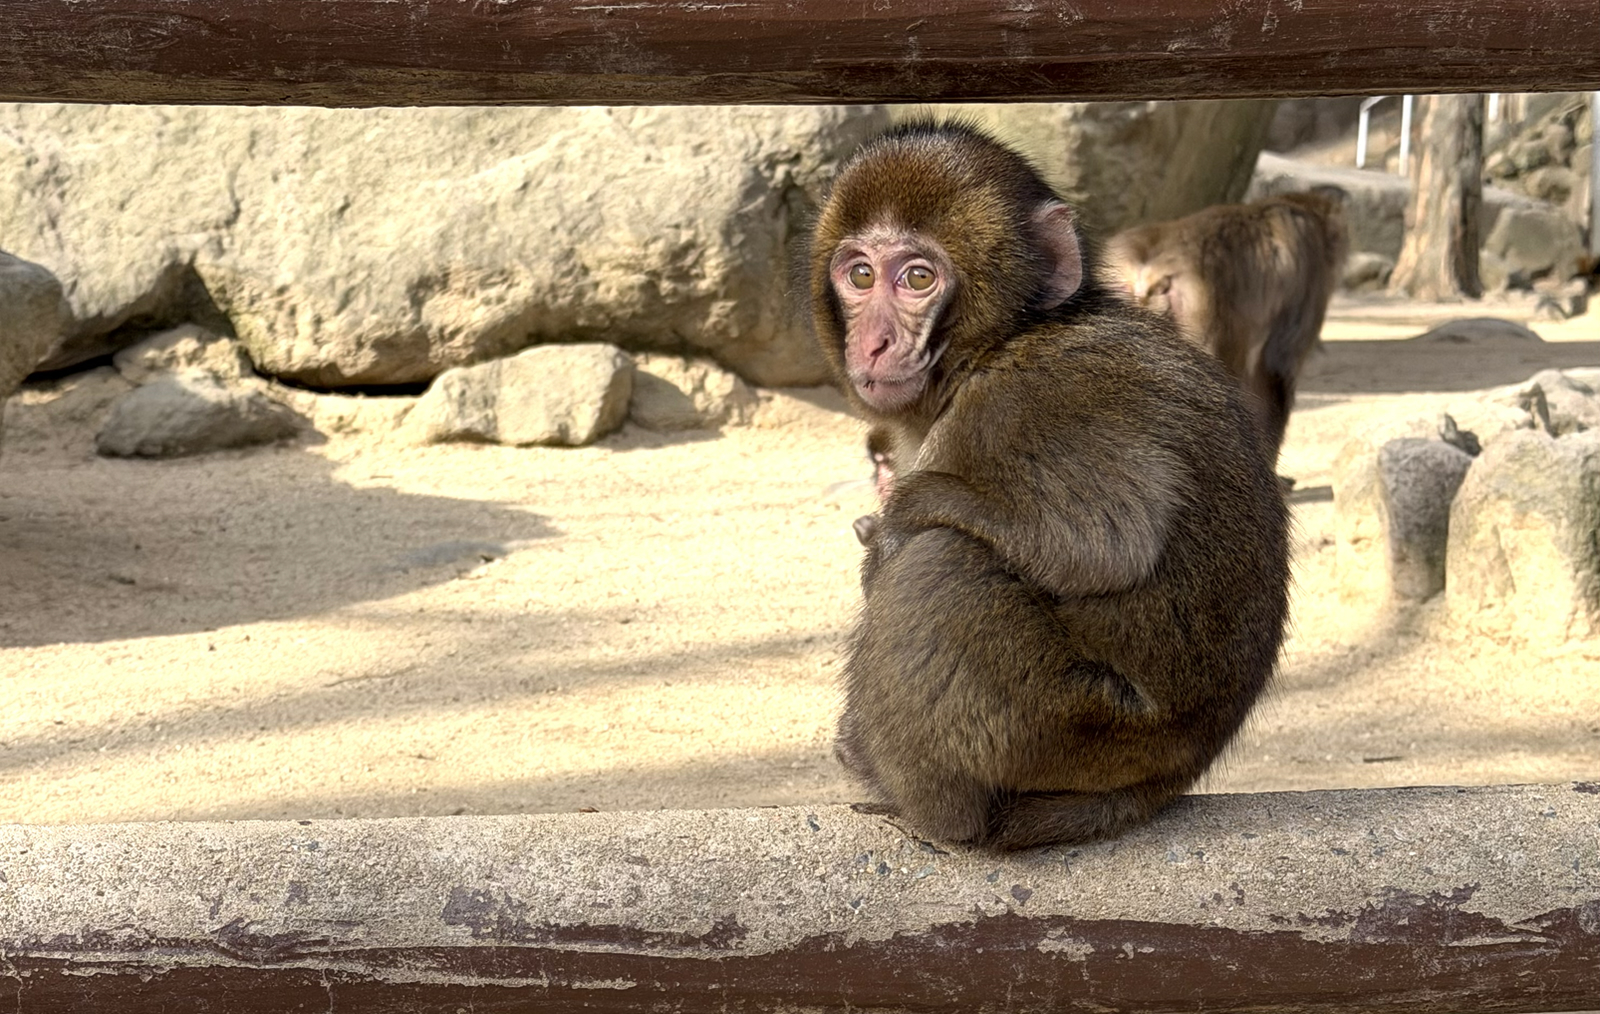
And this baby – not much bigger than a kitten – looks like my uncle John.
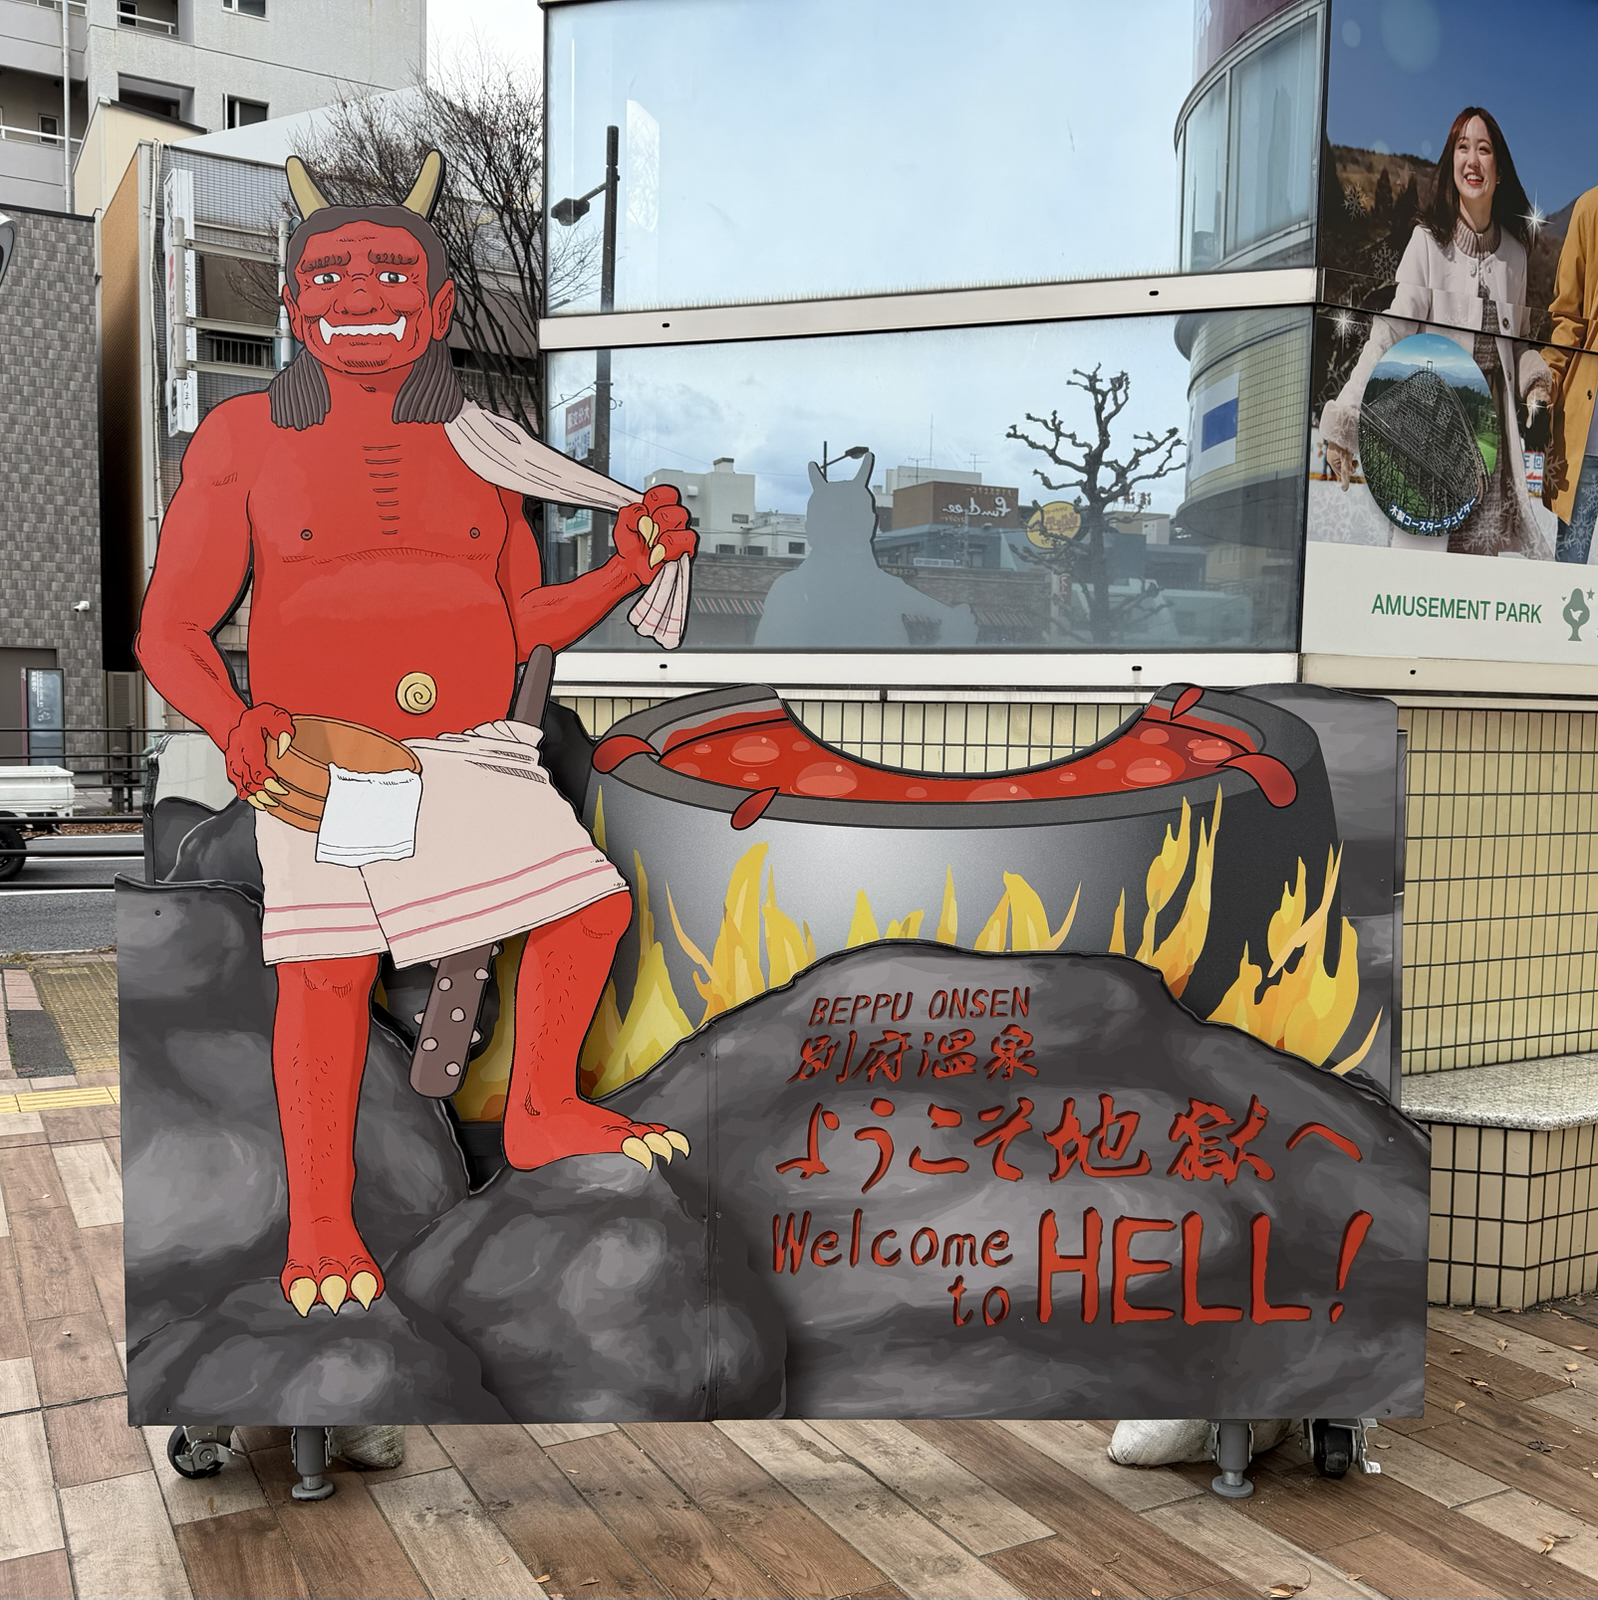
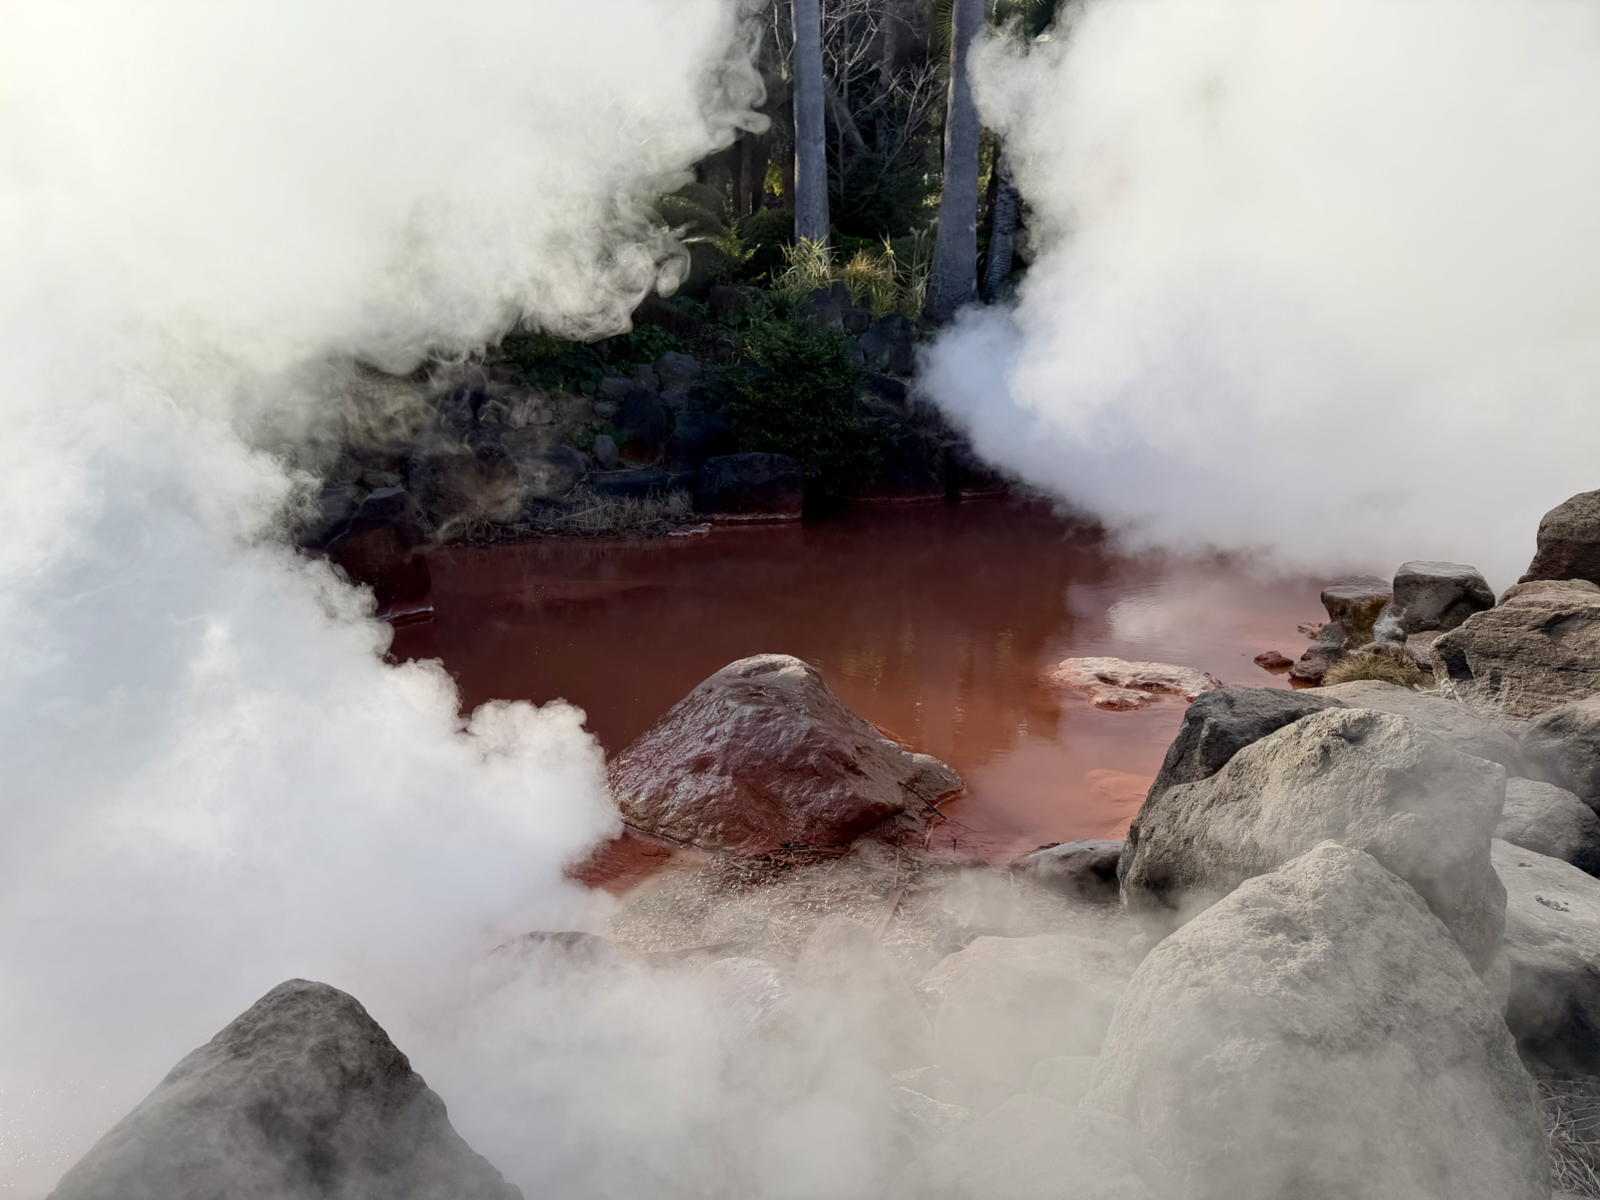
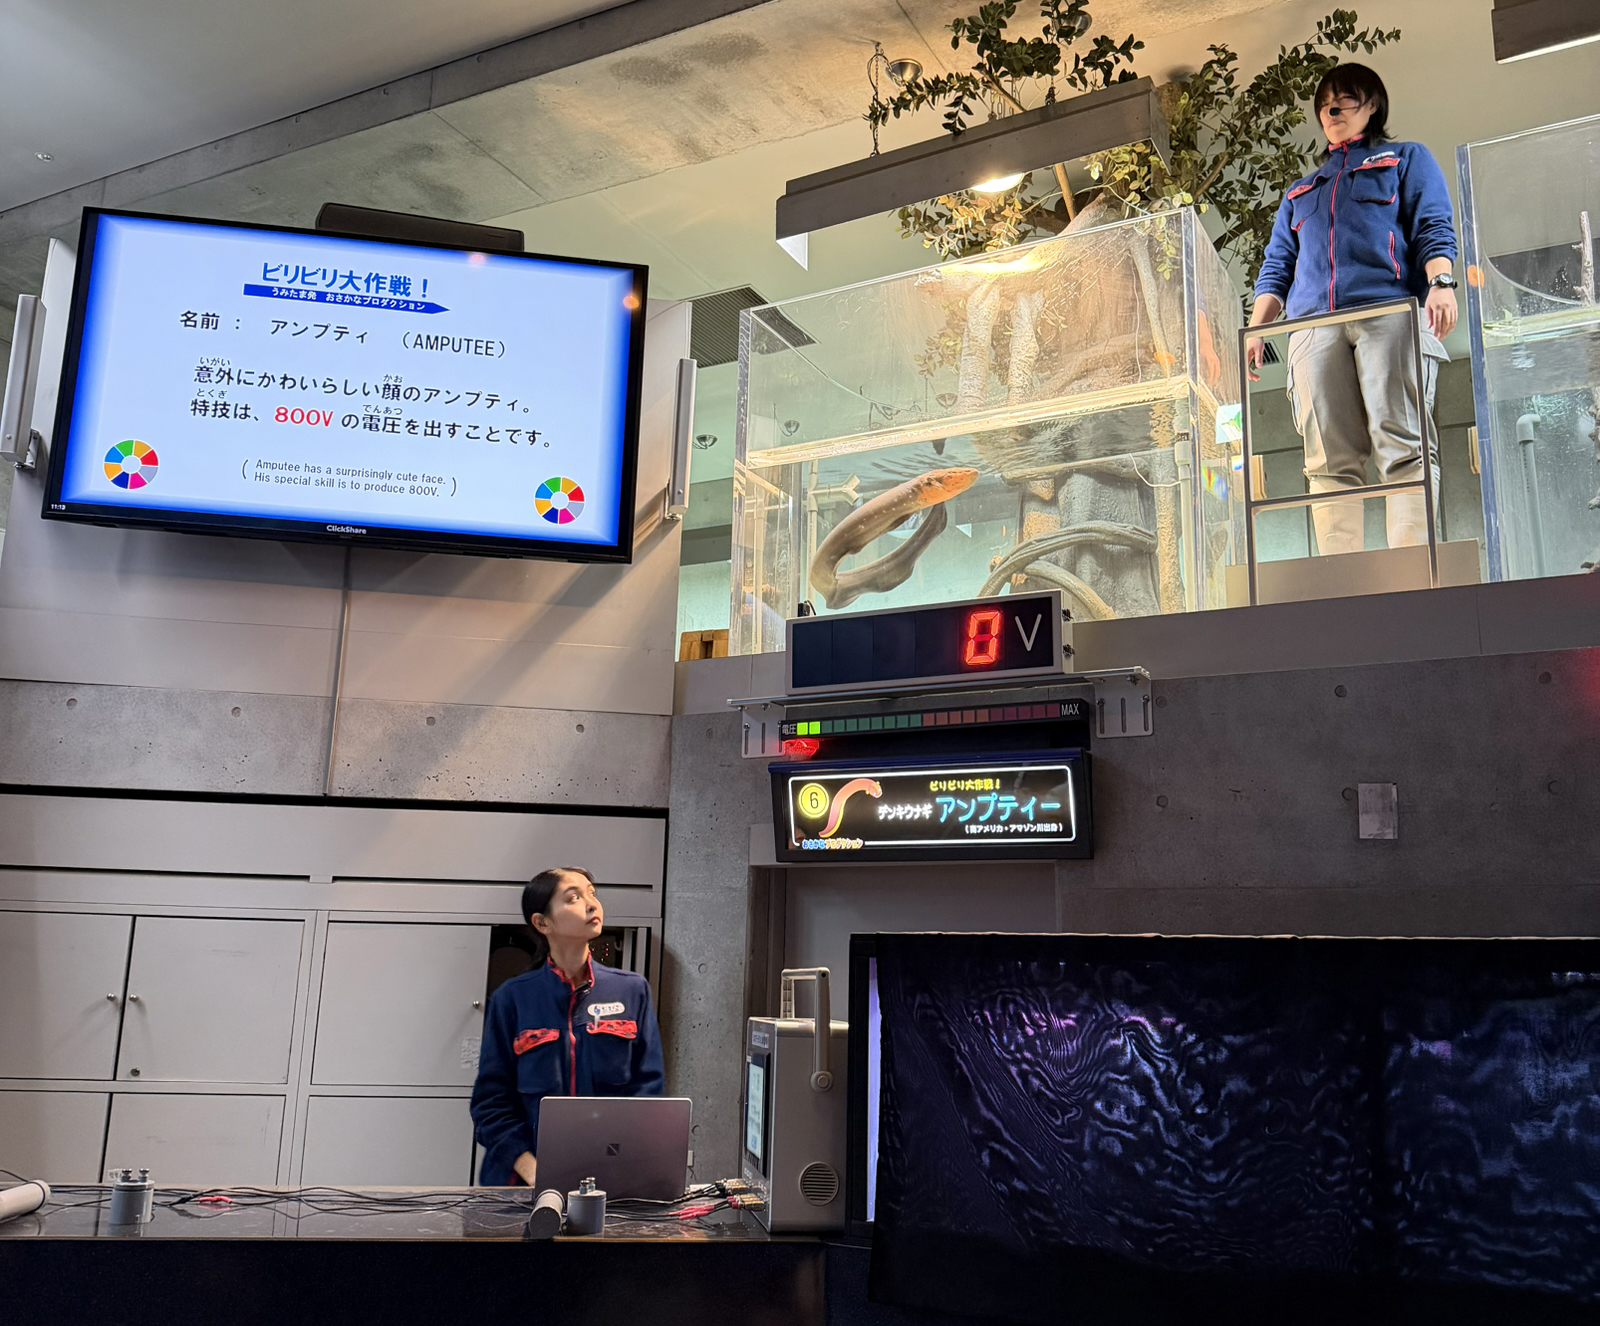
It was cold on the mountain but we hardly noticed so entranced we were by the army of mankillers monkeys hopping around. But, as it does, the existential dread associated with all monkey exposure eventually overcame us so we fled the mountain and sought refuge in a giant aquarium across the street.

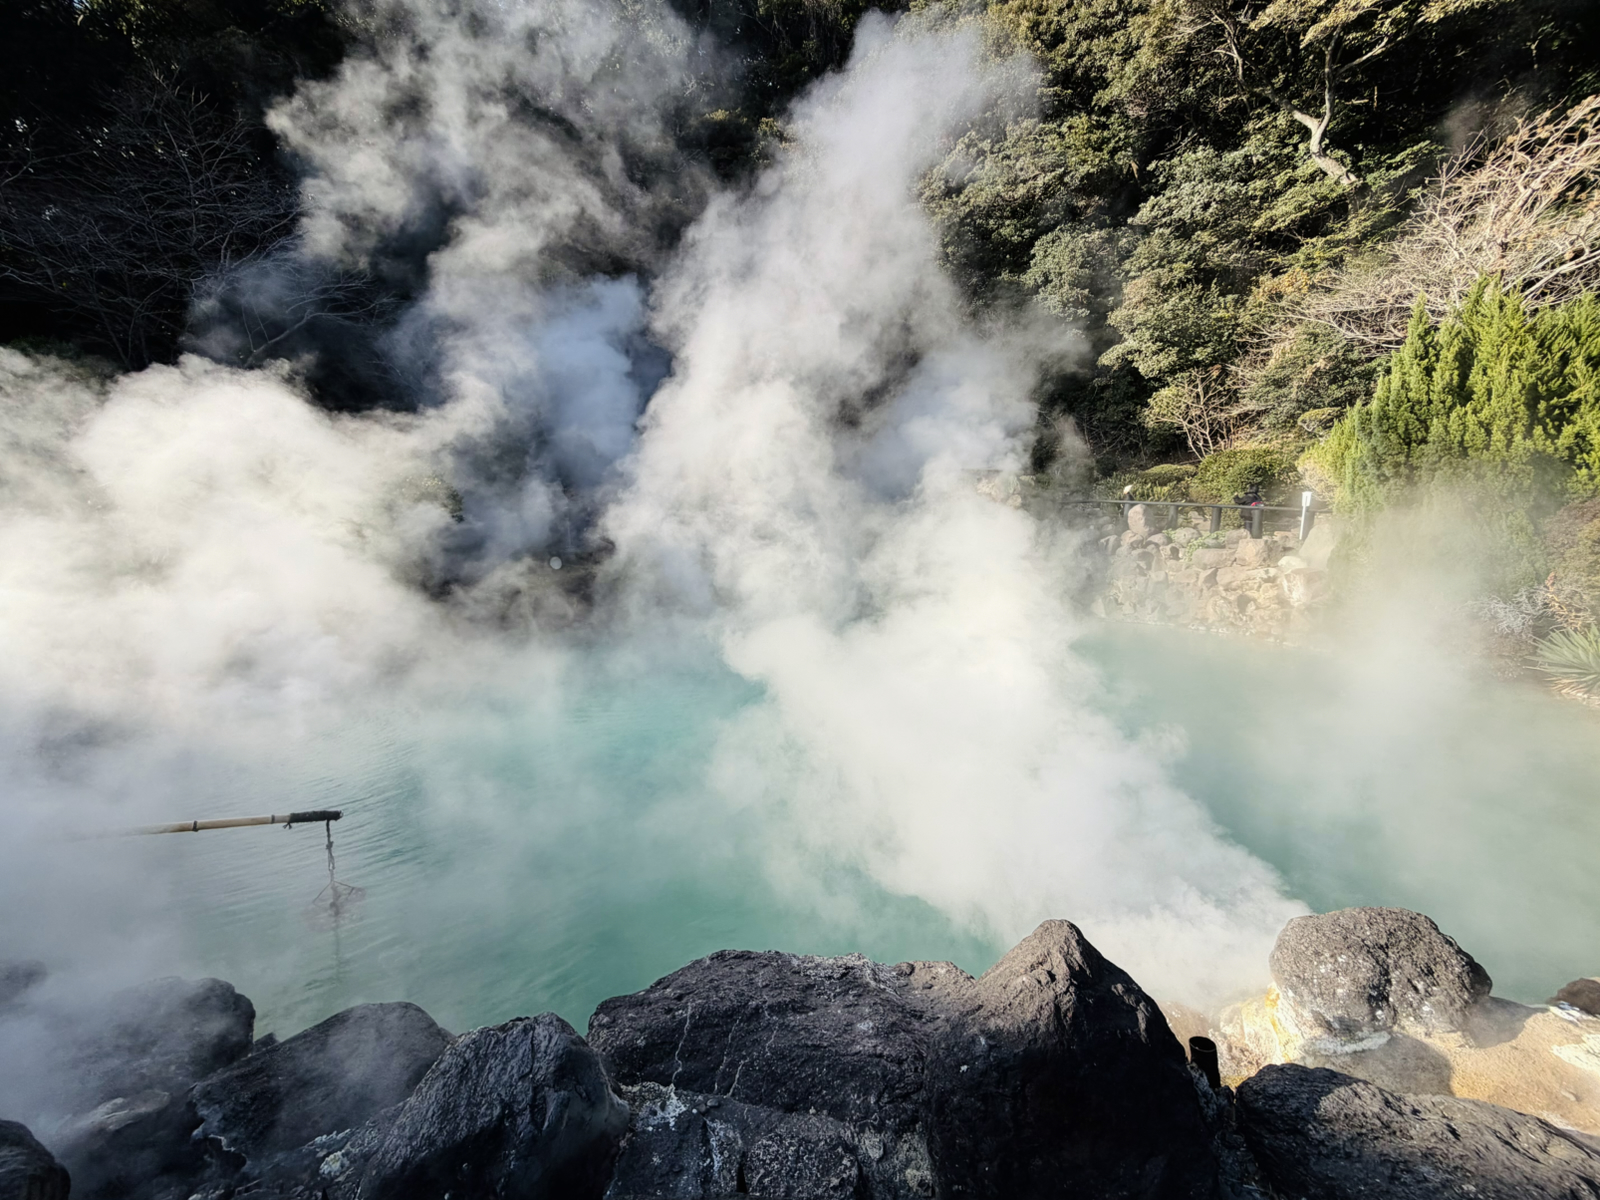
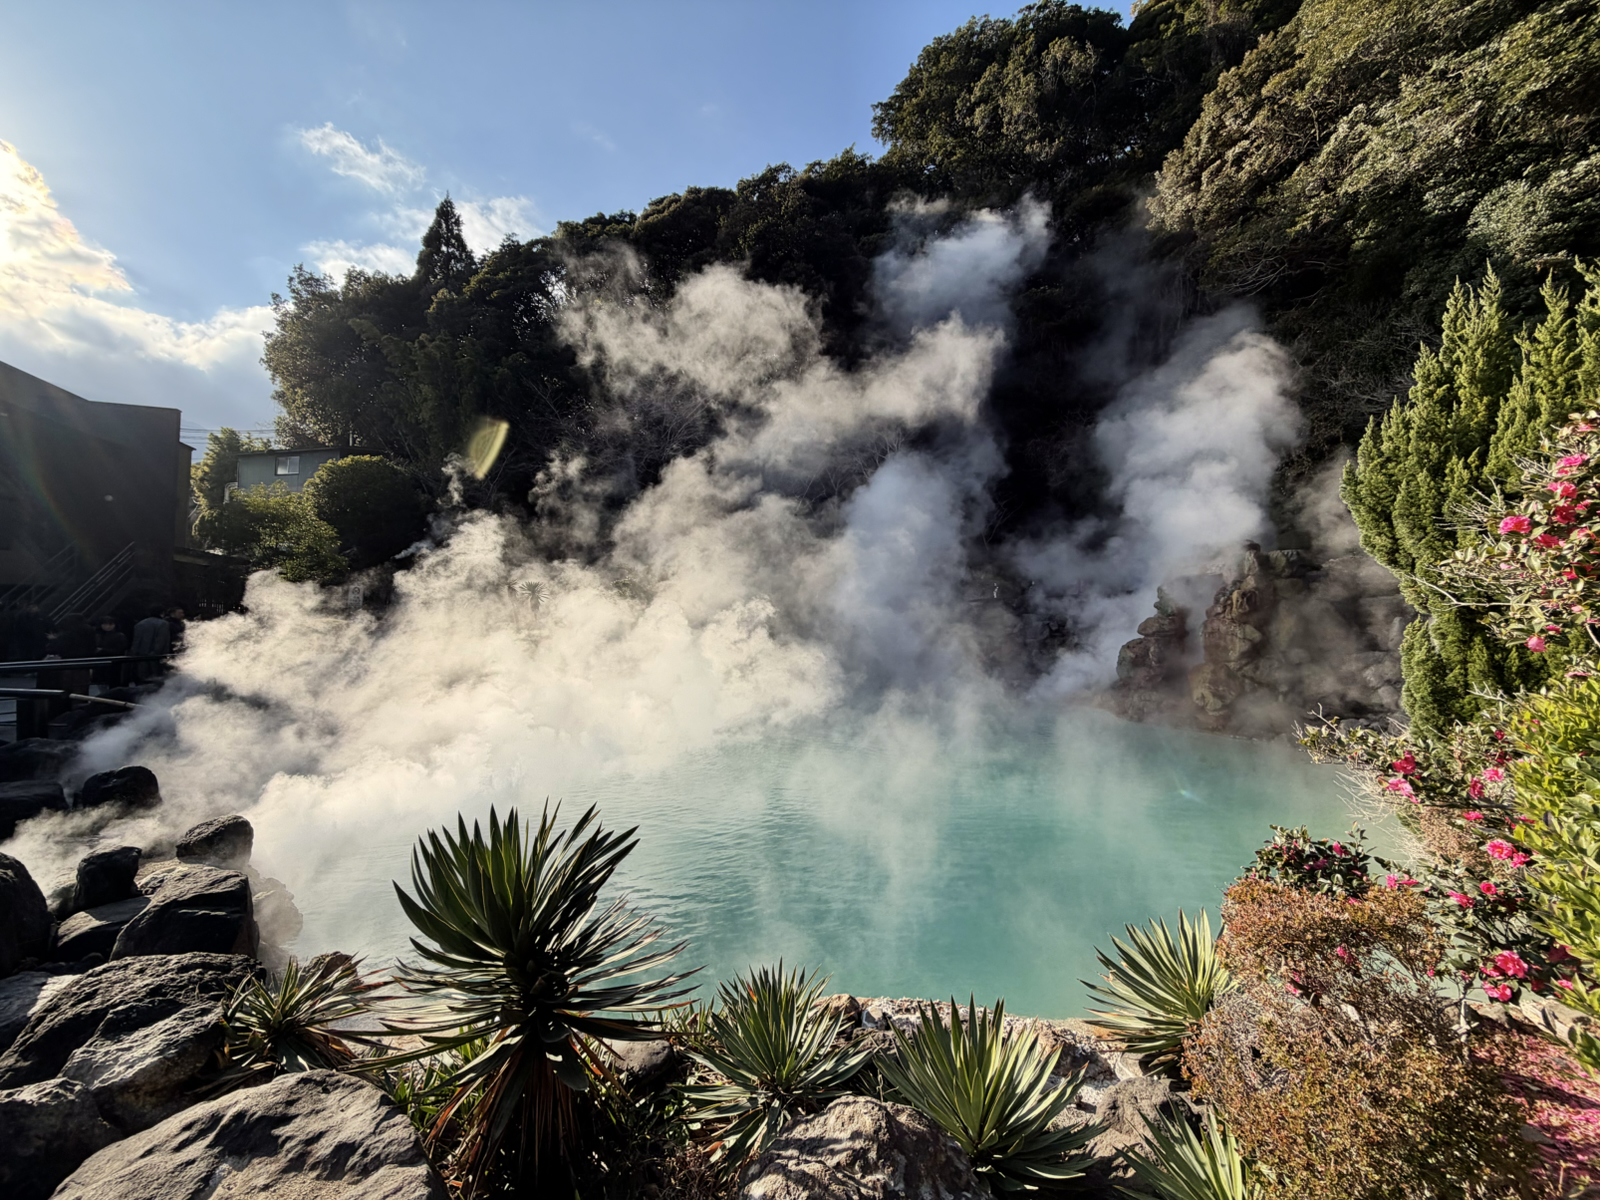
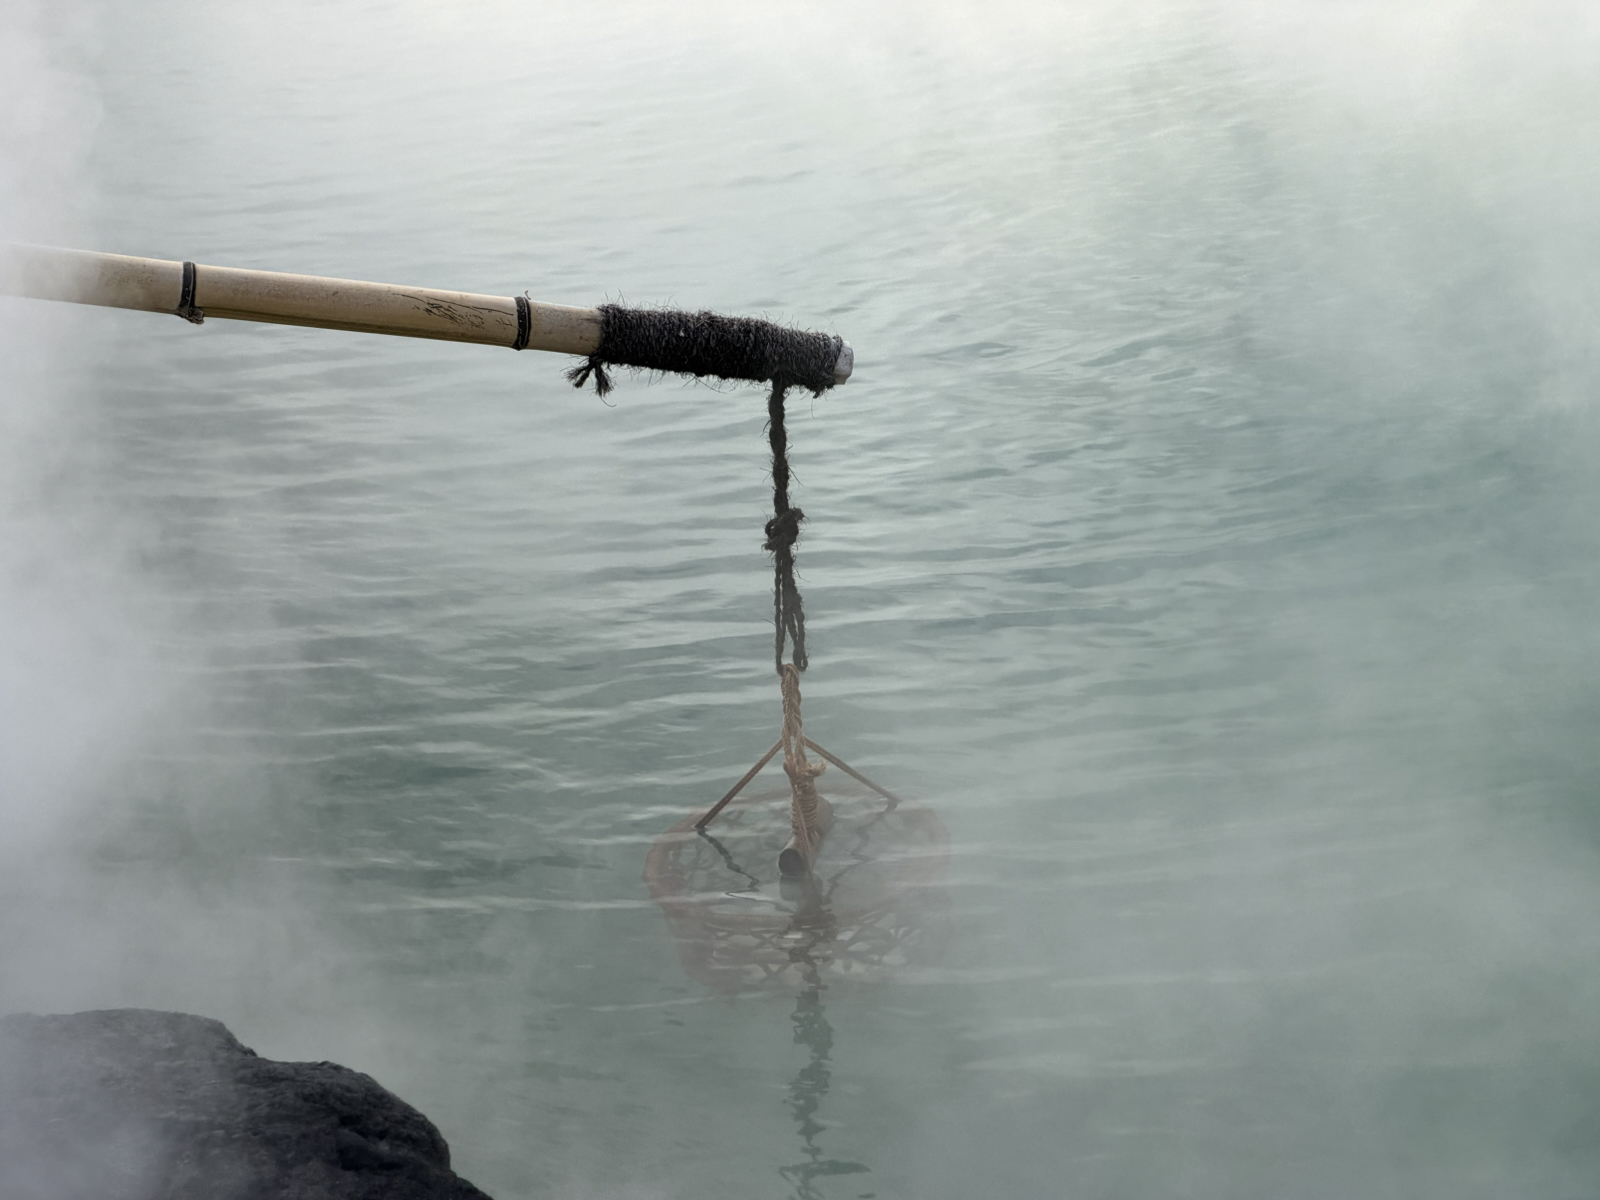
This place – Umitamago (‘sea egg’) was great! It had many different species on display in beautiful tanks, and interesting shows including a demonstration of archerfish and an electric eel:
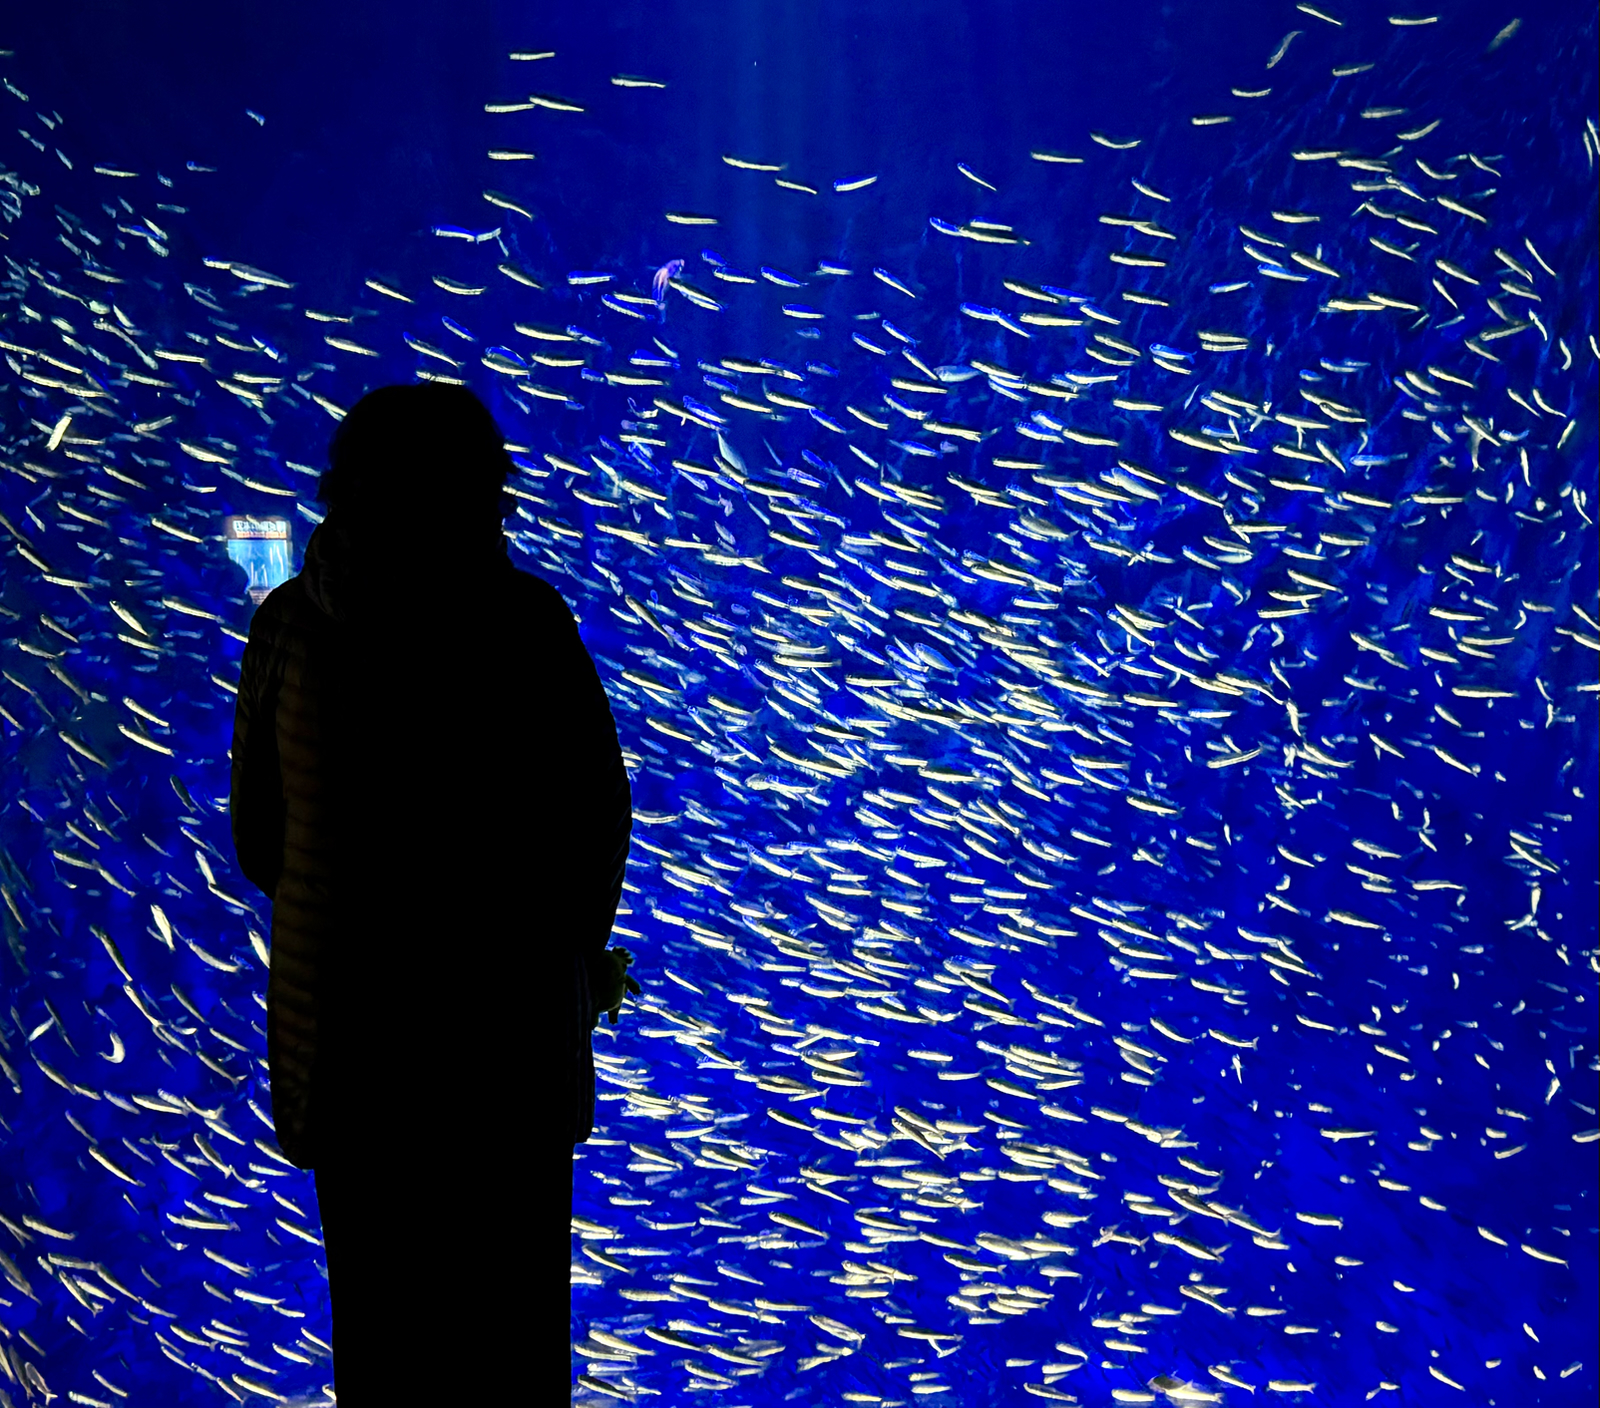
Japan does aquariums-as-art well, and while that was hardly the focus of this one many displays were mesmerizing like this sardine school:
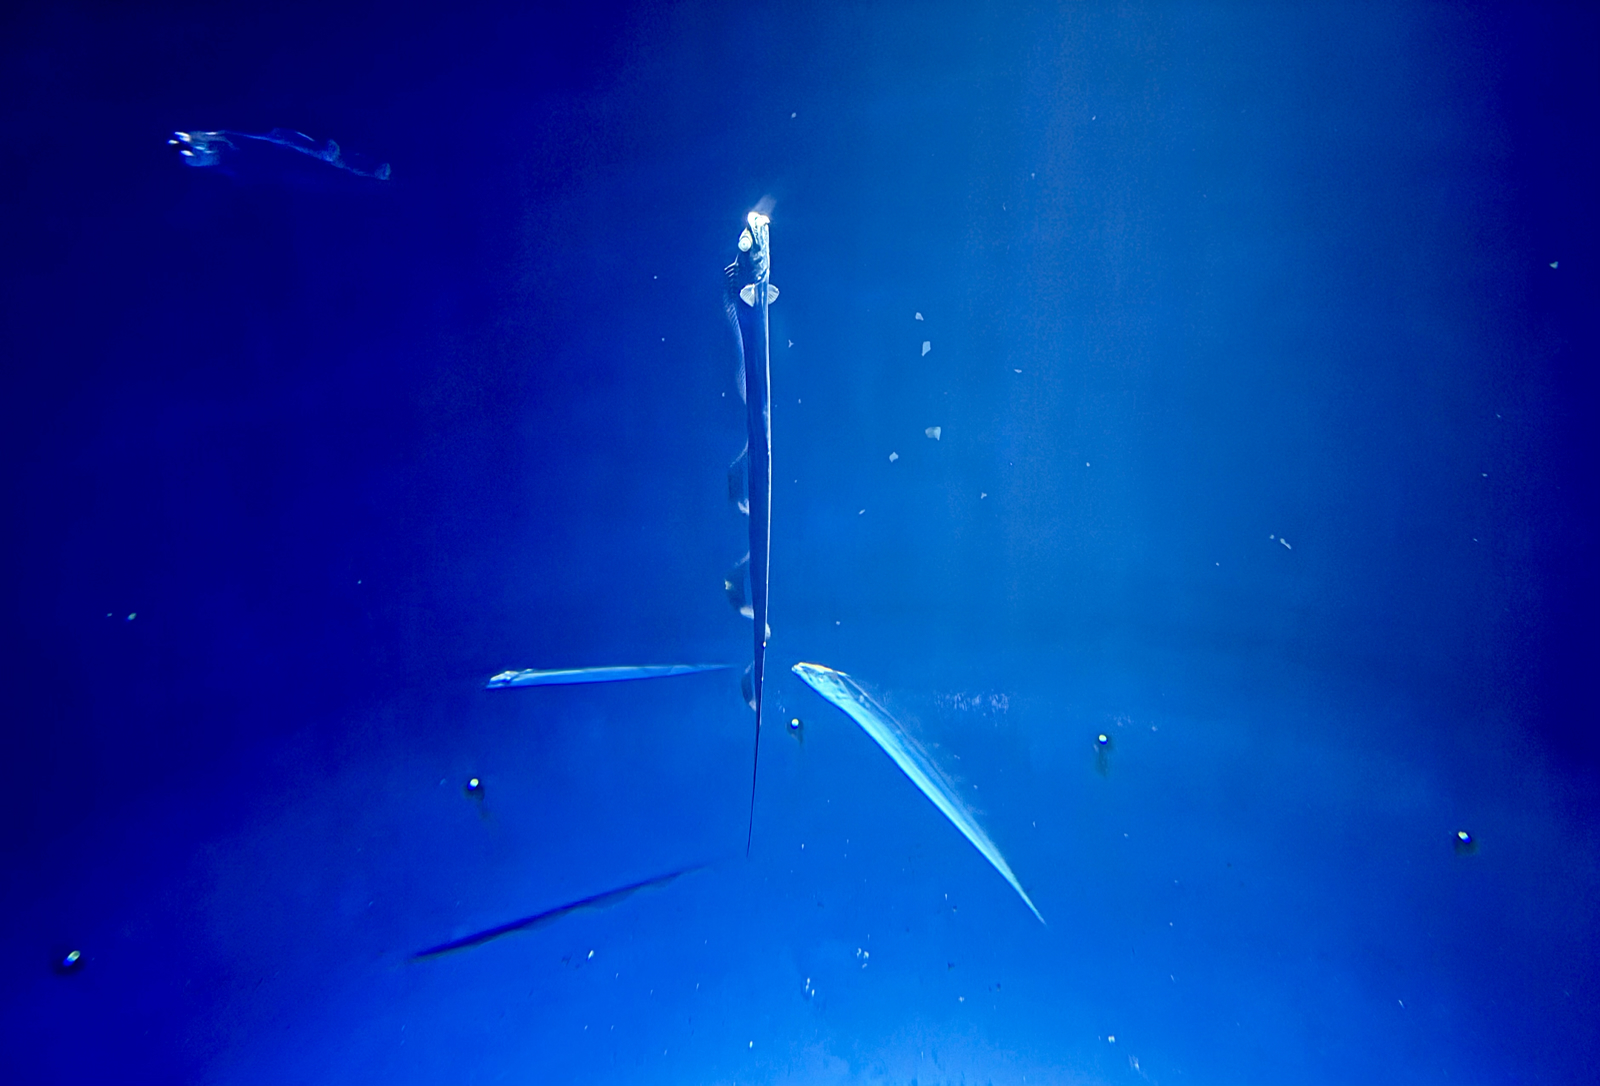
Or this cutlass fish that just floated vertically and nearly motionless:
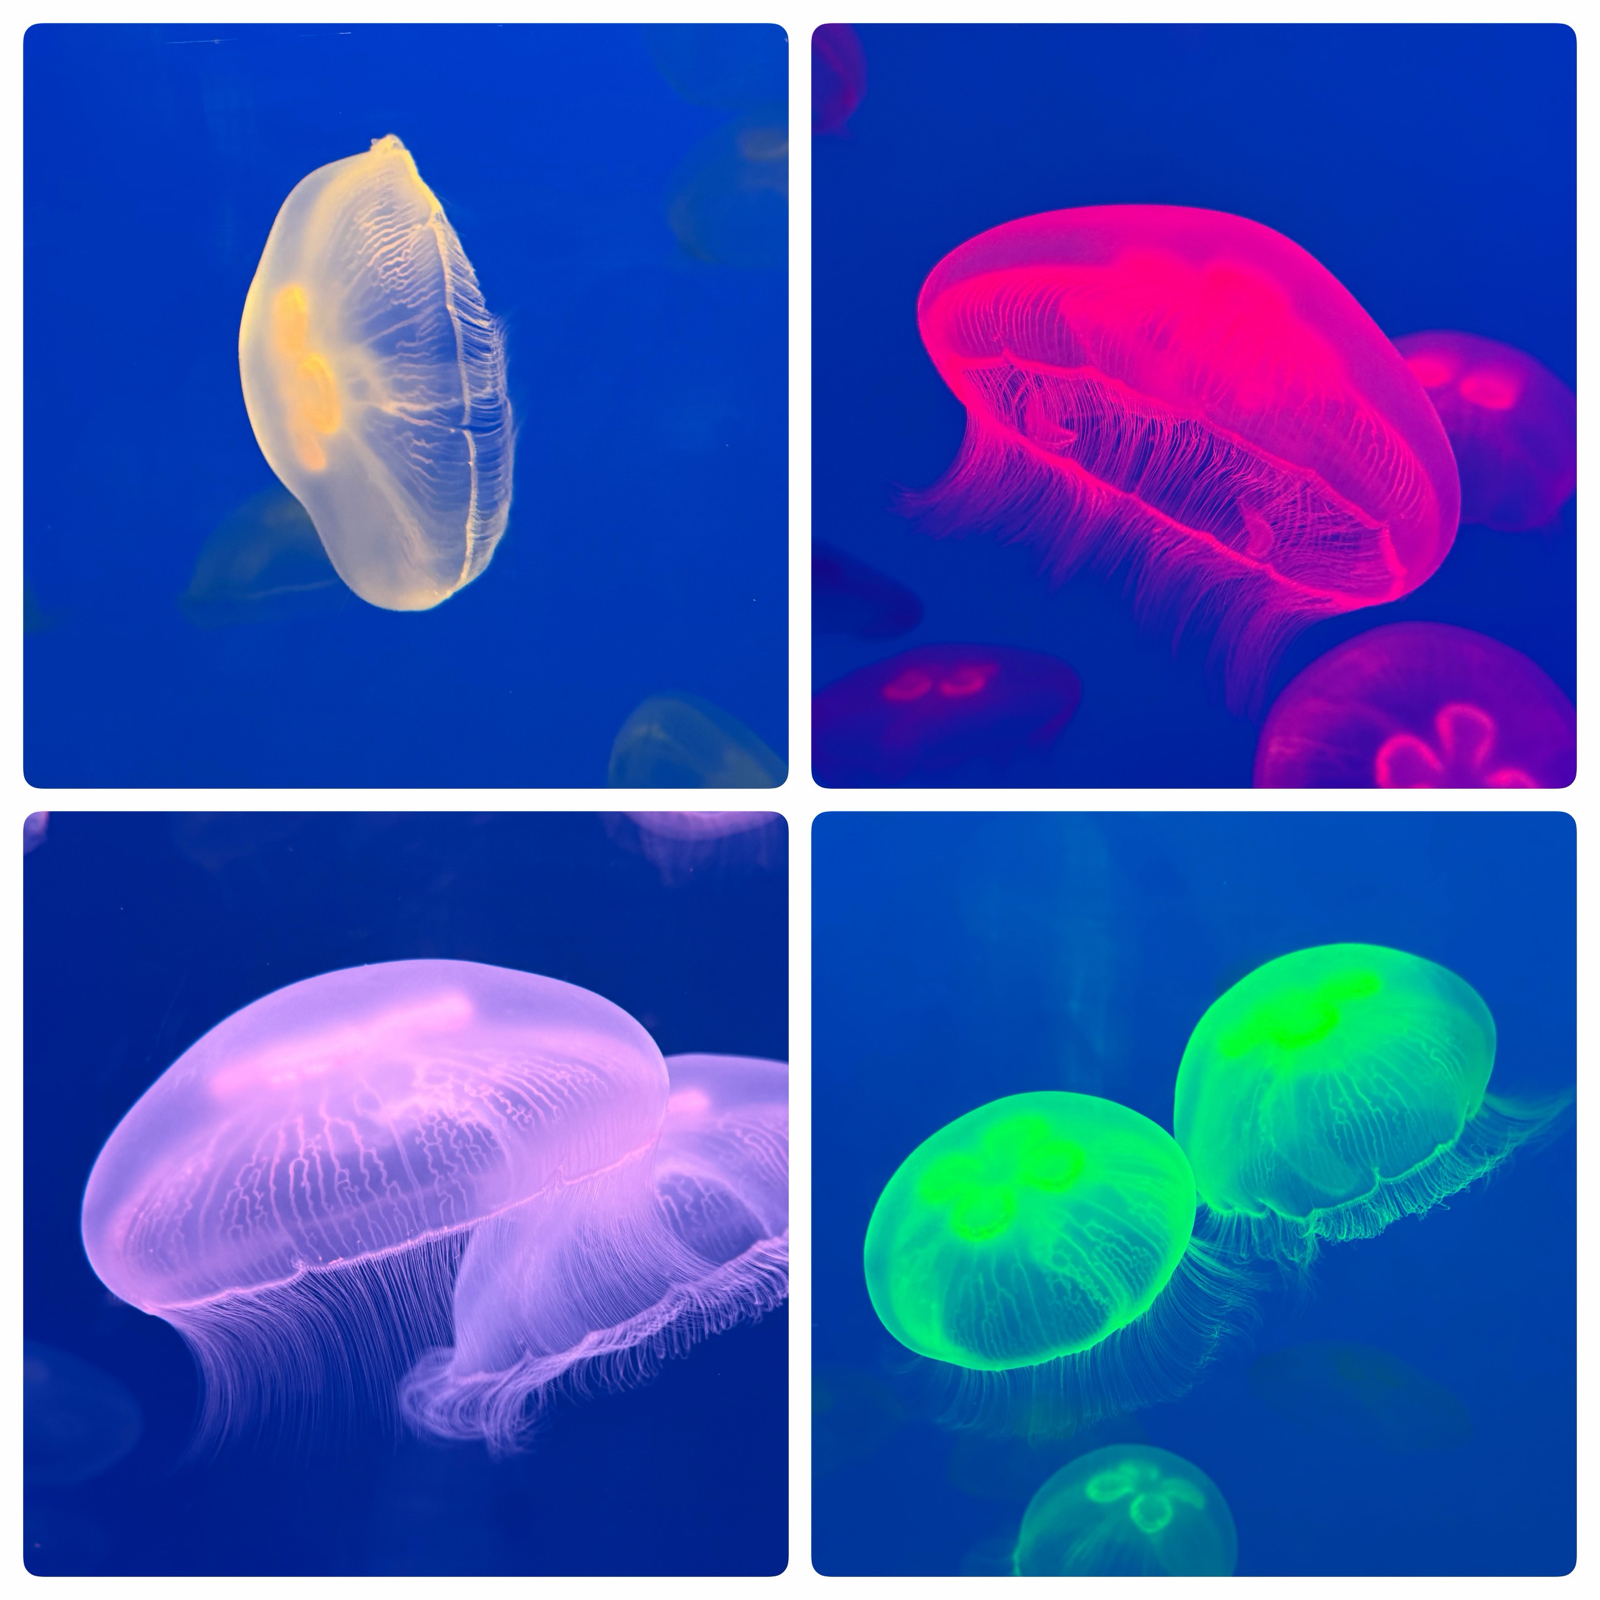
And of course the jellyfish:
It was super busy, which again surprised me since it’s winter, but I suppose the very cold air outside today drove everyone indoors.
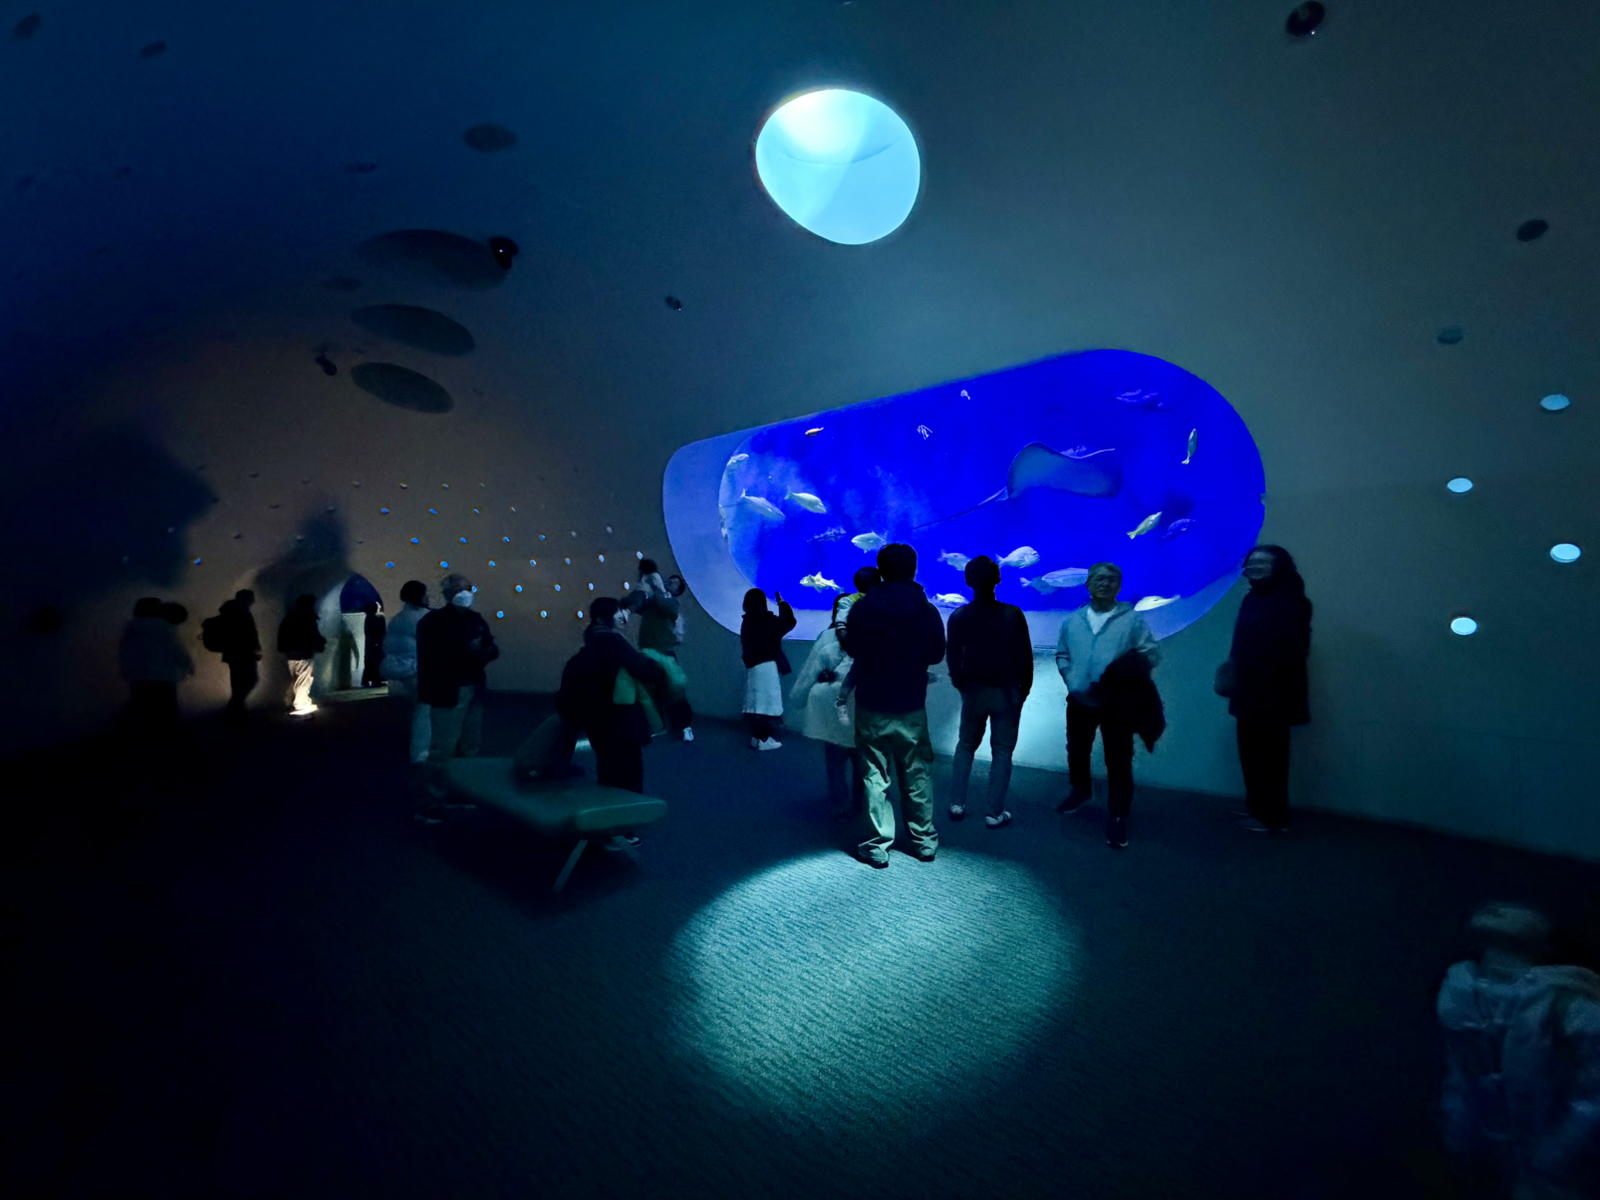
That room looked like it was in a spaceship or exotic submarine. The architecture of the entire building was unusual.
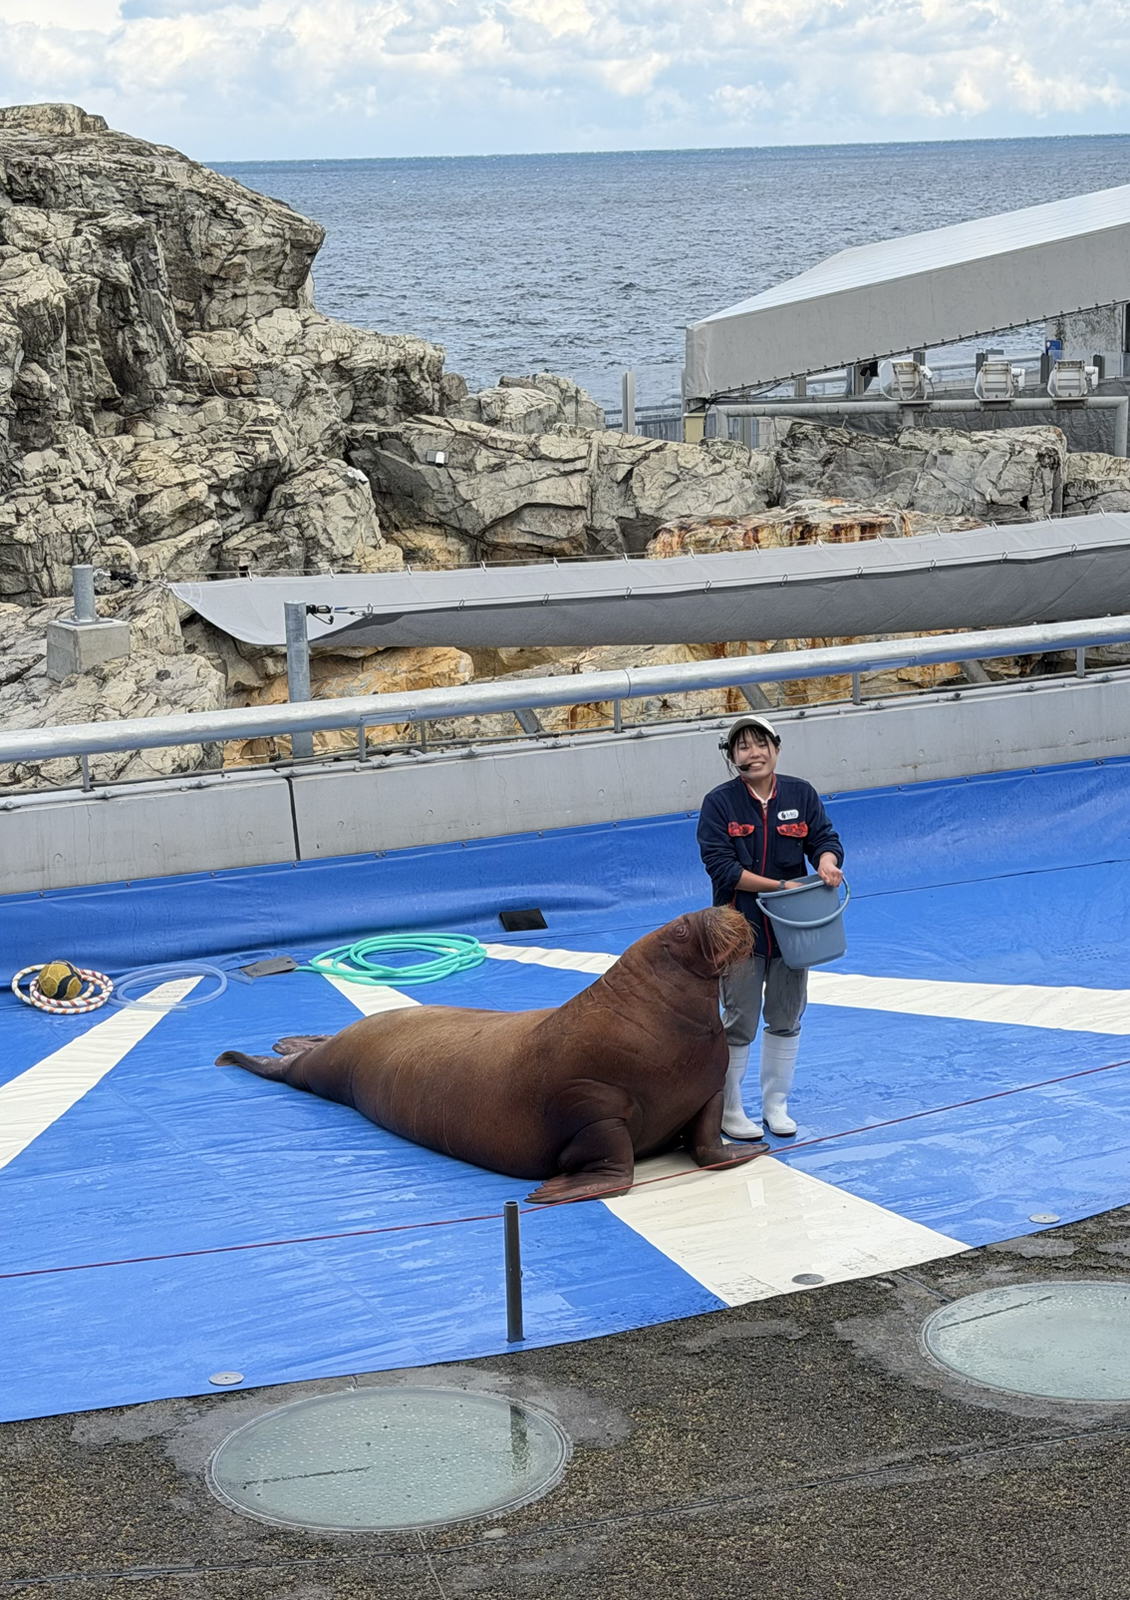
The walrus show was good, and mostly based around the beast making noises I never knew walruses could make (like whistling).
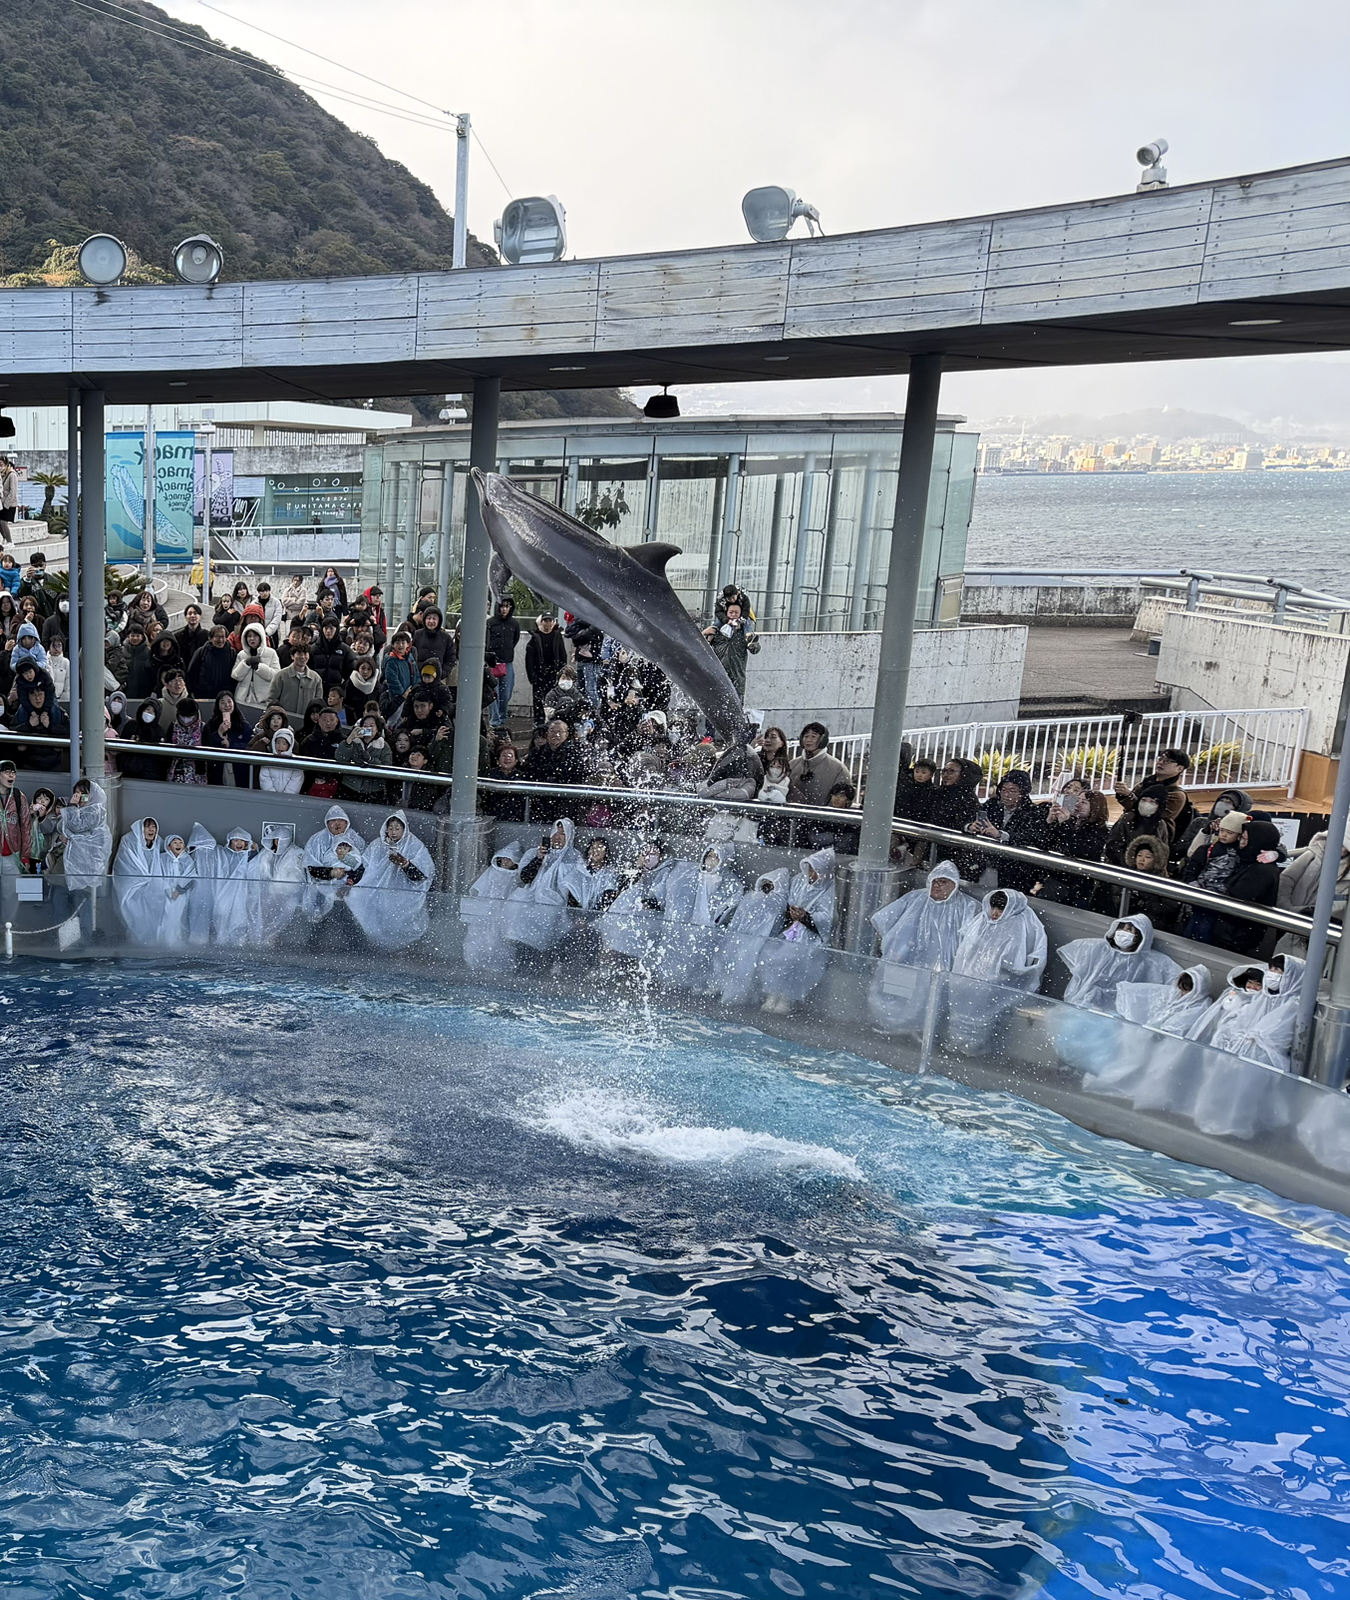
And the dolphin show was a crowd pleaser and included Japanese dolphins I’d not seen before. Overall the aquarium was fun, and perhaps the best I’ve been to in Japan.
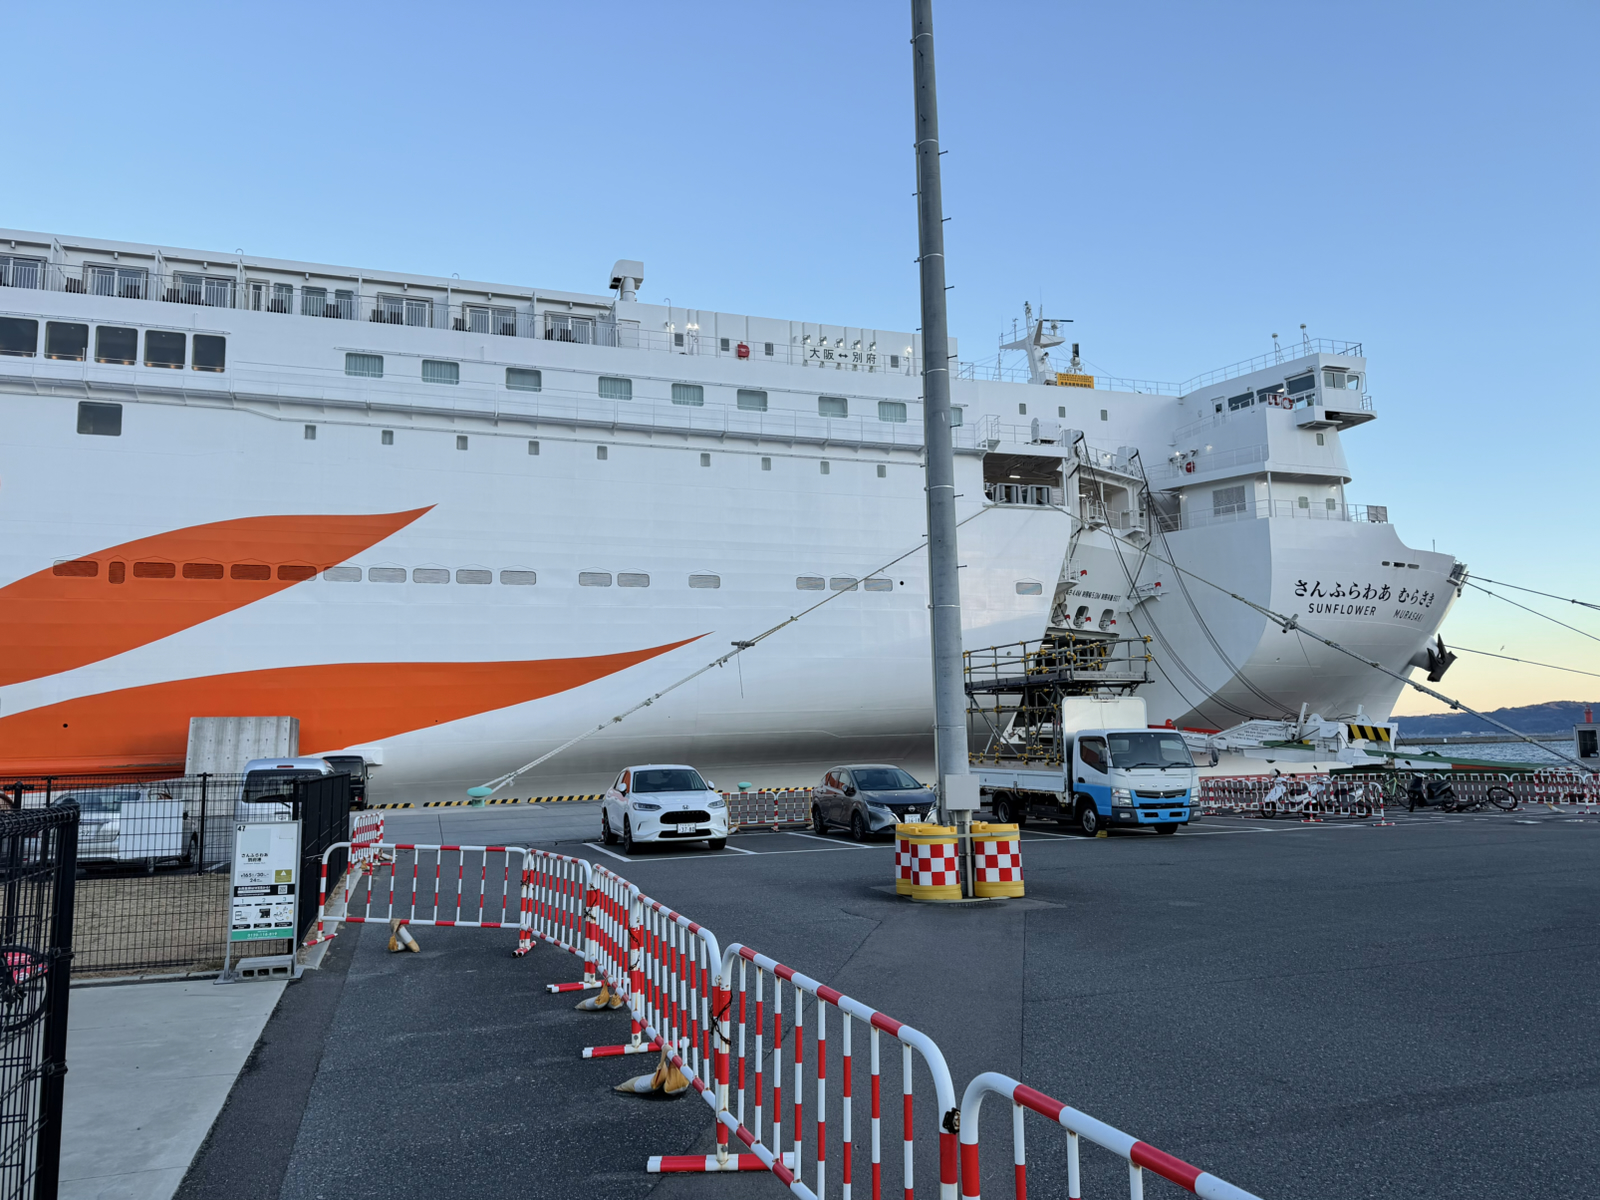
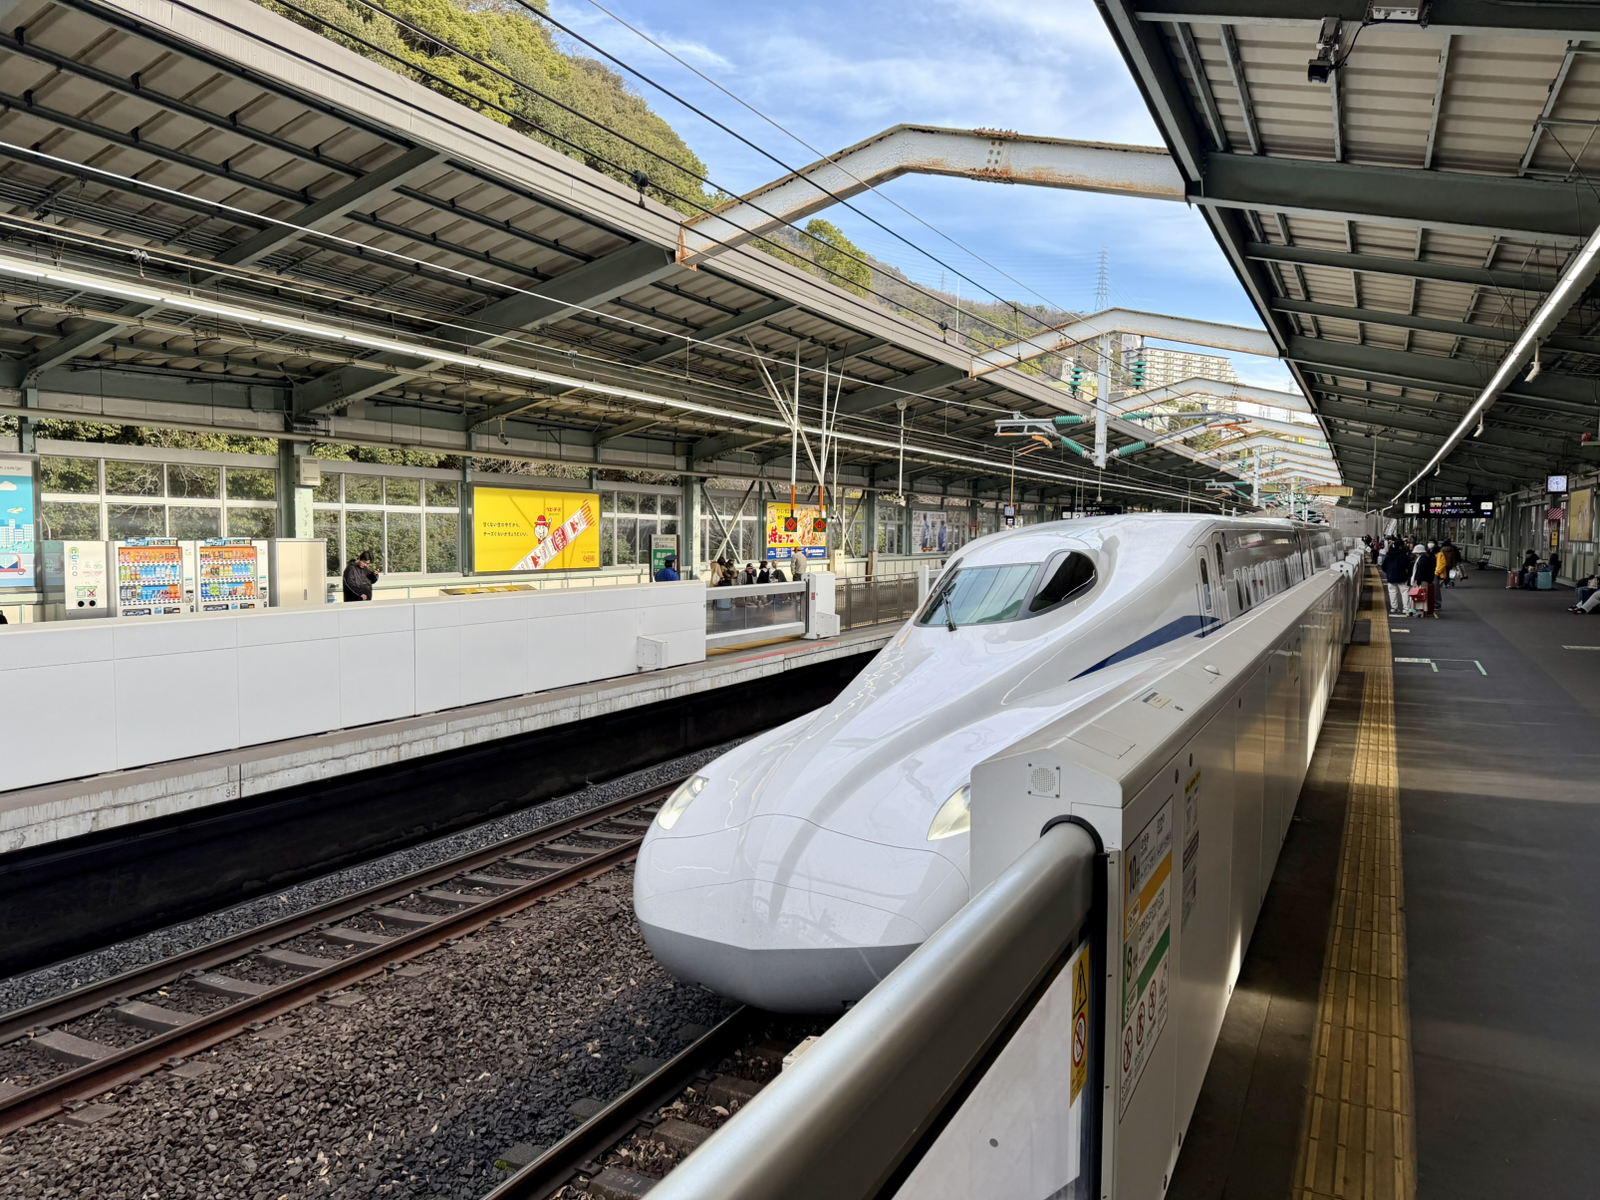
As I write this I’m in the boarding area about to board this ferry. We’ll sleep on this tonight, and wake up in Osaka! Tomorrow I’ll tell you all about it 🙂